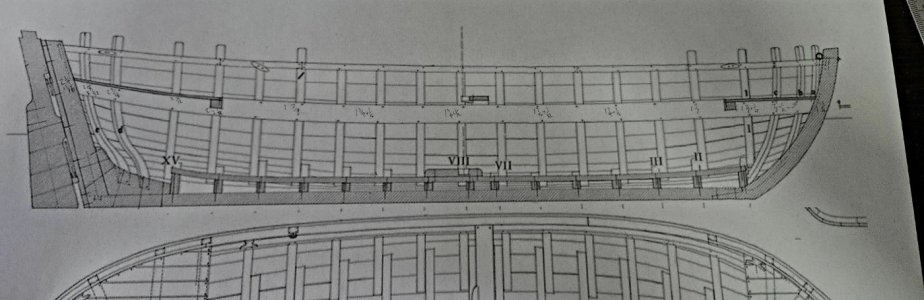
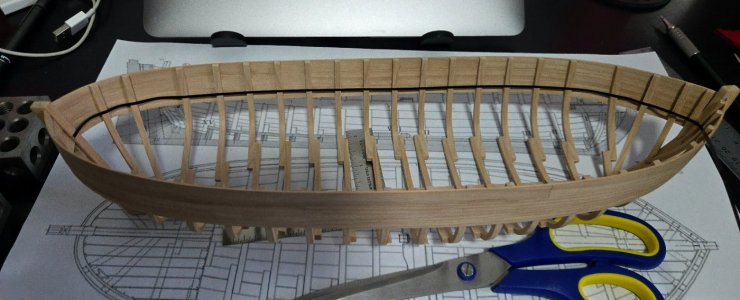
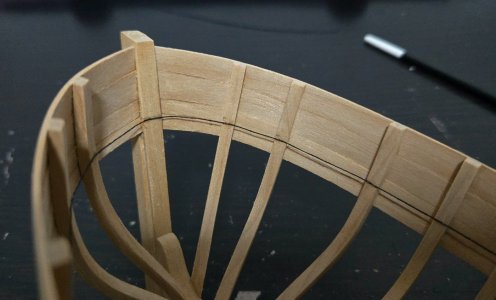
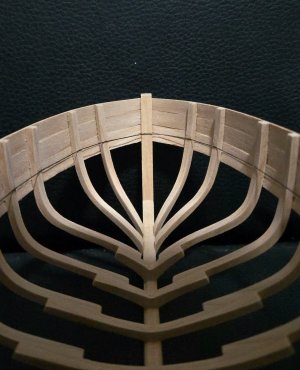
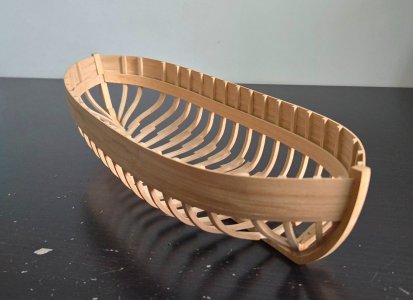
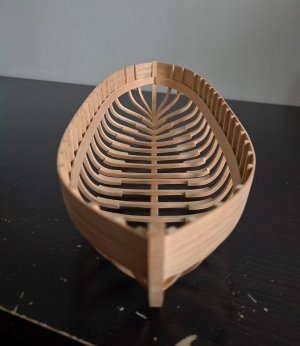
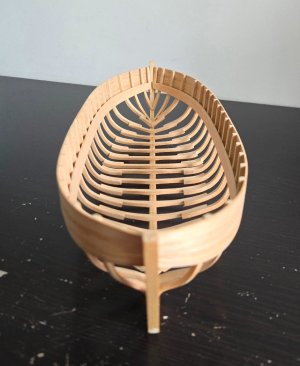
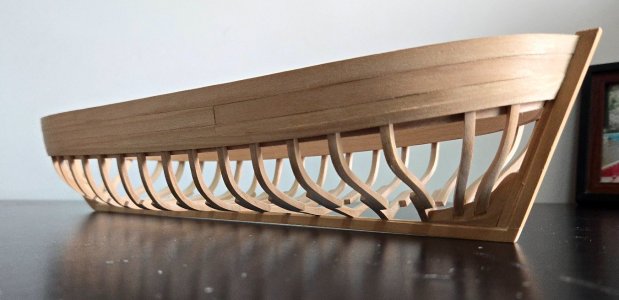
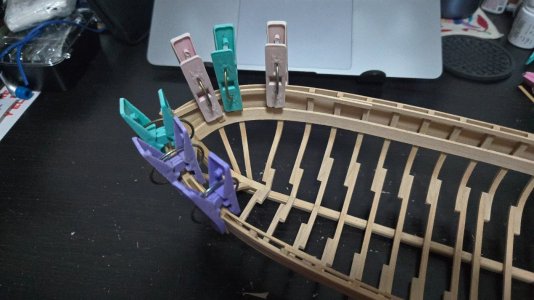
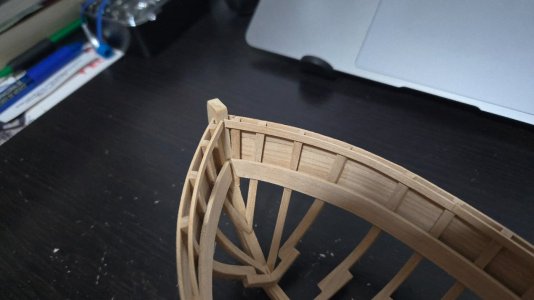
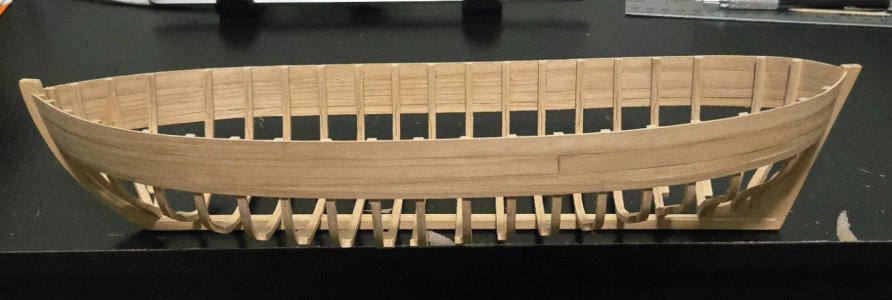
A very little bit of progress to share.
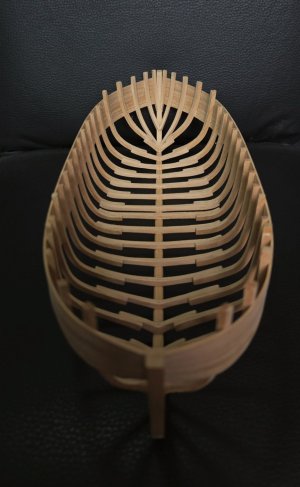
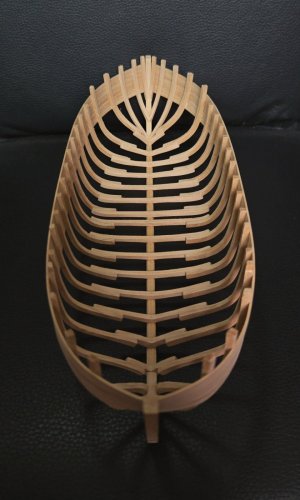
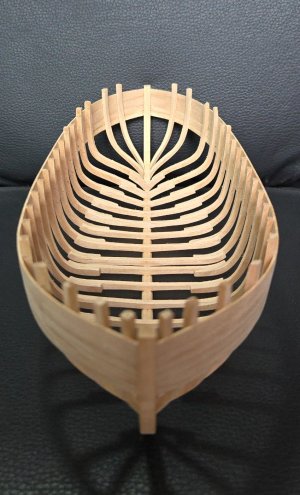
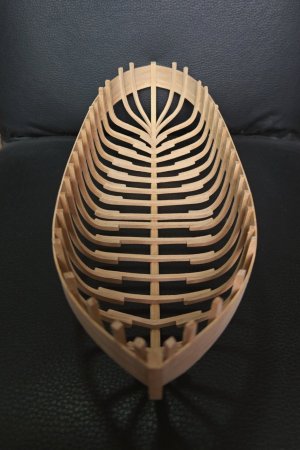
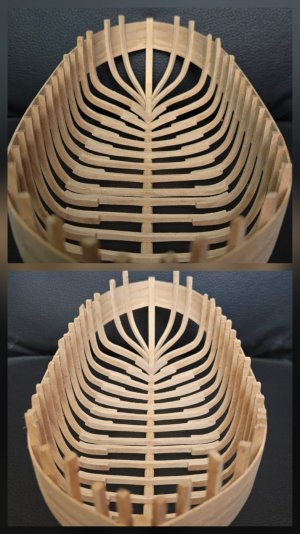
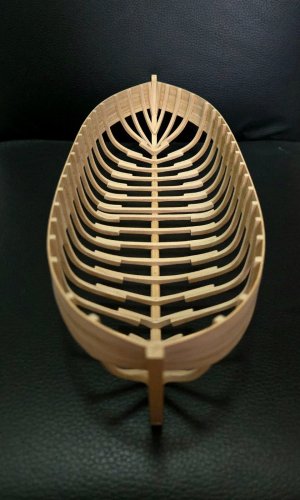
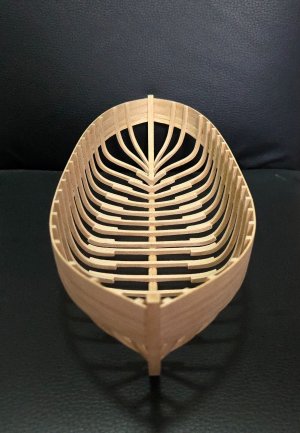
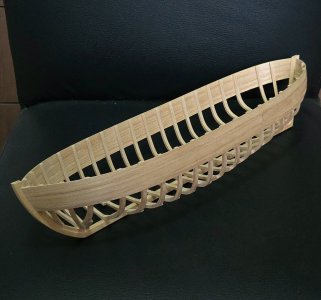
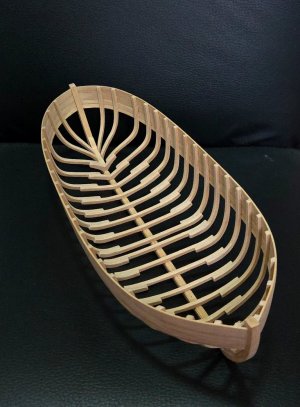
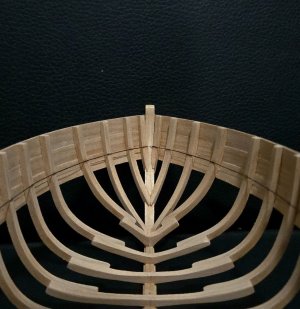
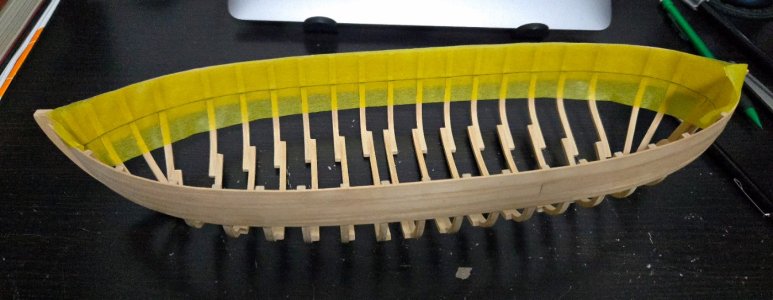
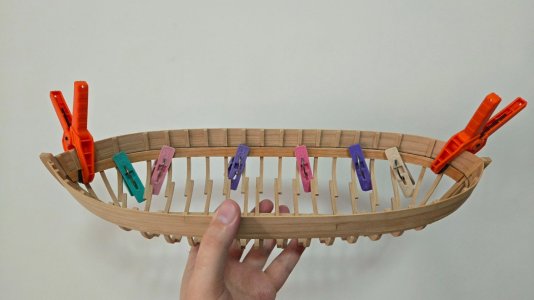
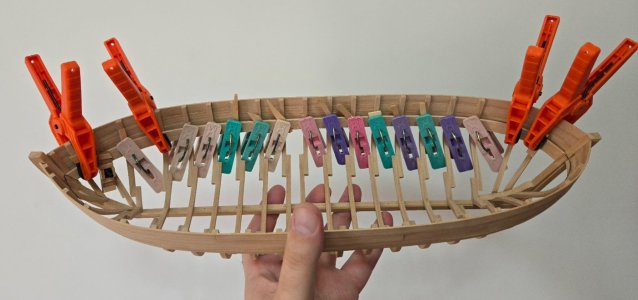
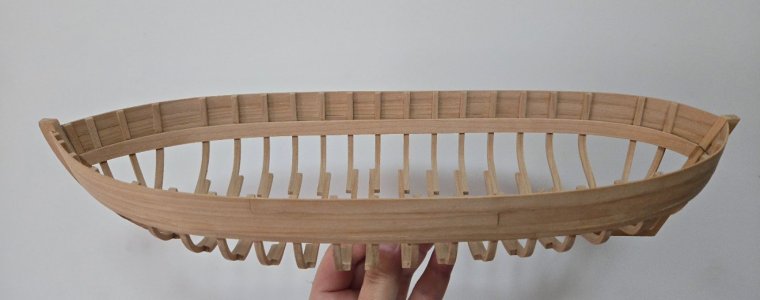
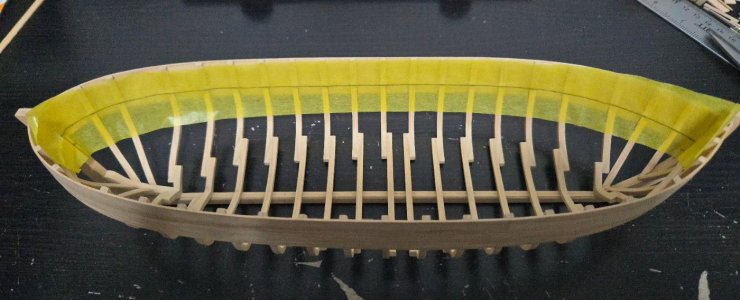
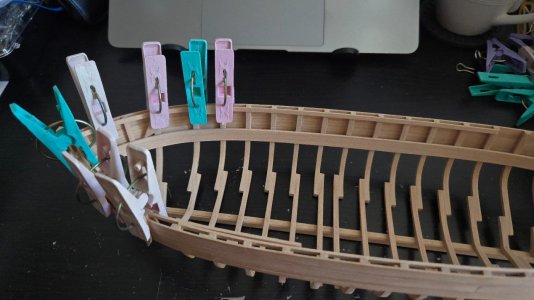
First, I'm continuing to fair the interior. The starboard side is going a bit faster than the port, it helped to use higher-grit sandpaper and to replace the sandpaper more frequently, and to use the dremel with a sanding tip very very carefully, only for the rough shaping when I still had 2mm or so to remove.
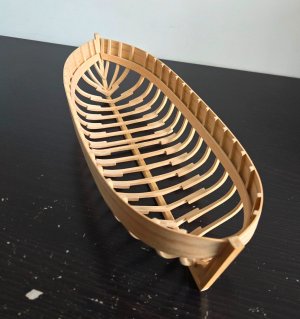
Second, as I mentioned I was planning earlier, I sawed off the remaining timber heads, and used a sanding block to smooth the cuts.
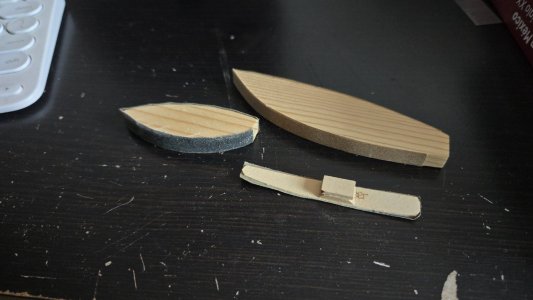
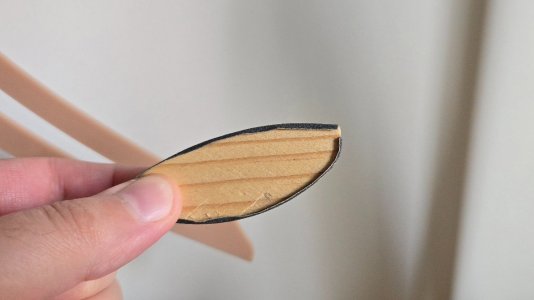
Third, as a break from fairing, I've begun working on the blocks. In future builds, I may try making my own, but I went with a purchased option this time. Way back when I was just starting to plan this build, I bought Syren's block kits, which are no longer manufactured. They're interesting little kits. The blocks themselves are laser-cut, held in a frame, and one side is laser-engraved to hollow out around the sheave. The layers are simply glued up, and the block is then sanded smooth. Below, you can see some assembled, rough-sanded single blocks, and the unassembled double blocks.
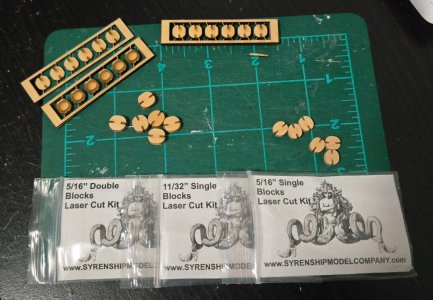
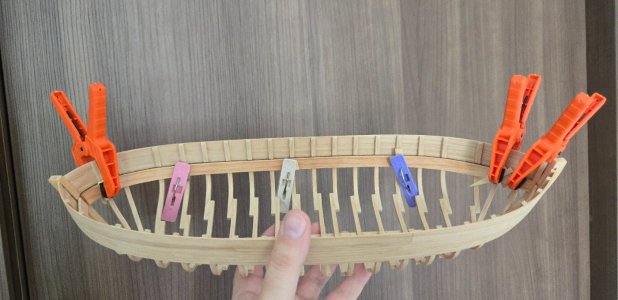
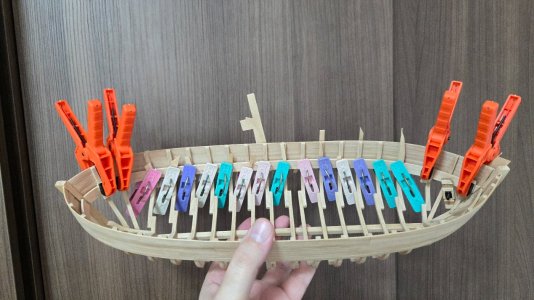
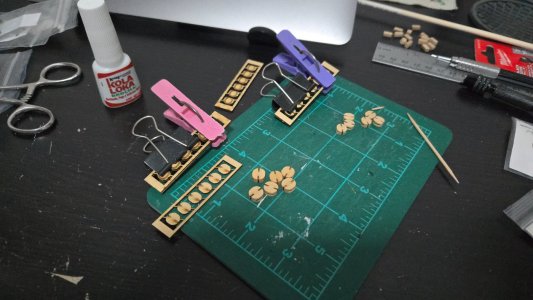
I actually had a little bit of trouble with these. On my first batch, I followed the instructions to use super glue applied with a toothpick. Despite clamping to cure, I didn't at all get a good bond, and four of the six blocks came apart either while I was cutting them free of the frame, or when I started sanding, and had to be reglued (some with super glue, some I went with white glue) and carefully lined up. For the second batch, I lightly sanded the lasered side to remove char from the gluing surfaces, and used a larger quantity of glue with the glue brush, applying it much faster than with the toothpick. This worked much better and all the bonds have held up. For the double blocks, I began to do the same, but accidentally misaligned a layer and had to hurriedly slice the blocks apart before the superglue cured fully. After that, I decided to use ordinary white glue instead, so I would have more time to get the alignment right. Below, I'm gluing one layer.
Sanding the blocks to smooth them and round off the edges has been more challenging than I expected. They're very small, but large enough that I can't hold them in a hemostat like I usually do to sand small blocks. My fingers got pretty sore holding them. It's easier to use a sanding stick, but still pretty slow going. I tried using a file to roughly shape the blocks while still in the frames, but there really isn't enough space. In the photo below, only a few of the larger single blocks have been final-sanded, the rest are still just rough-shaped. I don't know if these are Boxwood or Alaskan Yellow Cedar (I haven't noticed any odor), but it's a very nice, hard, fine-grained wood. Despite the challenges at the start, they're coming together into quite nice blocks.
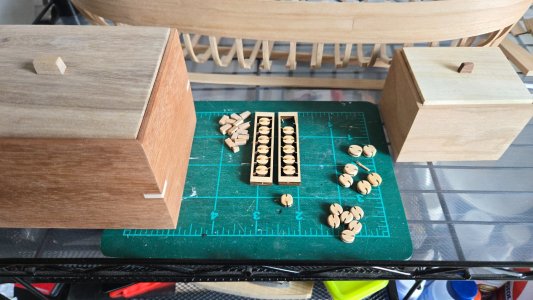
Unfortunately, I don't think I'll be able to make much progress over the next month or so, besides a bit of sanding here and there. Between a mounting pile of work and deadlines, travel in the second half of June, and a recent medical procedure (which thankfully went well and I'm now recovered), I haven't been able to model much this week and won't be able to for a while. (This is also part of why I've been slow in reposting build logs). Meanwhile, what free time I do have will be mostly taken up making some gifts for family (including the boxes at left and right in the above photo).