• Ships of Scale has incorportated an extra level of security when you log In. Please follow on-screen prompts to acknowledge that you are not a robot via a "Check Box" or a "Pictorial Check Box Puzzle". This is needed due to higher level of AI Activity Security.
  • SUBSCRIBE TO SHIPS IN SCALE TODAY!

    The beloved Ships in Scale Magazine is back and charting a new course for 2026!
    Discover new skills, new techniques, and new inspirations in every issue.

    NOTE THAT OUR NEXT ISSUE WILL BE July/August 2026
  • Win a Free Custom Engraved Brass Coin!!!
    As a way to introduce our brass coins to the community, we will raffle off a free coin during the month of August. Follow link ABOVE for instructions for entering.

Bateau de Lanvéoc in 1:32 from Ancre Plans by JacquesCousteau

I am a bit late t enter your log and catching up, ‘JacquesCousteau’. But I suppose that’s not you real name ……. could not find it in another post.
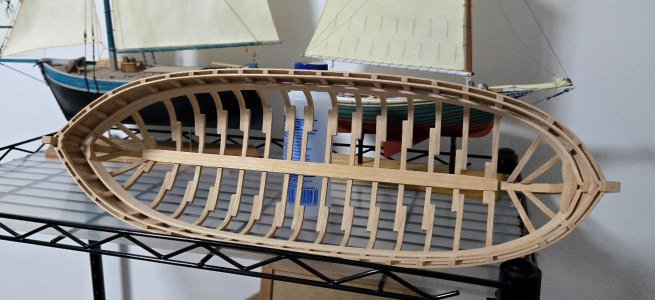
I do like the way you build up the frames and connect them at the beginning. And the internal lining with the thread is very inventive. But ‘being inventive’ is an advantage when building from scratch. Indeed, bending planks on the old fashion way can be very meditative.
Regards, Peter
 
Thanks, @Peter Voogt ! Yes, this is a rather ridiculous fake name, if I had known how often I would post I maybe would have chosen something different, but a bit late now...

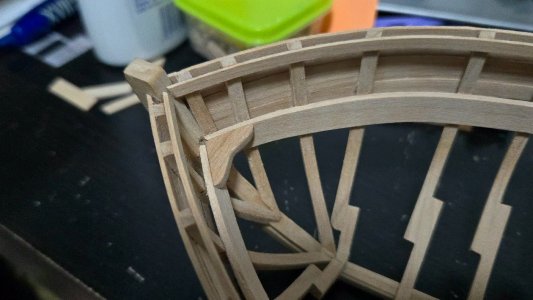
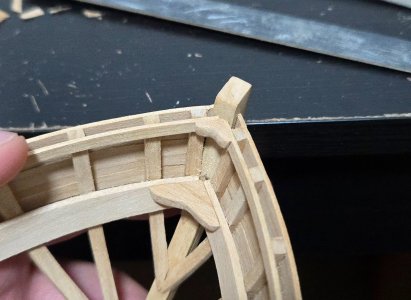
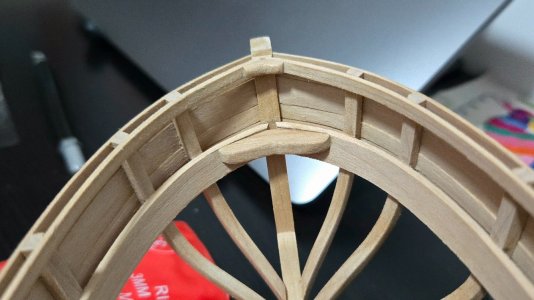
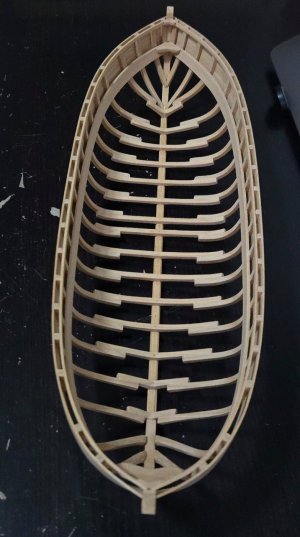
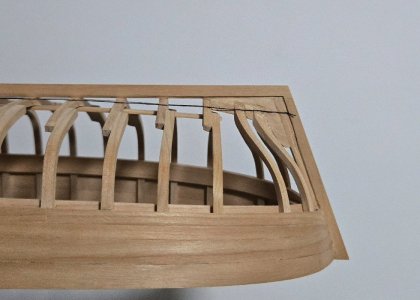
As I worked on the aft inwales, I decided to go ahead and add simple breasthooks at the bow. I forgot to take a photo of making the larger clamp-level one, it was just a slow process of shaping it to fit. I wasn't that concerned with the shape of this one as it will be covered by the foredeck.
20261001_193201(1).jpg

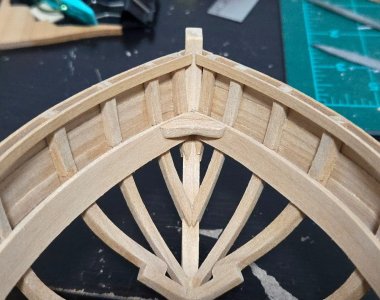
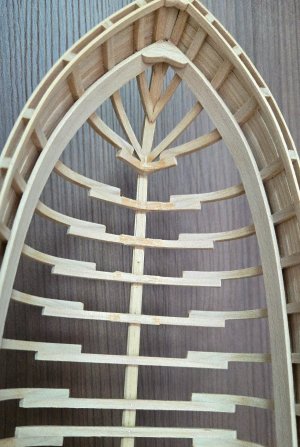
I think the breasthook does make the bow area look a bit better.
20261001_193211(1).jpg

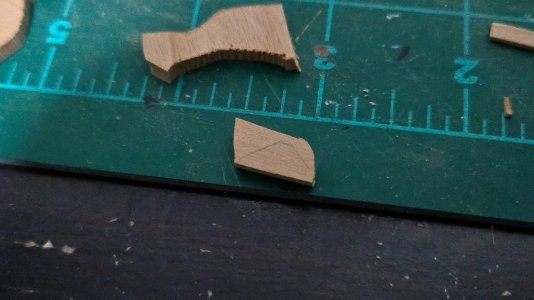
For the upper one, I traced the outline of the shape on a bit of alder to start.
20261001_195117(1).jpg

And then began trimming, especially with a chisel. Although I marked the midline on the aft side, I decided to glue the piece in place before finalizing the shaping, as it was very tricky to file such a small piece when holding it by hand.
20261001_230139(1).jpg

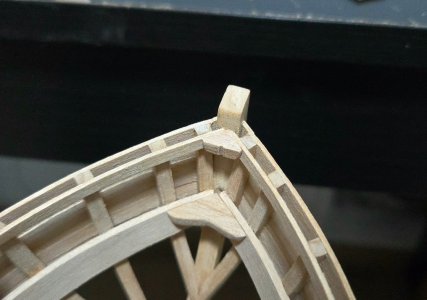
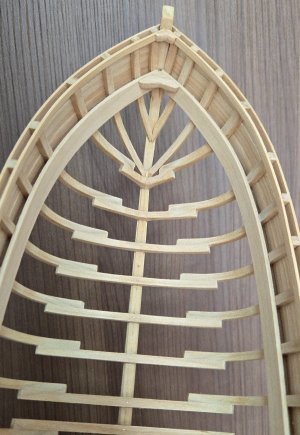
And after shaping:
20261001_231725(1).jpg

I do think it adds to the realism of the build, I imagine they would have had some sort of breasthook on the actual bateaus.

Before I get to the stern breasthooks, though, I have some work to do. I realized that a portion of the starboard clamp is a bit high--under 1/32‐inch, but enough that I would notice it once the aft deck is installed. So, I'm going to see if I can correct it with sanding. If not, I'll have to remove and reshape or redo the clamp.
 
A few steps forward, a few steps back. I was going to fit the stand supports. In order to ensure that everything matches up properly, I planned on drilling through the keel directly into the mahogany baseboard. Unfortunately, there were a few issues. First, there was a slightly rough patch on the baseboard, so I went to plane it smooth. However, the grain apparently changed direction right behind it and I had some tearout, worsening the problem. (Fortunately, I was later able to sand the baseboard to remove a burn mark on the other side, allowing me to flip the board, so the tearout will be on the bottom now.) More seriously, despite my best efforts, I was not able to drill straight through the keel. Although I drilled in from each side, it still ended up off. Part of the issue, beyond my own difficulties holding everything straight, may have been that I was using my tiniest drill bit for the pilot hole, which turned out to have some flex and apparently followed the grain a bit.

This made me reconsider how I'll be making the stand. I was initially going to just go with brass tubing, as on my Lancha Chilota build. But, I realized it would have to be pretty thin to fit into the keel and leave enough material to still be sturdy. I was considering adding a small wooden support at the middle, but I think it will be sturdier and look nicer to just do two wooden supports, cradling the keel and a bit of the hull. This will also make it easier to fit pins and get everything lined up, and won't cover up the openings in the hull as long as the cradles are small.

With that sorted (at least in my mind), I began to work on the keelson, which I made much, much earlier in the build. Although I had curved it, it still needed a bit more bend to fit, which required some creative weighing-down while gluing:
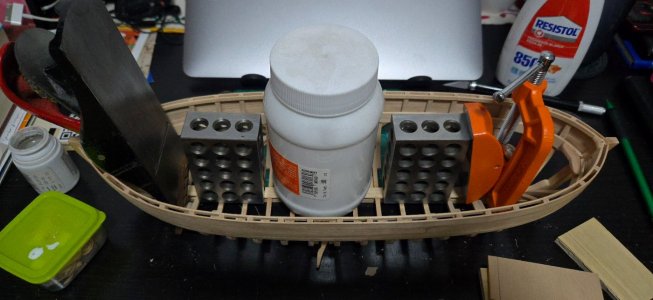
20261004_204548(1).jpg

However, afterward I realized a problem. Although I had thought that the bottom was fair, it wasn't quite, and there's a notable dip in the keelson forward of amidships before it rises again at the bow.
20261005_181105(1).jpg

So, I'll be busting out the alcohol to remove the keelson (and, with a different alcohol, to fortify myself for the surgery, I suppose), then sanding a bit more and possibly using shavings to build up the low frames. And here I thought I had finished fairing!

 
Thanks, @HHIG !

Fortunately the repairs weren't too much of a pain. It took a good bit of alcohol, some prying--hard to fit a knife into that space with the framework all around--and a lot of nerve-wracking popping noises, but I was able to get the keelson off and clean up the excess glue. I then built up the fore frames with layers of planed shavings of alder.
20261006_111919(1).jpg

And then sanded and trimmed until they were basically invisible.
20261006_114601(1).jpg

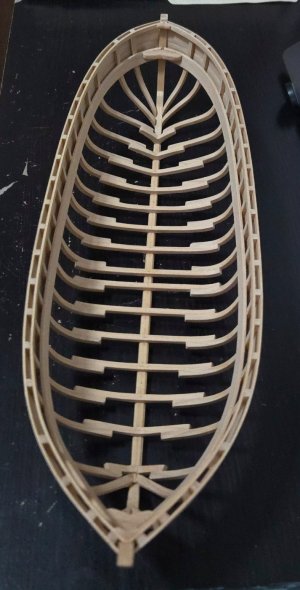
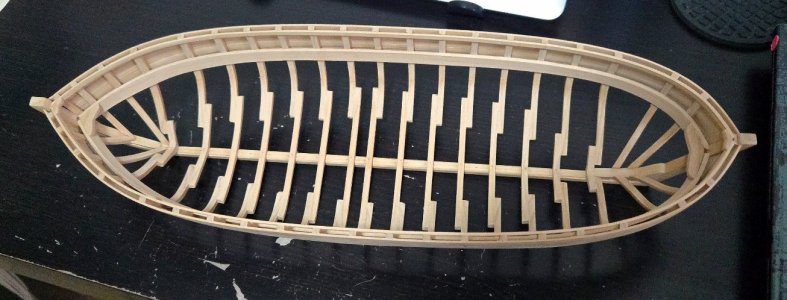
I also sanded the aft and middle frames down a bit. I tested for fairness repeatedly. I honestly found this to be a bit tricky, as it's awkward to hold the keelson (or a batten) firmly in place and judge how smooth it runs. Finally I got it satisfactory and glued in the keelson. As can be seen below, I think there's still a very slight dip forward of amidships, but it's a lot less noticeable than before and I can live with it, as it's a major improvement.
20261006_213940(1).jpg

(Apologies for the poor quality, my camera wants to focus on the frames and not the keelson.)

With that, the keelson is in place and I can move on to the next steps.
20261006_215538(1).jpg
 
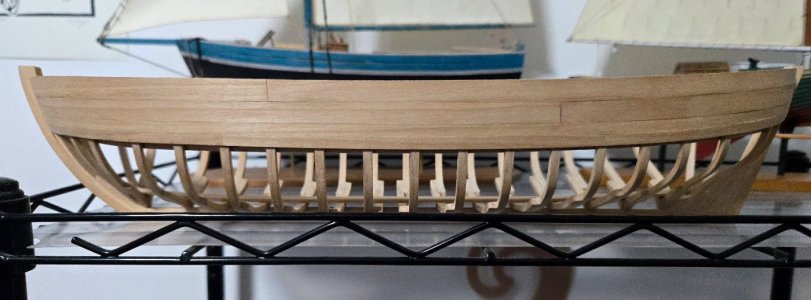
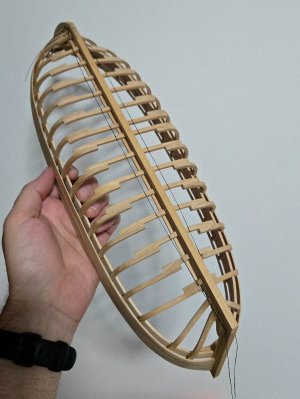
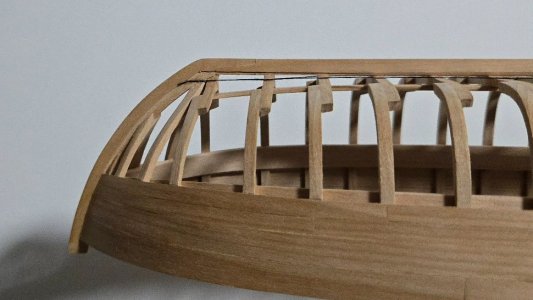
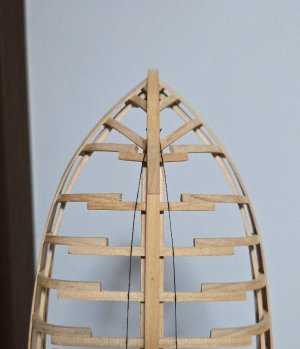
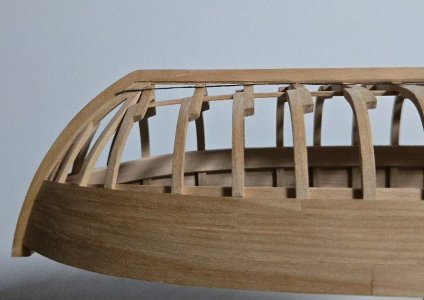
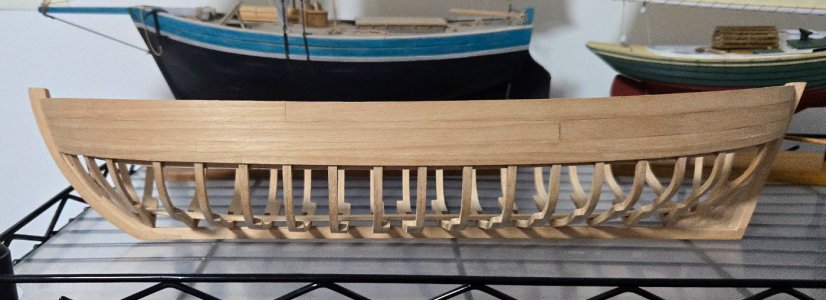
Next up, lining out the garboards. I'm using black thread for this, secured with a tiny dab of white glue on each frame. The white glue loosens enough when dampened that the thread can be moved a bit. I began by figuring out the width of the garboard amidships and at stem and sternpost based on the plans, marking it, and adding the thread.
20261011_180429(1).jpg

I then adjust to get a smooth line when viewed from multiple angles. In the photo below, the left is still awaiting adjustment, while the right has been adjusted (although upon viewing the photo, I realized that it needed to be moved out slightly amidships).
20261011_183955(1).jpg

My plan is to get it aligned tonight, leave it overnight, and check again tomorrow with fresh eyes.
 
After some adjustments, I think that the stern looks all right.
20261011_204927(1).jpg

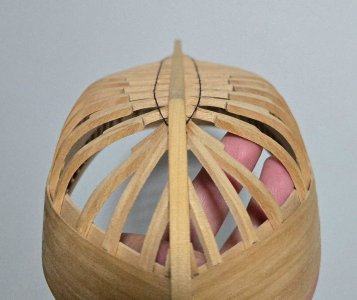
The bow didn't quite look right, though, the run across one frame looks bent out of shape from the side.
20261011_204937(1).jpg

But not from below, though. It shows the need to consider the run from different angles.
20261011_204955(1).jpg

So, I narrowed things down quite a bit at the bow. I think it looks a lot better, I'll look at it with fresh eyes tomorrow though.
20261011_210037(1).jpg
 
Back
Top