Health Update - by the way - thank you all for the 'well wishes'. I have an appointment with Cardio to discuss options in just a few days. I don't think it is serious and if I had to make a guess, I might have 35 to 40 percent blockage. Usually, they do not do a stent unless there is 70 percent. However, the bad thing about it, my Calcium Score was about 400 on the Left Anterior Descending (LAD), and of all the ones, this is the most worrisome !!
So, back to modeling.

So, continuation on the Stern. A lot of things going on here. I think I am skipping around here for a while and some pics might not make much sense.
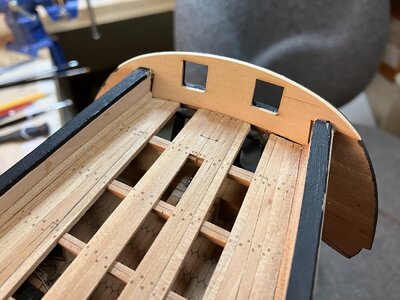
The stern has up to this point, three pieces that are sandwiched together to make the stern thicker. Unfortunately, I did not show that process. I thought I took pics of that, but can't find.
But, this is the best shot I can find.
This was a trial fitment of a part that installs from within the hull (AFTER one of the main stern rear pieces is installed).
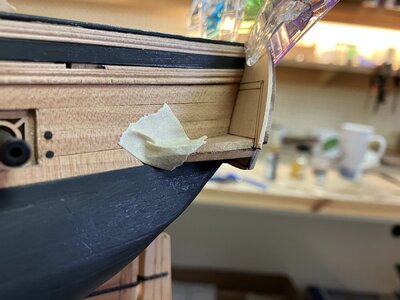
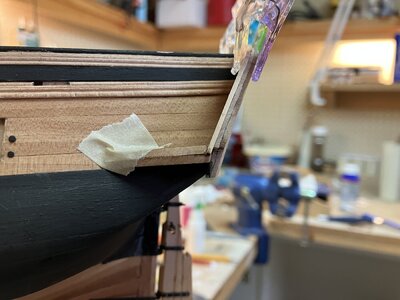
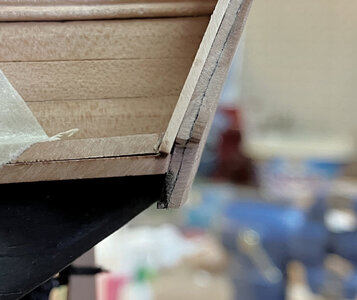
These three images show a trial fitment of three parts.
It is VERY EASY to get some of these parts confused - they have sanding lines and you do have to cut to fit.
You must take note of the LAYERING and how the parts are staggered !!!
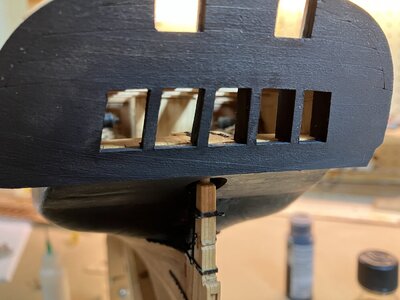
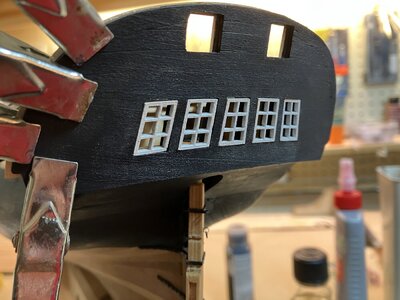
Next, I am working on the windows. You will most likely need to file and dress up the window openings on the stern piece so that the window panes will fit. The window panes will fit FLUSH with the stern piece. There is a decorative part (boxwood) that will cover the windows to give more of a 3D depth of look. NOTE: the window "styles" look very thick that is because beforehand, there are "Counter Timbers". You will notice that the upper two openings are not as thick (but are three layers).
These windows (I believe) should be mounted flush to the stern piece as the decorative part will go over this.
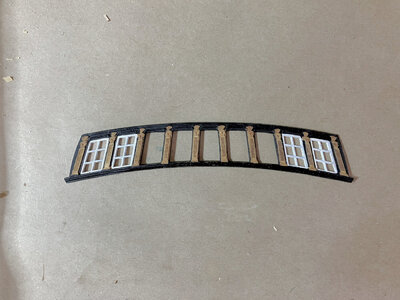
This is the decorative stern piece of which I think I went overboard with painting the details.


