Bikerbobs Peterborough canoe [COMPLETED BUILD]

Joined
Mar 23, 2018
Messages
12
Points
48

Location
Ontario Canada
Good Day All

This will be my build log for scale 16 foot Peterborough high end Champlain canoe. The Peterborough Canoe Co. was a prominent builder in Ontario Canada having numerous models. The Champlain; high and low end were introduced in 1932. High and low end refers to the height of the canoe stem and stern.

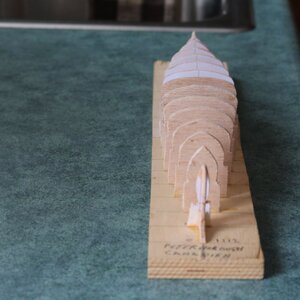
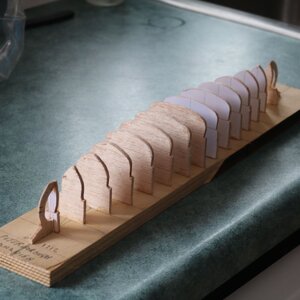
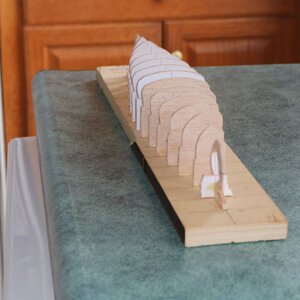
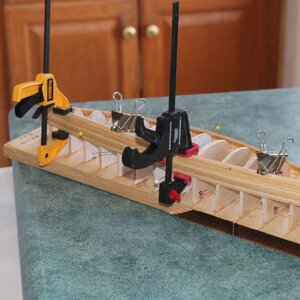
The build will be at a scale of 1:12 or 1 inch equals 12”. Since there are no model drawings I had to develop my own. Was able to locate a lines drawing on the internet; which I downloaded to Acad. After tracing the lines in Acad I was able to develop the moulds. These were then printed and glued to mould stock; in this case 1/8” balsa. Per Gilles manual these were then mounted on the building board.

The model will be made of Basswood and painted. Photos show work to date.
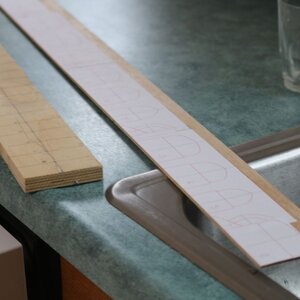
2020-12-27 03-55-47 - 0001.JPG2020-12-27 03-56-03 - 0002.JPG2020-12-28 00-16-30 - 0003.JPG2020-12-28 00-16-36 - 0004.JPG2020-12-28 00-16-43 - 0005.JPG2021-01-06 00-52-13 - 0006.JPG2021-01-06 00-52-23 - 0007.JPG2021-01-06 00-52-39 - 0008.JPG
 
A very good start of your log - I am very happy to see one more :cool:
 
Back again

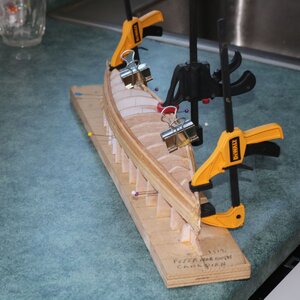
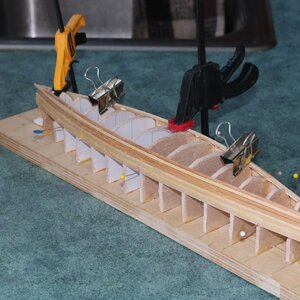
Beginning the planking. This went with out any major issues.

I did find that the planks wanted to open at the bilge; but was able to force them closed. I believe the curve of the bilge may have been to sharp for the thickness of plank. Once closed in stem and stern were laminated and added to hull. Stem and stern laminates sanded to blend with planking. Now the hull was removed the hull from the building board. Balsa moulds worked well; easily cut and removed. Only issue was the stem and stern mould were rather fragile. Hull was now given a rough sand and filler added. Re-sanded once again in preparation for painting.

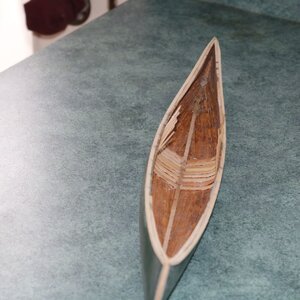
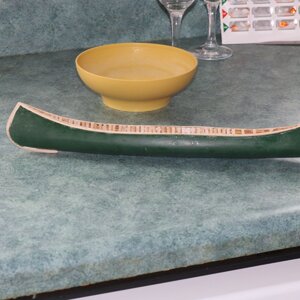
Masked the stem and stern and painted hull deep green. Once dry added the outer gunwales. So far so good. Next finishing the interior.

2021-01-07 23-56-41 - 0028.JPG

2021-01-07 23-56-48 - 0029.JPG

2021-01-07 23-57-02 - 0030.JPG
 
Now for the interior.

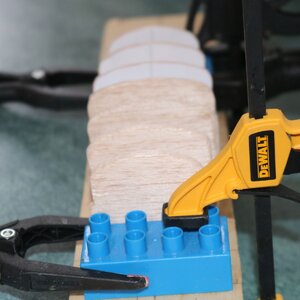
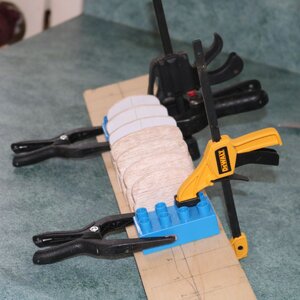
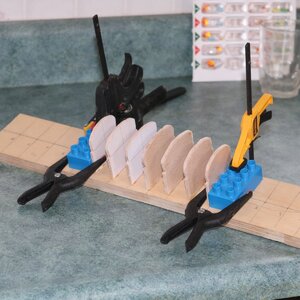
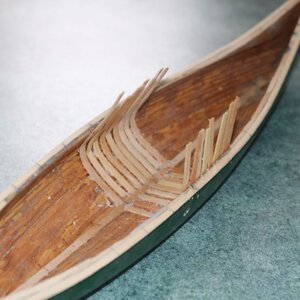
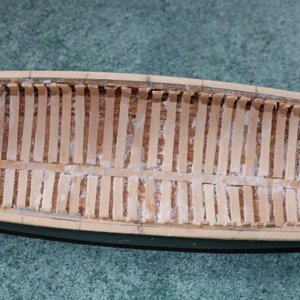
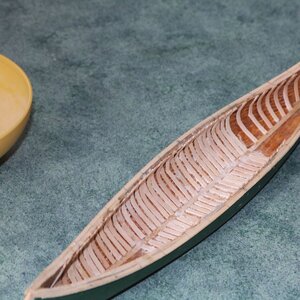
First sanded interior thoroughly. Glue seepage was a difficult to remove. Next added a medium stain to the interior; this created a blotched finish due to the glue seepage. What to do now. After some though felt that the ribs would hid the worst of the blotching; so carry on. Ribs were cut and soaked in warm water prior to installing. Ribs were removed from water and immediately installed with CA glue. After a dozen or so ribs installed noticed a white residue appearing. Believe this was due to the ribs being very wet and glue floating on the water till water dried. Added a few more ribs which had been wiped to remove excess water and did not see the problem. Will need to come up with a better method of spacing the ribs as visual spacing is not the answer. Also thinking about a baseboard and moulds system where the moulds could the reused.

2021-01-17 23-59-03 - 0031.JPG

2021-01-17 23-59-11 - 0032.JPG

2021-01-19 00-40-36 - 0035.JPG

2021-01-19 00-40-44 - 0036.JPG

2021-01-19 00-40-58 - 0037.JPG
 
Last edited by a moderator:
Hello,
Please see this link about installing the ribs:
The rib material should be soak in water and wipe before glue is applied. Also, there is no need to apply a large amount of glue, just a thin line in the centre of the rib lengthwise to limit the lateral spread. This will prevent excess residue on the side of the ribs (or any other part below).

There is a mention about CA glue in the manual (page 32).

As for the placement of the ribs, it is also explained in the manual: by using existing reference point and marking new ones.

Glue marks are a problem when working with lumber such as basswood and most other soft wood: the glue soaks in below the surface and the marks are accentuated when staining and to some extent varnishing.

G.
 
Last edited:
Good Day All

This will be my build log for scale 16 foot Peterborough high end Champlain canoe. The Peterborough Canoe Co. was a prominent builder in Ontario Canada having numerous models. The Champlain; high and low end were introduced in 1932. High and low end refers to the height of the canoe stem and stern.

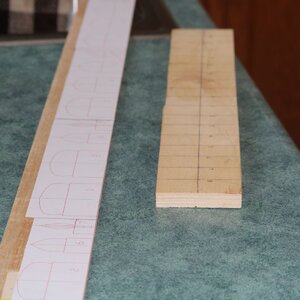
The build will be at a scale of 1:12 or 1 inch equals 12”. Since there are no model drawings I had to develop my own. Was able to locate a lines drawing on the internet; which I downloaded to Acad. After tracing the lines in Acad I was able to develop the moulds. These were then printed and glued to mould stock; in this case 1/8” balsa. Per Gilles manual these were then mounted on the building board.

The model will be made of Basswood and painted. Photos show work to date.
Hallo Bob alias @Bikerbob
we wish you all the Best and a HAPPY BIRTHDAY
Birthday-Cake
 
Fitting out

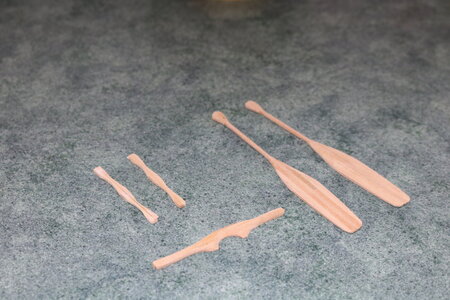
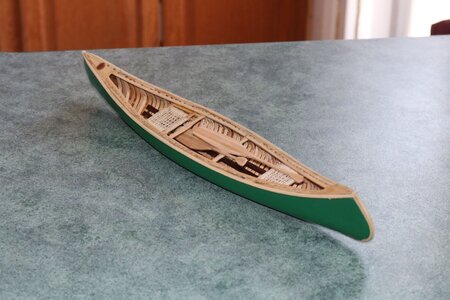
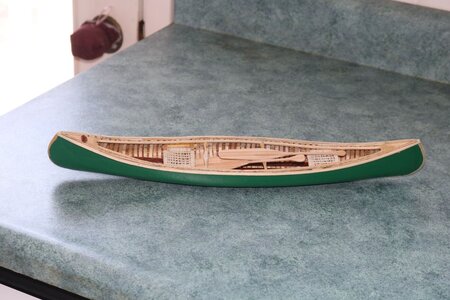
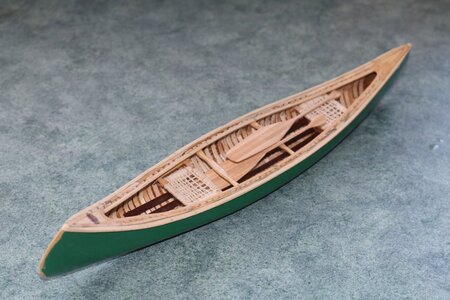
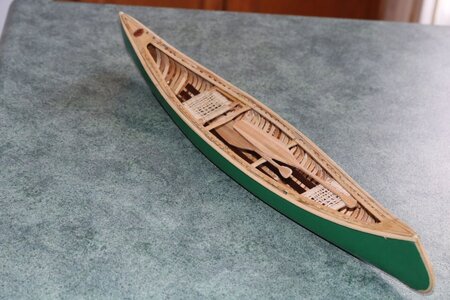
Templates of cardboard were made for the floor boards, seats, thwarts, and paddles. Floor boards were made of 1/32 x 3/16 mahogany and installed in the canoe. Floor boards did a nice job in hiding the white residue mentioned previously. Next the seat frames were build and webbing wove. Seat supports were next installed in the canoe followed by the seats them selves. Thwarts and paddle templates were traced on stock, cut out and finished. Inner gunwales were applied. Thwarts plus decks are now installed. Final paint touch up and a clear coat applied.


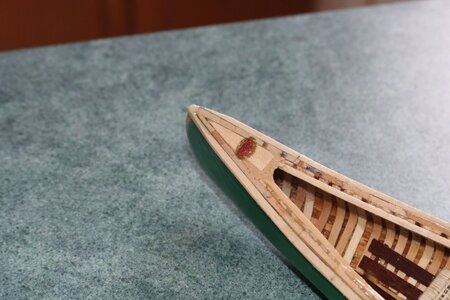
Downloaded Peterborough canoe company logo and created a water slide decal which is applied to the deck.
This concludes this build; what next to build

2021-01-21 04-40-23 - 0002.JPG

2021-01-27 23-49-36 - 0001.jpg

2021-01-27 23-49-50 - 0002.jpg

2021-01-27 23-50-09 - 0003.jpg

2021-01-27 23-50-24 - 0004.jpg

2021-01-27 23-50-38 - 0005.jpg
 
Last edited by a moderator:
Congratulations for finishing this Canoe - well done
 
Fitting out

Templates of cardboard were made for the floor boards, seats, thwarts, and paddles. Floor boards were made of 1/32 x 3/16 mahogany and installed in the canoe. Floor boards did a nice job in hiding the white residue mentioned previously. Next the seat frames were build and webbing wove. Seat supports were next installed in the canoe followed by the seats them selves. Thwarts and paddle templates were traced on stock, cut out and finished. Inner gunwales were applied. Thwarts plus decks are now installed. Final paint touch up and a clear coat applied.


Downloaded Peterborough canoe company logo and created a water slide decal which is applied to the deck.
This concludes this build; what next to build

View attachment 209234

View attachment 209235

View attachment 209236

View attachment 209238

View attachment 209240

View attachment 209242
This is a very good looking canoe with what is needed for an enjoyable voyage to somewhere. Well done. Rich (PT-2)
 
Back
Top