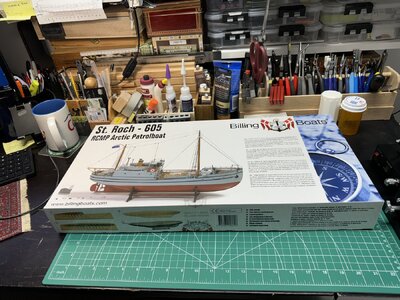
Billings St Roch RCMP Arctic Patrol Boat 1/72

Joined
Jan 26, 2021
Messages
133
Points
143

As mentioned elsewhere I could not resist a Model Expo sale and a future desire to scratch build the Antarctic R/V Hero of which this is in very general terms similar.

Before I even start my build log I have to extended my thanks and appreciation to all the past and current builders of this model, as the instructions are not particularly good.

Other posts do justice to the unboxing so I will just start with a fresh workspace after finishing an Occre AEC bus and putting on hold my longboat project.
IMG_0889.jpeg

IMG_0890.jpeg
 
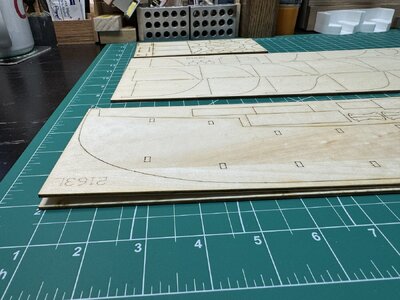
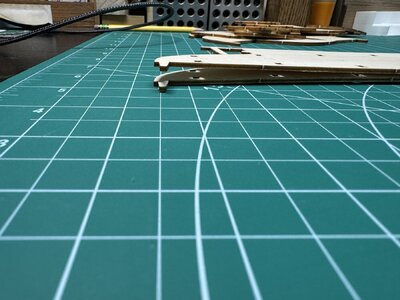
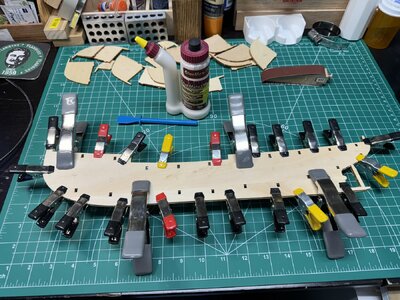
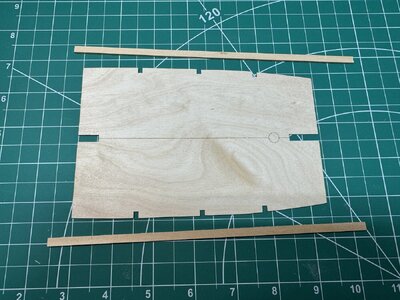
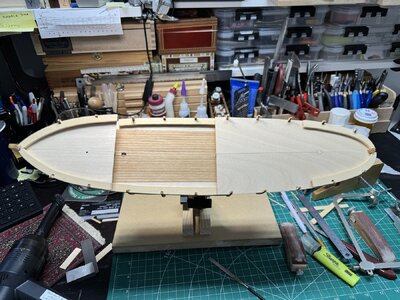
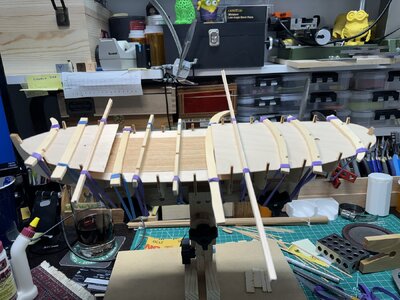
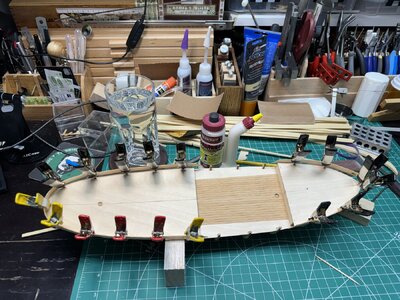
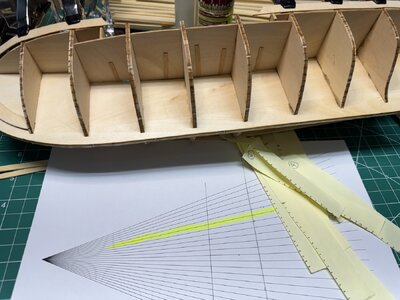
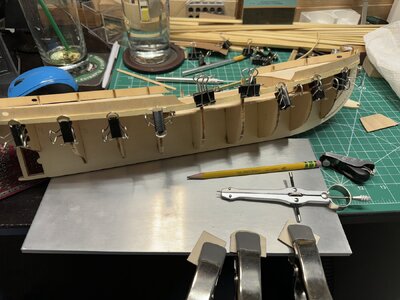
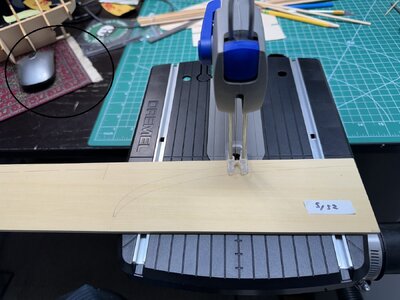
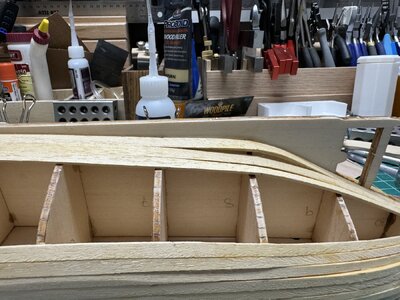
The first challenge was to find out that one of the sheets was warped and had to depart from the instructions that require to assemble the bulkheads separately (?), so following other builders faced with the same issue I glued together the parts and added the bulkheads at the same time.

IMG_0891.jpegIMG_0893.jpegIMG_0895.jpegIMG_0901.jpeg
 
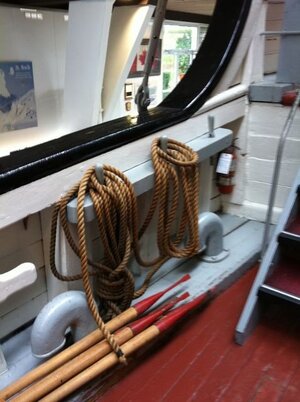
Although no included in the kit I decided to add a waterway to the deck in consonance to the actual ship.

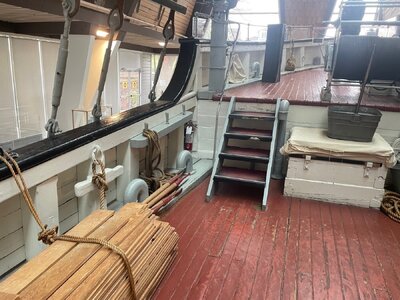
NOTE: Though out the build I will add pictures of the actual ship, I am afraid that I did not take note from where they came but I wish to add a very BIG thank you for posting them online !!!


IMG_3601.jpegIMG_0903.jpegIMG_0914.jpegIMG_0915.jpeg
 
And here I do my first mistake by planking the middle section deck which should be done later on.

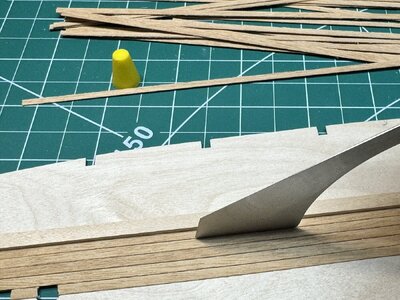
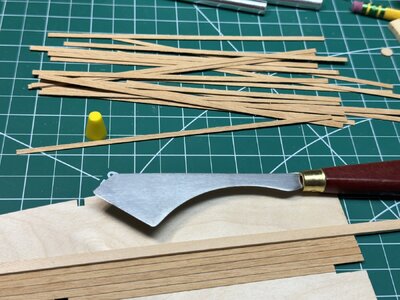
The deck has a beveled work that I tried to imitate by separating the planks with a thin modeling tool in the hope to obtain the same look.

IMG_3552.jpeg

IMG_0919.jpeg

IMG_0920.jpeg
 
Last edited:
Hi Steven, the St. Roch is a popular model from Billing and one of those builds where you can add all sorts of little extras. The instructions are not the best but that leaves the modeller with the fun of further research. Over the years the St. Roch went through quite a few structural changes but having the little ship in the Vancouver museum is also very helpful for build ideas.
 
Yes Roger I do anticipate that once completed the hull the real fun of this build will begin on this historic vessel.
 
Interesting start of your building log - Have fun with this kit
 
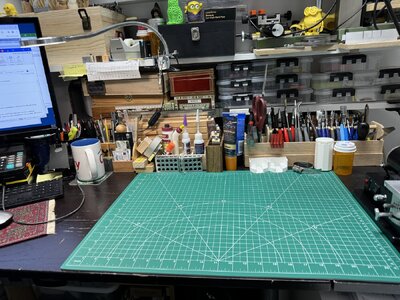
Oh OH...I'm experiencing tool envy.:rolleyes:

Guilty, I am a tool junkie.

As much I rationalize that there is a tool for each task, I have to acknowledge that master modelers can make do with few tools not to mention that centuries ago the Admiralty Board models that we so such admire were made with very few tools. Not to mention that didn’t have the benefits of electric lighting or the optical advances we take for granted.
 
Steven B,

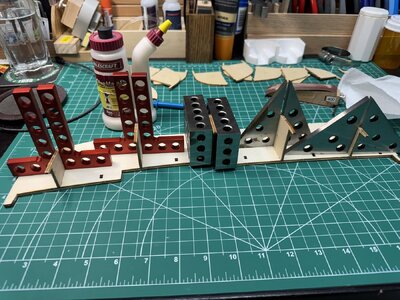
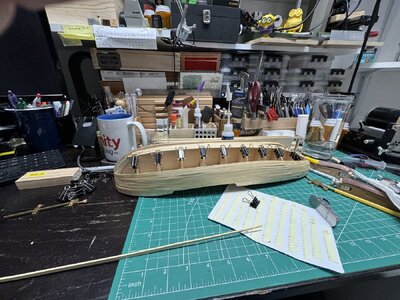
Love your "shipyard"! The assortment of 90 degree blocks is awesome and your work is superb!

I couldn't help but notice your coaster (circled)... looks like you made it to the Gulf?

I have several from time in the sandbox!

Cheers

persian coaster.jpeg
 
Steven B,

Love your "shipyard"! The assortment of 90 degree blocks is awesome and your work is superb!

I couldn't help but notice your coaster (circled)... looks like you made it to the Gulf?

I have several from time in the sandbox!

Cheers

View attachment 427124

Brad,

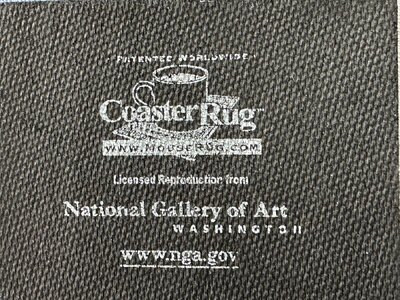
Actually the first set was purchased at the National Gallery of Art in DC. The next set was online and included a mouse pad.

Love them because they absorb the drink’s condensation instead of leaving a puddle as the traditional ones do.

IMG_1091.jpeg
 
Last edited:
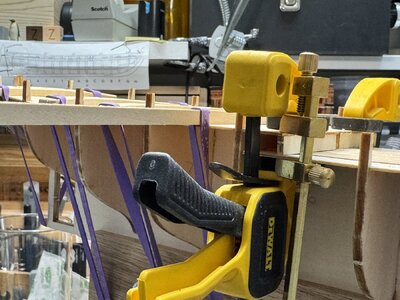
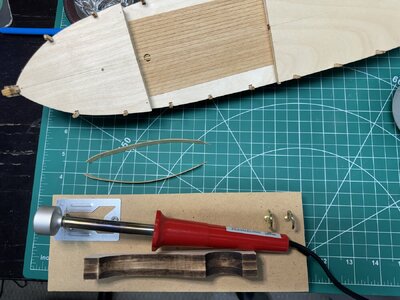
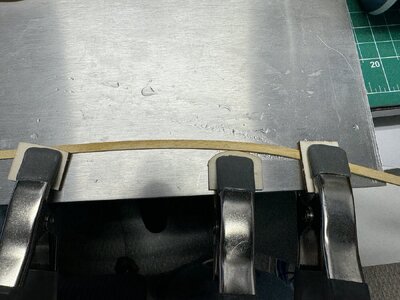
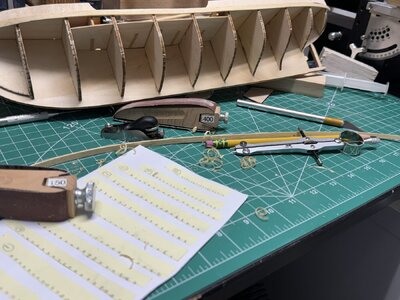
Slowly working my way thru the planking, considering that this is my first “full size” ship planking (previous one was Occre’s Calela) I feel very encouraged of the experience acquired in spilling and bending with using zero nails.

Of course all is not perfect as it can be noticed in the second photo, I had an issue with planking at bulkhead # 8. The wood now is quite stiff to correct due the CA used in trying to glue it. As the model calls for wood filling the planks to a smooth finish, I guess I will sand off all the offending part and replace it with a patch.
IMG_1194.jpegIMG_1201.jpeg
 
Back
Top