Black Pearl By ZHL build

looking at the kit, the masts look short. Is this the case? Does the standard version come with full height masts and yards?
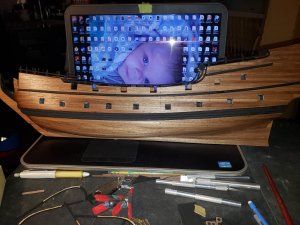
 
I wont be using them. I was working on the bow last night and decided with you guys help that they arent needed so I put the first coat of tru-oil on the hull, I'll sand that with 0000 steel wool and redcoat today I'll be putting on 4 total coats so probably won't get much else done today other then that but with the first coat she's looking very nice already
 
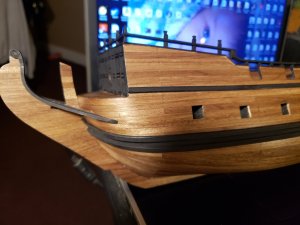
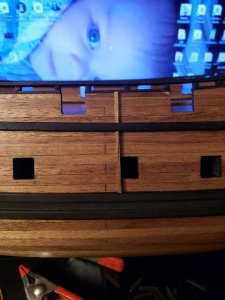
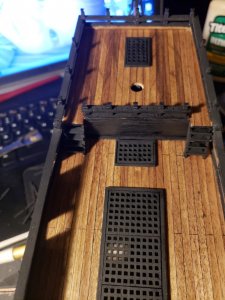
OK folks I have the Hull Tru-oiled and she's looking fantastic my only regret is that I didn't do the Deck planking in a lighter color but this is the color on the ship I'm using as a guide for the colors.
20181109_120935.jpg
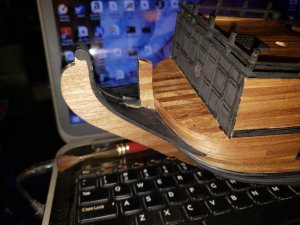
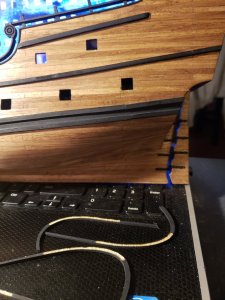
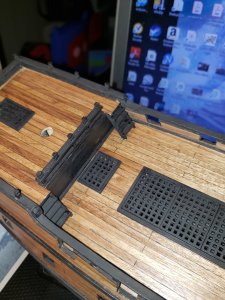
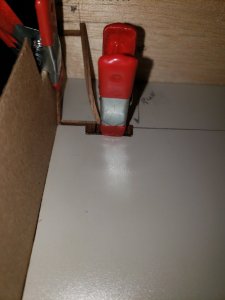
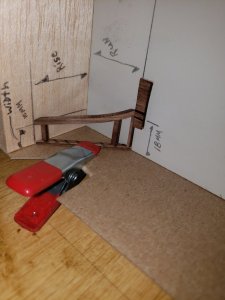
I started working on the Bow and I am at a standstill till I get the Bowsprit installed as it gets lashed down. If I install the railings on the Bow It will make that task difficult so I will wait on installing those rails you can see the rails in the picture above laying with some clamps.
20181109_120948.jpg20181110_150816.jpg
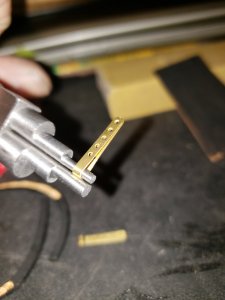
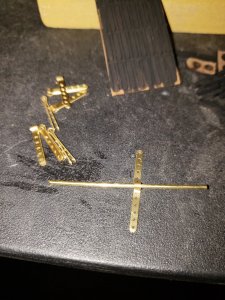
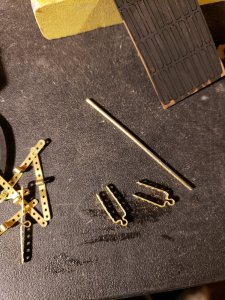
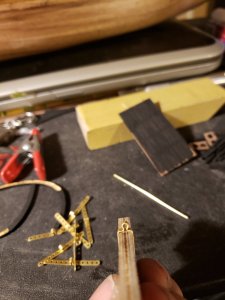
With that done and paused for now I decided to hang the rudder. The metal hinges for that had to be shaped completely there was no hinge pin material in my kit so luckily I had some Brass rod laying around for that task. below I show all the steps to make the hinges. I'm sure there are a dozen was to make them this is just the way I did it and it was easy.
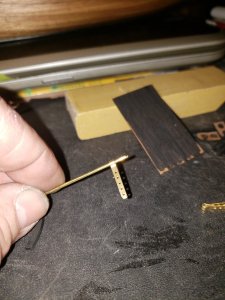
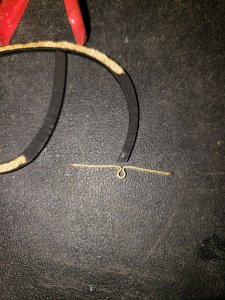
First this I needed to do was find the center of the brass hinge pieces I marked them all and used some jewelry wire bending pliers to bend the hinge in half.
20181109_105025.jpg
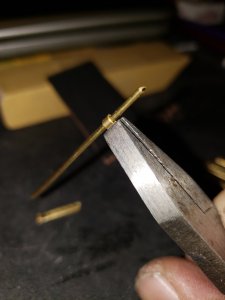
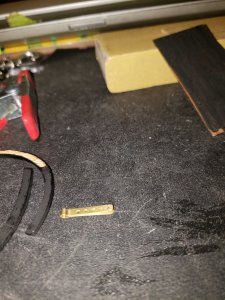
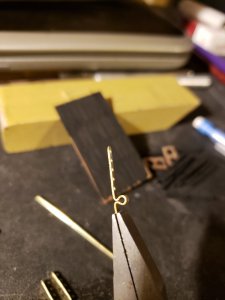
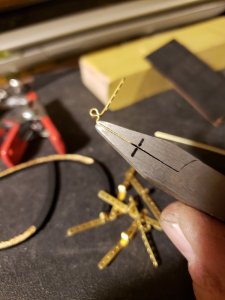
I bent all the parts then inserted the Brass rod I wanted to use as the pin. then with another pair of jewelers pliers I squashed the brass to shape around the rod perfectly.
20181109_105215.jpg
20181109_105137.jpg
as you can see below this made a perfect round area for the pin

20181109_105015.jpg
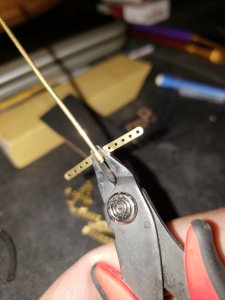
With that I needed to bend the brass into what I like to call a butterfly. I performed that task with a pair of nippers gripped right below the eye I created and I folded the wings of the butterfly out fully flat
20181109_110056.jpg
20181109_105939.jpg20181109_110129.jpg
Next I measured the thickness of the rudder and used the measurement to determine where the next bend will be. 20181109_111906.jpg20181109_111948.jpg20181109_112059.jpg
20181109_111717.jpg
I checked the fit and bent all of them the same.
When all were bent I assembled them cut them to the right size for the placement of each and painted them all flat black. I installed the rudder and painted over the nails to finish it off
20181110_113531.jpg
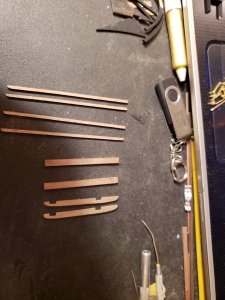
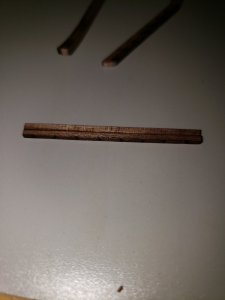
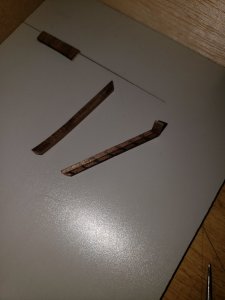
With a full day of nothing to do but build my ship I started on the ladders and guards on the side of the ship. The parts given for the guards are on sheet A and listed as A39 they are WAAAAY to small in thickness for this purpose so I had to make them from other wood stock left over from the rails.
below is a picture of the parts given in the kit and the parts I used. I shaped 2 to show what they should look like.
20181109_183133.jpg
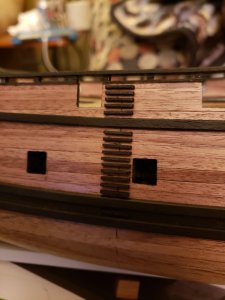
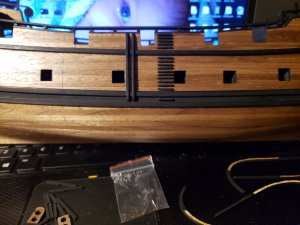
all wasn't lost with the parts A39 because I used them as a guild to install the exterior hull ladder. I cut them to wedge fit in place between the rub rails and rail caps. this gave me a guide to install the tiny ladder parts in perfect alignment.
20181109_194836.jpg20181109_211434.jpg
Then I installed the guards
20181110_113603.jpg
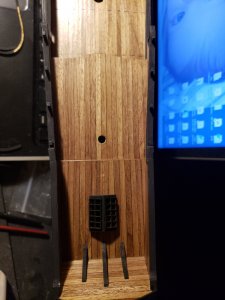
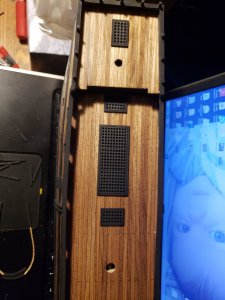
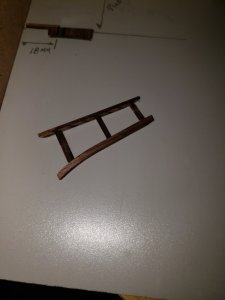
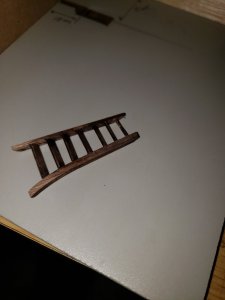
With all that done I started on the deck Grates transom supports skylight pin rack and Front deck ladders.
20181110_150732.jpg
20181110_150737.jpg20181110_174545.jpg20181110_174616.jpg
I'm now working on the Staircase right now which is a difficult step so I will show in steps how I am building those.
 
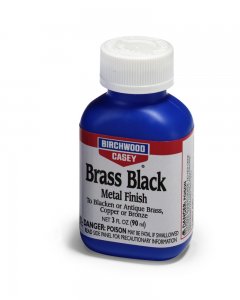
@epicdoom, very well executed! The ship is really looking nice. On a side note, out of curiosity, have you ever consider to 'blackin' pintles and gudgeons? Since those usually made out of brass, they are great candidates to be 'blackened'. Sounds like you already have painted yours, but in the future, there are a number of liquids for such purpose. One of my favourites is Beechwood Casey's 'Brass Black'. It is super easy to work with, minum effort and great results. Ok

BrassBlack.jpeg

Enjoy the build,
 
@epicdoom, very well executed! The ship is really looking nice. On a side note, out of curiosity, have you ever consider to 'blackin' pintles and gudgeons? Since those usually made out of brass, they are great candidates to be 'blackened'. Sounds like you already have painted yours, but in the future, there are a number of liquids for such purpose. One of my favourites is Beechwood Casey's 'Brass Black'. It is super easy to work with, minum effort and great results. Ok

View attachment 62589

Enjoy the build,
I do have and use this product. I build Firearms also, but in this case with having to install the brass nails to hold the hinges in place I decided paint would be better suited as applying brass black to the nail heads and unavoidable scratches on the hinge parts wouldn't be an easy task once the parts were installed on the ship. paint was just easier and I have a brush with literally 5 bristles to do fine touch up stuff so that made it an easy task for me.
 
Looks great! Makes me want to go back to shipyard but have a big infection on my leg for 3 days now. Swollen and painfull hope they will cut it open tomorrow. Pushed a needle in myself but made it bit worse if they dont Do it tomorrow in will cut it myself but with hobby knife this time.
 
Looks great! Makes me want to go back to shipyard but have a big infection on my leg for 3 days now. Swollen and painfull hope they will cut it open tomorrow. Pushed a needle in myself but made it bit worse if they dont Do it tomorrow in will cut it myself but with hobby knife this time.
Hope you are not serious and only kidding with the self-surgery. DON"T DO IT at any cost! You could make it much worse, mateThumbs-Down! Wish you a fast recovery and return to the shipyard. Thumbs-Up
 
Ik am serious . Did it few times before. Stuck at the house now for 7 weeks and the docter wouldnt come today and yesterday so only 1 solution left if it isnt better tomorrow.
 
Looks great! Makes me want to go back to shipyard but have a big infection on my leg for 3 days now. Swollen and painfull hope they will cut it open tomorrow. Pushed a needle in myself but made it bit worse if they dont Do it tomorrow in will cut it myself but with hobby knife this time.
TY Pat Go to your Doctor Brother don't do it yourself. I made that mistake and stitched myself up while I was Hunting 6 years ago. I was alone on my property Bowhunting for a week I used to do that every year> This time I wasn't paying attention to my broadhead on the end of my arrow when I pulled it out of a deer and sliced my hand open this was on day 2 of a 7 day trip I wasn't about to go to the hospital and end my trip so I numbed my hand with ice poured alcohol over the needle and thread and also my wound and sewed it shut with a needle and thread. day 5 I woke up to my hand swollen and infected and unable to draw my bow I headed for home to get medical attention when I went back a week later for a weekend hunt I found on my trail camera a monster buck dated the same day I left but in the evening he was only 30 yards from my treestand and would have not only been an easy shot for me but also the biggest Buck I have ever taken in my life. had I just gone to the hospital the first day I would have been back and in my stand on day 5 for the evening hunt and took that Big buck. I cleaned everything up pretty good before I sewed my hand up and yet it still got infected because it wasn't hospital clean.
 
Cant leave my house m8. Wife has fear to go outside and i cant Go because of medicine in get and they give me panic attacks and heart rithm problems.so always dissy
 
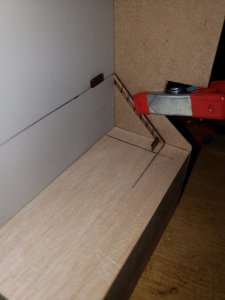
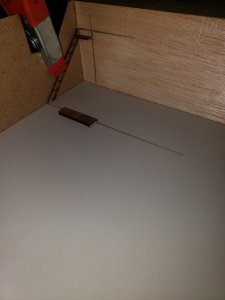
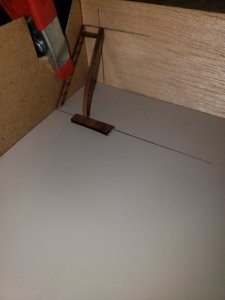
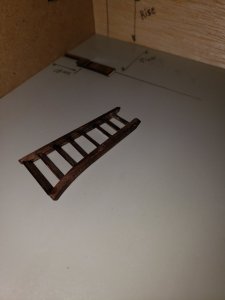
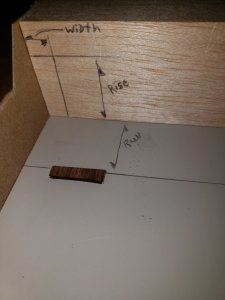
For the Building of the staircase I decided to build a jig as building this part on the ship poses many problems. I scrounged around the shop and found some items to build a jig from I used a 1/4" sheet of Plastic for the base and a Block of wood I had left over from the bow Blocks I installed in the framing of this ship. I also used a piece of thick 1.5mm card stock I made a squared corner and took some measurements from the ship. This is something I was familiar with as I was a carpenter as a young man so the same applied to this build. First I needed the width of the staircase then the Rise and the run I laid out all the measurements on my Jig I pulled the parts from the laser cut sheets to find one side of the stringers was not wide enough to catch the full width of the treads/steps so remembering I still had left over from the guards from earlier I used those pieces to build it up I did the same for both sides the railing side came with 2 pieces for each so that worked out great. once all the parts were thick enough I cut them to length and mitered the edges that rest on the floor and the top where it ties into the deck I laid out where the treads would go and the angle they would sit onto one stringer and I'll line the other side up level as I install each thread by eye.
20181111_134533.jpg20181111_134034.jpg20181111_133950.jpg
I clamped the straight stringer to the wall on the jig lined up with my marks and glued on the first tread I laid the jig down so the trade would hold in place
20181111_111542.jpg
once dry I turned it right side up for the first couple treads I used titebond so nothing stuck to my jig 20181111_112353.jpg
I installed the other stringer also with a tiny dab of titebond
20181111_112438.jpg
once dry the assembly was flexible enough that I could lay out the bottom width of the stairs I glued in place a scrap piece of wood to make sure it stayed in place
20181111_135627.jpg
when I was satisfied I took a measurement of one of the lower treads and fitted that between the stringers glued it in place with titebond and turned the jig on its side till dry.20181111_142051.jpg
With everything dry and holding securely in place I removed the stairs from the jig and I can now use CA to complete the process
I then measured and cut treads one at a time and glued them in as I went along till it was complete. 20181111_163910.jpg20181111_170552.jpg20181111_171900.jpg
Test fit to the ship showed I am on good track now I have to disassemble the jig and build it for the other side as there are 2 staircases one on each side of the ship. once the other side is built I will install it and then install the balusters and handrail. I'll take pictures and post that process also.
 
Docter Just left. Big cut in my leg now. Lot of dirt came out. Has to keep the wound open for couple of days. Again grounded.....
 
Back
Top