The best way I have found is through facebook messenger go to facebook type in Z.H.L Model ship kits in the search. his website is www.woodmodelboatbuilder.com I had a hard time reaching him though the web site though so I used facebook messenger he responded the same day
-

Win a Free Custom Engraved Brass Coin!!!
As a way to introduce our brass coins to the community, we will raffle off a free coin during the month of August. Follow link ABOVE for instructions for entering.
-

PRE-ORDER SHIPS IN SCALE TODAY!
The beloved Ships in Scale Magazine is back and charting a new course for 2026!
Discover new skills, new techniques, and new inspirations in every issue.
NOTE THAT OUR FIRST ISSUE WILL BE JAN/FEB 2026
You are using an out of date browser. It may not display this or other websites correctly.
You should upgrade or use an alternative browser.
You should upgrade or use an alternative browser.
Thanks.
sent you a PM brother
Got all the channels chain plates and deadeyes set up and Installed this step was uneventful so nothing special to post about it.
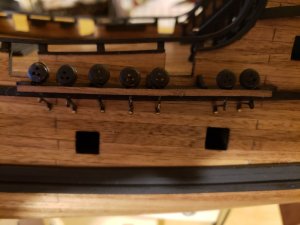
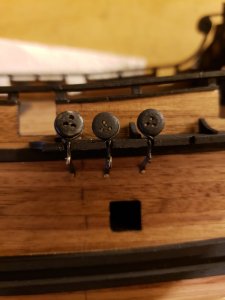
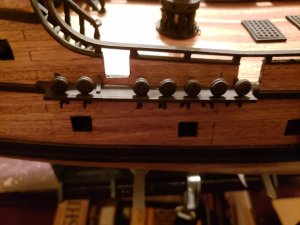
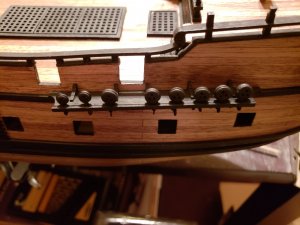
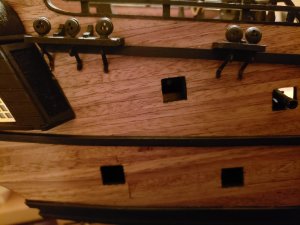
wasn't feeling the gold chain on the capstan so it got painted
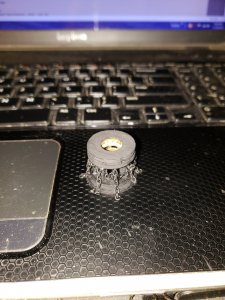
I started building the Masts and found an issue with the main mast I didn't see during the framing. I have no excuse other then I just wasn't thinking as far ahead as the masts when I assembled the frame. Ok so here was the issue when I poked the main mast into its hole it only set down in there about 1/2" 13mm had I noticed this in the beginning I could have cut that deeper and gave it support. so with no other option and me not wanting to hog it out and chance ruining my deck in the process. I found another way to give it support. So the Main mast runs through the capstan into the hole in the deck so I drilled 4 holes in the bottom of the capstan and Pinned it to the deck for this I used 1mm diameter Music wire I glued into the capstan with epoxy and then pot the capstan onto the deck also with epoxy. now when I set the Mast its solid as a rock.
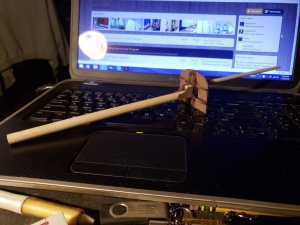
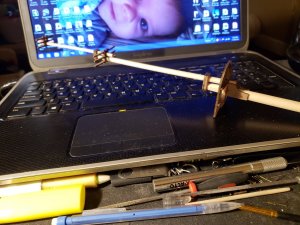
So onto constructing the mast after cutting to length each mast section I tapered them to the proper size. and started assembling them per the Plans sheet and again I had a momentary lapse in conscious thought and I glued the parts together before painting the parts Black it was NOT fun painting those parts trying to keep it off my masts poles which will remain natural wood with only a poly coat. So here is what I have done so far on the masts.
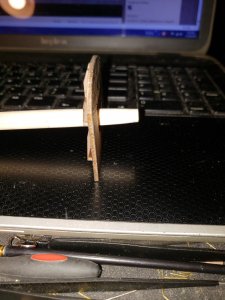
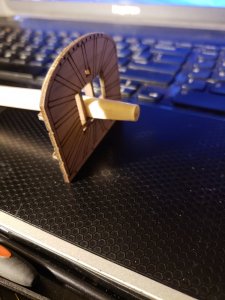
The picture above shows you will need to square off a section so the parts fit properly this was easily don't with a needle file you will want the very tip end to remain round so take your time. You will need to do this to every mast pole section at every platform.
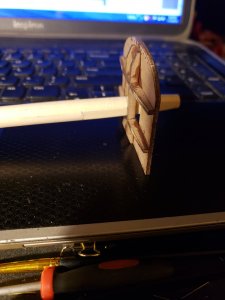
Above you can see I also filed a flat so the supports would fit nicely to the mast pole and like up properly with the platform nice and flush.
I progressed building one section after the other till it was complete This is only the main mast but all assemble exactly the same according to the plans
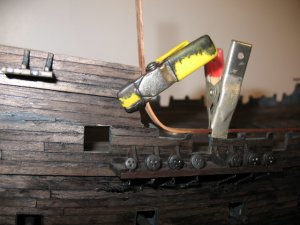
Next step was to wrap the masts you will use the .5mm string for this The wider wrap on the mast was because there is a 7mm dead eye installed the plans do not tell you what size dead eye to use so I looked at the pictures and compared the size to other eyes used in the shrouds as the shrouds use both 7 and 5mm deadeyes. I served this deadeye right into the wrapping as one piece. I used a clamp to hold the string in place while I performed that operation.
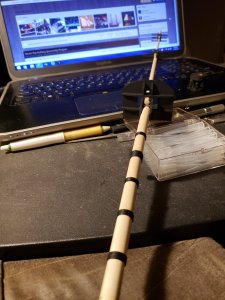
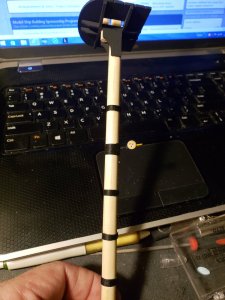
and here she is set into the capstan that was mounted to the deck I did not glue the mast in yet as I will have other work to do on it. Ill post pictures of that as I go along I like to do as much mast and yard work as possible off the ship as I find doing so a bit easier and less tiring holding your arms in a high position working off the ship allows a comfortable work position.
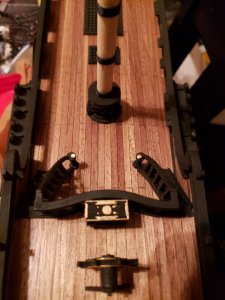


wasn't feeling the gold chain on the capstan so it got painted

I started building the Masts and found an issue with the main mast I didn't see during the framing. I have no excuse other then I just wasn't thinking as far ahead as the masts when I assembled the frame. Ok so here was the issue when I poked the main mast into its hole it only set down in there about 1/2" 13mm had I noticed this in the beginning I could have cut that deeper and gave it support. so with no other option and me not wanting to hog it out and chance ruining my deck in the process. I found another way to give it support. So the Main mast runs through the capstan into the hole in the deck so I drilled 4 holes in the bottom of the capstan and Pinned it to the deck for this I used 1mm diameter Music wire I glued into the capstan with epoxy and then pot the capstan onto the deck also with epoxy. now when I set the Mast its solid as a rock.
So onto constructing the mast after cutting to length each mast section I tapered them to the proper size. and started assembling them per the Plans sheet and again I had a momentary lapse in conscious thought and I glued the parts together before painting the parts Black it was NOT fun painting those parts trying to keep it off my masts poles which will remain natural wood with only a poly coat. So here is what I have done so far on the masts.


The picture above shows you will need to square off a section so the parts fit properly this was easily don't with a needle file you will want the very tip end to remain round so take your time. You will need to do this to every mast pole section at every platform.

Above you can see I also filed a flat so the supports would fit nicely to the mast pole and like up properly with the platform nice and flush.
I progressed building one section after the other till it was complete This is only the main mast but all assemble exactly the same according to the plans


Next step was to wrap the masts you will use the .5mm string for this The wider wrap on the mast was because there is a 7mm dead eye installed the plans do not tell you what size dead eye to use so I looked at the pictures and compared the size to other eyes used in the shrouds as the shrouds use both 7 and 5mm deadeyes. I served this deadeye right into the wrapping as one piece. I used a clamp to hold the string in place while I performed that operation.


and here she is set into the capstan that was mounted to the deck I did not glue the mast in yet as I will have other work to do on it. Ill post pictures of that as I go along I like to do as much mast and yard work as possible off the ship as I find doing so a bit easier and less tiring holding your arms in a high position working off the ship allows a comfortable work position.

TY Brother. Time is something I don't have a lot of between work, Grandchild, House upkeep and its my Hunting season. But I have Built a lot of ship models I work steady no breaks. I work as smoothly as possible, Smooth is fast. I get a lot done in a short amount of time mostly because I already know what I'm going to do and what will be the hardest I see it in my mind and I follow that to the letter. I do get tripped every now and then when I end up going to far on something or I break it and have to make one from scrap.@epicdoom
Been quietly watching with interest Joe. Very nice progress! My only question is how do you find the time?
I've never worried about the time taken to build. So I break it down to weeks.i probably get more time to build then most folks because when I'm home if the grandson isn't over and my daily house duties are done I have the rest of the evening to work on my hobbies. Sometimes 4pm till 10pm
Yeah I know its Thanksgiving however my kids are grown and moved out so while The wife made a fantastic meal and from I turnkey I took in the Spring no less, I spent some time working on the Main mast. first thing I needed to do is Install the dead eyes for the upper shrouds that was a little difficult on the 5mm eyes, but we got them installed.
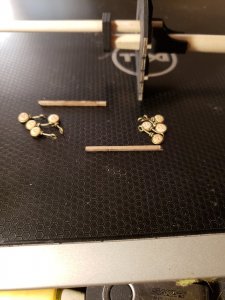
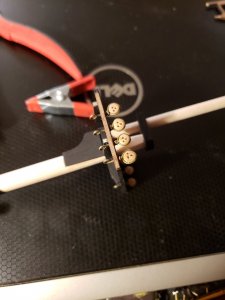
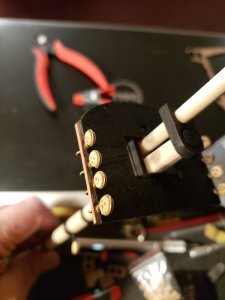
With the eyes installed I ran the shroud lines and served them together
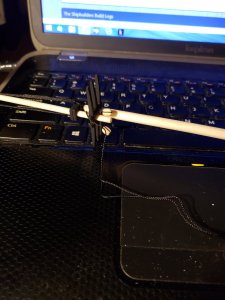
With all the lines ran I wanted to ensure the deadeyes would come out fairly even so I made a jig for that
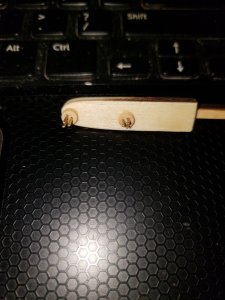
I tested it out to make sure it would do what I needed it to do here are some pictures of its use
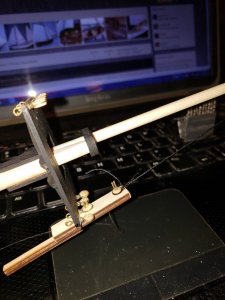
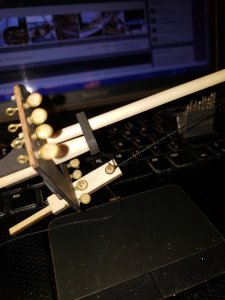
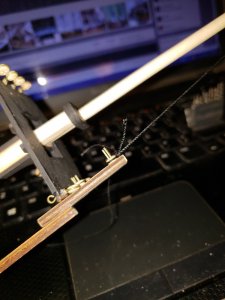
While everything was going well I served in all the deadeyes
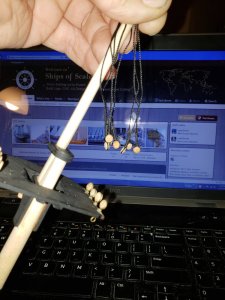
I painted all the deadeyes and while I was at it the blocks for the yards and I started securing the shrouds
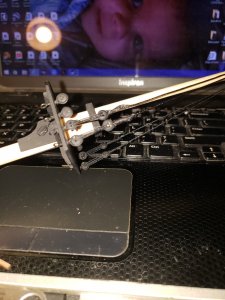
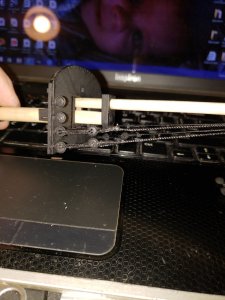
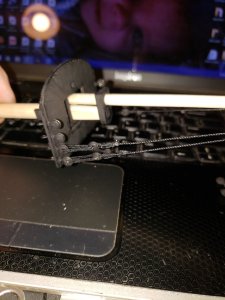
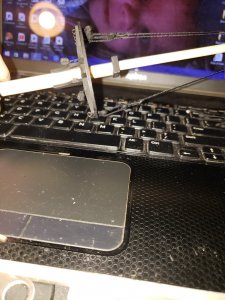
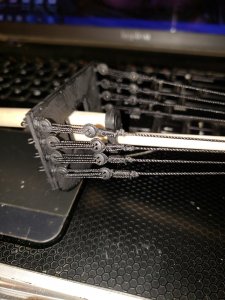
with the pictures Posted I can see a few spots I need to touch up and this part of the mast will be done. I still have a bit more to do to it in other areas before it gets glued into the deck. I hope to get the rest done this evening and I will probably work on the Blandford Build a bit over the next few days.


With the eyes installed I ran the shroud lines and served them together

With all the lines ran I wanted to ensure the deadeyes would come out fairly even so I made a jig for that

I tested it out to make sure it would do what I needed it to do here are some pictures of its use


While everything was going well I served in all the deadeyes

I painted all the deadeyes and while I was at it the blocks for the yards and I started securing the shrouds


with the pictures Posted I can see a few spots I need to touch up and this part of the mast will be done. I still have a bit more to do to it in other areas before it gets glued into the deck. I hope to get the rest done this evening and I will probably work on the Blandford Build a bit over the next few days.
Very nice work.
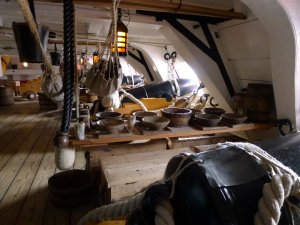
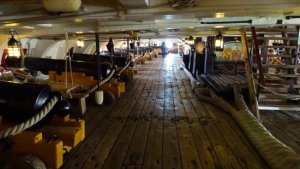
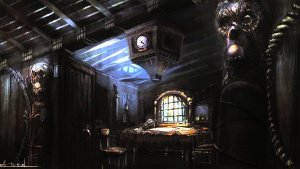
Thanx Dave She's coming along but I still have a ways to go I am still searching to put on the walls so that looking through the windows in the captains shows something other then wood. I grabbed a few pictures off the net and I have pictures for the side windows but is seems no one stands at the windows in the read and takes a picture towards the Bow of the ship lol I find a lot of them looking at the rear windows from inside. I have to find something to put there then I can run the lighting and secure that captains quarters to the ship
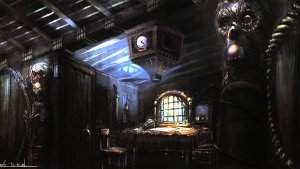
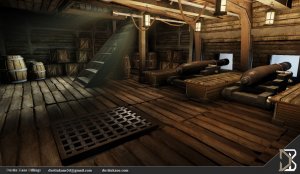
something like this will work? I can look for more.
I found these unfortunately none are taken from the rear windows towards the Bow in the capt. quarters I may have to just use one of the ones I found though because Ive scoured the net. it will need to be shrunk down tiny so you probably wouldn't be able to tell what was in the Picture anyhow so maybe Sunday when I get home from hunting I'll shrink a bunch of them down and print them out. I do appreciate you posting these though
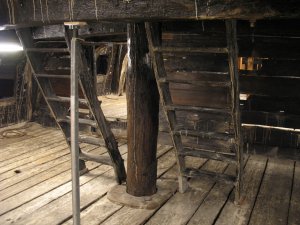
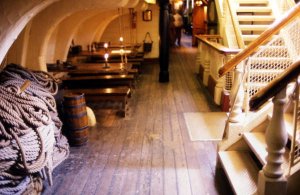
I typed in Below deck pirate ship and lots to choose from. Have fun!
I'll be heading out soon to my hunting land till Sunday that is unless I get some deer tomorrow morning then I'll head home. spent much of today getting my gear together. Had some time to work on the mast a bit more so I completed the upper ratlines. Unfortunately I couldn't wax the line because its nylon if you have ever waxed that stuff you know it flakes off and looks horrible the other bad thing about nylon is it doesn't hold a knot very well so I had to touch a tiny drop of Glue to each knot. I use clove hitch for rat lines as they are easy to tie and easier to control. 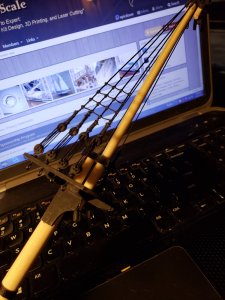
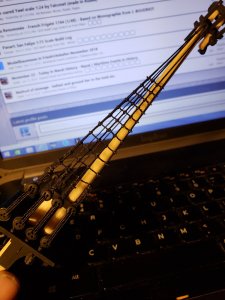
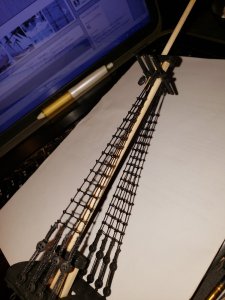
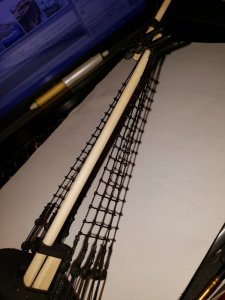
tiny space between shroud lines made this a bit fun NOT lol
Have a great evening and a wonderful weekend I'm off to the Woods I call my Church


tiny space between shroud lines made this a bit fun NOT lol
Have a great evening and a wonderful weekend I'm off to the Woods I call my Church
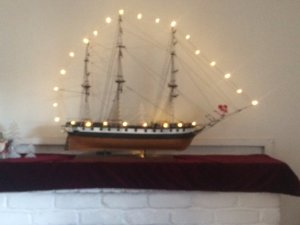
very nice and a great vessel to hang some lights on. Had a fantastic morning in the woods had deer everywhere 2 Bucks came within 3 feet of me had no idea I was there and one came home with me. The were both so close to me I could have head locked them and used a knife. I let the biggest one move away to 20 yards and down he went. Figured I hop on here a bit I'm dog tired after getting up at 3am having to drag a deer process it drive 4 hours home. I'm off to bed.


