Joe fantastic job. If it didn't piss you off it wouldn't be fun. Glad your done, now on to fun stuff.
-

Win a Free Custom Engraved Brass Coin!!!
As a way to introduce our brass coins to the community, we will raffle off a free coin during the month of August. Follow link ABOVE for instructions for entering.
-

PRE-ORDER SHIPS IN SCALE TODAY!
The beloved Ships in Scale Magazine is back and charting a new course for 2026!
Discover new skills, new techniques, and new inspirations in every issue.
NOTE THAT OUR FIRST ISSUE WILL BE JAN/FEB 2026
You are using an out of date browser. It may not display this or other websites correctly.
You should upgrade or use an alternative browser.
You should upgrade or use an alternative browser.
TRUE STORY LOLG'day Greg, Confucious say, Man who scratches bum should not bite finger nails, ,
TY Brother I hope you feel better soon. get some rest come back strong, that's the best way to handle it.G'day Joe
Sorry for not looking in for a while. Been quite crook again and was too exhausted to even scratch my a#se, as the Ozzie expression goes.
You have done an extraordinary job on the planking. Well done mate.
Havagooday and happymodeling
Greg
Thank you Mike That's a valid Point Brother
Ok today I got to work on some fun stuff this part of the build was by no means easy though and the instructions aren't very clear on all the steps needed to build this there are parts that are needed that aren't listed on the instructions so process of elimination prevails once again. all of the parts for this build are found on the laser sheet labeled B as well you will need some components from the Brass sheet and Later which I haven't done yet some parts from laser sheet C
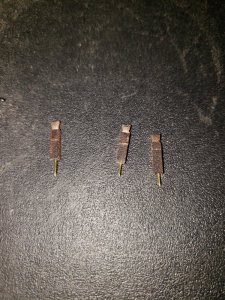
First thing was to get the parts off the sheets take your time they are thin and could break easily I cut out all the parts needed except Parts B7 thise are the parts not listed but absolutely needed below are the pictures of all the parts you will need
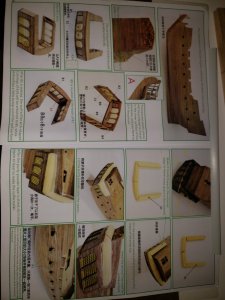
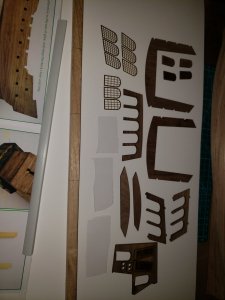
the parts below are parts B7 it will be just the 2 rectangular items with the laser etching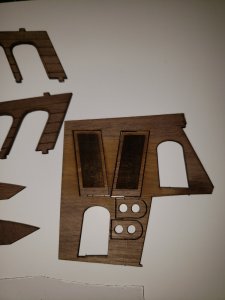
First thing I needed to do is figure out where then Captains Quarters was going to be located I looked at pictures for this the top most plate fit perfectly where I wanted it to go so I taped it in place as I test fit everything
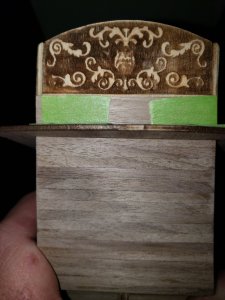
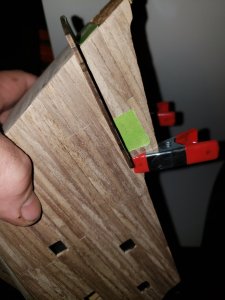
Next I test fit the Bottom plate and found it will need to be fitted take your time and test fit it often once the material is gone it cant be put back
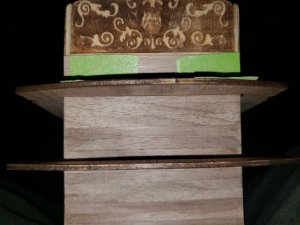
While doing all this I noticed the rear window plate needed to be bend into a curve its to much to dry bend so I soaked only the top section in water and curved it around a curling iron till it fit perfectly onto the bottom plate. Do not glue it in place yet you will need to bevel the edges and make sure it mates up with the side window plates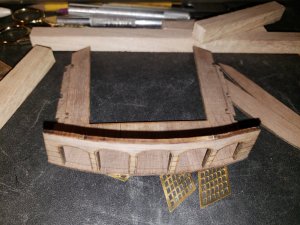
to ensure everything was going to line up properly I installed the side windows onto the top frame part held with clamps I then put the rear window plate in place so see how much bevel on the edges were needed. after beveling the top and bottom edge of the rear window plate I fit it in place using the support piece as a guide to keep it from falling through.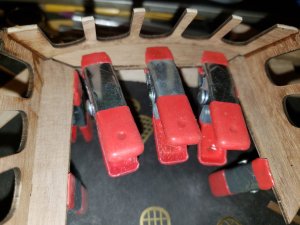
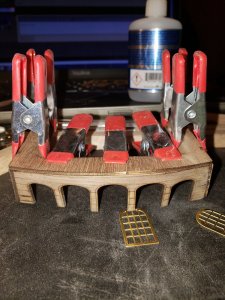
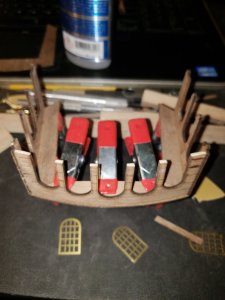
once I had it where I wanted it I glued it with CA
Next I needed to get the window grills in place as well as the plastic window sheet as its easier without the bottom plate in place
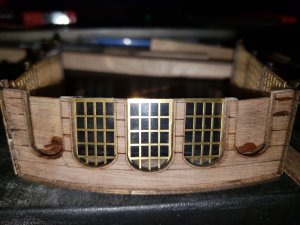
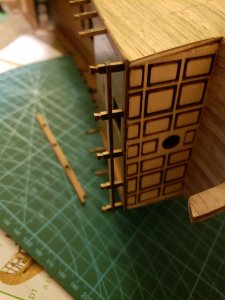
ABOVE notice the door frames on both sides of the windows have what appears to be a door glues in set high and inside the frame this is supposed to be this way because a decorative door will be glued onto it its set high so the support inside will clear it.
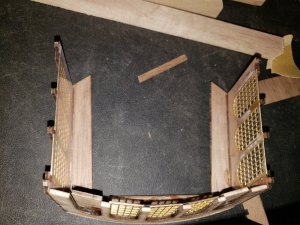
All windows and glass glued in next I painted the decorative doors Black and used a tiny Brush ti paint the adornments on the door with gold paint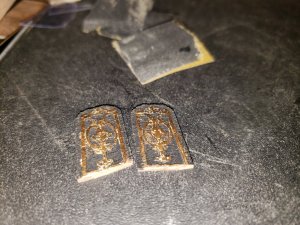
While I was at it I also painted the transom design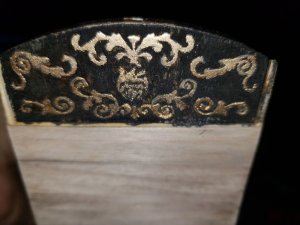
Next I glued in the bottom frame plate and the support as well as the end pieces B7 those had to be beveled to fit properly
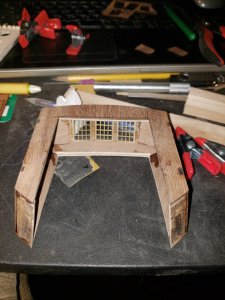
next I test fitted the decorative door pieces
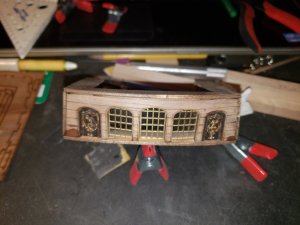
I paned on painting the Captains Quarters Black so I did that and glued in the doors or decorative panels whatever they are still not sure LOL
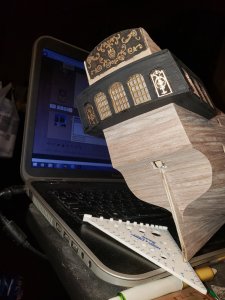
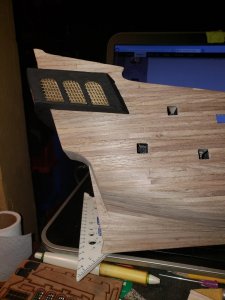
This is only dry fitted on for right now. Next step is to shape the roof and add the parts from Laser sheet C I will be adding some trip around the top and bottom to hide the joints which look terrible IMO I would have rather had the parts flush fit then have the finger joints. they did however help with getting everything lined up properly so I cant complain to much. Its easy to just cover it up with some small trim. The Roof will be a bit difficult it will be mitered on the ends which are compound miters so I have a bit of measuring to do before I start in on that. Tomorrow I'll tackle that task.
Ill get the lights set up once I have the roof done.
First thing was to get the parts off the sheets take your time they are thin and could break easily I cut out all the parts needed except Parts B7 thise are the parts not listed but absolutely needed below are the pictures of all the parts you will need


the parts below are parts B7 it will be just the 2 rectangular items with the laser etching

First thing I needed to do is figure out where then Captains Quarters was going to be located I looked at pictures for this the top most plate fit perfectly where I wanted it to go so I taped it in place as I test fit everything


Next I test fit the Bottom plate and found it will need to be fitted take your time and test fit it often once the material is gone it cant be put back

While doing all this I noticed the rear window plate needed to be bend into a curve its to much to dry bend so I soaked only the top section in water and curved it around a curling iron till it fit perfectly onto the bottom plate. Do not glue it in place yet you will need to bevel the edges and make sure it mates up with the side window plates

to ensure everything was going to line up properly I installed the side windows onto the top frame part held with clamps I then put the rear window plate in place so see how much bevel on the edges were needed. after beveling the top and bottom edge of the rear window plate I fit it in place using the support piece as a guide to keep it from falling through.


once I had it where I wanted it I glued it with CA
Next I needed to get the window grills in place as well as the plastic window sheet as its easier without the bottom plate in place

ABOVE notice the door frames on both sides of the windows have what appears to be a door glues in set high and inside the frame this is supposed to be this way because a decorative door will be glued onto it its set high so the support inside will clear it.

All windows and glass glued in next I painted the decorative doors Black and used a tiny Brush ti paint the adornments on the door with gold paint

While I was at it I also painted the transom design

Next I glued in the bottom frame plate and the support as well as the end pieces B7 those had to be beveled to fit properly

next I test fitted the decorative door pieces

I paned on painting the Captains Quarters Black so I did that and glued in the doors or decorative panels whatever they are still not sure LOL


This is only dry fitted on for right now. Next step is to shape the roof and add the parts from Laser sheet C I will be adding some trip around the top and bottom to hide the joints which look terrible IMO I would have rather had the parts flush fit then have the finger joints. they did however help with getting everything lined up properly so I cant complain to much. Its easy to just cover it up with some small trim. The Roof will be a bit difficult it will be mitered on the ends which are compound miters so I have a bit of measuring to do before I start in on that. Tomorrow I'll tackle that task.
Ill get the lights set up once I have the roof done.
Now I know what's my problem.G'day Greg, Confucious say, Man who scratches bum should not bite finger nails, ,
Thank you John for your insight.

Havagoodone mate
Greg
G'day Joe, fantastic pics and great explanation of the build process, looking good,
best regards John.
best regards John.
great paint job,
Roof wasn't as difficult as I was expecting as I eliminated the compound Miter Joint and Butted to parts together its being painted so no real need to drag myself through that mess if I don't have to. I pick my battles wisely. the wood provided isn't wide enough to fit which means a large gap would have to be filled in with putty and that's the way the instructions said to do it. I am not a fan of doing things that way so after I have to main part of the roof shaped and fitted I cut 2 long wedges to fill that gap. the gap was 3.5 mm tapering to nothing for a 7 CM length X 13mm wide after installing it I spread glue on the seam and sanded it all smooth the glue and sawdust create a paste where the glue was filling any tiny gaps perfectly, completely concealing the joint. once its painted it disappears.
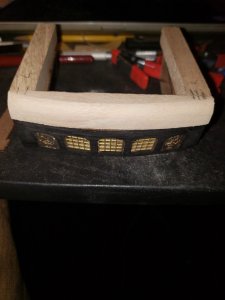
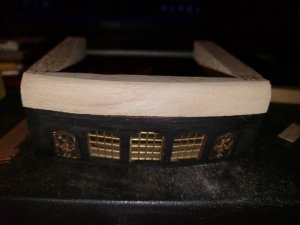
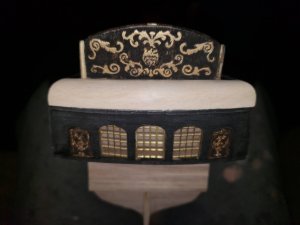
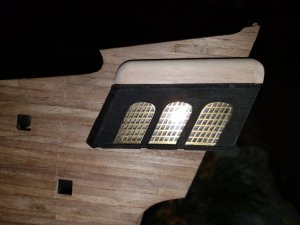
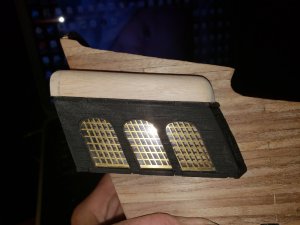
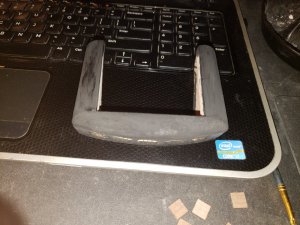
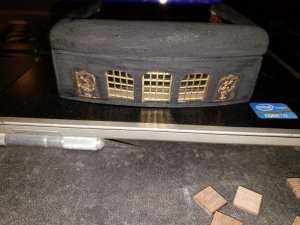
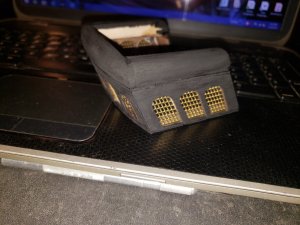
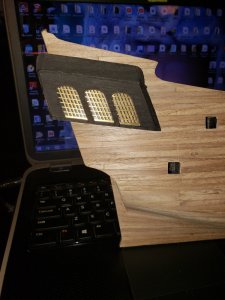
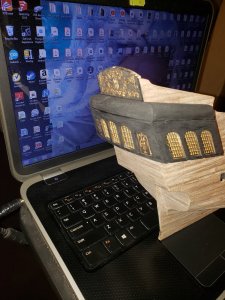
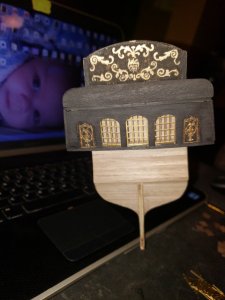
Still just sitting in place not Glued on yet I will run the lights to it I do have a Question on the last Picture you can see the wood in its natural color through the windows. Do you folks think it would be better to paint that black or leave it as it is??


Still just sitting in place not Glued on yet I will run the lights to it I do have a Question on the last Picture you can see the wood in its natural color through the windows. Do you folks think it would be better to paint that black or leave it as it is??
Fog glass and Black OR get a scene from POC or a view of what it cabin would look like inside from window view, print and past image inside windows!
the cabin will be lit in a warm white light so scenery would be great. I am using Ultra Micro LED's so the amount of light in that small space should be real good and not wash out the scene
while I search for a picture to paste inside the captains Quarters I decided to move forward on the build I skipped over the cannon port doors for now as they will only be in the way while I do other things. so I jumped to the next step putting in the rails everything went well, had to soak and bend some tight bends but they went without any issue
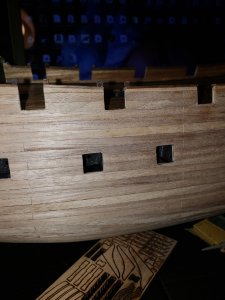
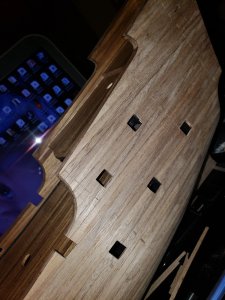
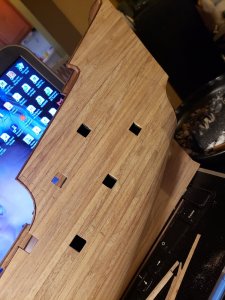
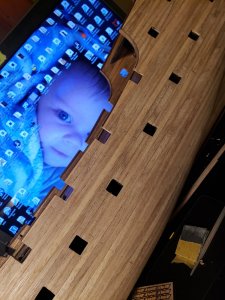
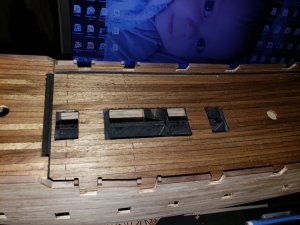
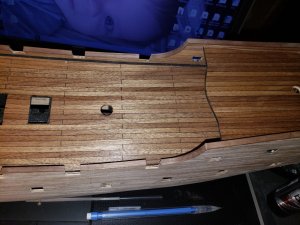
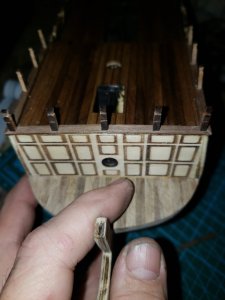
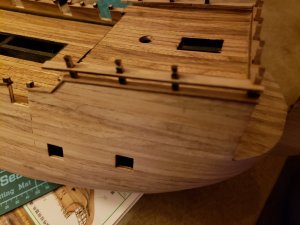
once the rail caps were installed I started on the top rails and ornamental scrolls. I always like to Pin my rails so I placed the top rail where it was to go and used it as a template to drill holes through the rail caps. I then drilled holes in the balusters and inserted some pins
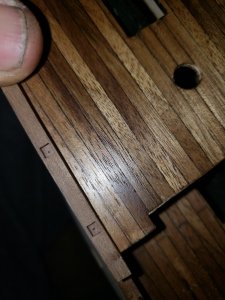
Dry fitted the rail around the front deck .
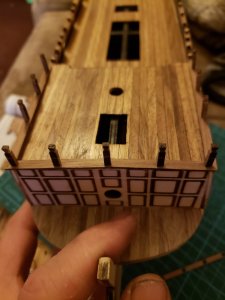
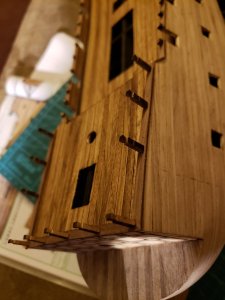
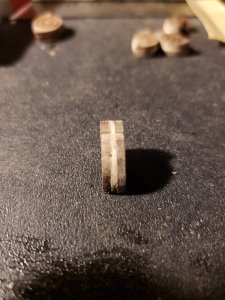
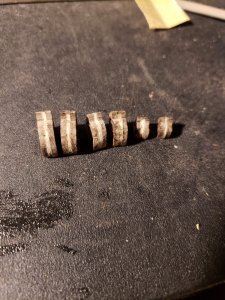
Now for the ornamental scroll pieces the instructions call for you to glue 2 pieces together to make one scroll luckily I test fitted them to the width of the rail because they were nearly 2mm thinner then the rail is wide, so that would have looked like crap. I took some 2mm ply and used the scroll as a template to trace its shape, I cut it out and sandwiched it between the 2 scroll pieces to make it the proper size.
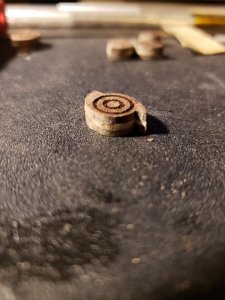
tomorrow I'll install the smallest ones in the front rails and work my way rearward till the rails are done.


once the rail caps were installed I started on the top rails and ornamental scrolls. I always like to Pin my rails so I placed the top rail where it was to go and used it as a template to drill holes through the rail caps. I then drilled holes in the balusters and inserted some pins


Dry fitted the rail around the front deck .


Now for the ornamental scroll pieces the instructions call for you to glue 2 pieces together to make one scroll luckily I test fitted them to the width of the rail because they were nearly 2mm thinner then the rail is wide, so that would have looked like crap. I took some 2mm ply and used the scroll as a template to trace its shape, I cut it out and sandwiched it between the 2 scroll pieces to make it the proper size.


tomorrow I'll install the smallest ones in the front rails and work my way rearward till the rails are done.
Nice!. At least the curves were concave. I just did the same on the sa and they are convex. I love mahogany NOT.
Super Job.
Super Job.
Great updates. Your planking skills hull & deck are "way up there".
You just keep rolling along. She's looking fantastic bro.
Yes Joe, she certainly is looking fantastic, I like your way of thinking things out and the solutions, enjoy your build, I am,
best regards John.
best regards John.
Thank you all for the complements
Got all the rails done and painted today, getting the ornamental scrolls incorporated was a bit tricky, but I got them installed. First thing I did was cut some spacers so I get the rail the same height.
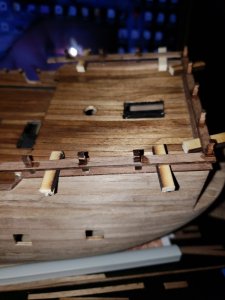
After I got the rail glued in place I decided to paint the cap rails to make that a bit easier
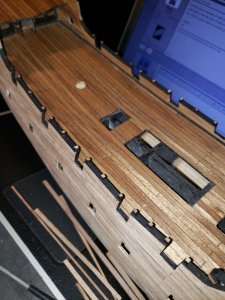
Installed set of scrolls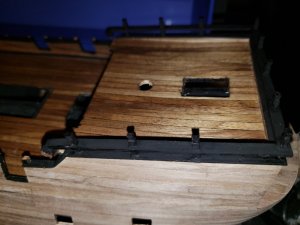
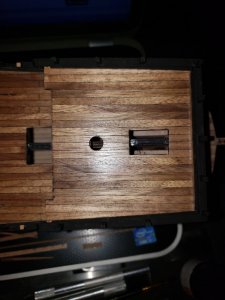
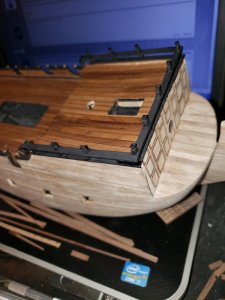
next I ran some more rails but left it short of the scroll as this long section of rail was in two parts it made it easier to tie the first part to the front scroll and then the back section to the middle scrolls has to bend the rail to mate up as well as modify the scroll a bit

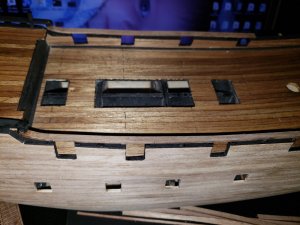
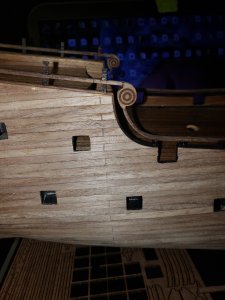
next up the rear scrolls these tie into the cap rail on one end and the upper rail on the other that posed a problem because I had already cut the cap rail. I extended it with a short piece of cut off from other rails so it met the scroll
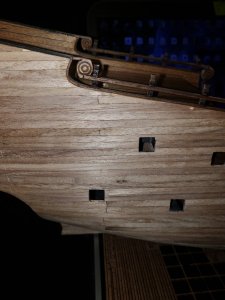
not perfect but not terrible and Im to tired to worry about the little difference after its painted it should help to hide that
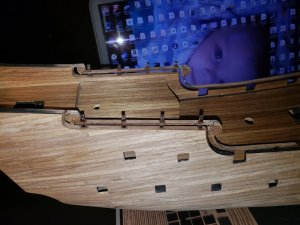
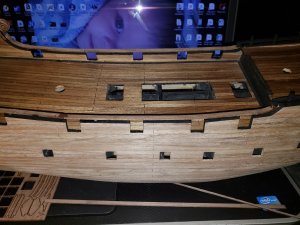
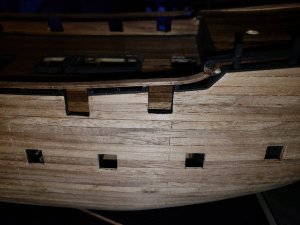
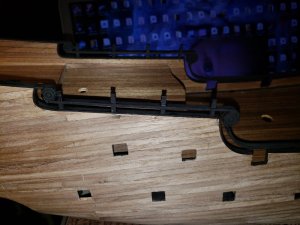
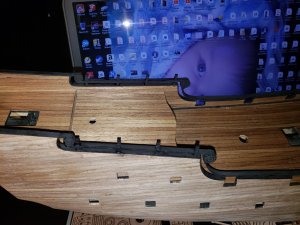
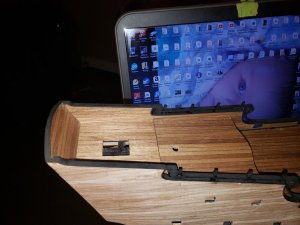
Ill do the Rub rails tomorrow and try to shrink down and print some images I found on the net for the captains quarters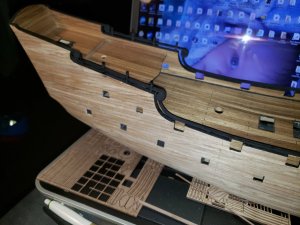
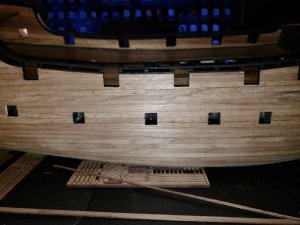
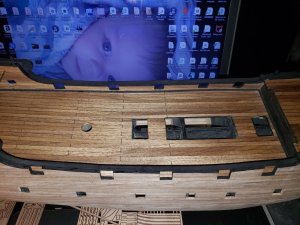
Got all the rails done and painted today, getting the ornamental scrolls incorporated was a bit tricky, but I got them installed. First thing I did was cut some spacers so I get the rail the same height.

After I got the rail glued in place I decided to paint the cap rails to make that a bit easier

Installed set of scrolls


next I ran some more rails but left it short of the scroll as this long section of rail was in two parts it made it easier to tie the first part to the front scroll and then the back section to the middle scrolls has to bend the rail to mate up as well as modify the scroll a bit


next up the rear scrolls these tie into the cap rail on one end and the upper rail on the other that posed a problem because I had already cut the cap rail. I extended it with a short piece of cut off from other rails so it met the scroll

not perfect but not terrible and Im to tired to worry about the little difference after its painted it should help to hide that


Ill do the Rub rails tomorrow and try to shrink down and print some images I found on the net for the captains quarters


Last edited:
excellent job!
Very accurately made and great attention to details!
Got the Rub Rail done, I beveled the edges to bullnose them over a bit I think it looks better then the squared edge. Installed and Painted
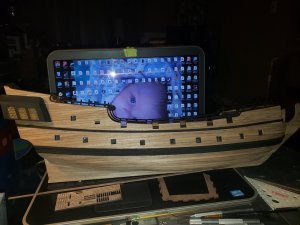
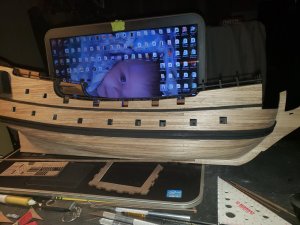
Not for a question I value the Opinions here so I have to poll you on this. On the pictures I see of this ship the lower rub rails have Brass nails installed evenly spaced out and left as natural brass. below is a picture of what that would look like so do I do it or No
They would stand out nicely on the flat black so that's a Plus however I don't want it to look like to much was done I like the nails and I don't so I will leave the decision up to you good folks Do it? Don't do it?


Not for a question I value the Opinions here so I have to poll you on this. On the pictures I see of this ship the lower rub rails have Brass nails installed evenly spaced out and left as natural brass. below is a picture of what that would look like so do I do it or No

They would stand out nicely on the flat black so that's a Plus however I don't want it to look like to much was done I like the nails and I don't so I will leave the decision up to you good folks Do it? Don't do it?


