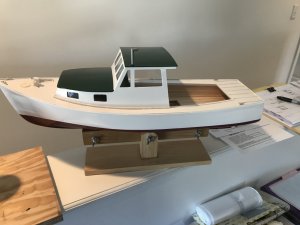
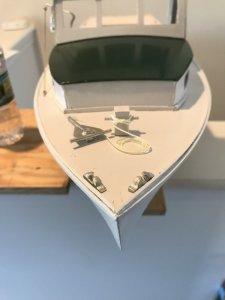
Bluejacket Shipworks Lobster Boat 5/8” = 1’

Another snow storm.

Waiting for the snow to stop, have about 8 inches so far. Storm is supposed to end by noon, so now I have an excuse to work in the shipyard.

I had to reorder the glue for fixing the window glass. The original order was “delivered” but not at my house.

So it’s time to work on the little parts.

80825

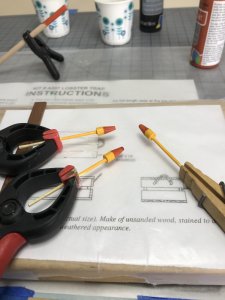
There will be four of these Lobster traps. Interesting work for fumbling fingers and not so 20/20 eyesight.
 
The answer:

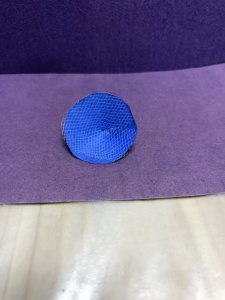
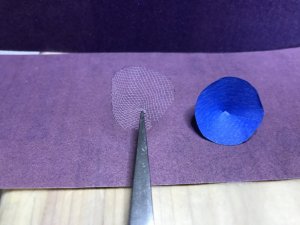
I needed a net cone to go inside the lobster trap. So I had to "engineer" a "jig". I placed a piece of the fine netting supplied in the kit on a piece of wide blue tape. Then I drew a 1 1/2 inch circle on the tape and marked off a 1/4 inch slice and cut it all out. A cone was created by folding the ends of the cutout in. A little dab of glue hods the net cone together.

81114

81115

Nw to to glue the creation into the Lobster trap.
 
The little details:

The lobster Buoys:

I decided to make three buoys, one to be used as a display of ownership on the roof of the Pilot house and one each for the Lobster traps. I used a 1/4 inch dowel for the buoys. I stuck the end of the dowel in a pencil sharpener to shape the end of the buoy and then cut off the length that I needed. I repeated the process twice to get the three rough buoys. I then clamped the buoys in a mini vise and drilled a 5/64 inch hole in the top of each piece. The next step was to glue a toothpick in to the buoy tops.

82065

The stems will be trimmed to size after the final paint is applied.

The color pattern on the buys denotes the owner of that particular pattern. Lobstermen are licensed by the state, there are a finite number of licenses and a long wait list to obtain one. The buoys displayed by the Lobster boats play an important part as to who fishes in specific water areas.

82064

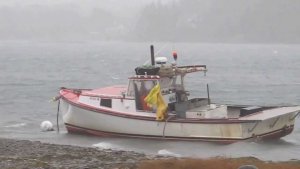
You can see the buoy on top of this boats pilot house.
 
The Lobster storage box:

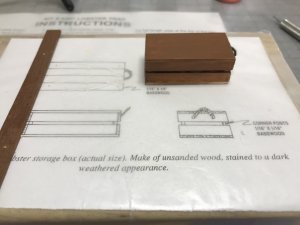
I also need to build a couple of Lobster storage boxes. These will be displayed along with the Lobster traps in the open cockpit of the boat.

82066

This part of the build and the buoys was fun and went quickly. I ran out of slat material for the Lobster traps, so will have to wait until my material order comes in.
 
ZAP Canopy glue:

Earlier in the build log I had asked for recommendations for glue to use for the glazing windows in the cabin and the pilot house.

DenisR suggested ZAP glue. He also thought that it should be tested on the window glazing.

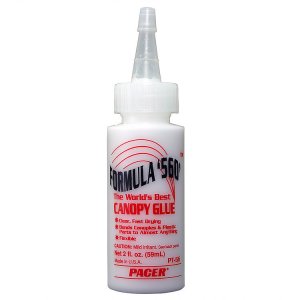
I ordered

82067

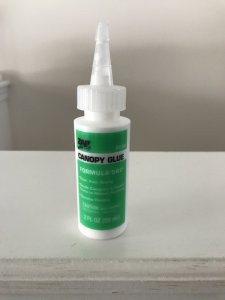
and this is what arrived.

82069

I found that a very small bead of glue on the glazing allowed me to attach it to any painted, non painted wood surface. I was also able to attach the glazing to metal and plastic surfaces. It remains flexible and the glazing can be peeled off. The glue did not disfigure the window glazing like so many plastic glues that I have used in the past.

Jan
 
Last edited:
The final details part 1:

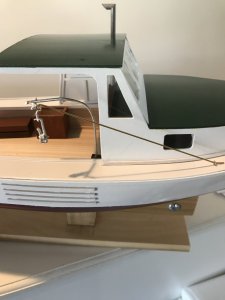
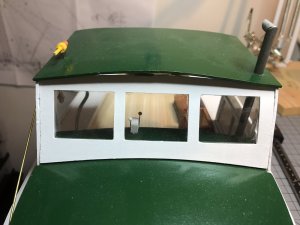
The ZAP glue worked great for the window glazing. It dries clear and the excess glue can be cleaned up with a damp rag.

8A87F7A5-600C-4ABD-A5F8-E6F14CECFBC7.jpeg

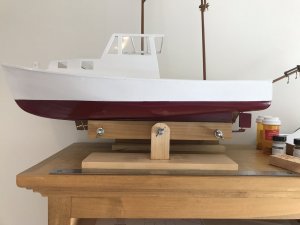
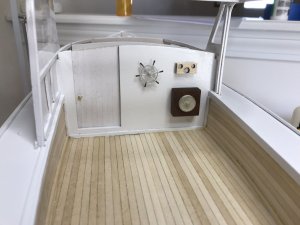
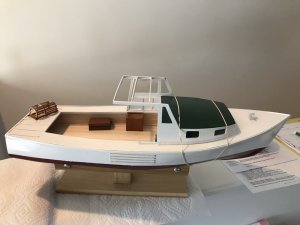
I think the final paint scheme came out well. For my second try on the waterline separation I used 3M masking tape and a small wallpaper seam roller to set the tape securely against the hull.

The little fiddle details.

C5A94791-DC77-4DDB-8E58-D9FBC597ABAC.jpeg

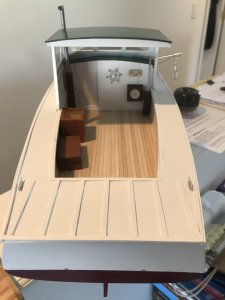
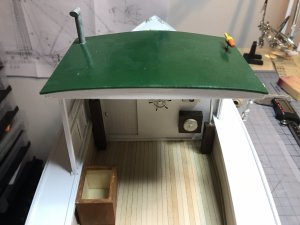
The on board “furniture “ placement.


3C0C16B4-882D-4555-80C4-9E1C0580F568.jpeg

I also added the roof to the cabin.
 
Almost done:

The handrails and lobster traps need to be finished. Both of those parts are waiting for materials. The current search is for a method of making decals. The boat name, the harbor she works from and the State registration number require a decal.

B2NmJKc6SH2waVJXwMu0Qg.jpgaRIGBksrRLKTqokQAgpheQ.jpgzifdRWhBRkaT2OjRBnFShg.jpg5h8Nw5viTMyl4PW6ss730A.jpg

I think the whole build came out quite well.
 
This will be the final post for this build log. I want thank all the members for their help and encouragement as I worked my way through the build. This build was my second plank on bulkhead endeavor and went much better, the noted mistakes were far less than my Enterprise build.

I would recommend the kit for any modeler that would like to build something "different". The kit supplier has great service, a great staff and will help solve any hurdles that a novice or intermediate builder might encounter.

Once again thanks to all of you.

My third kit is on the way.
 
Another Novice mistake:

I had taken the Lobster boat off my storage shelf to apply the decals when I noticed the cabin roof had bowed up.

991F04AC-6A58-477D-A890-895A7630C7AC.jpeg

Both the front and rear of the roof had separated from the cabin truss.


3995D1E9-0FAD-41A4-9C91-80986D6B1D09.jpeg

I had used Titebond III glue to fasten the roof, but apparently the glue and painted roof weren’t the right combination. I managed to brush Gorilla super glue into the separation and then use spring clamps to hold it all together. It appears that method is a better alternative than my first attempt.
 
Last edited:
F81CPun4SF61CvIassPq+A.jpg

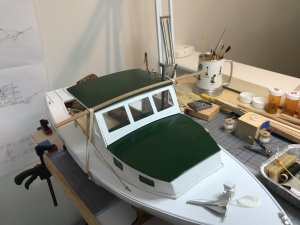
A little innovation but I think I've managed the fix. I could clamp the back of the cabin roof while the glue set, but the the front of the roof over the windshield presented a different problem. So a piece of 2 X 6 mm plank and five rubber bands were pressed into service as a clamp after the Gorilla glue was brushed onto the cabin roof beam.

Just another item added to the how to do it book. I'm looking forward to my next build.

fullsizeoutput_209.jpeg
 
Back
Top