• Ships of Scale has incorportated an extra level of security when you log In. Please follow on-screen prompts to acknowledge that you are not a robot via a "Check Box" or a "Pictorial Check Box Puzzle". This is needed due to higher level of AI Activity Security.
  • SUBSCRIBE TO SHIPS IN SCALE TODAY!

    The beloved Ships in Scale Magazine is back and charting a new course for 2026!
    Discover new skills, new techniques, and new inspirations in every issue.

    NOTE THAT OUR NEXT ISSUE WILL BE July/August 2026
  • Win a Free Custom Engraved Brass Coin!!!
    As a way to introduce our brass coins to the community, we will raffle off a free coin during the month of August. Follow link ABOVE for instructions for entering.

Bluenose made in Austria :-)

Good morning Franz. Wow your detailed metal work is brilliant. Cheers Grant
Hi Grant!
“Brilliant” might be a bit of an exaggeration, but thank you anyway!
Brass is actually very pleasant to work with and quite easy to solder. It usually takes several attempts - trial and error - but eventually a solution presents itself, and I try to manage to get reasonably close to the right size and proportions.
Best regards, Franz
 
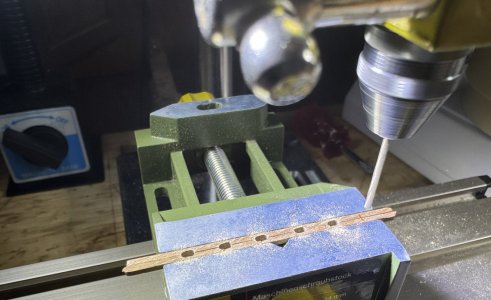
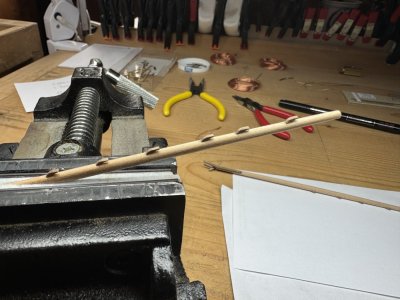
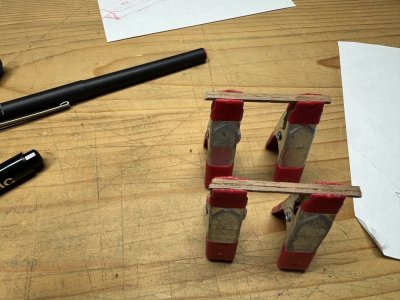
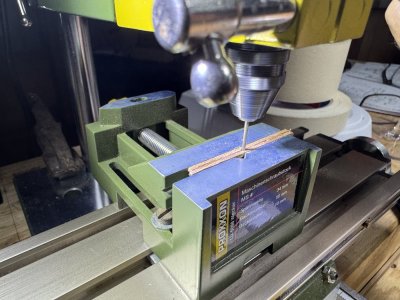
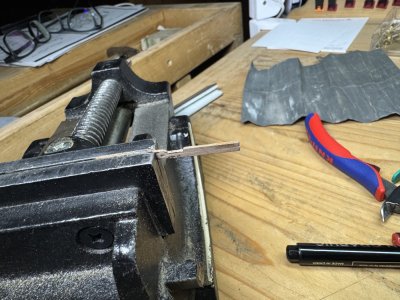
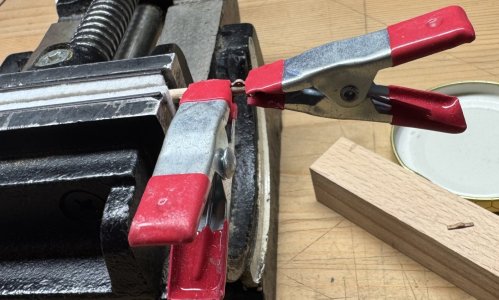
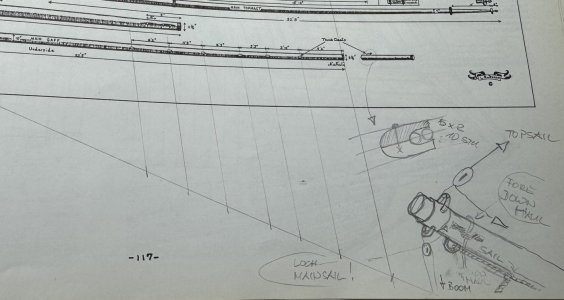
For the small thumb cleats, I clamp two pieces of wood together and drill the hole exactly along the joint between them.

T00.JPG

T01.JPG

T04.JPG
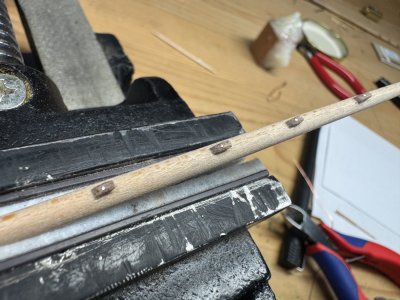
The thumb cleats look a little too large to me and I was a little worried that the tiny thumb cleats might break off at some point.
 
Last edited:
So my first idea was to turn some small wooden pins from toothpicks. However, I couldn't get them down to the diameter I needed.

T08.JPG

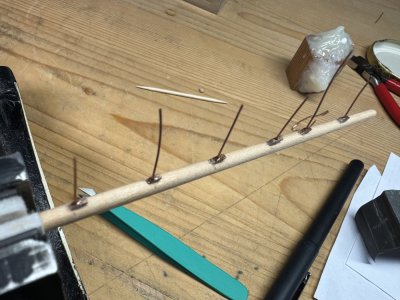
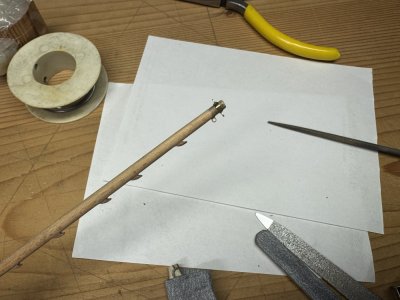
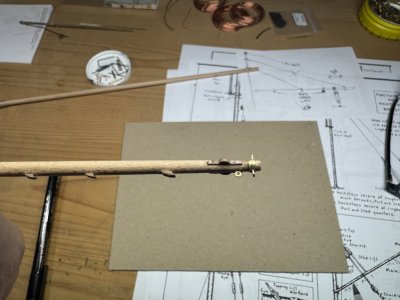
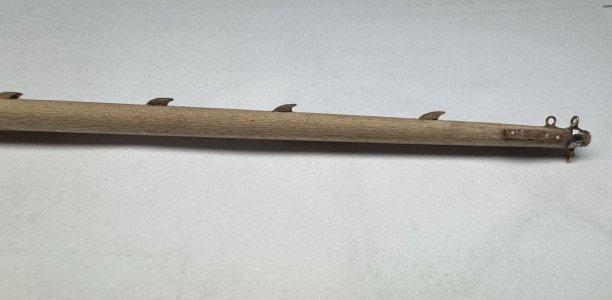
So instead, I drilled small holes into the thumb cleats after gluing them in place and inserted pieces of copper wire, securing them with two-part epoxy.

T12.JPG

T13.JPG

Once the glue had cured, I filed everything down to shape. That worked out quite well in the end.

T22.JPG
 
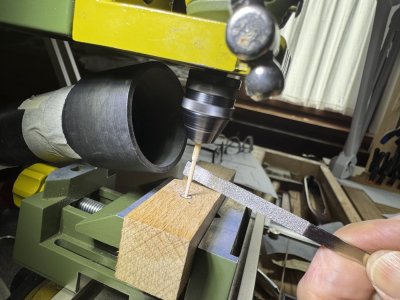
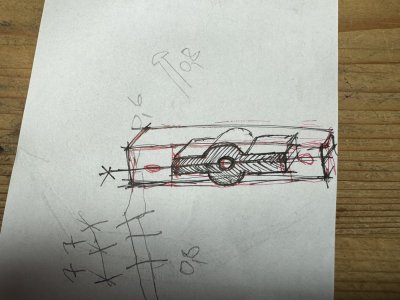
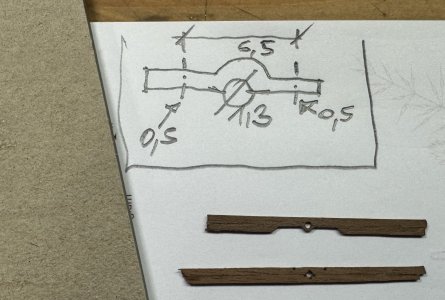
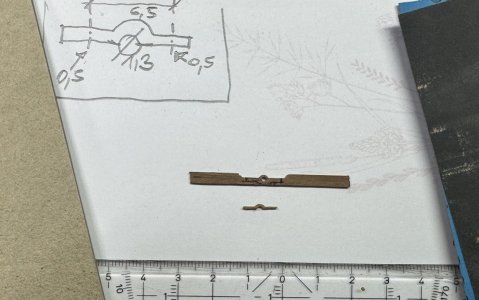
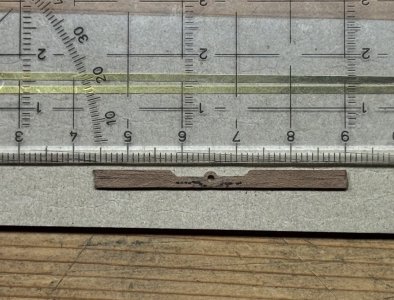
Finally, the fittings for the downhaul on the gaff boom. I used the same method again: two square strips of wood glued together along their edges, then drilled and carefully filed to shape.

T24.JPG

T25.JPG

T26.JPG

T27.JPG

IMG_5037.JPG

IMG_5038.JPG

IMG_5040.JPG

IMG_5045.JPG

IMG_5059.JPG

The filing would have been much easier if I had glued the wooden pieces onto the gaff booms immediately after drilling the holes. Doing it this way was rather fiddly.

Oh well - you live and learn. Next time I'll know how to make it easier! :)

IMG_5033.JPG
 
A nice approach, making all the tiny parts and secured them on the main boom, Franz. That’s going to be a nice representative one.
Regards, Peter
Hello Peter!

Yes, it really is great fun to get into all those tiny details. Somehow, there always seems to be a way to make things work.
By now, though, I do think quite carefully about how large a particular detail will actually be on the model and whether it can realistically be reproduced at this scale … or, whether it is something that, at least for me, can simply be left out.

Best regards,
Franz
 
Back
Top