• LUCZORAMA SHIPWRECK SCAVENGER HUNT GIVEAWAY. 4 Weeks of Fun • 1 Legendary Prize ((OcCre’s Fram Ship)) • Global Crew Welcome!
    **VIEW THREAD HERE**

BONHOMME RICHARD, Cross Section

Daniel, great work. I noticed the same thing Jeff did, that the rabbit seemed raised from the floor timbers/futtocks. I just needed to read on, as I expected someone else noticed the same. Again, nice clean work.

How do you find the framing jig and instructions? Are they easy to follow and fit? I'm following you through your journey.

Thanks
Ken, thank you very much. The instructions are minimal (1 to 3 sentences per step) in Chinese. The instruction Manual Pictures are fine and the translator app I have makes it very easy by just using the phone camera. So, no issues at all.

Nevertheless, what is really helpfull, are the SOS builts I posted on the opening comments. Not only provide an excellent guidance, but also how each modelers approached each steps.

The framing jig, so far, is very good and comfortable to work with. I already used a similar system when I built THE MARMARA. The frames were upside-down until they have a strong structure and all was moved to the more standard position.

Cheers !
 
Guys, thank you for your feedback, comments and likes

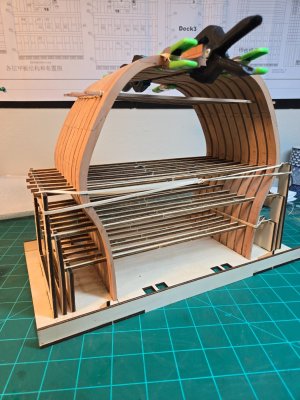
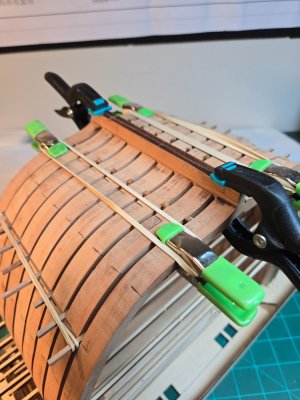
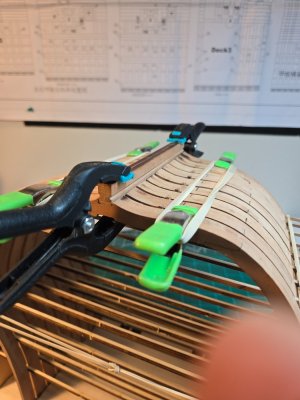
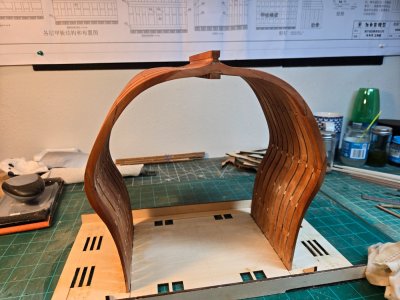
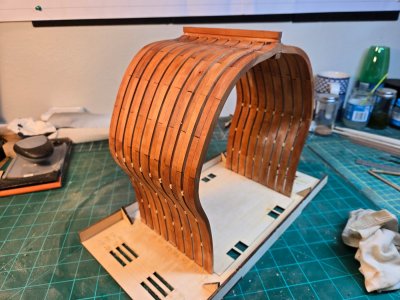
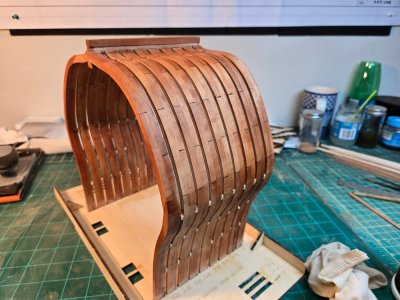
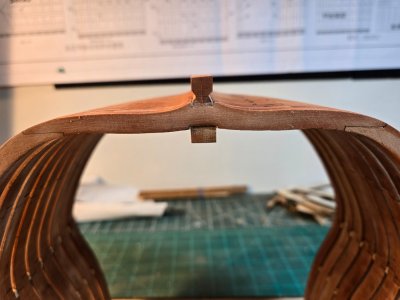
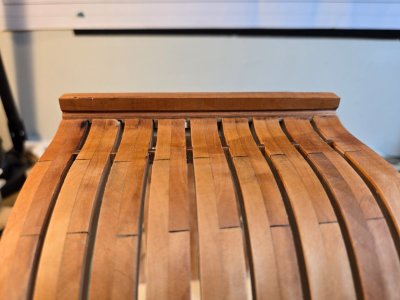
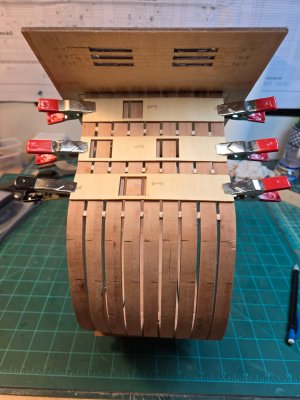
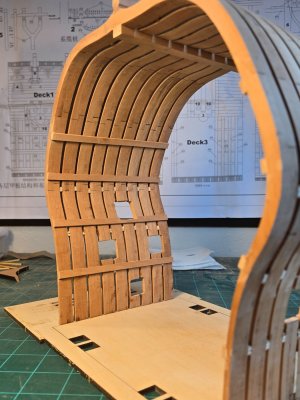
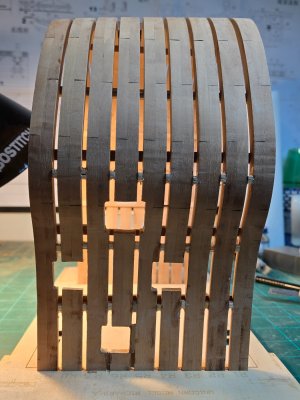
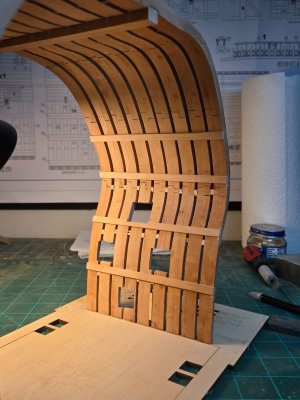
Today I finish the keel adjusment, glued the 3 bottom rows of spacers (that came with the kit). Transitory, I added a 4 row of spacers to help me with all the manipulation and finally added a row of spacers nearby the keel, like @Uwek did. As Uwek mentioned, this last row will provide more strength to the hull to be sanded without the keel.

Keel is not glued.

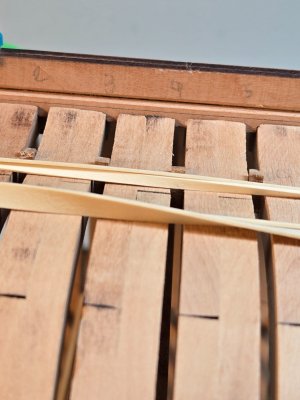
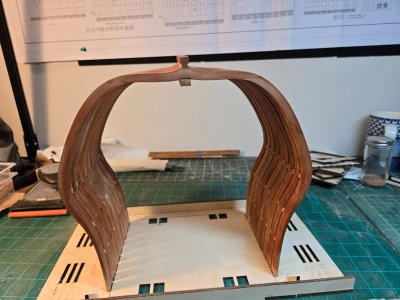
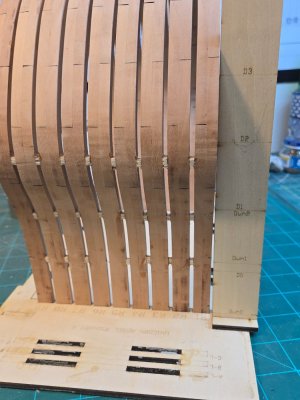
Moreover, the last image shows that the keel also has spacers (see under the numbers), due to that I have the keel n place all the time.

IMAGES

3 bottom rows of spacers glued to the frames plus an extra row (not glued) to help.
20250627_175121.jpg

Extra row of spacers nearby the keel
20250627_175149.jpg

20250627_175209.jpg

Image showing the keel spacers. You can see them under the numbers.

20250627_175330.jpg

Cheers
Daniel
PS: Rabbet not adjusted yet :-)
 
Ooh! That's going to look great under finish! Pear turns out great under boiled linseed oil...have you thought about what you will use yet?
Paul, I don't have any idea yet. I am open to suggestions. That boiled linseed oil do you have a brand to suggest ? . I have a lot of frames wood that I can use to test.

Thanks !!!
 
I used this on my Vasa:


It's rather spendy. I'm sure you can find something cheaper. I think Watco is another popular brand here on the forum.

People sometimes complain about the smell of linseed oil, but they aren't used boiled (polymerized) oils. The Tried and True smells yummy...
 
I used this on my Vasa:


It's rather spendy. I'm sure you can find something cheaper. I think Watco is another popular brand here on the forum.

People sometimes complain about the smell of linseed oil, but they aren't used boiled (polymerized) oils. The Tried and True smells yummy...
Thank you !!! Ordered the pint size. Have a nice weekend !!!
 
Thank you for the likes and comments. Here is my update.

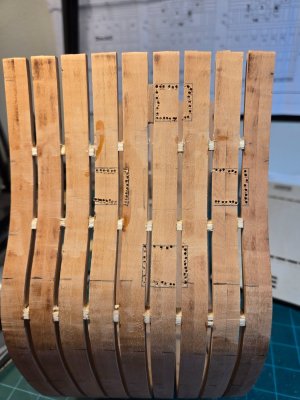
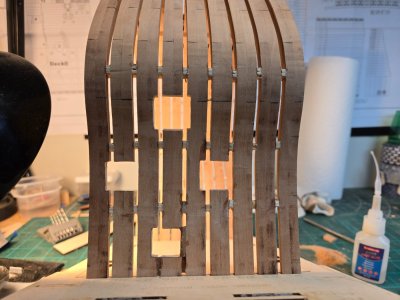
One side gun ports done. Please ask any questions you could have. The kit provides a gauge to be used to mark the position of the gun ports and decks. Plus there are templates for each gun port.

20250703_152723.jpg20250703_152607.jpg20250703_162722.jpg20250703_201713.jpg

Cheers and HAPPY 4 OF JULY.

DANIEL
 
Last edited:
Just found your BHR build! Excellent work.

You've built a great base, which will ensure the rest of the process goes smoothly!

I look forward to following your progress!! Thanks for sharing...it's a great kit.
 
Just found your BHR build! Excellent work.

You've built a great base, which will ensure the rest of the process goes smoothly!

I look forward to following your progress!! Thanks for sharing...it's a great kit.

Thank you Brad !!! I was just reading your built. I will try to cut the other side gun ports as you did with the ruler. Why so simple things never come to my mind. I always struggle with gun ports. They never have aperfect square shape. The ones i just did for the BHR are the best I have done so far. Let see if I can improve them on the other side.
I posted a link to your built at the start. You are a great modeler !!!!. Your BHR is fantastic.
Please, don't hesitate to comment/ suggest if you see something wrong.

Best
Daniel
 
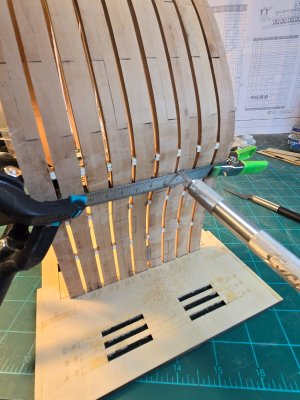
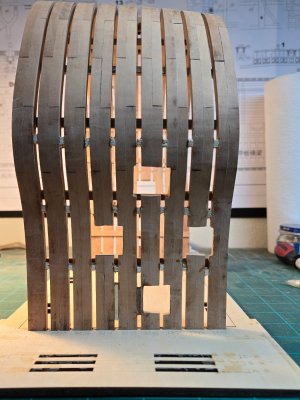
Ok Folks, on this 4 of July, i was able to finish the other side gun ports and glued the decks floor beams.

This time i tested @BradNSW Technique using a saw and ruler. Worked fine, it was more precise and more work HAHAHA. Nevertheless, I was very far to achieve Brad's cut's quality. But they ended better than the other side I did yesterday and was less stressful following the ruler with the saw. You can check Brad's (BradNSW) built. Link is on first posting.

20250704_105542.jpg20250704_174252.jpg20250704_174304.jpg20250704_174322.jpg20250704_174336.jpg

I hope to be able to cover all the gun ports imperfections, meaning not perfectly squared, when I do the internal frame and the external/internal hull planking.

Cheers !!
Daniel
 
Good job so far. I've obtained an empty seat in the wings and will be following this. I really liked this kit, and LOVE the pearwood included. While I have had to deviate to walnut and cherry for my later projects, I'm determined to get back to pear.
 
Back
Top