Build log: Danmark

Joined
Jan 1, 2021
Messages
20
Points
58

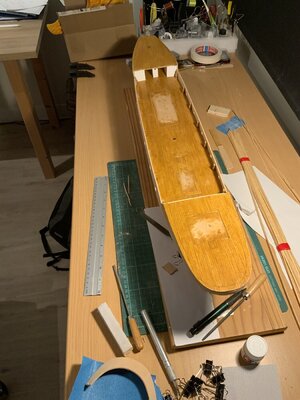
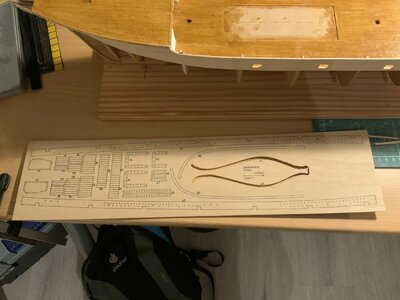
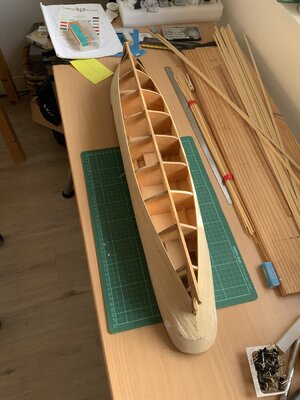
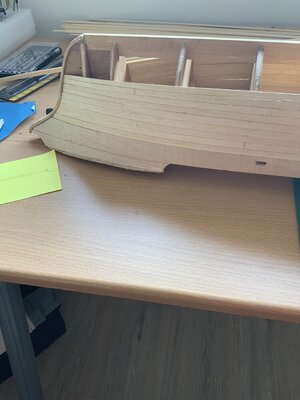
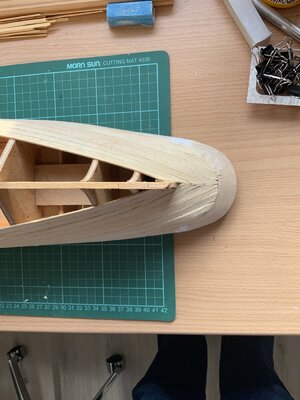
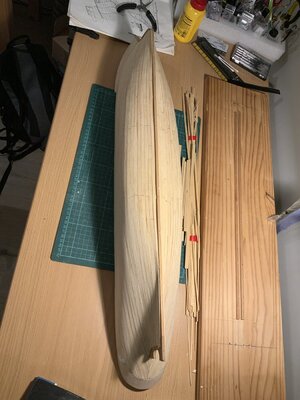
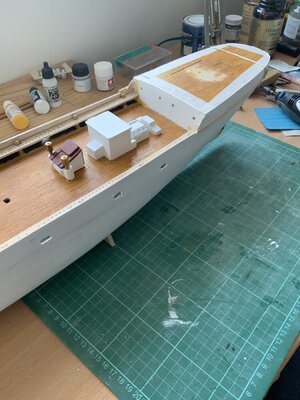
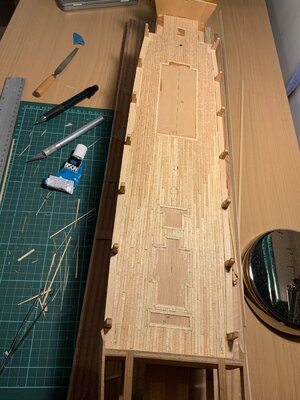
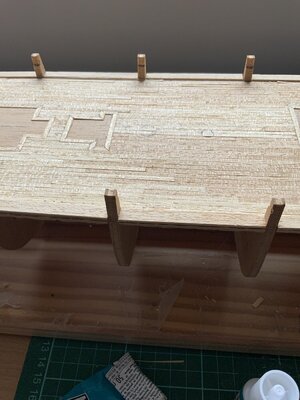
Here are some first pictures of the Billing Boats kit of the Danmark. A project that has been on hold for almost 30 years. I have finished the decks and started with planking the hull. I am quite satisfied with the result as it is my first kit (maybe I should have started with a more simpler kit), but any comments, tips or tricks how to complete this process successfully are welcome. As for the parts 42 that have to be mounted at the inside ( see the last picture), what would be the best way ahead, drill the marked holes before or after glueing them on to the ship?
03230F0E-4AE6-4AB3-8624-6AA32D68D98B.jpeg3BF3DD9B-139B-4839-B5B7-53CE903EDF56.jpegE1009FD9-908A-432B-86EE-F46AEE376830.jpeg8089E486-7DEF-4493-8297-F0CE1C5F2397.jpegF189CF83-63F9-40B9-A91C-C6B1C4F38204.jpegE992C98E-FA3C-4B1F-A8CA-339970F37D59.jpeg
 
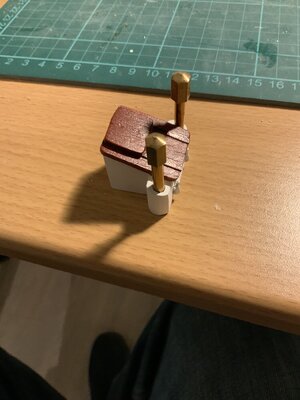
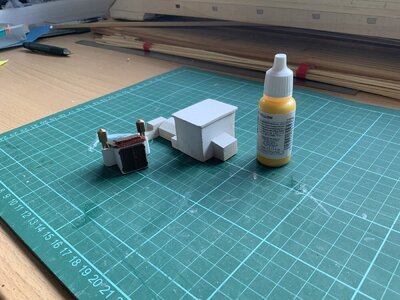
I am working on this item and the metal parts have to be painted trainer yellow (billing boats number 13-1 according to the instructions). The billing boats paint is hard to get in the Netherlands, does any of you know an alternative number I.e. from Vallejo or Model Masters?

image.jpg
 
Last edited by a moderator:
Very good, that you started this building log of your Danmark - I will follow with big interest.
Maybe @Maarten knows a possibility to get such paints?
 
Hi, I built a very old version of the Danmark, it is shown in the gallery I think. The paint that I used was Caldercraft admiralty paints occre, it looked about right to me, you can see for yourself. I got it from Cornwall Model boats, uk
Ken
 
Thanks Ken,

I will check wether it’s available in the Netherlands. Searching on the internet I came across the colour Flat Yellow from Vallejo, nr. 70953 which looks like the billing boat colour. Humbrol has trainer yellow, but this isn’t an acrylic paint, which I would prefer. Meanwhile I just started working on other parts that I don’t have to paint yellow .
Ben

Flat Yellow # vallejo 70953 - 15
 
Hi Ben,

Billing boats cancelled its paint line.

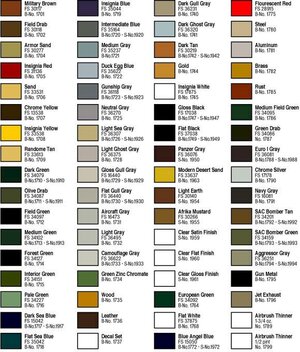
I found this conversion chart.
Your 13-1 which is matt linen is unfortunately not mentioned.


billing-boats-verf-bb21-crimson-gloss-fles-14-7ml-bc-021_16775_0.jpg
 
Last edited by a moderator:
Poul, Maarten, thanks for the advice. I think I will start mixing colours to see which one would be the best. So, to be continued..... I will keep you updated in this post.

Ben
 
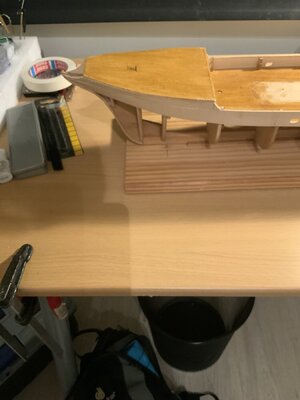
Here are some first pictures of the Billing Boats kit of the Danmark. A project that has been on hold for almost 30 years. I have finished the decks and started with planking the hull. I am quite satisfied with the result as it is my first kit (maybe I should have started with a more simpler kit), but any comments, tips or tricks how to complete this process successfully are welcome. As for the parts 42 that have to be mounted at the inside ( see the last picture), what would be the best way ahead, drill the marked holes before or after glueing them on to the ship?
Hallo @BuilderBen ,
we wish you all the BEST and a HAPPY BIRTHDAY
Birthday-Cake
 
Just an update in the building process. The planking of the hull is going rather well (for a first time). i am also working on the cabins. I must say that the plastic doors don’t look very mahogany. I have finished these with Vallejo paint but they still look a bit ‘plastic’. Any tips on how to make them more realistic are welcome (maybe make wooden doors?). Finally, I have found some yellow paint, just have to see how it will look on the brass part. As always, tips and comments are welcome .

9FCB7B6C-FFA9-477F-A2A5-370B7671A5AD.jpeg

754A3D75-AB47-4195-97CD-DBC24943082C.jpeg

EA03AD7A-3556-4A4B-B50C-4FE2BFBCA7AF.jpeg

image.jpg
 
Last edited by a moderator:
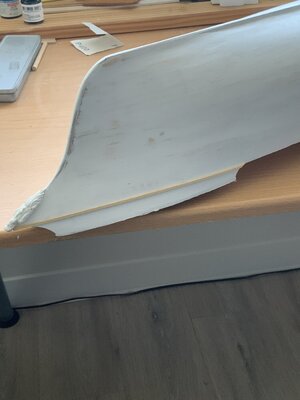
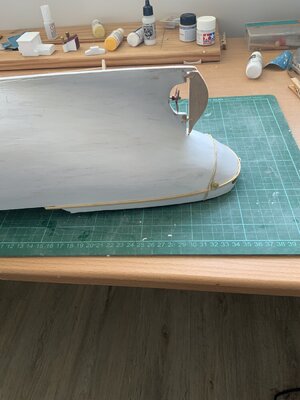
We are slowly moving forward. Painted the hull with primer an used filler to make it more smooth. Still one layer primer to go, I hope the final paint layer will no show any brush markings. Painting tips woul be appreciated .
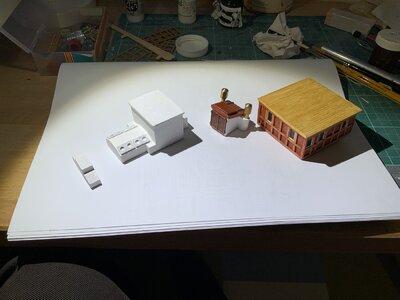
also fitted the rudder and propeller and made some small deck cabins.

image.jpgimage.jpgimage.jpgimage.jpg
 
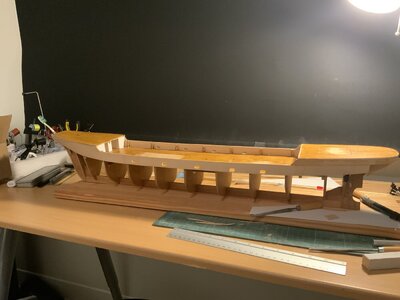
Here are some first pictures of the Billing Boats kit of the Danmark. A project that has been on hold for almost 30 years. I have finished the decks and started with planking the hull. I am quite satisfied with the result as it is my first kit (maybe I should have started with a more simpler kit), but any comments, tips or tricks how to complete this process successfully are welcome. As for the parts 42 that have to be mounted at the inside ( see the last picture), what would be the best way ahead, drill the marked holes before or after glueing them on to the ship?
Hallo @BuilderBen
we wish you all the BEST and a HAPPY BIRTHDAY
Birthday-Cake
 
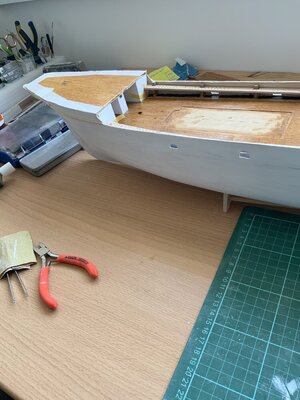
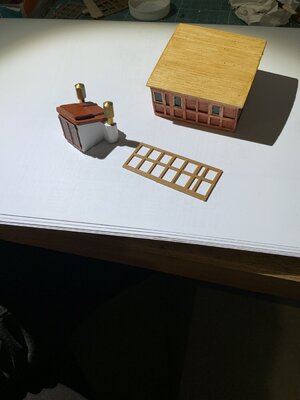
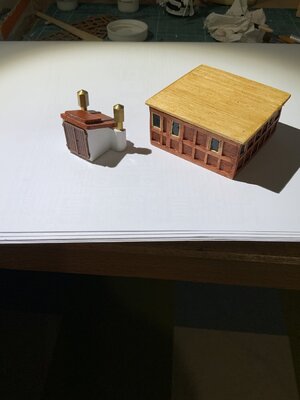
A but ashamed that it took so long to update this log, but a new job in a new country took a lot of time. Luckily things settled down so I can start again with the Danmark (note that the last pause took 30 years ). I started building the cabins and instead of using the plastic framework for panelling I used wooden sticks, used for the take away coffee. I am only struggling with the doors. As you can see with the smaller cabin, the door is plastic and even with painting it in mahogany the is a difference in colour with the wooden top (painted with the same colour). An option could be building the door in wood too, but that seems difficult to me. Maybe some of the other builders hav an advice? Now I have to rush to the kitchen to prepare a Christmas dinner.

D37D86FE-D7A9-4DA5-AB20-D1C35164AC6E.jpeg

007E615E-F684-40B3-BA88-F04D5BF5AF68.jpeg

F060791D-CDCC-4500-A2F4-C4785F274A00.jpeg
 
Gloss, satin or matt?
I am painting the little cabins and I wonder what I should do, use a matt paint (as it is right now) or go for satin or gloss? Same goes for the hull. I checked the foto’s on the Facebook site of the Danmark and there it looks matt. I am curious how others finish their ships.
That leaves me with a second question for the hull, would you paint this with a brush, or use an airbrush? All advice is welcome .
 
Hi, I just started my BB Cutty Sark which is the same vintage as your Danmark kit so it will be interesting to follow your build. Looks like you have made some very nice progress so far. My first models were all painted hulls and my preference was to go with a satin finish which has just enough shine without being so glossy that the hull ends up looking like a piece of plastic. To get good even coverage I would consider using acrylic car paint spray cans which are very good for large areas. It takes a bit more time to mask everything off but the finish is far better than brushing. An air brush will work OK but I found that because they are designed for painting small areas it is very time consuming and you will need to go over the hull many times to get a full block colour. Only one bit of advice if you use a car spray paint is to check that it is compatible with your undercoat - I got caught out once and the paint stripped the undercoat I had used even though they were both acrylics so I had to sand the hull down completely and start again.

Swapping out the plastic parts for wood is definitely worth the effort. I did that for my vintage Lilla Dan (again by Billings) and it looked so much better. My method was to use the plastic part as a template, copy it to some tracing paper and then glue thin strips of wood onto that rather like doing the decking. You can then just stick that to the deck housing.
 
I agreed with Darivs Architectvs about using satin, but be careful because sometimes you see a section that you missed or is not evenly coated, and when you try to correct the mistake by applying another coat, the model will definitly take a bit of more shine.
It has happened to me.
 
Back
Top