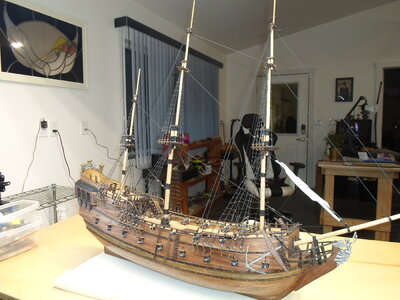
ZHL Black Pearl 2019 top level edition

Joined
Sep 1, 2019
Messages
75
Points
113

Well this is my first build ( larger scale )and my first build log. I did build an AL chinese junk for a training/learning but didn't do a log on it. Thought I better start a log before I got to far along on the build. I will hopefully be able to update the log about once a week. I only get a couple hours a day at best to work on the ship.
Disclaimer: Any misaligned parts or flaws in build quality are strictly optical illusions produced by the camera :rolleyes:

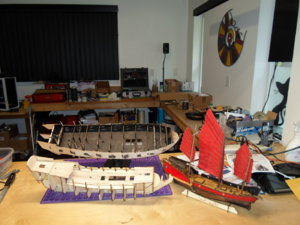
These were my first builds, a china knock off black pearl kit ( abandoned due to lost parts in mail and poor quality) and an AL chinese junk starter/learning buildSAM_0182.JPG
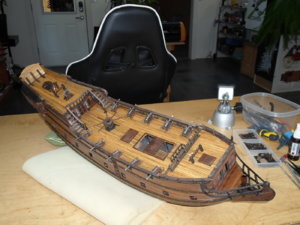
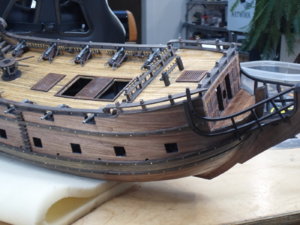
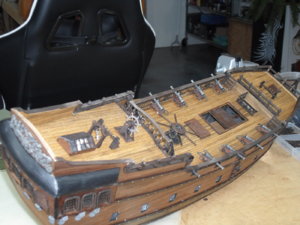
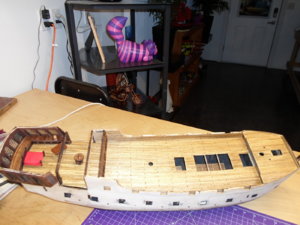
Decking is 1mmx3.8mm Indonesian Lumber, golden oak stain and damp cloth ebony stain (light wiped) to bring out grain and pre stain edges.
SAM_0191.JPG

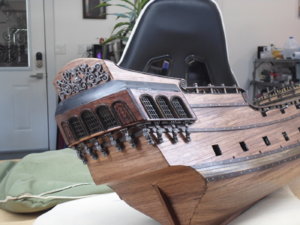
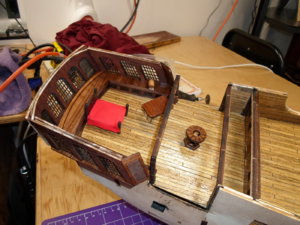
I won't be putting in lights and left out the glass so this will be the extent of captains quarter details as sight line will only be through windows.
I cut decking to 100mm ( 16 feet scale ) planks for the captains quarters and will probably do the same for poop deck
The main deck plank end details are done with the dent and pencil technique ( or just plain laziness if truth be told LOL )
SAM_0192.JPG

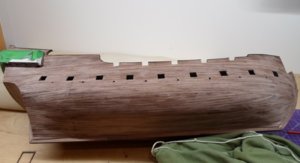
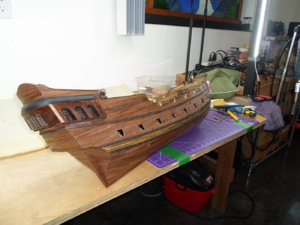
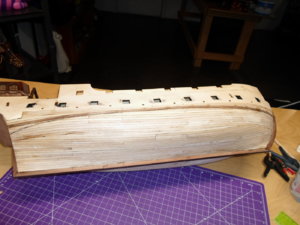
First layer planking and water/start line of final planking ready. Really struggled with finish planking choice. I was going to do a light yellow and black theme but have
now decided to use the supplied walnut and see how that goes. I must say I'm not a fan of the 0.6 mm veneer planking wood, just doesn't feel like a plank to me and
doesn't seem to lay down flat as well as thicker wood. O well will just go with it and if I don't like it I may just paint it black at the end of the daySAM_0193.JPG
 
I can and want to repeat the words of Brian - looking very good
Many thanks for starting this building log. Me and a lot of others will follow with big interest.
 
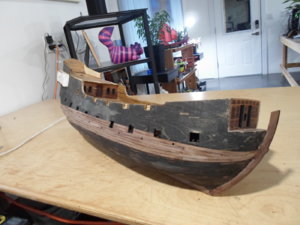
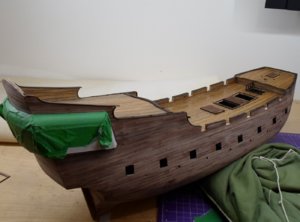
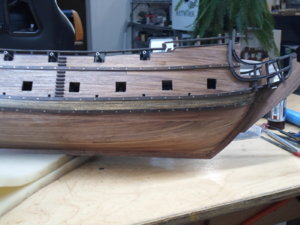
Got the poop deck on and started side planking (black stain on hull to hide any gaps in planking). As i chose not to put glass in the windows I discovered the "poke your finger thru the window screen technique":oops: Luckily I didn't put the shutters on the inside of the rear cabin wall so I can use them to cover the broken window ( covered with construction cardboard for now so I don't do it again). Also found that I had to re align/taper my planking because I didn't get the first waterline strips on straight. Will definitely have to revisit planking tutorials here on SOS for my next project. Have decided to paint the hull in the end so this shouldn't be to much of an issue. The learning curve just keeps getting longer LOL. Seasons Greetings to all!

SAM_0196.JPG
 
Got laid up for a couple months ( torn rotator cuffs - AGAIN!!! ) Anyway getting back to the ship once again. Managed to get planking finished and started on the deck details. I didn't mind planking after the half way point but it is a bit of a grind. The good news is I now have an excuse ;)to buy my next project ( ZHL Le Requin - pear with lifeboat (( once max is able to open business after corana virus)) POF with open hull - Therefore limited planking. That's my justification and I'm sticking to it LOL.

plank 2.jpg

plank 1.jpg
 
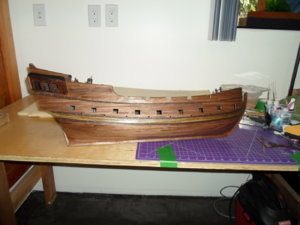
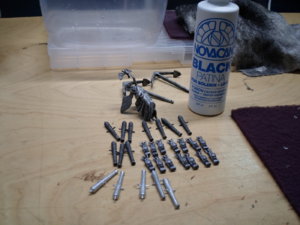
wales on and a coat of helmsmans satin spar varnish , varnish is a little to glossy in patches for me so I have ordered some epifanes matte wood finish to try and dull it down a bit. A few pieces on the poop deck so now I guess it will be stairs and railings next. black patina applied to metal bits today and turned out OK. Tried the copper patina on ships wheel but it turned out gray but looks fine to me ( metal is more zinc than lead I guess) * silver cannons in pic are unfinished *

SAM_0210.JPG

SAM_0208.JPG

SAM_0212.JPG

SAM_0207.JPG
 
What's the old saying - "learn from your mistakes" - well I'm certainly doing alot of "learning" :rolleyes:. Slowly coming together, I got a coat of epifanes wood finish matte on the hull and very impressed with the product. It's a little pricey at $72 USD for a litre or $40 for half litre but being from canada I had to get a litre thru amazon (half litre was only $5 cheaper) The up side is now that I have a litre I will have to build 50 more ships to use it all up ( my unique theory of justification LOL) The matte finish was exactly what I was looking for.
Will be starting masts soon and will put lower guns and finish jewelry on at the end of the project. As I am confined to a wheelchair and basically only have one fully functioning hand/arm I am going to have to do the rigging with the ship laying on its side and therefore don't want to break lower guns while doing masts and rigging. Not sure how far I will go with rigging or if I will put sails on, will have to see how it goes on the frustration meter:mad: Also ordered the le requin from max at ZHL on friday so that was probably a mistake ( just itchin to open up that box). Anyway Happy Easter to all and hope you are safe.

SAM_0215.JPG

SAM_0217.JPG

SAM_0218.JPG

SAM_0222.JPG

SAM_0224.JPG
 
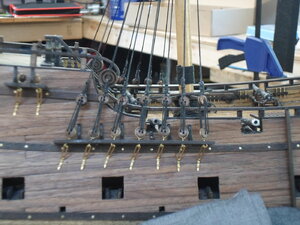
Well with a bum left hand and torn up shoulders this whole rigging thing has presented some challenges. I have had to opt for the simple knot and CA glue technique. It is no where near authentic and doesn't look the prettiest but at least I'm able to get some form of rigging installed. For me it's not about how perfect she turns out as long as I can enjoy the journey. Once I get the masts, shrouds and stays on I may take a break from the pearl before tackling the sails and finishing up the project. I got my LE REQUIN from ZHL a couple weeks back so I may do the lifeboat from that kit just to try the POF build style. Also special thanks to Donnie for the Basic elements of Rigging post (here) , definitely saved me from painting myself into a corner.
The sails come pre cut in this kit and I tried dyeing them with rit black ( all in same batch for same duration ) and ended up with two different shades of grey. I can only summize that the material used comes from industrial scraps and I got two different batches of cloth. Don't mind the two tone (different aged sails) but not a real fan of the shade of grey so I think I will try to bleach back to a dirty white shade.
Anyway it's coming along slow but sure and although a long ways to go can start to get a feel of the finished project. Stay safe all and keep up the great posts.

SAM_0225.JPG

SAM_0229.JPG
 
Quick Update - masts on and shrouds almost done. I swapped the stock deadeyes out for walnut ones but must have missed the count as I am 16 - 5mm deadeyes short. I have ordered more but snail mail from china doesn't seem to be getting processed here in B.C. Canada. I have 2 orders from china saying left china may 2 and may 10 but no further updates. Anyway kind of at a stand still so I am starting my le requin life boat. May be awhile before I post any more pics on this log but will get back to it once I get some deadeyes. Getting close to the end and really looking forward to seeing the finished product. See you soon I hope.

SAM_0234.JPG
 
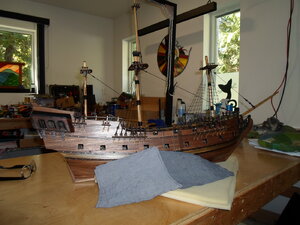
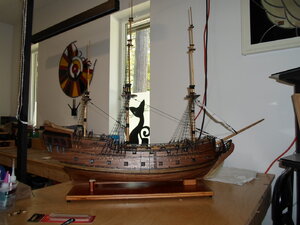
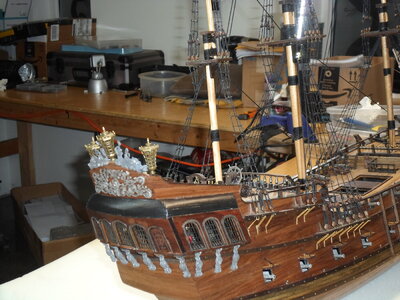
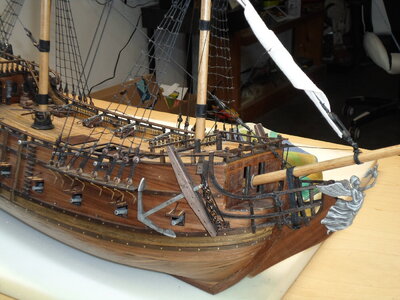
Finally dusted off the pearl kit and finished her off this month. I had to fudge or forget some of the smaller fiddly bits. It seems the brain-hand-eye tool is suffering from a "failure to communicate". Not sure what that's all about but can't have anything to do with age LOL. Anyway as this was my first large size project I am quite satisfied with the end result. I took a stab at the sails but just couldn't pull it off with my physical issues. Well I'm on to Le Requin next with all of my lessons learned on this one. See you in the next build log

SAM_0266.JPG

SAM_0268.JPG

SAM_0269.JPG
 
Congratulations @sleepyfish ... fantastic looking ship... I love the color combination... especially the subtle different shades of brown... looking forward to your next build.
 
Back
Top