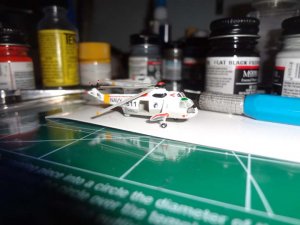
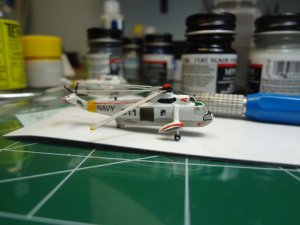
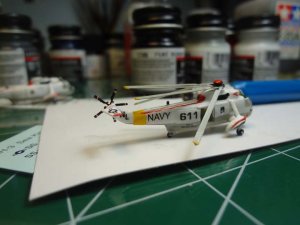
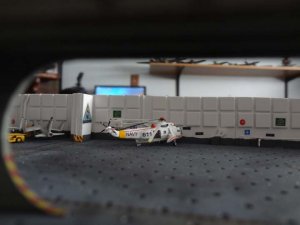
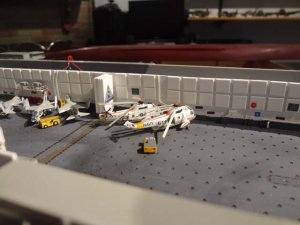
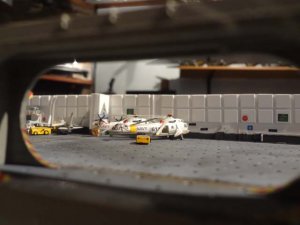
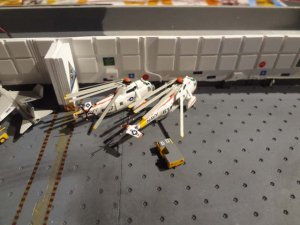
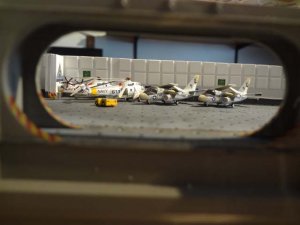
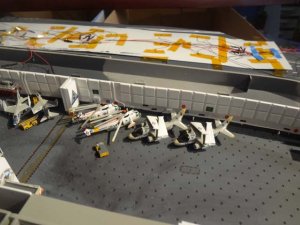
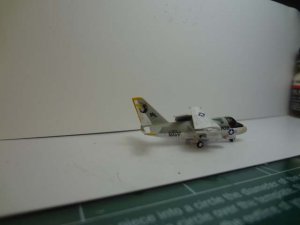
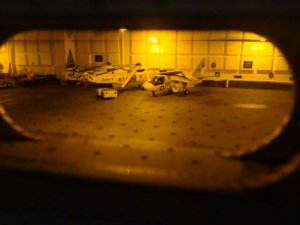
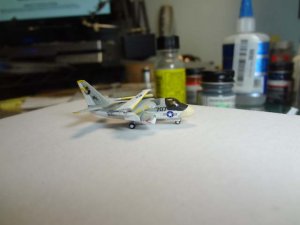
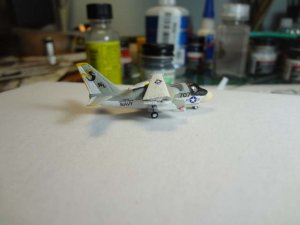
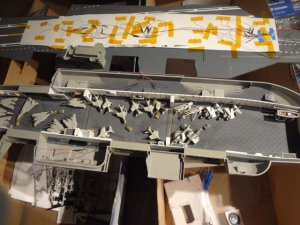
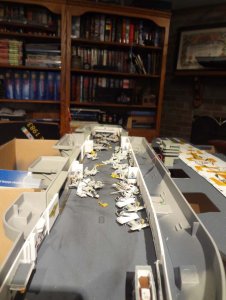
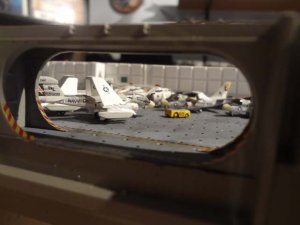
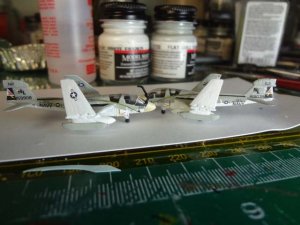
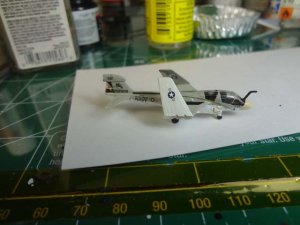
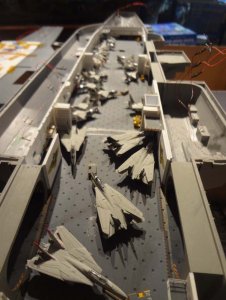
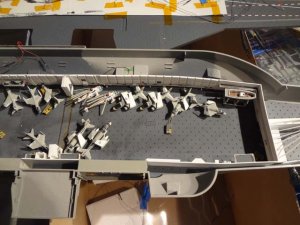
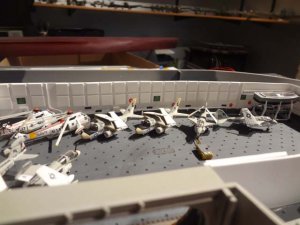
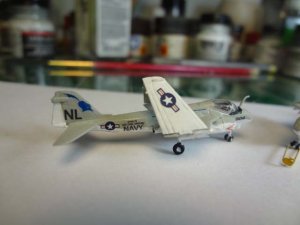
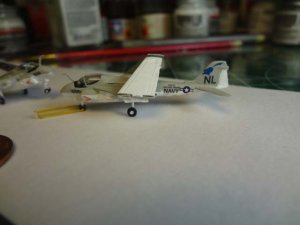
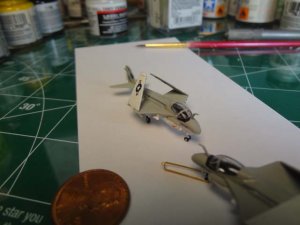
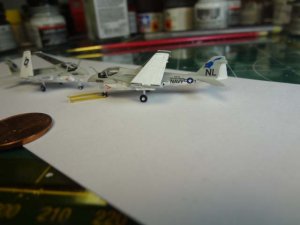
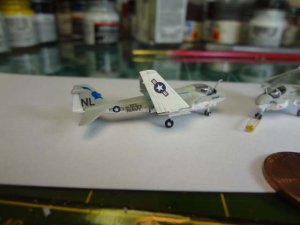
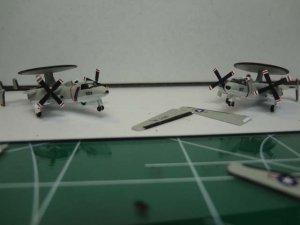
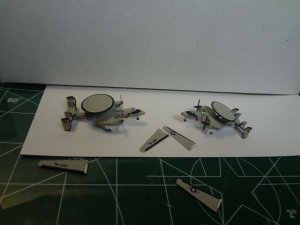
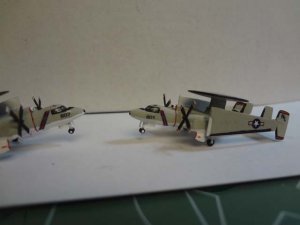
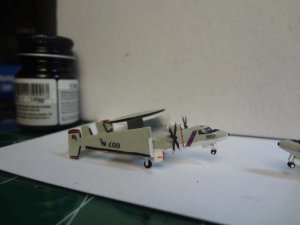
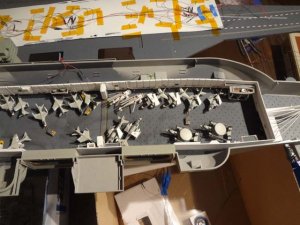
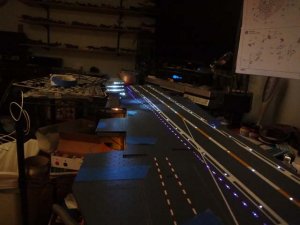
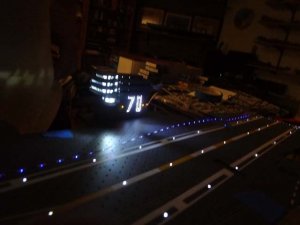
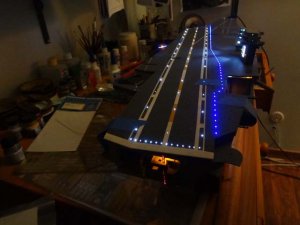
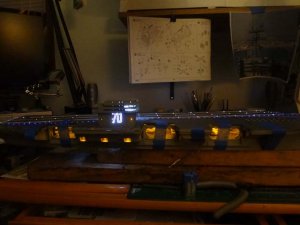
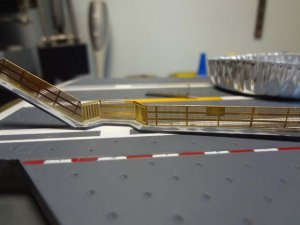
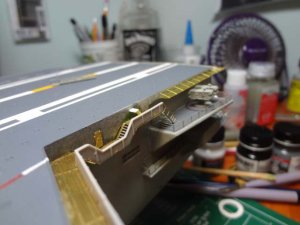
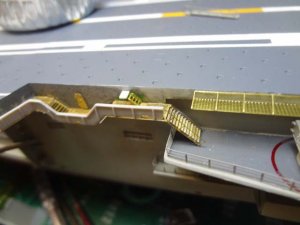
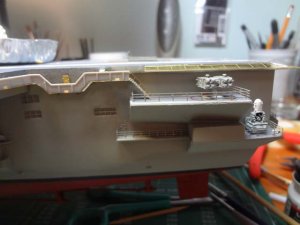
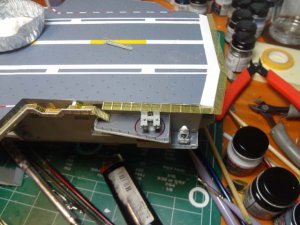
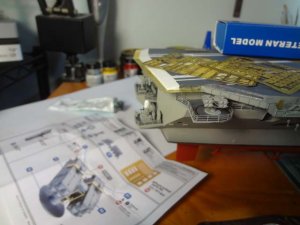
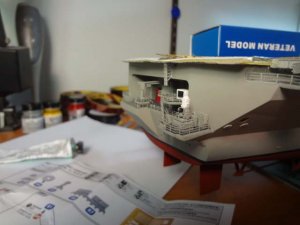
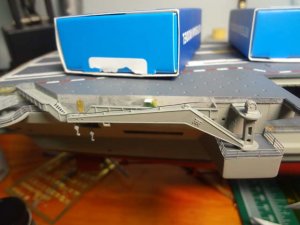
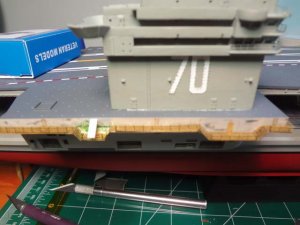
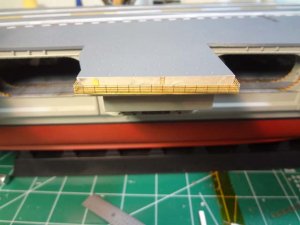
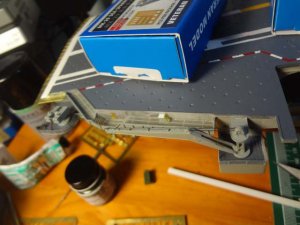
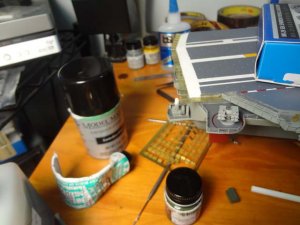
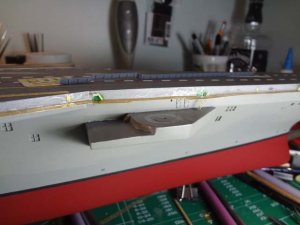
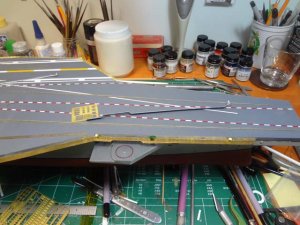
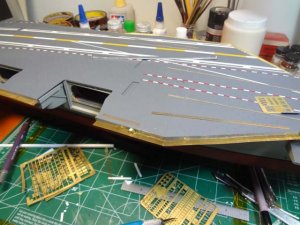
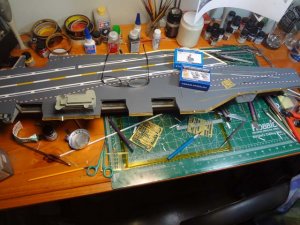
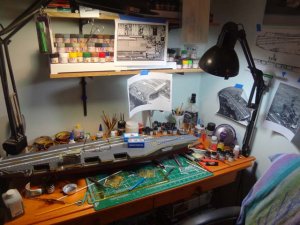
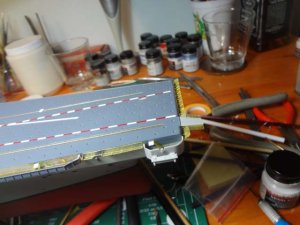
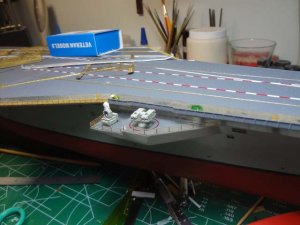
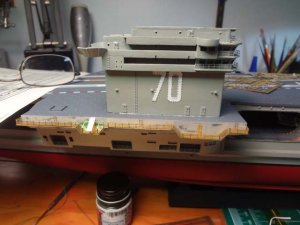
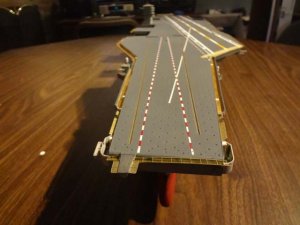
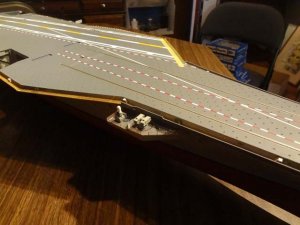
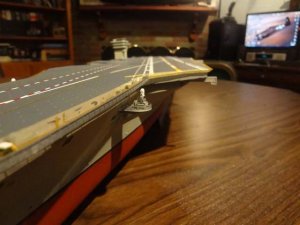
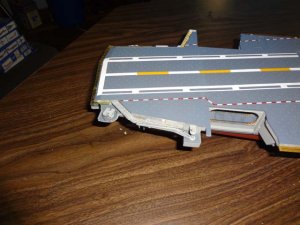
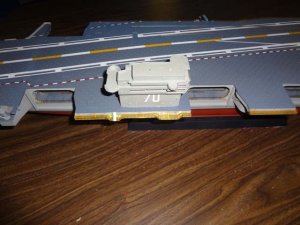
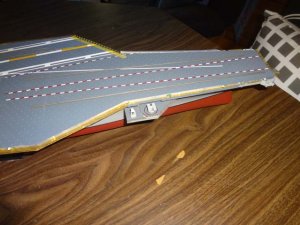
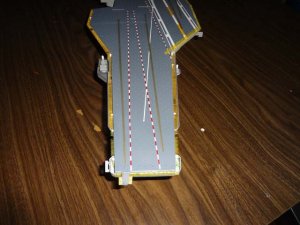
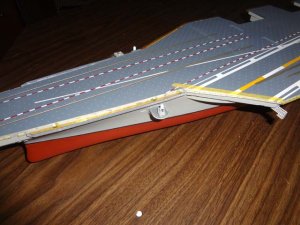
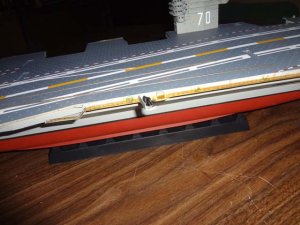
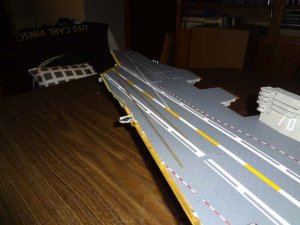
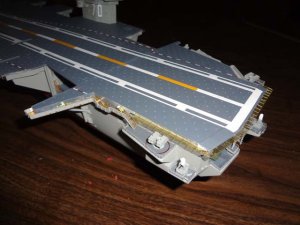
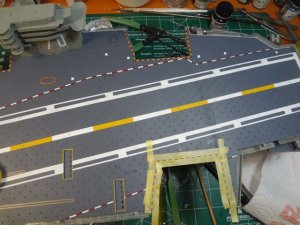
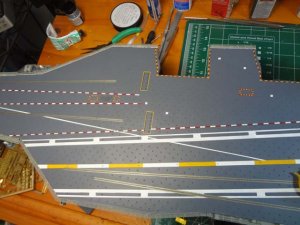
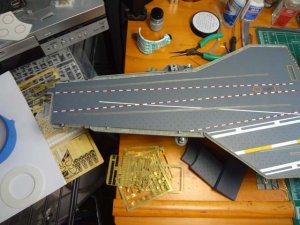
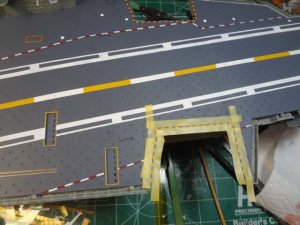
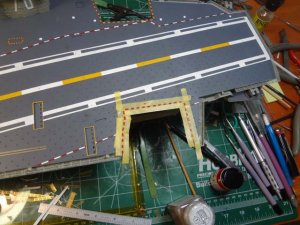
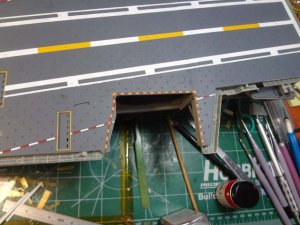
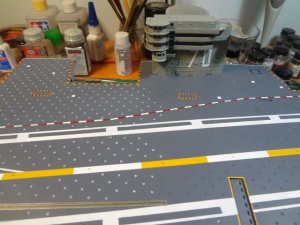
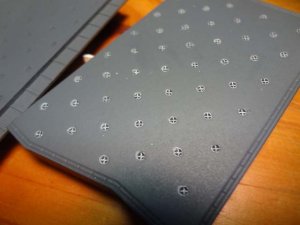
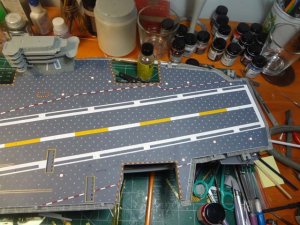
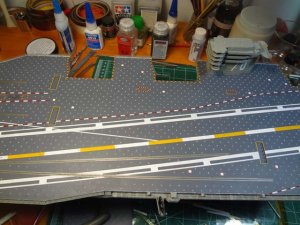
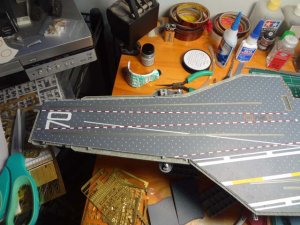
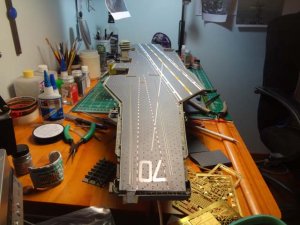
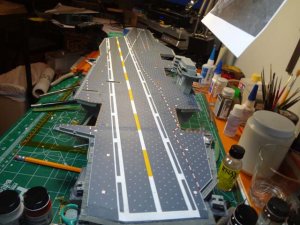
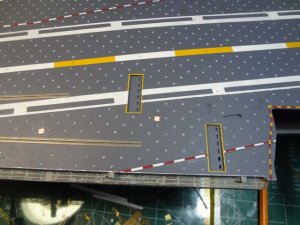
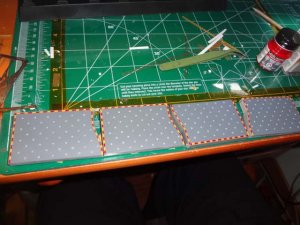
Incredible detail for such small scale.
-

Win a Free Custom Engraved Brass Coin!!!
As a way to introduce our brass coins to the community, we will raffle off a free coin during the month of August. Follow link ABOVE for instructions for entering.
-

PRE-ORDER SHIPS IN SCALE TODAY!
The beloved Ships in Scale Magazine is back and charting a new course for 2026!
Discover new skills, new techniques, and new inspirations in every issue.
NOTE THAT OUR FIRST ISSUE WILL BE JAN/FEB 2026
You are using an out of date browser. It may not display this or other websites correctly.
You should upgrade or use an alternative browser.
You should upgrade or use an alternative browser.
Last edited by a moderator:
The two EA-6B's from VAQ-134 for hangar bay 1 are done. Next are the A-6E's from VA-52 then on to the E-2C's. The decals for these are from Star Fighter. I just added the "NL" and the ship/CVW decals. I really wish Trumpeter would make all their planes the same way. These had the canopy molded into the plane. Makes it difficult to decal and seal.
Last edited by a moderator:
A
Aussie048
Guest
I am very impressed
Cheer
Geoff
Cheer
Geoff
There is light at the end of the tunnel. The E-2C's from VAW-114 are done. This completes all the aircraft for the hangar bays. Now I can start running the wires for the LED's and assembling the ship. Once I get the main sections together I can start detailing the outside of the ship. Then back to building 62 more aircraft. Anyhow, here are the pictures of the E-2C's. (It helps that I built 1/48 scale models of all the aircraft)
Last edited by a moderator:
Last edited by a moderator:
Looks pretty awesome. Imagine landing a plane on that at night.
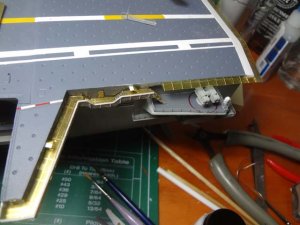
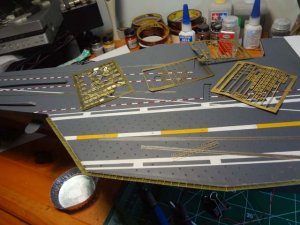
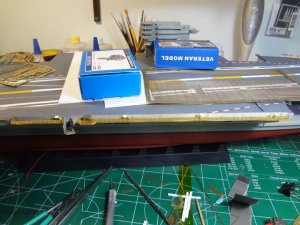
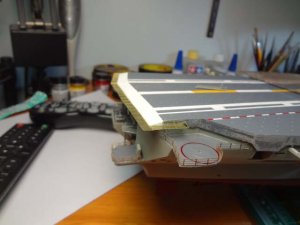
Back to detailing the ship. Working on the catwalks, CIWS, and safety nets. I really like the Veteran Models CIWS parts. They are very detailed and easy to assemble. The photoetch catwalks and safety nets are nice looking. Here are some pictures of the details. Still need paint and add other details to catwalks (hoses and reels, storage boxes, etc.)
Last edited by a moderator:
A
Aussie048
Guest
Wolfman63
The more of this kit the more I like it.
Cheers
Geoff
The more of this kit the more I like it.
Cheers
Geoff
Photo etching has sure increase the quality of kits and makes things almost impossible before become easy and accurate. Great job.
It just keeps getting better. Wow
Finished all the catwalks, safety nets, and CIWS's around the ship. Starting to tape the edges and flight deck so I can paint them. Will be detailing the elevators then on to detailing the island. Still on schedule to complete this project by the end of December.
Here is a walk around of the catwalks, safety nets, and CWIS.
Here is a walk around of the catwalks, safety nets, and CWIS.
Last edited by a moderator:
Painting all weekend. All the catwalks and safety nets painted. In process of painting all the flight deck details. (no decals used yet, all you see is painted) I must really compliment Tamiya. Their 6mm masking tape is awesome. It allows you to mask off even the smallest areas and gives you a clean edge when removing. Completed the starboard side, now working on the port side of the flight deck. I still have some detailing to do for the arresting cables. Now onto the pictures.
Last edited by a moderator:
Last edited by a moderator:
A
Aussie048
Guest
Wolfman
All I can say amazing. I am enjoying your build. I would not be surprised if a few wood kit modelers take up on after seeing your build on plastics
As I said amazing.
Excellent work. We are all watching.
Cheers
Geoff
All I can say amazing. I am enjoying your build. I would not be surprised if a few wood kit modelers take up on after seeing your build on plastics
As I said amazing.
Excellent work. We are all watching.
Cheers
Geoff


