-

Win a Free Custom Engraved Brass Coin!!!
As a way to introduce our brass coins to the community, we will raffle off a free coin during the month of August. Follow link ABOVE for instructions for entering.
-

PRE-ORDER SHIPS IN SCALE TODAY!
The beloved Ships in Scale Magazine is back and charting a new course for 2026!
Discover new skills, new techniques, and new inspirations in every issue.
NOTE THAT OUR FIRST ISSUE WILL BE JAN/FEB 2026
You are using an out of date browser. It may not display this or other websites correctly.
You should upgrade or use an alternative browser.
You should upgrade or use an alternative browser.
This is a sensational model you are building. Well done so far Wolfman.
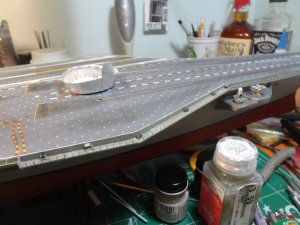
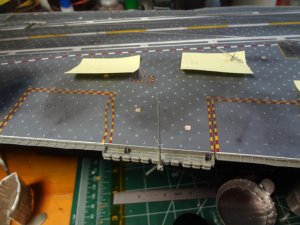
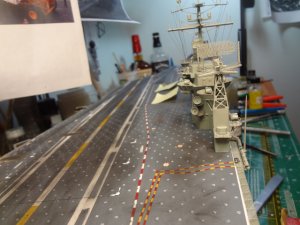
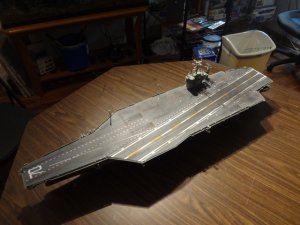
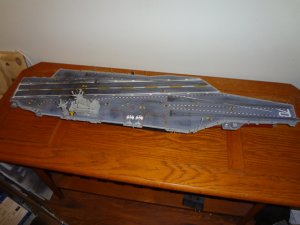
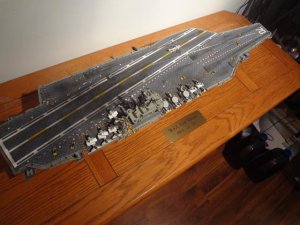
I have had a few folks ask how I weathered the deck so here is how I did it.
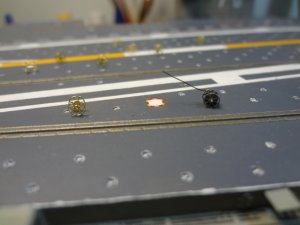
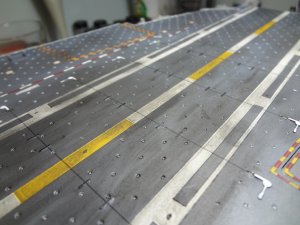
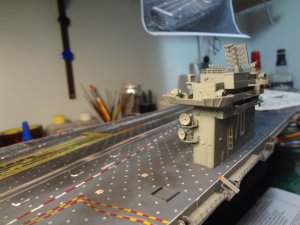
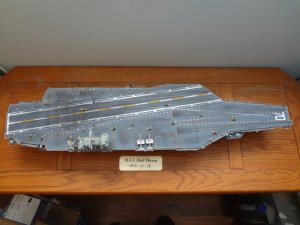
I used black, gray, and brown pastel chalk. I first took the brown and using a balled up paper towel I rubbed the chalk on the jet blast deflectors and the area between the catapults and JBD's. I then used same method and did the area's outside the brown areas and down each side of the catapults.
I then used the same method but went over the center of the JBD's and catapults with black. The then made blotches and stains around the entire flight deck. I made a large area around landing wire #3 (This is the wire that the pilots aim for as the perfect landing wire to catch). On this large area I then used eye makeup foam pads and made streaks with black and gray to represent where the aircraft touched down. Mostly near the center of the runway and extending from wire 1 to wire 4 in a diamond pattern centered on wire 3. Finally taking a makeup blush brush I brushed the surface of the flight deck from bow to stern to blend the colors and remove any excess chalk powder. It then gets a dusted spray of matte clear coat 3 times allowing each coat to dry. The a final coat to seal it all. The dusted coats are required because if you spray a seal coat, it will pick up some chalk and give it weird streaks.
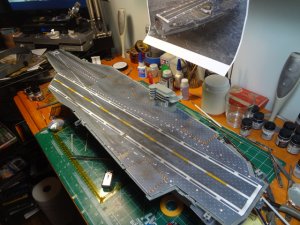
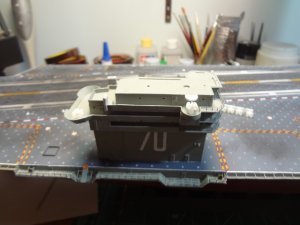
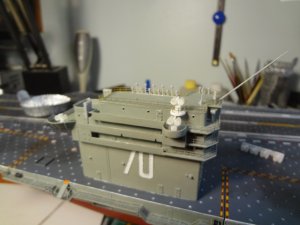
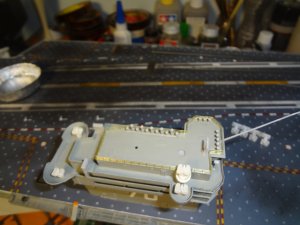
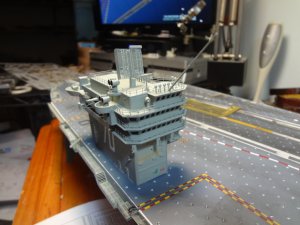
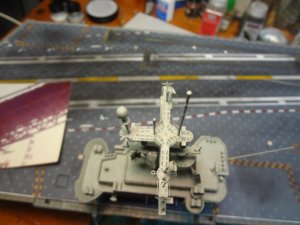
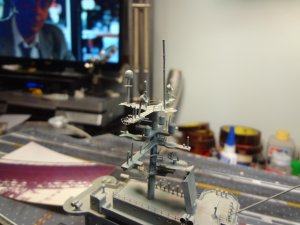
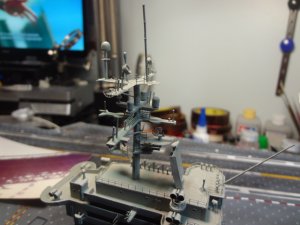
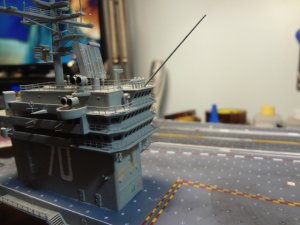
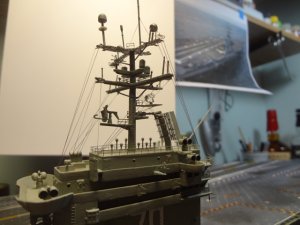
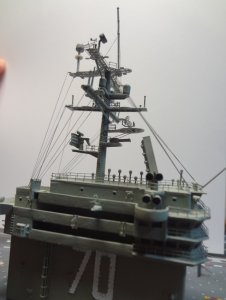
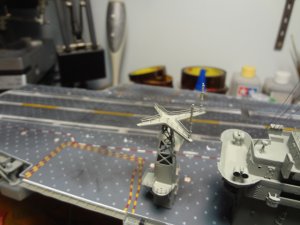
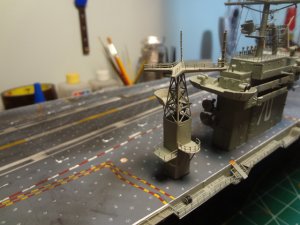
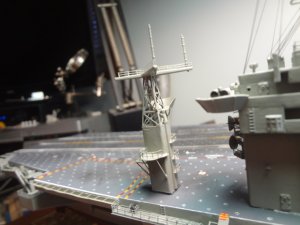
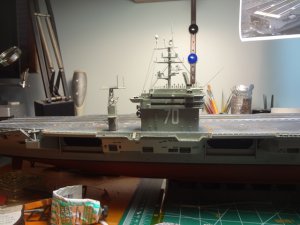
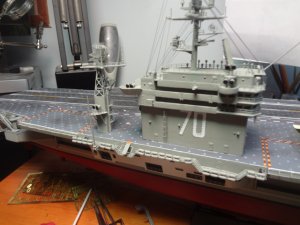
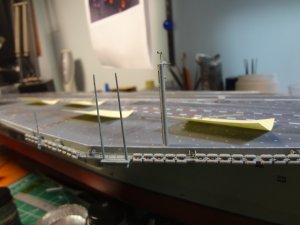
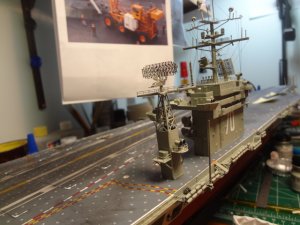
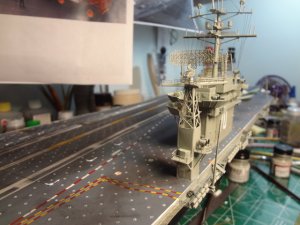
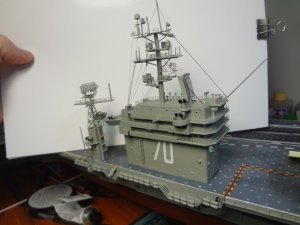
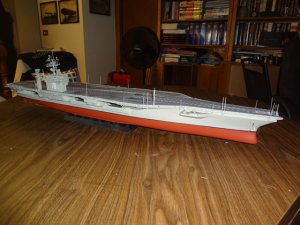
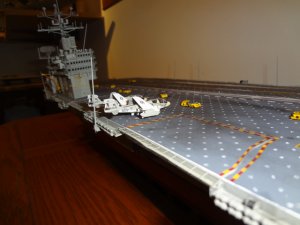
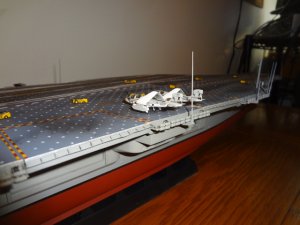
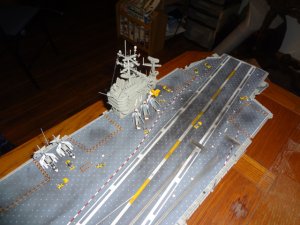
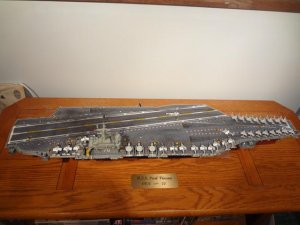
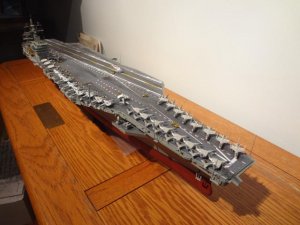
The radar tower is done, The raft canisters, whip antenna's and starboard forward tower (scratch built) are done. Just need to add the whip antenna's and raft canisters to the port side and the anchors. This will basically complete the ship (screws will be put on after the ship is mounted to the display base). All that is left is 56 aircraft, deck tractors, Tilly crane, and the display case.
Last edited by a moderator:
A
Aussie048
Guest
Wolfman
The Carl Vinson is coming along really nicely. Excellent work.
Cheers
Geoff
The Carl Vinson is coming along really nicely. Excellent work.
Cheers
Geoff
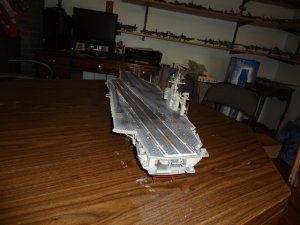
UPDATE: Was informed that the radar tower behind the island is in the wrong position. After some quick research, I have confirmed that Trumpeter has the radar tower in the wrong spot. The tower should be located at the very edge of the flight deck. This is for all Nimitz class carriers. The Nimitz 1975 cruise book clearly shows the tower at the edge.
I have relocated the tower.
I have relocated the tower.
Last edited by a moderator:
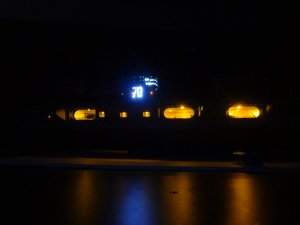
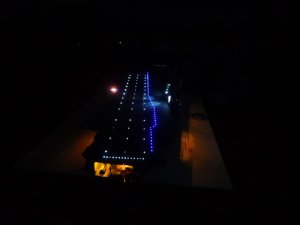
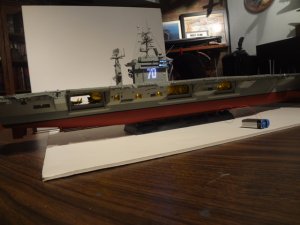
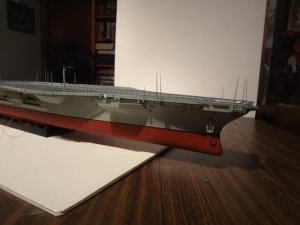
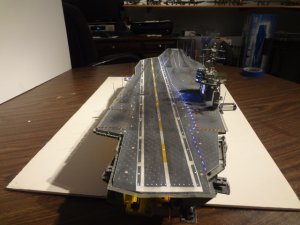
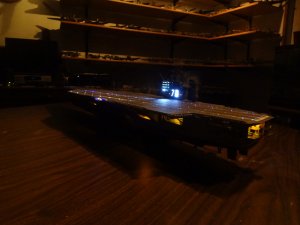
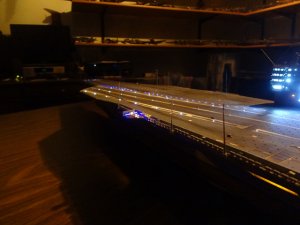
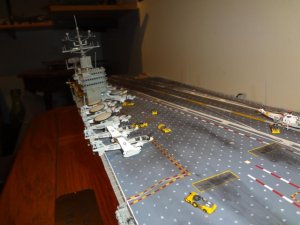
There is light at the end of the flight deck! The ship is basically done. The only two things left to do is to add the screw (props) once it is mounted on the display base and put the flag on it. I did not like how the flat decal flag looked. I do have some ideas on how to make the flag look more realistic. If you have any tips or tricks on making 1/350 scale flags look realistic, please let me know.
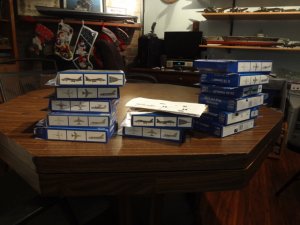
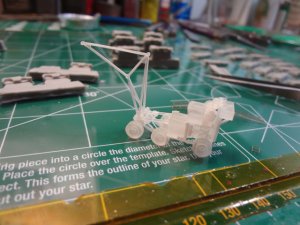
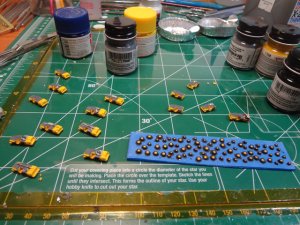
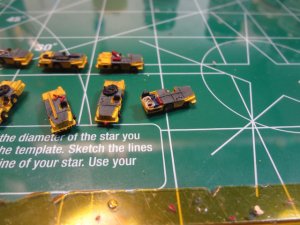
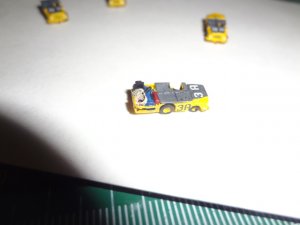
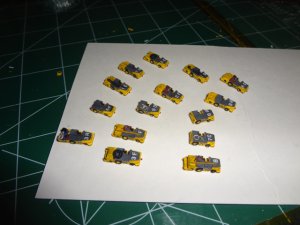
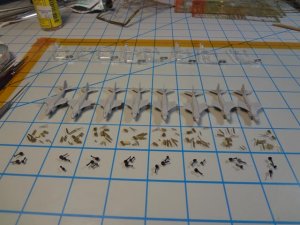
For now I will be working on the rest of the aircraft for the flight deck, the deck tractors, and the Tilly crane. I purchased the Tilly from BaconFist at Shapeways and am working on detailing it now. The last two pictures are the boxes of aircraft left to build and the Tilly crane without detailing.
I am not the best photographer and due to the lighting it is difficult getting a good picture with the compact digital camera. I do plan on having professional pictures taken once it is complete.
Last edited by a moderator:
Special Update! Since the ship is done I now need to work on the filling the flight deck. With all the detail I added to the ship, it only makes sense to continue with details.
I ordered the Tilly crane from BaconFist on Shapeways (3D printed accessoriesfor Nimitz Class carriers)
And here it is after 9.5 hours of detailing.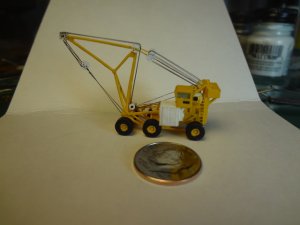
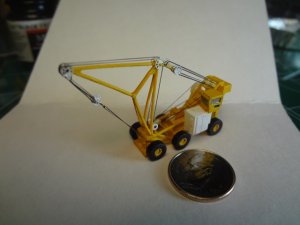
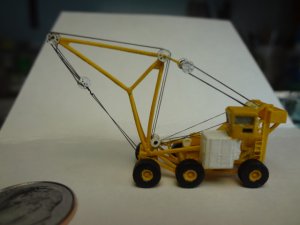
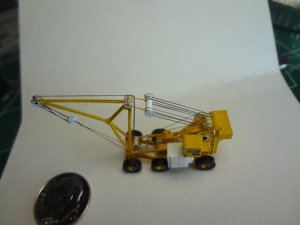
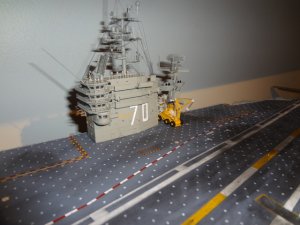
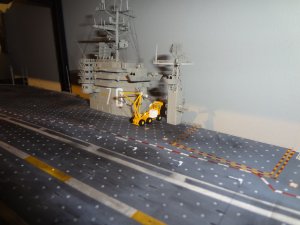
I ordered the Tilly crane from BaconFist on Shapeways (3D printed accessoriesfor Nimitz Class carriers)
And here it is after 9.5 hours of detailing.


Last edited by a moderator:
Last edited by a moderator:
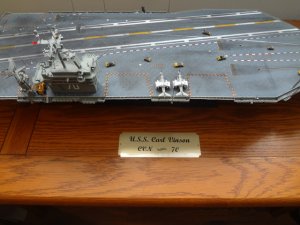
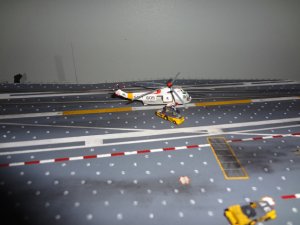
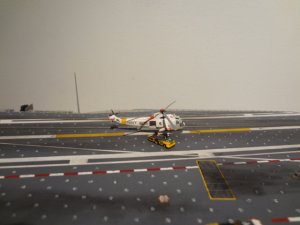
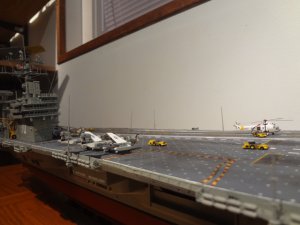
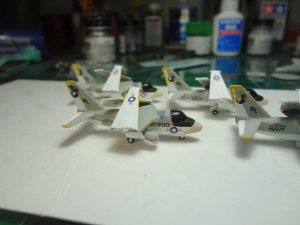
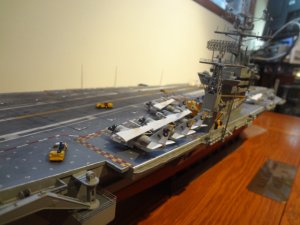
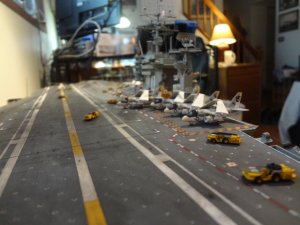
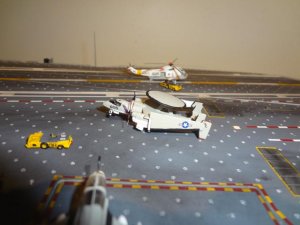
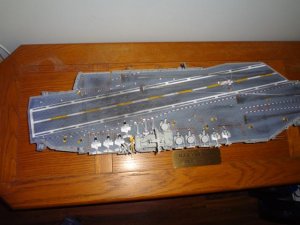
Work is progressing on filling the flight deck. The EA-6B's and the SH-3's are done. So there are only 48 more aircraft to do. I also received the brass plaque which will be mounted on the base of the display case. The final position of the aircraft will be done after all of them are built. Here are the latest pictures:
Last edited by a moderator:
wow, thats beyond my abilities to build something as detailed as that. Superb.
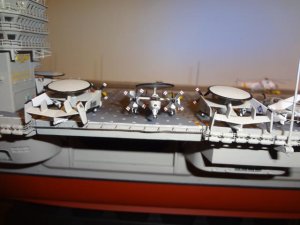
Little late on latest update. Between Christmas and a minor health issue I am hoping to get back to the rest of the aircraft. Here are the E-2C's from VAW-114 on the flight deck. I will be starting on the A-6E's next after I set up my new work bench that my awesome loving Wife got me for Christmas. (Pictures will be posted later) Now on to the E-2C pictures:
Last edited by a moderator:
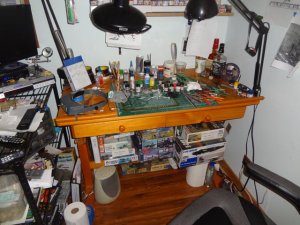
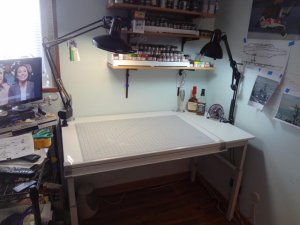
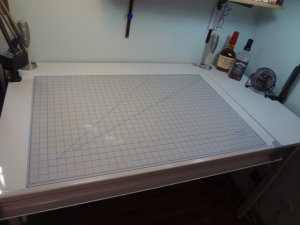
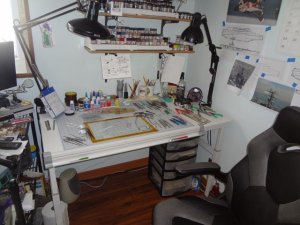
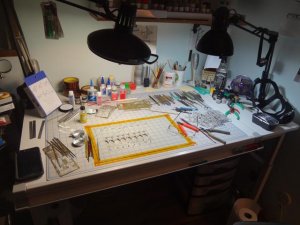
As promised, Here are pictures of the new work bench.
I had a small wooden drafting/hobby desk. Worked great for about 10 years. For Christmas my Wife bought me a new one. It's 35% larger surface area and steel supports so it is very stable. Used it the first time last night working on 1/350 A-6E's for my Vinson project.
First picture is what I have been using for 10+ years.
Last edited by a moderator:
thats a great new workbench. Keep up the great work.
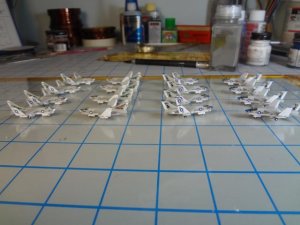
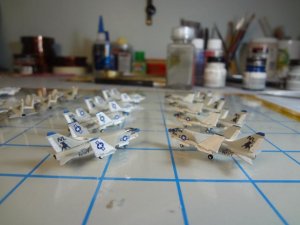
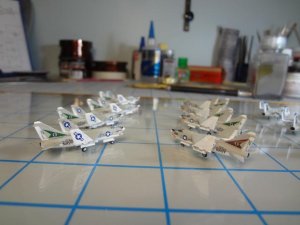
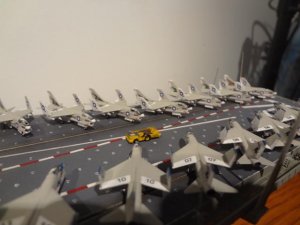
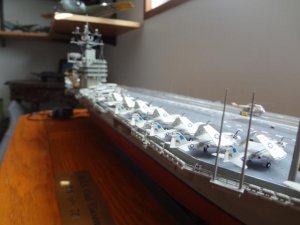
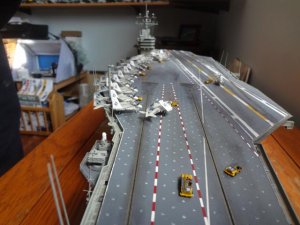
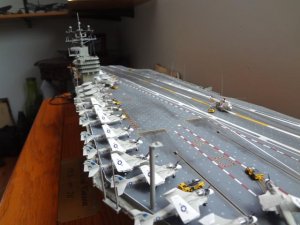
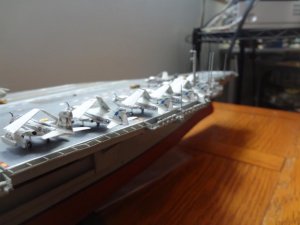
The A-6E's are completed and now on the flight deck. Starting the A-7E's. Just have 16 of the A-7E's and 16 of the F-14's left to do. I was hoping to finish by today but doing 1/350 scale aircraft is a longer process than I estimated. Just hit 712 hours into this project and estimate about 40 more hours to go to complete. Here are the pictures of the A-6E's on deck.
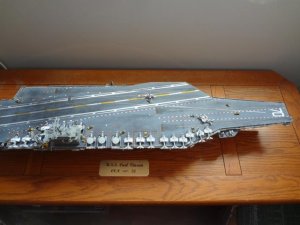


WOW and wow again. I love the tiny jets and aircraft. This really looks so lifelike in the last picture. Awesome !
I might have missed reading it, but how much time (months / years ) so far have you invested in this ? Just curious.
I might have missed reading it, but how much time (months / years ) so far have you invested in this ? Just curious.


