Cap San Diego 1/160

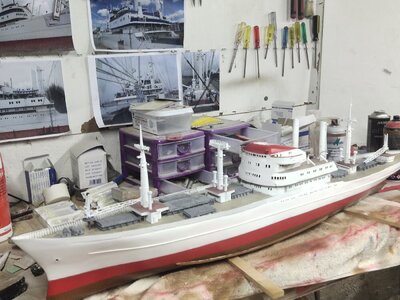
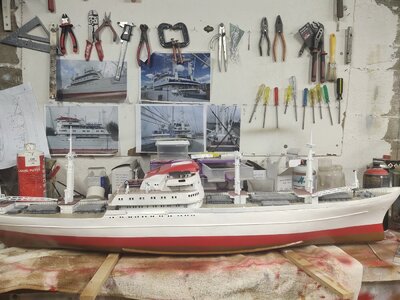
It was about time to do what I avoided to do lately. To paint the hull.
Body was prepared by sanding it with 400,600 and 1500 grit sandpaper.
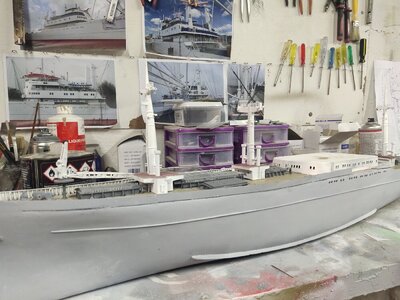
IMG_20231029_124134.jpg
For this size of hull an air compressor with a medium pistol would be ideal. Spray cans are far away from appropriate. The museum models are painted with colors from automobile industry therefore looks so impressive even bit unnatural.
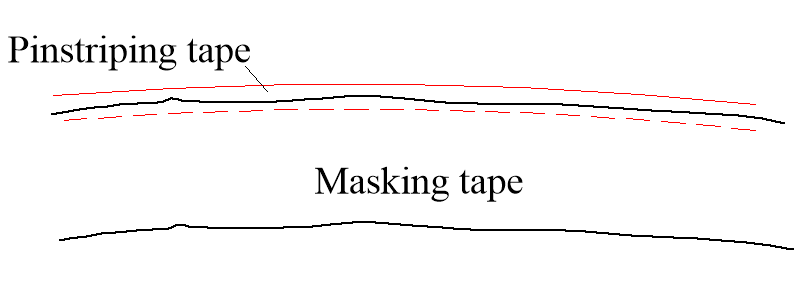
Then I layered tape strips and start spraying. The curved rear area was troublesome to tape. This hull also requires 3 colors, white, red and brown.
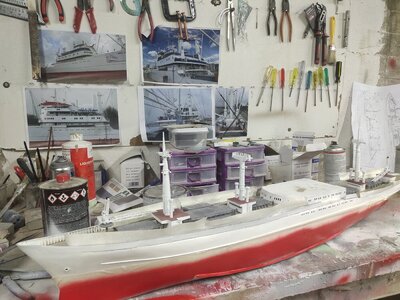
IMG_20231030_173831.jpg
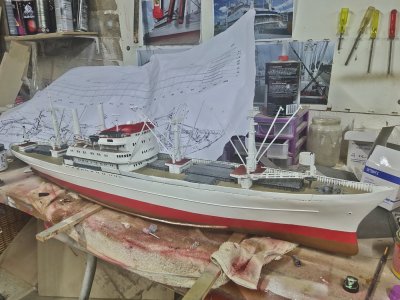
After finishing the layers it took me another week working on evenings to get the desired outcome. Finally a medium gloss varnish was used.
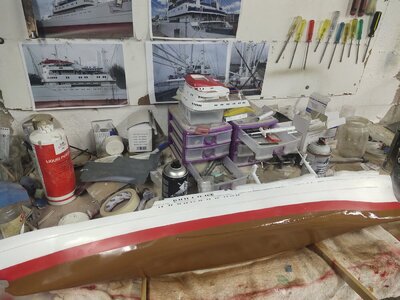
IMG_20231108_174339.jpgIMG_20231109_180916.jpgIMG_20231109_181535.jpg
 
Last 2023 update.
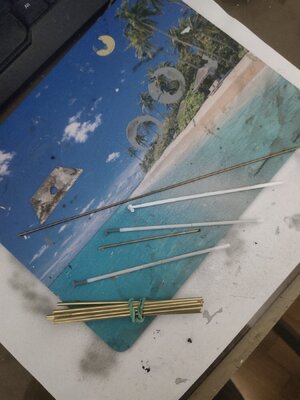
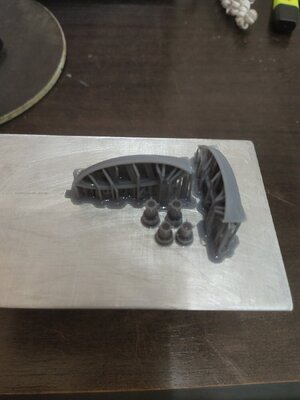
I was looking for a way to make the cargo masts. I opted for a durable material so I skipped plastic over brass. The ends were a bit thinner and these were designed and 3d printed.
The 2.5mm brass tubes had thick walls and proved to heavy for the resin base tip. So I took some 2.5 mm plastic tubes and reinforced them by putting a 1.5 brass piece inside them. Then resin edges were glued. Therefore a desirable stiff part was created without being extra heavy.
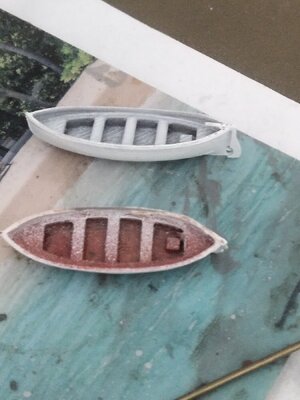
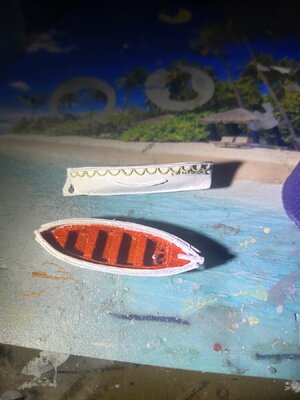
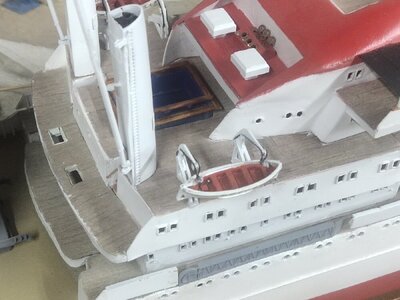
Finally I printed a pair of life boats and started the paint job
IMG_20231231_202923.jpgIMG_20231231_202944.jpgIMG_20231231_194500.jpgIMG_20231231_194423.jpg
 
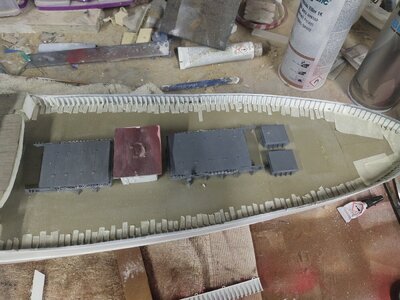
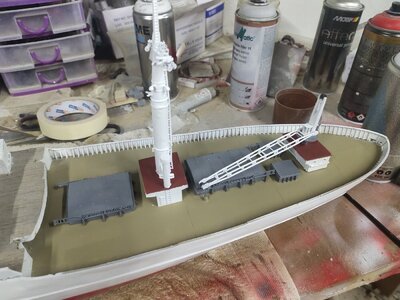
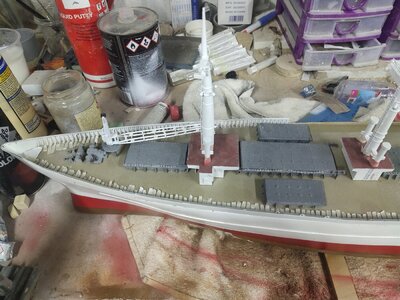
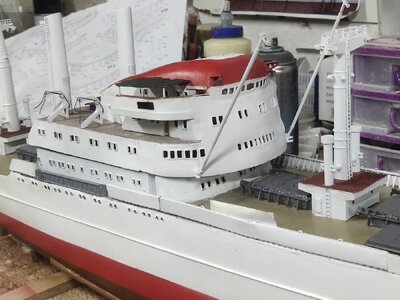
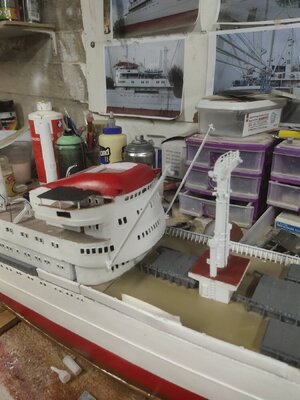
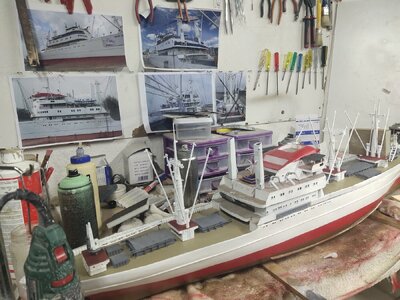
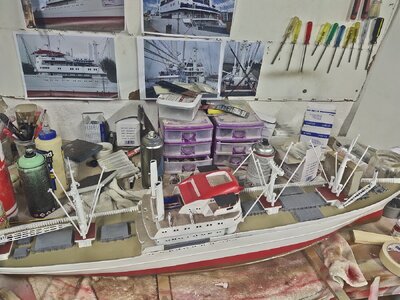
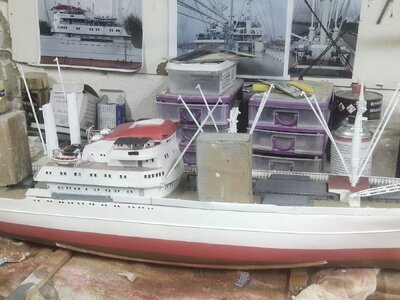
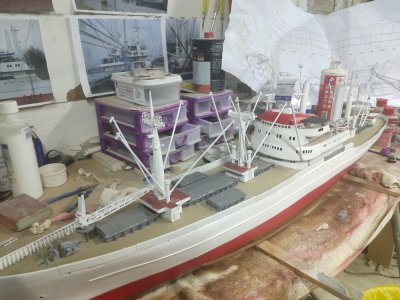
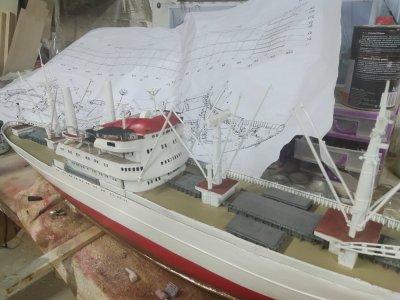
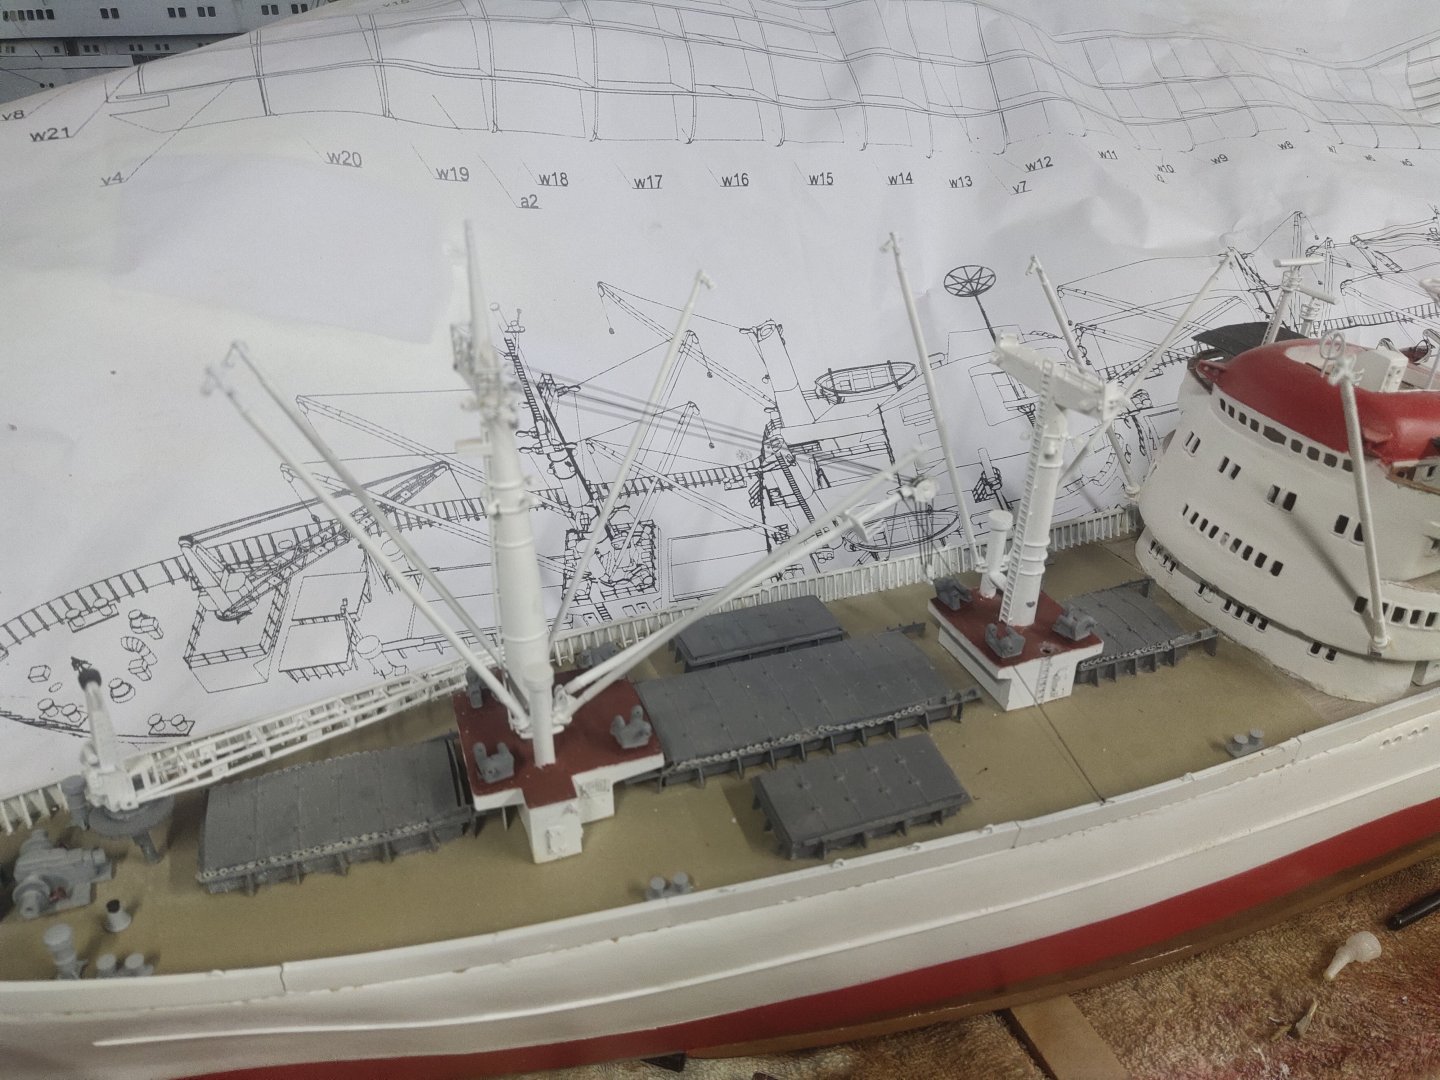
I made the rest of the cranes. All were put in place except those based on the rear sides of the funnels. The model almost has taken its shape except some radar masts and smaller details like winches etc. I ended up with the most messed workbench in the world but in return I got a model of a fine looking vessel
IMG_20240106_202627.jpgIMG_20240106_202657.jpgIMG_20240106_202723.jpg
 
3d printing parts doesn't mean that are ready always there is work to be done in many cases
Model boats were from an old era with planking effects on sides. So I had to sand them down to give the desirable plastic look. Ropes added as well as bilge keels IMG_20231204_112801.jpgIMG_20240121_173329.jpgIMG_20240128_192820.jpgIMG_20240128_192904.jpgIMG_20240128_192914.jpg
 
3d printing parts doesn't mean that are ready always there is work to be done in many cases
Model boats were from an old era with planking effects on sides. So I had to sand them down to give the desirable plastic look. Ropes added as well as bilge keels
Hallo @mikegr
we wish you all the BEST and a HAPPY BIRTHDAY
Birthday-Cake
How is your project going?
 
Update at last
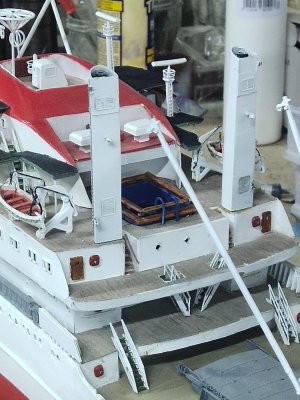
The bridge part fell off so I had to repair some broken items. All cranes are attached apart those in funnels. There are still fragile hopefully with rigging will be put in place more tightly.
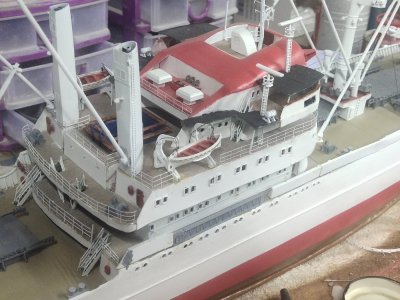
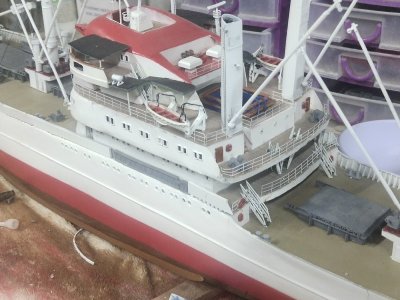
Some details like radars and antennas were added on bridge. There are still things to be put in place like barrel rafts, doors etc.
IMG_20240828_195002.jpgIMG_20240828_194852.jpgIMG_20240828_194828.jpg
 
It was about time to do what I avoided to do lately. To paint the hull.
Body was prepared by sanding it with 400,600 and 1500 grit sandpaper.
View attachment 406048
For this size of hull an air compressor with a medium pistol would be ideal. Spray cans are far away from appropriate. The museum models are painted with colors from automobile industry therefore looks so impressive even bit unnatural.
Then I layered tape strips and start spraying. The curved rear area was troublesome to tape. This hull also requires 3 colors, white, red and brown.
View attachment 406049
After finishing the layers it took me another week working on evenings to get the desired outcome. Finally a medium gloss varnish was used.
View attachment 406050View attachment 406051View attachment 406052
Hallo Mike
our member @Wolle was short time ago on board during a trip of this vessel - so maybe you has made some photos, which could be of some interest for you

 
Hallo Mike
our member @Wolle was short time ago on board during a trip of this vessel - so maybe you has made some photos, which could be of some interest for you

Thank you very much, I will keep an eye.
I have booked my own trip to Hamburg on November. By then I will have done some progress and only details will have left but you may know what they say. Better late than never.
 
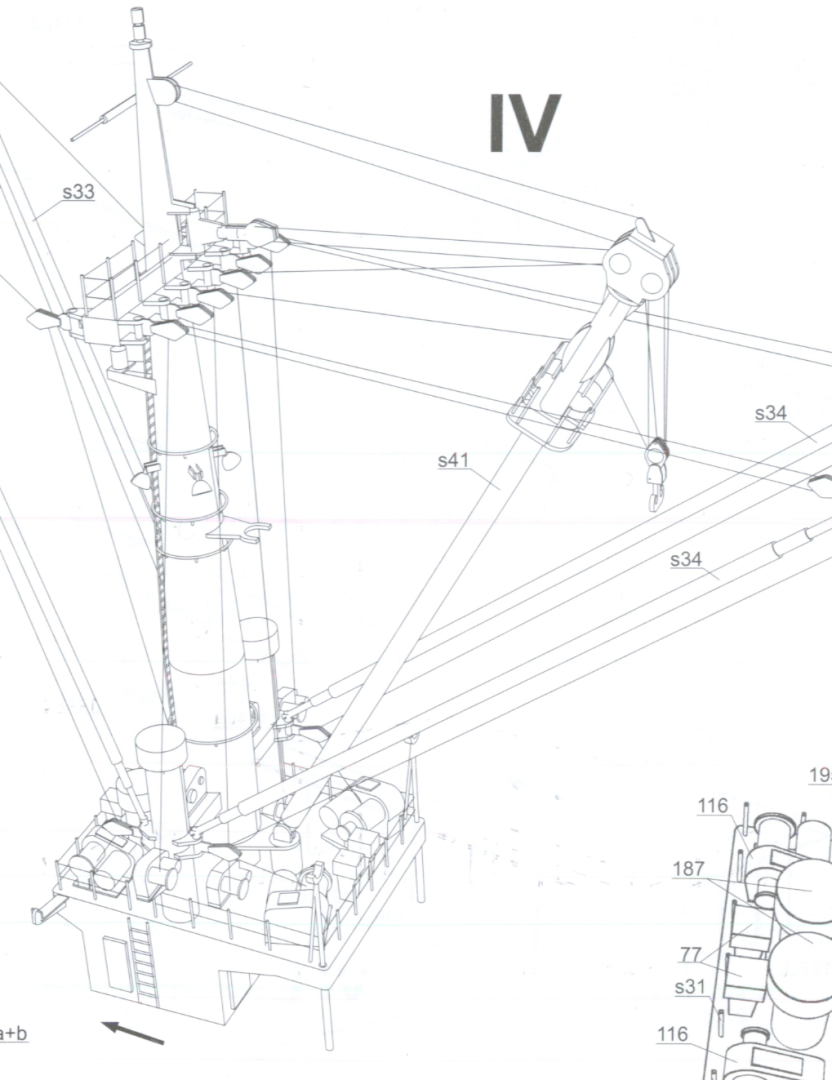
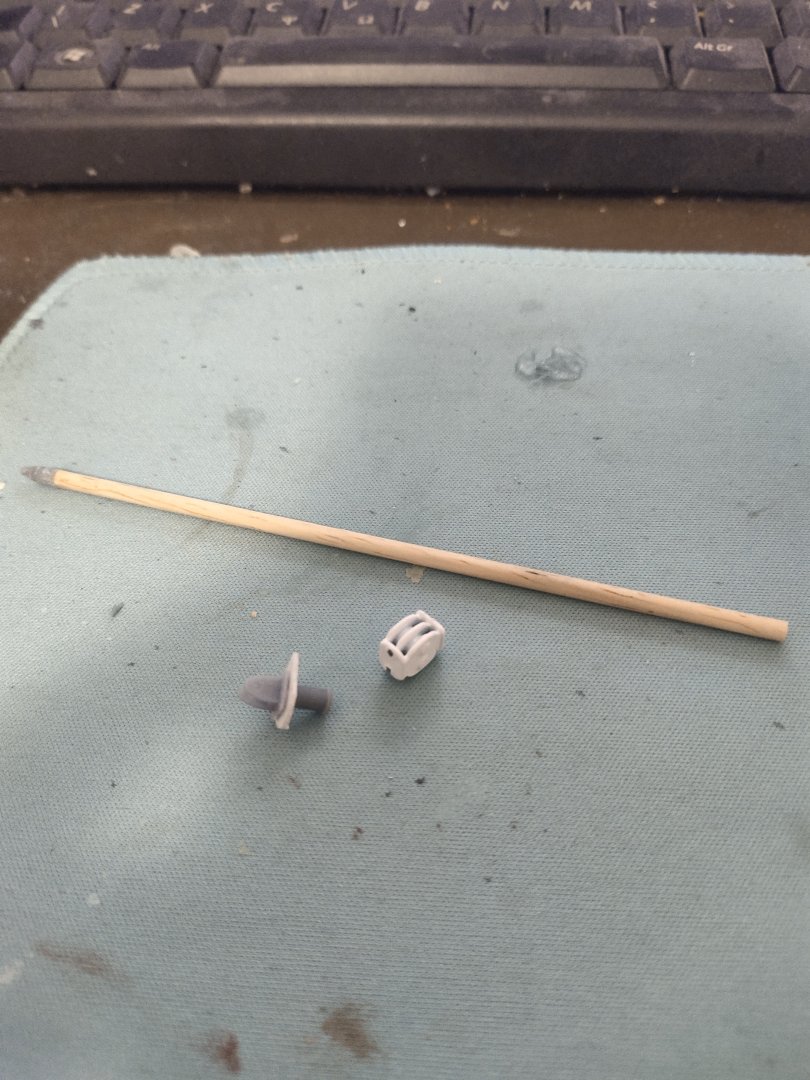
forgot to make a whole mast. Its thicker that the others and has has a big pulley.
Screenshot_2024_1113_184326.thumb.png.85f52546c35b78e081ce8d876a38e849.png
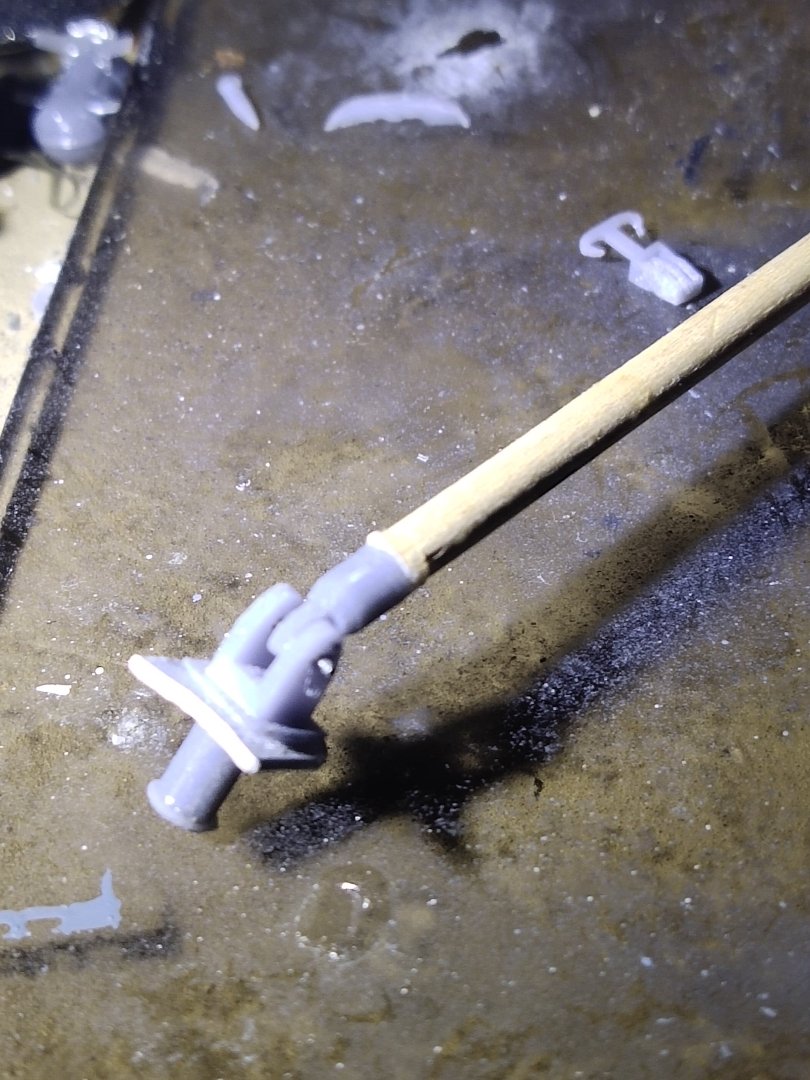
Lower tip and pulley were made with 3d parts. The base and the main part were made of plastic and wood respectively.I even managed to make it movable up and down. Not that its important, I just wanted to do it.
IMG_20241109_134754.thumb.jpg.aab7657848a5378b3c3ed0f696cdb261.jpg
IMG_20241109_184945.thumb.jpg.d73601b115ecf89429f2c5811d377d2b.jpg
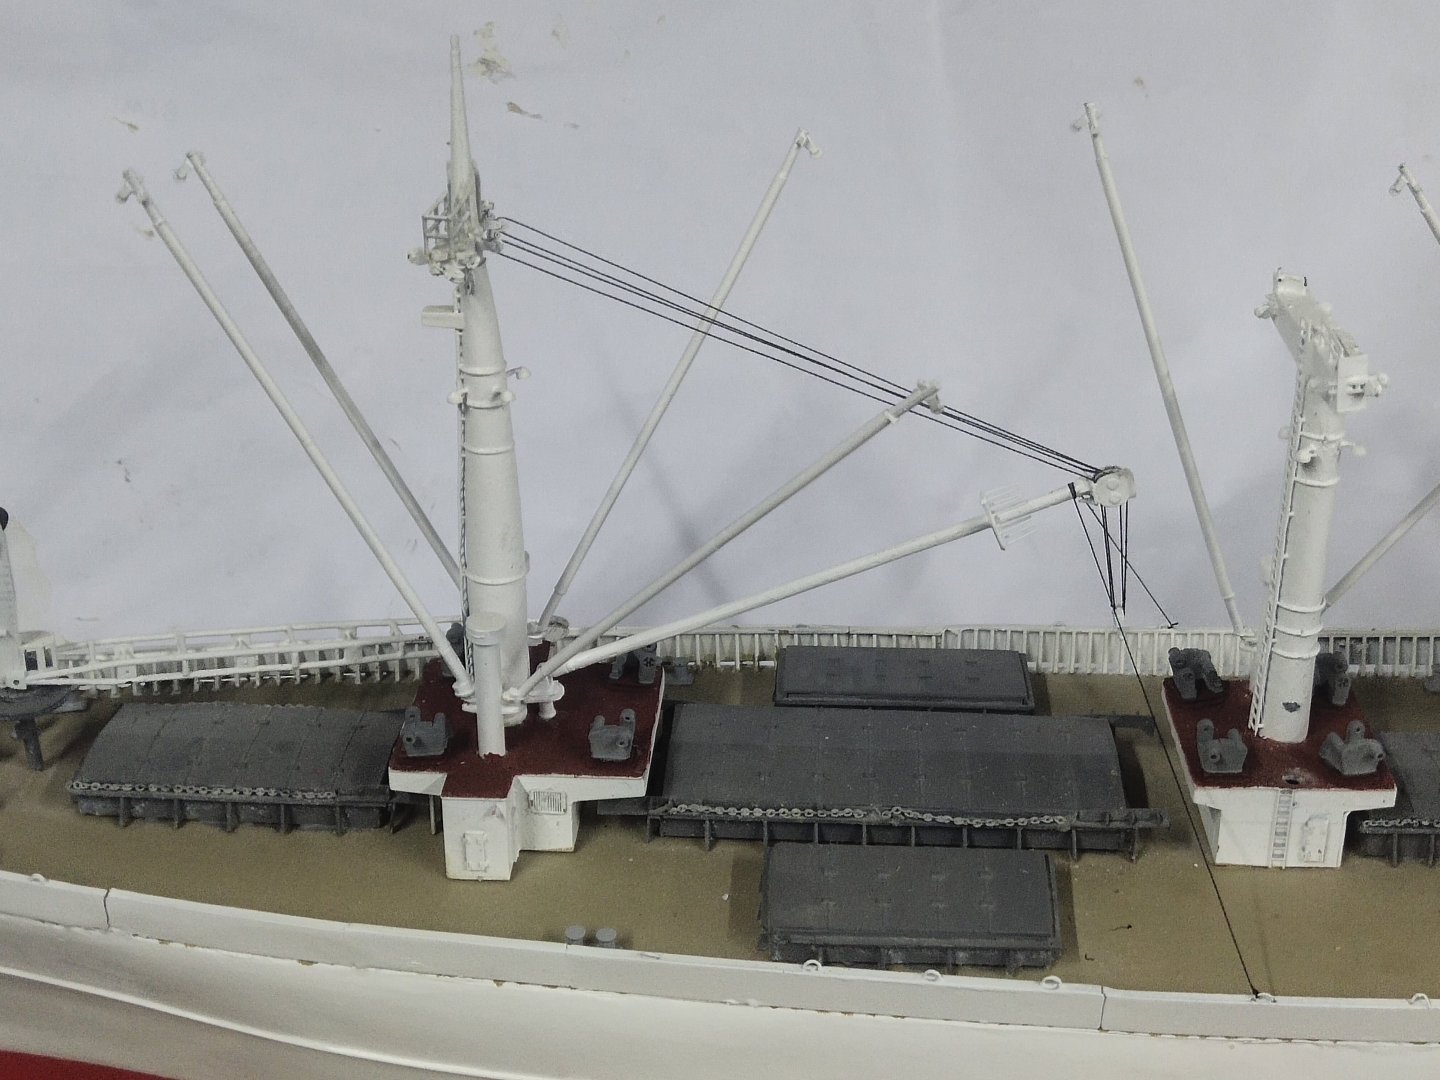
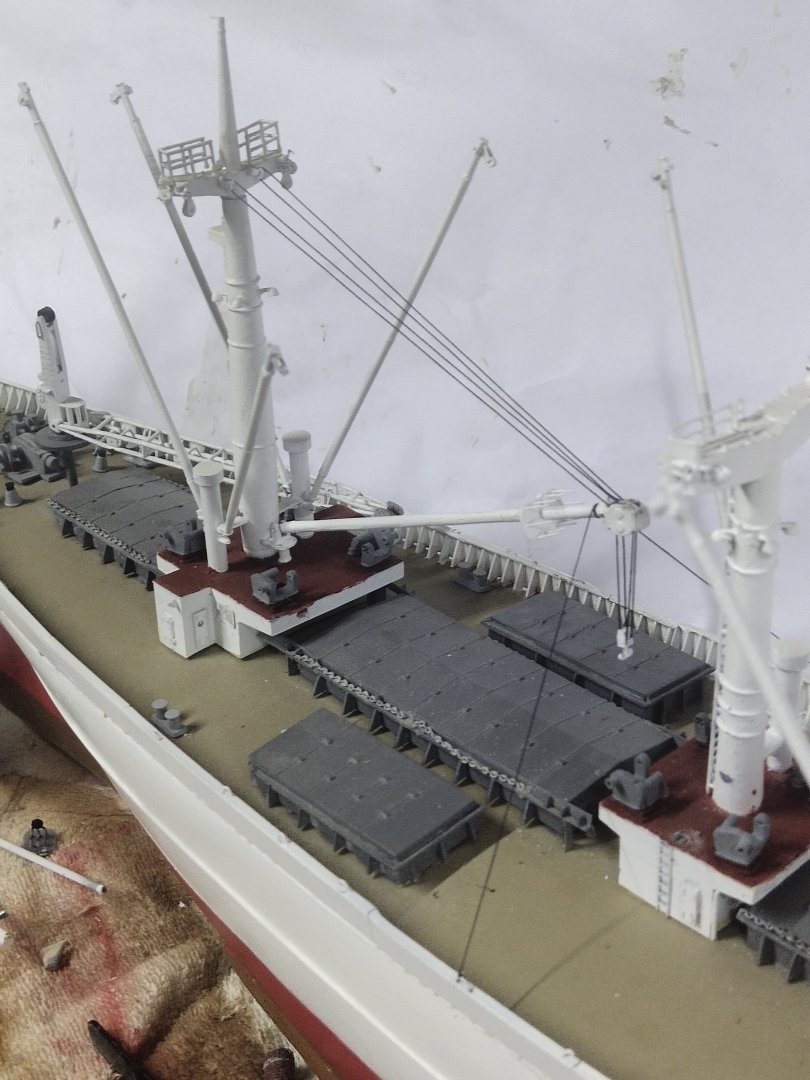
After assembling the parts it was time to put it in place. I decided to try my luck in rigging. What a painful experience it was. Trying to give the right tension was quite difficult. A big respect to those who deal with rigging at wooden sail ships. Maybe this 1/160 scale make things more tricky,
IMG_20241113_182448.thumb.jpg.fc2fb793c938ad71e4d4ac72ab036761.jpgIMG_20241113_182536.thumb.jpg.3c50d34725431db7db393ca639415e3c.jpgIMG_20241113_182543.thumb.jpg.8ddd00768441ac0d082549583222044a.jpg
Note the wire crossing the deck and over the crane. This is what I call, faulse rigging. This does not exist on plans. Its purpose its to give the right tension to wires from pulley to the main mast. If brass had been used instead of wood, the increased weight may have done this job. A lesson for the future. However its not that unreal as many other cranes are tighten in this way according to my reference pictures. But enough rigging for now.
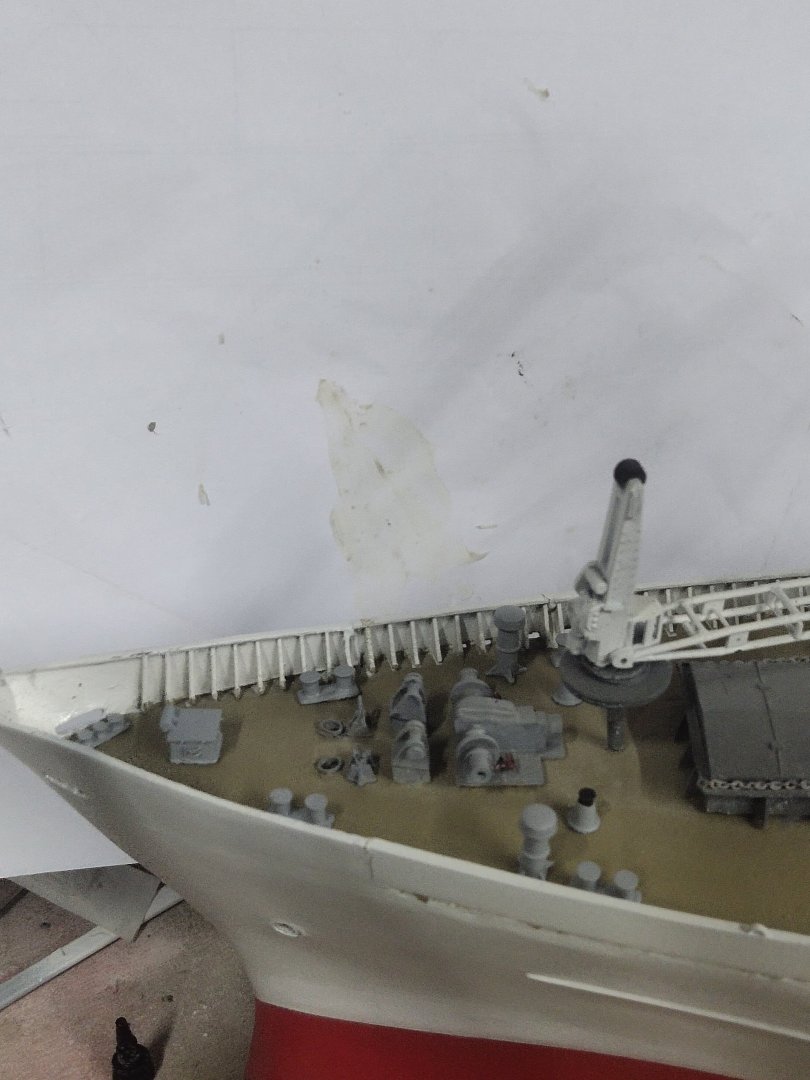
Last progress was in bow section, only anchor and chain is to be added.
IMG_20241113_182554.thumb.jpg.3edaf3f087e2e44159c14f703006d6c6.jpg
 
Back
Top