-

Win a Free Custom Engraved Brass Coin!!!
As a way to introduce our brass coins to the community, we will raffle off a free coin during the month of August. Follow link ABOVE for instructions for entering.
-

PRE-ORDER SHIPS IN SCALE TODAY!
The beloved Ships in Scale Magazine is back and charting a new course for 2026!
Discover new skills, new techniques, and new inspirations in every issue.
NOTE THAT OUR FIRST ISSUE WILL BE JAN/FEB 2026
You are using an out of date browser. It may not display this or other websites correctly.
You should upgrade or use an alternative browser.
You should upgrade or use an alternative browser.
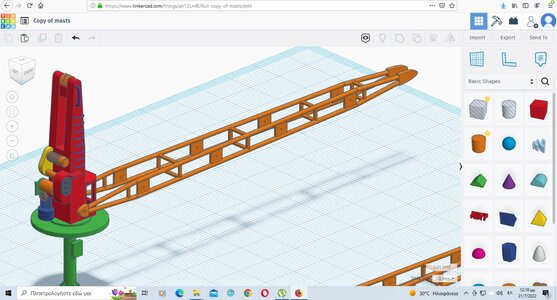
The progress in 3d is going on. I put all things together as a preview although I will print the cranes in separate pieces.
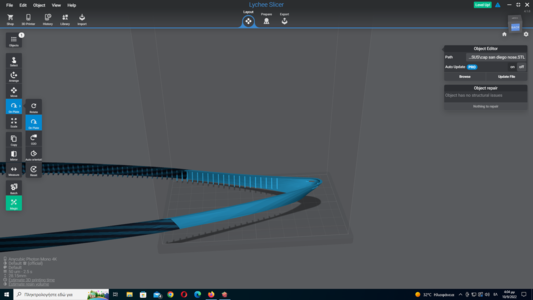
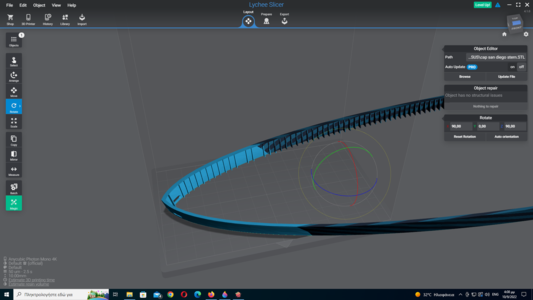
However it seems that i prefer spend time on this and avoid to concentrate on a more challenging project. To built the deck frame, present on all cargo ships of the time instead of rail bars
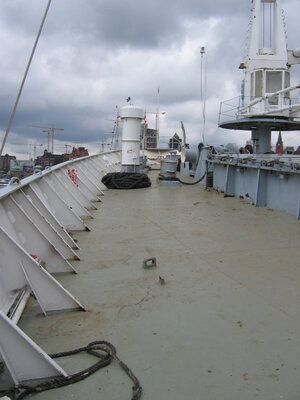
Because of the curvy shape that follows the hull, I'm not sure how to design yet. And still I am worry about the overall fitting of the triangle supports to the deck. A last worry would be to find a glue for resin that won't also make a mess to the deck.
For scratchbuild this piece I face the problem of finding the proper material. Metal strip would be to thin to handle and the tiny supports too hard to be made equal. So I am worry of visible imperfections
Balsa over 1mm would be more stable and still easy to work but too thick while thinner would be very optically ideal but easy to break unless fortified with some material like gel coat

However it seems that i prefer spend time on this and avoid to concentrate on a more challenging project. To built the deck frame, present on all cargo ships of the time instead of rail bars

Because of the curvy shape that follows the hull, I'm not sure how to design yet. And still I am worry about the overall fitting of the triangle supports to the deck. A last worry would be to find a glue for resin that won't also make a mess to the deck.
For scratchbuild this piece I face the problem of finding the proper material. Metal strip would be to thin to handle and the tiny supports too hard to be made equal. So I am worry of visible imperfections
Balsa over 1mm would be more stable and still easy to work but too thick while thinner would be very optically ideal but easy to break unless fortified with some material like gel coat
Progress must go on somehow. I found someone on FB who could design bulwarks ready to print for me. I will talk about it later
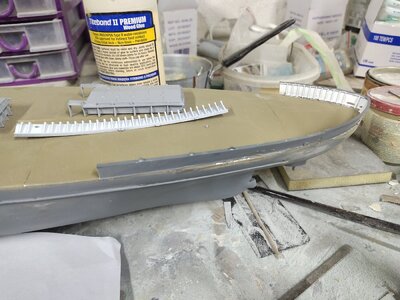
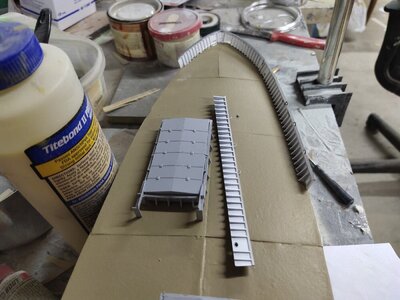
The bow desing came pretty close to model dimensions. With a heat gun i soften the resin pieces and added to the deck with epoxy putty/glue. Due to the size i had to cut the rear section in pieces. If you are interested in a resin printer i suggest to go for at least medium size. The 6" diagonal plate can be filled easily.
The person who designed my projects owns this site
https://www.endtas.com/contact-us/?...Xuem1vhqV3mTyS79q0LMuxZ4ioCTCVhByd356Qyr2yL2M
It has a lot of free stuff to download. I have printed a couple of submarines model with great success. Those that are not free are still very reasonably priced. You can also donate as little as 2$. Its definately worth to visit it.
The bow desing came pretty close to model dimensions. With a heat gun i soften the resin pieces and added to the deck with epoxy putty/glue. Due to the size i had to cut the rear section in pieces. If you are interested in a resin printer i suggest to go for at least medium size. The 6" diagonal plate can be filled easily.


The person who designed my projects owns this site
https://www.endtas.com/contact-us/?...Xuem1vhqV3mTyS79q0LMuxZ4ioCTCVhByd356Qyr2yL2M
It has a lot of free stuff to download. I have printed a couple of submarines model with great success. Those that are not free are still very reasonably priced. You can also donate as little as 2$. Its definately worth to visit it.
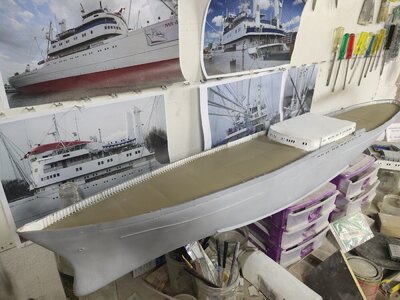
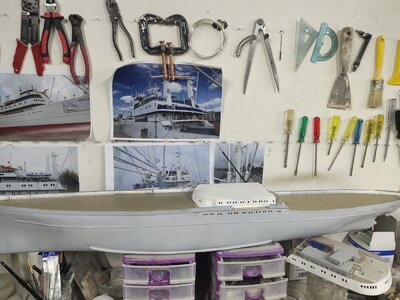
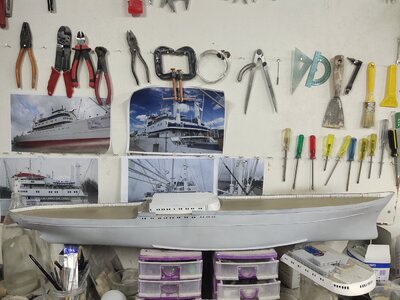
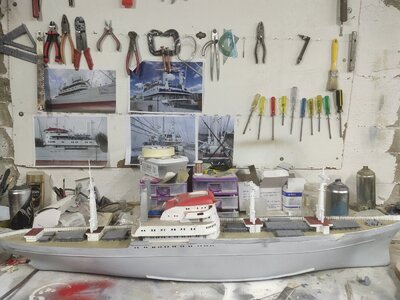
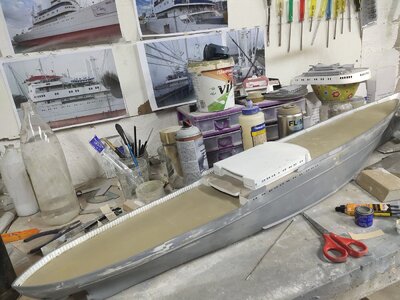
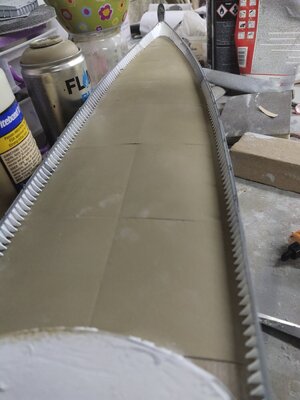
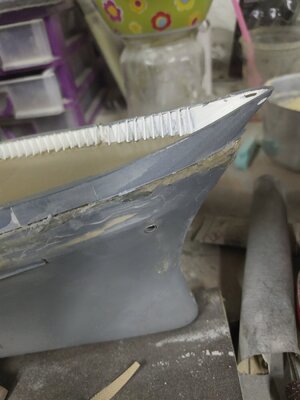
After slow progress and piece by piece assembly all sections are into place. I painted white the internal part and grey the upper side. Externally putty was applied at joints then sanded but not primed yet. I need to do some work on the bow. The deck at the anchor area is a bit "fat" and it should be trimmed somehow to meet the slim frame. The bow is also quite sharper on the upper end like the real ship and needs to be aligned with the rest of it. Finally there are some design lines that must be deleted so frame will have a smooth finish like the rest pieces.



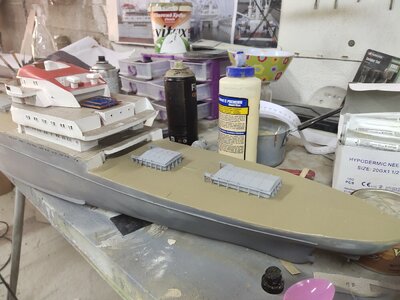
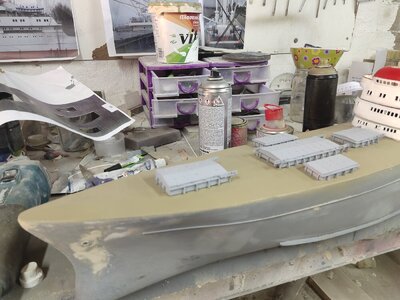
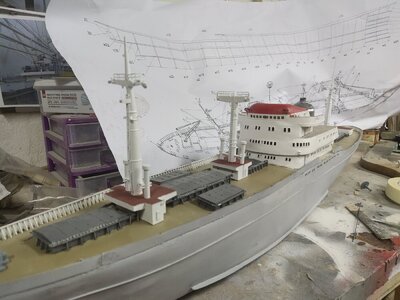
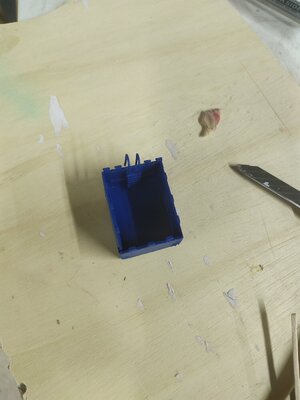
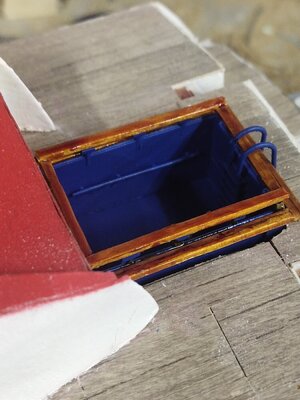
Next step was to test fit rear area cargo holds and crane bases. Chain is a bit overscale maybe but the result is acceptable. Cargo holds are scratch built and crane bases -which are also storage rooms- are 3d printed. I need only to sand them down so they can fit with the deck which leans towards the sides.
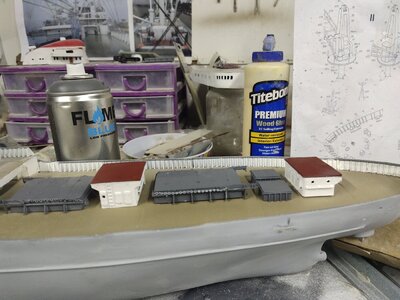
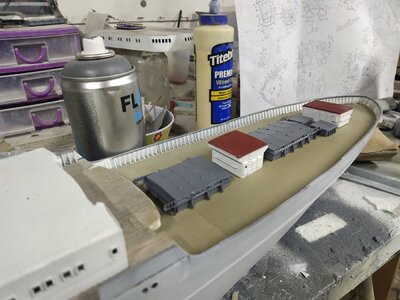


Like in the rear section I printed the crane bases-rooms for the front part. The cargo holds are already in place.
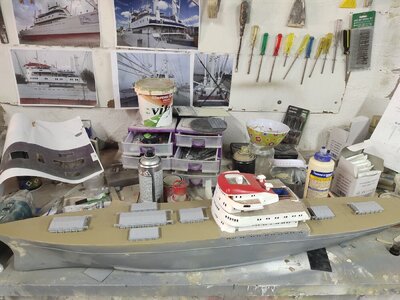
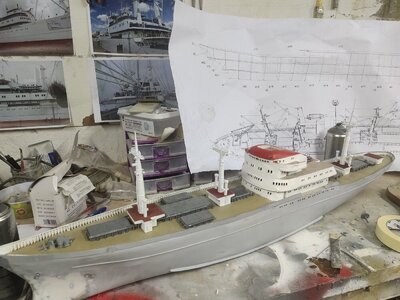
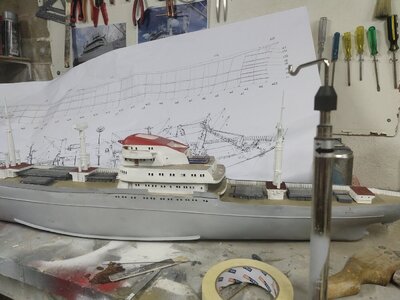
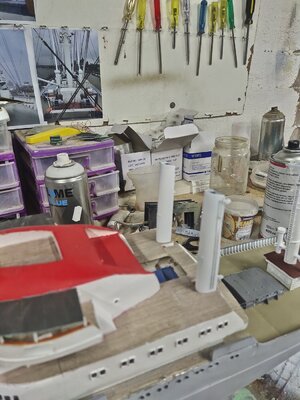
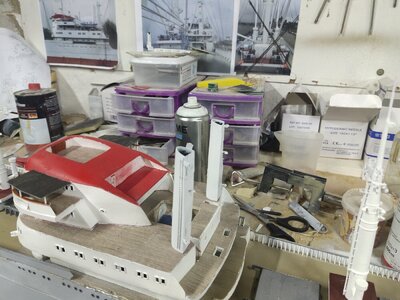
I took the long time abandoned superstructure pieces and joined them together with wood glue and body car filler on the front side. After sanding it become smooth, needs to br painted. All parts were placed on deck for final fitting and inspection
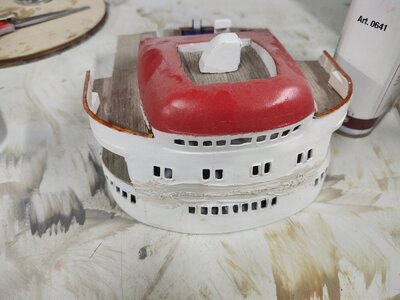
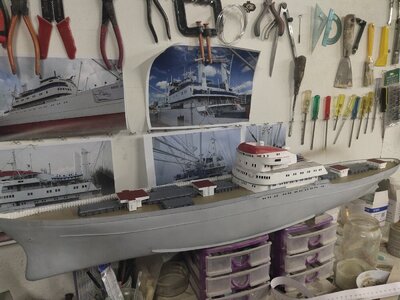
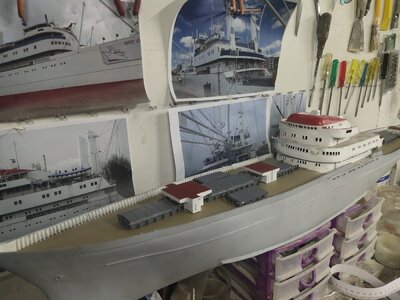
I took the long time abandoned superstructure pieces and joined them together with wood glue and body car filler on the front side. After sanding it become smooth, needs to br painted. All parts were placed on deck for final fitting and inspection


Work slowed down because of other project but now I'm back on track.
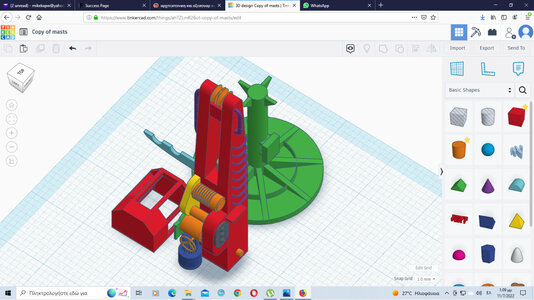
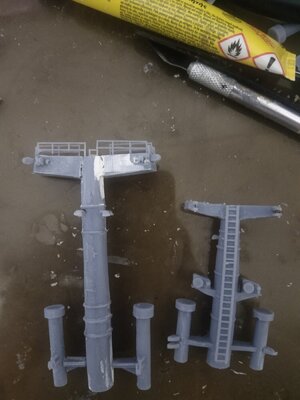
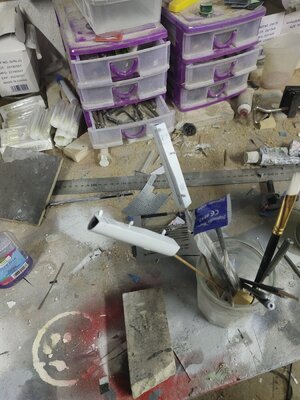
I decided to make the masts. Wasn't sure how, finally the design and 3d printing was chosen instead of scratch building. After many hours of design I got the first result, two successful prints while one collapsed partially. Using my skills I manage to repair it and save another 6 hour printing season.
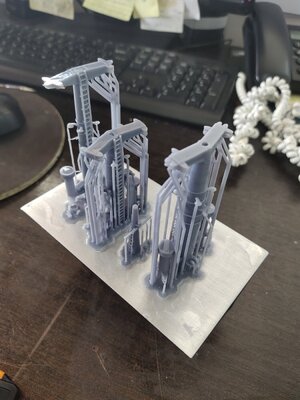
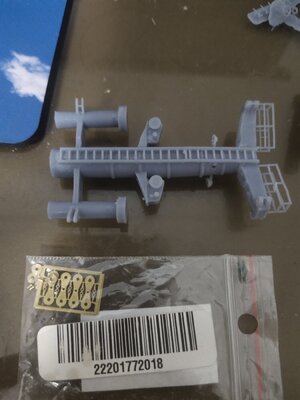
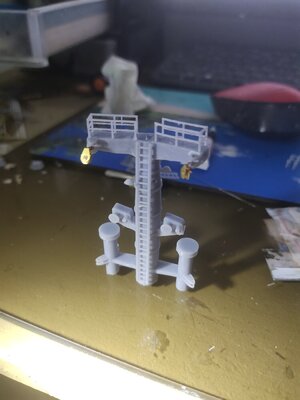
I decided to make the masts. Wasn't sure how, finally the design and 3d printing was chosen instead of scratch building. After many hours of design I got the first result, two successful prints while one collapsed partially. Using my skills I manage to repair it and save another 6 hour printing season.


am working on the pulleys. The number required is great, Not sure about wooden ships but here more than 50 needed from what i see on the plan
There are also double and triple pulleys that will be used. I am using photos of my archive as a guide to position them and differ remarkably from my plans. Rigging will be more challenging that it seemed initially. Most possibly won't be 100 accurate but thats ok.
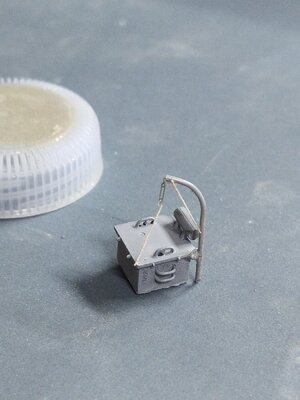
Meantime I decided to install the anchor machinery and drill the anchor holes all the way to the ship sides while working to improve paint details on deck
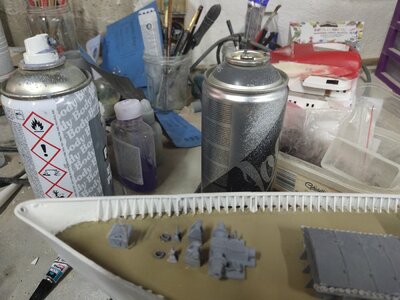
There are also double and triple pulleys that will be used. I am using photos of my archive as a guide to position them and differ remarkably from my plans. Rigging will be more challenging that it seemed initially. Most possibly won't be 100 accurate but thats ok.

Meantime I decided to install the anchor machinery and drill the anchor holes all the way to the ship sides while working to improve paint details on deck


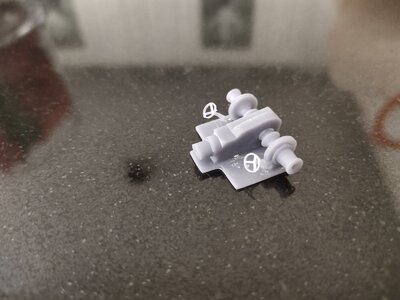
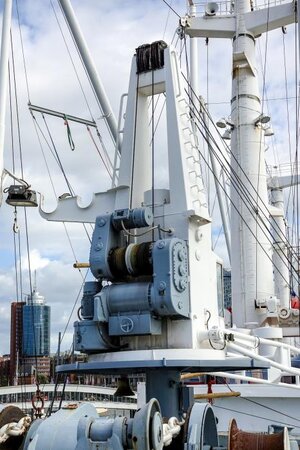
while preparing the superstructure for final fitment I made the winches: main body and another piece were designed and printed plus a plastic rod and a pin.
I used copper wire primed and painted black. then i put the winch cylinder on the main body and secured the whole system with a pin which i chopped the extra length and glued the last part.
so got a fully functional system minus the motor which i can adjust the length of the wire during the rigging phase, i only need to add more black paint to fill the gaps on the white reel.


- Joined
- Aug 1, 2023
- Messages
- 2
- Points
- 1
This looks like a fantastic model, can anyone help supply me with a drawing of this ship please or at least point me in the right direction as I fancy building this myself
first of all a warm welcome here on board of our forum.This looks like a fantastic model, can anyone help supply me with a drawing of this ship please or at least point me in the right direction as I fancy building this myself
Did you check this building log from the beginning? There is shown a papercard model drawing
and some posts later the link to a german modeler
who built his model based on the original drawings, which are maybe available from the web-page of the vessel
Cap San Diego
and I found these drawings available from Steinhagen
- Joined
- Aug 1, 2023
- Messages
- 2
- Points
- 1
Many thanks for the warm welcome, I have looked at the various sites you have suggested and found what I need at IG Lloyd Modellbauplan but can't find out how to buy the drawings, any ideas?
Thanks
Thanks
On the webpage are the contact data - I would write him an e-mail asking about the drawings, payment delivery etc.Many thanks for the warm welcome, I have looked at the various sites you have suggested and found what I need at IG Lloyd Modellbauplan but can't find out how to buy the drawings, any ideas?
Thanks

he did reply me once on email, he can also resize the plan in the desired scaleMany thanks for the warm welcome, I have looked at the various sites you have suggested and found what I need at IG Lloyd Modellbauplan but can't find out how to buy the drawings, any ideas?
Thanks
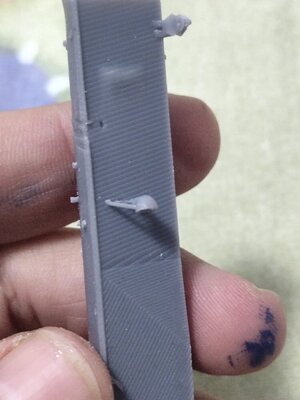
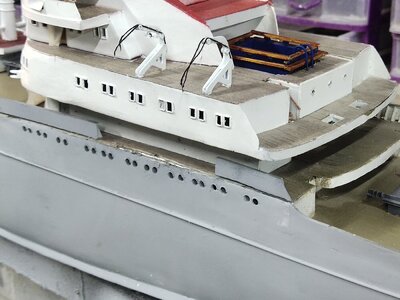
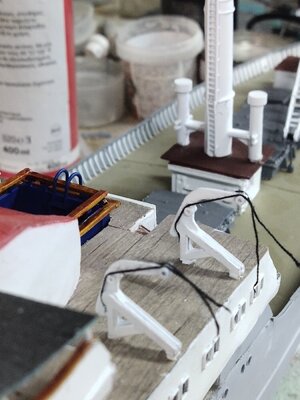
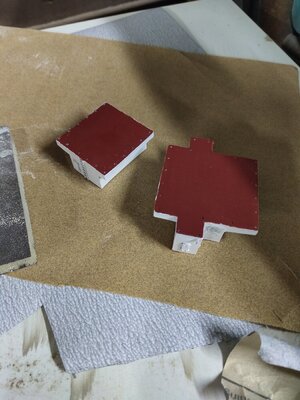
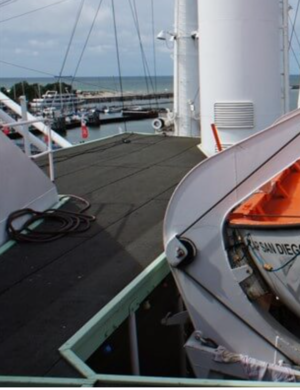
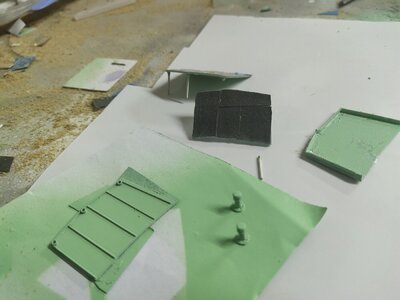
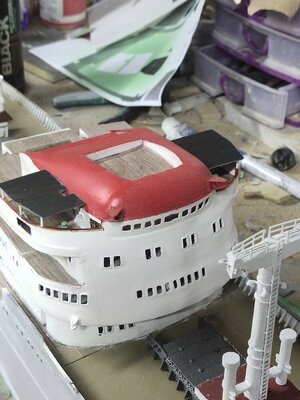
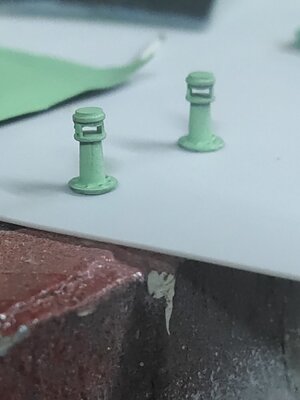
Too much trouble for little progress. I added some shelters on bridge deck. Started with scratch building then decided for a more delicate job so I just printed them. Still measurements were incorrect, so multiple couples were tried to get the final fitment. On the top I used sandpaper 280bgrit pieces to simulate the material show on first pic. Before installation, a pair of compass were fitted one of each side of the bridge


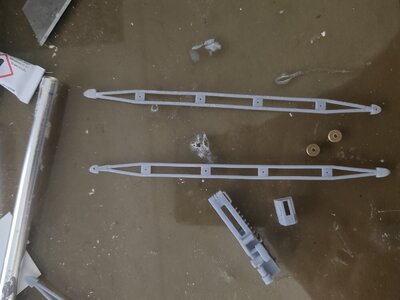
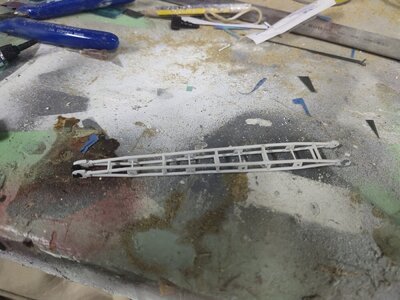
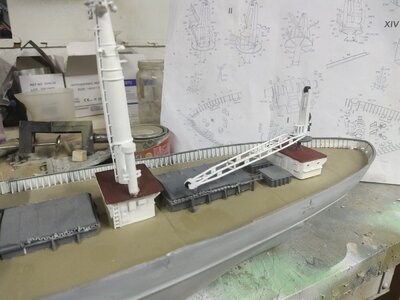
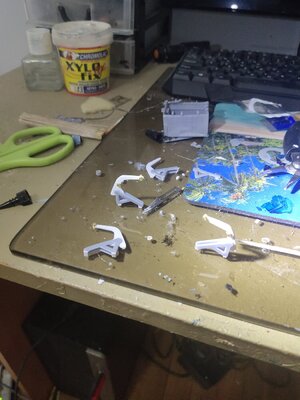
Work on cranes started. I printed the parts. Then assembled together and paint. Put crane frame supports using 1mm chopped plastic rod. After the fitment I scratch built a crane holder and glue it on port side on deck. It was difficult because my scratch built skills have been deteriorated since I spent most time on 3d design than making my parts by hands
