- Joined
- Oct 11, 2021
- Messages
- 740
- Points
- 403

Hello everybody!
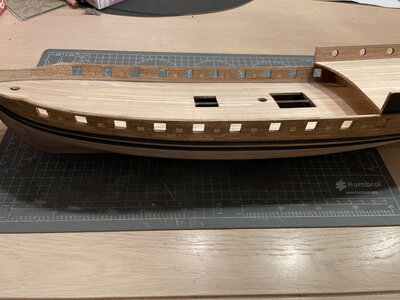
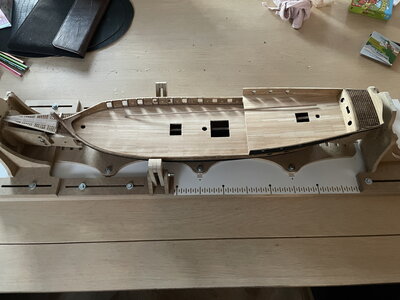
This weekend was a nice productive weekend for modeling. I had some spare hours to work on Cazador and particularly the 2nd planking on port side and I can say that the hull is finished. Planking is done. A milestone in every build I must say.
Let me show you the process...
I start off with the same way of working I did on SB. Because this is a veneer, I can do it this way, say SB first and later Port. Do not try this way on a single planked hull because it will warp the keel / hull.
I cover the first section with veneer strips. Each and every strip has been tapered to reduce the width along the length of every strip. It's a droughting task and you need to approach it with perseverance and endure the "long" run. It's not easy so to say, and the bigger the ship, the longer this process will take.
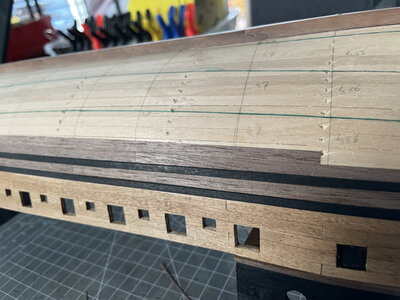
I always, and I mean always check the running of a strake after every strip of veneer. It must have a nice curved line and to do that, I look from port to stern and vise versa. See the pictures below that gives a nice view on the strakes. No lumps or bumps, just a clean line that should be parallel to the green line. Just to give you a bit of an insight of my way of work.
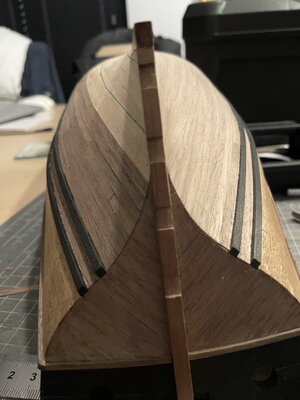
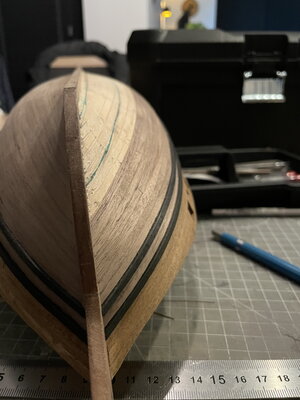
Continue with the planking job and filling up the other sections the same way.
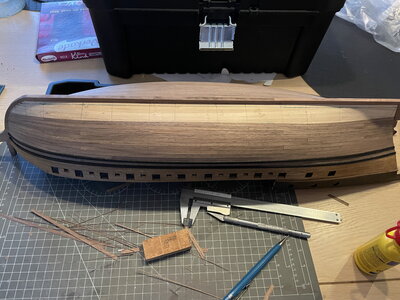
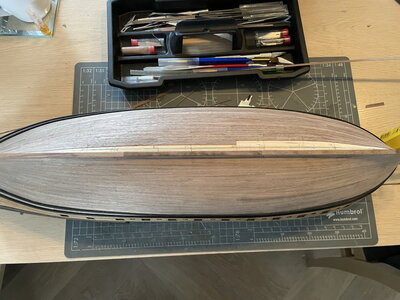
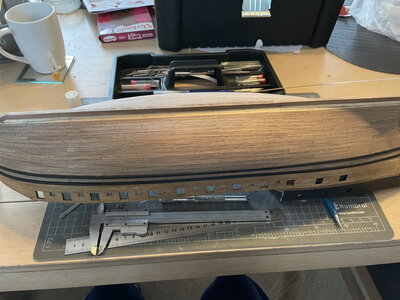
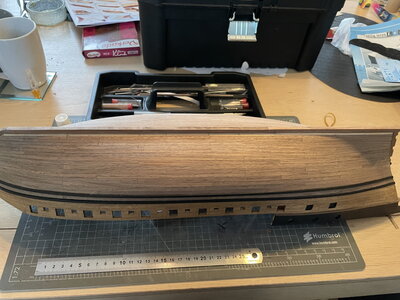
So the last board is the garboard plank. Again I recommend normally to place the garboard plank as the first plank due to the rabbet line. However I'm using veneer strips and these can be placed easily. So I decided to use the garboard plank as my "whisky / whiskey plank" during this process and place it at the end.
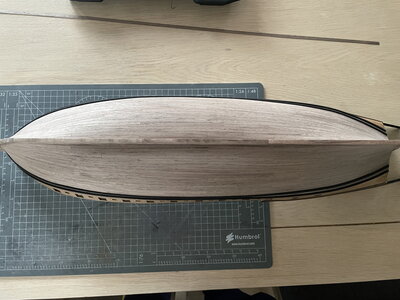
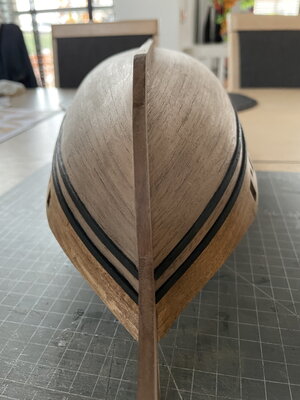
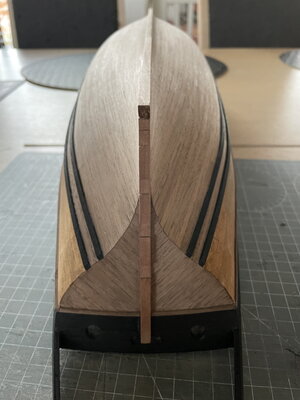
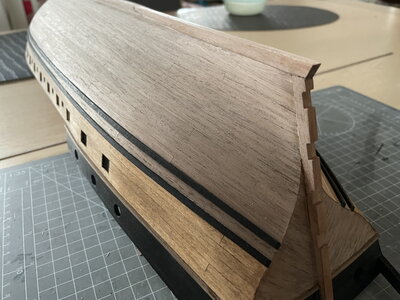
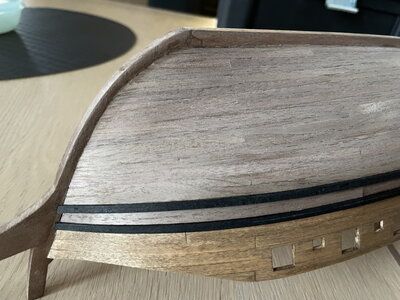
I'm pretty pleased how it turned out. I'll just quote Forrest "It's like a box of chocolates, you never know what you're gonna get"
So, hull closed, in some time later I will seal and finish it with Danish Oil. One of my favorites.
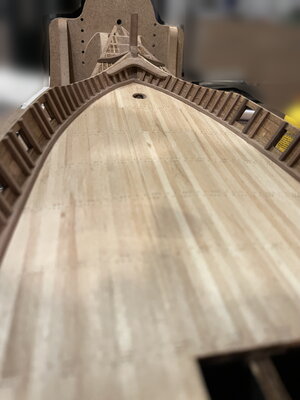
I also stained the outer and inner bulwarks with an medium oak color. It give the wood a more "authentic" look. It was a first time try and I like it so far.
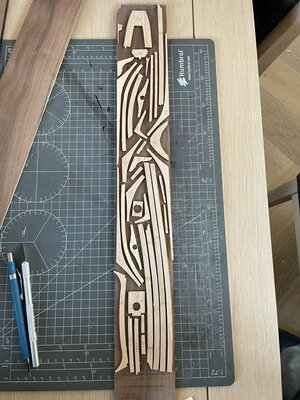
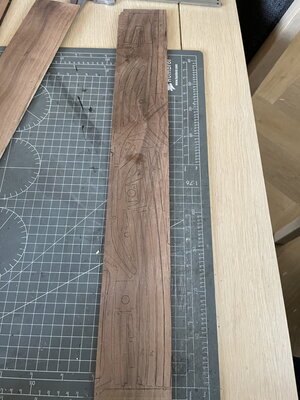
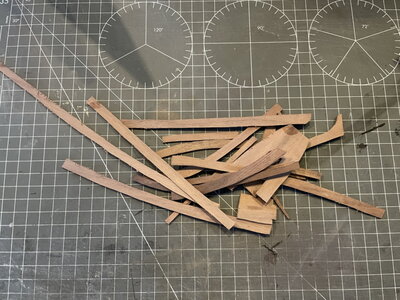
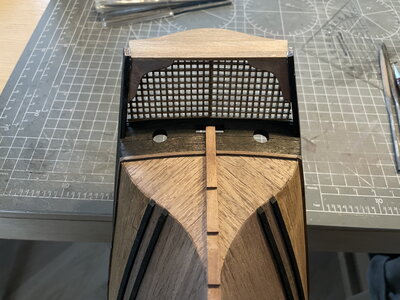
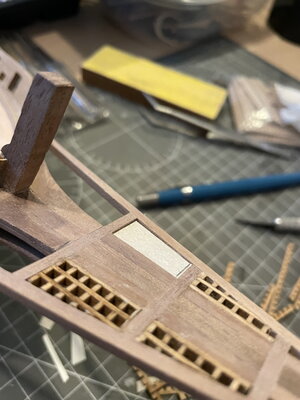
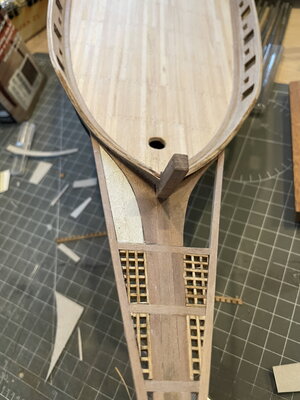
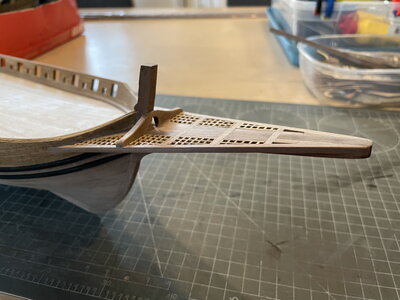
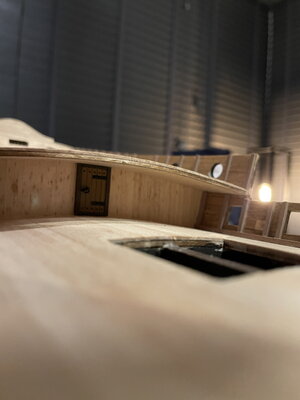
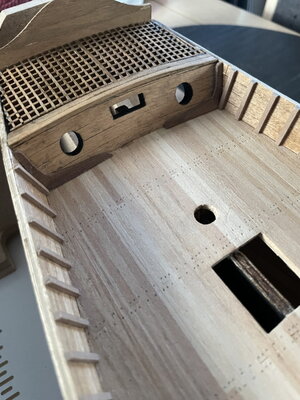
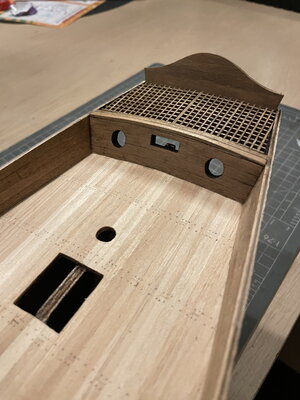
Next I did find some time to work on the stern and replace the plywood stern and made a new one from some strips of wood.
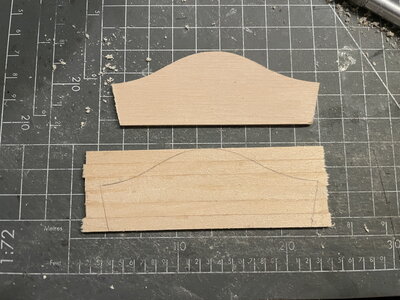
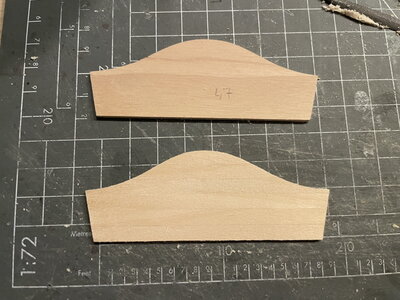
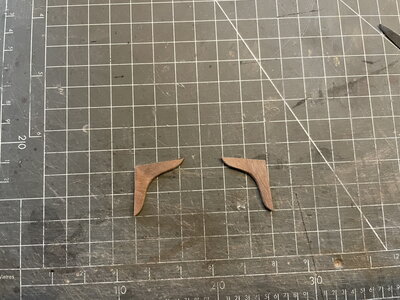
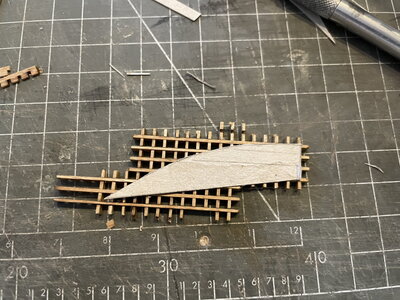
Placed it on the ship including the gratings at the stern. Bit of a thing, I wanted the gratings to curve a bit. It's not "normal" wood very dense and hard and tough to work with. However I did find a way to sand a bt of a curve into it. The top railings have to be placed later on and will cover the small gap on the side of the gratings. So no worries.
If you have any questions, likes or comments, please leave a reply and I'll get back on it as soon as possible.
And that's it. Until next time,
Peter
This weekend was a nice productive weekend for modeling. I had some spare hours to work on Cazador and particularly the 2nd planking on port side and I can say that the hull is finished. Planking is done. A milestone in every build I must say.
Let me show you the process...
I start off with the same way of working I did on SB. Because this is a veneer, I can do it this way, say SB first and later Port. Do not try this way on a single planked hull because it will warp the keel / hull.
I cover the first section with veneer strips. Each and every strip has been tapered to reduce the width along the length of every strip. It's a droughting task and you need to approach it with perseverance and endure the "long" run. It's not easy so to say, and the bigger the ship, the longer this process will take.

I always, and I mean always check the running of a strake after every strip of veneer. It must have a nice curved line and to do that, I look from port to stern and vise versa. See the pictures below that gives a nice view on the strakes. No lumps or bumps, just a clean line that should be parallel to the green line. Just to give you a bit of an insight of my way of work.


Continue with the planking job and filling up the other sections the same way.


So the last board is the garboard plank. Again I recommend normally to place the garboard plank as the first plank due to the rabbet line. However I'm using veneer strips and these can be placed easily. So I decided to use the garboard plank as my "whisky / whiskey plank" during this process and place it at the end.


I'm pretty pleased how it turned out. I'll just quote Forrest "It's like a box of chocolates, you never know what you're gonna get"
So, hull closed, in some time later I will seal and finish it with Danish Oil. One of my favorites.
I also stained the outer and inner bulwarks with an medium oak color. It give the wood a more "authentic" look. It was a first time try and I like it so far.
Next I did find some time to work on the stern and replace the plywood stern and made a new one from some strips of wood.


Placed it on the ship including the gratings at the stern. Bit of a thing, I wanted the gratings to curve a bit. It's not "normal" wood very dense and hard and tough to work with. However I did find a way to sand a bt of a curve into it. The top railings have to be placed later on and will cover the small gap on the side of the gratings. So no worries.

If you have any questions, likes or comments, please leave a reply and I'll get back on it as soon as possible.
And that's it. Until next time,
Peter


