Cazador Xebec 1750 - OcCre - scale 1:60 [COMPLETED BUILD]

Joined
Oct 11, 2021
Messages
712
Points
403

Hello fellow ship modelers.

This will be my second buildlog on SOS as my first one Santa Maria is finished.
This time another ship, from another time period and from a different manufacturer.
These type of fast ships the "xebecs or jabeques" intrigued me since childhood after reading Redbeard comics. These ships were used by Barbary pirates in the Mediterranean sea and plundered merchant ships, murdered the crew and enslaved the women and childeren which were sold on the black market. Speaking of hellish times...
They were so fast and maneuverable like a barracuda fish in the water. To me, the elongated hull looks pretty similar to a Barracuda fish... maybe it's only in my mind, what can I say.


Algiers_xebec.jpg

DonAntonioBarcelóConSuJabequeCorreoRindeADosGaleotasArgelinas.jpg
Source: https://commons.wikimedia.org/wiki/File:DonAntonioBarcelóConSuJabequeCorreoRindeADosGaleotasArgelinas.jpg

The kit and the box
However, only a few kit's are on the market and the most available (was in stock) for me at this time was the one from OcCre. So, I choose the OcCre model, which is a Spanish version of a Xebec. From what I have seen, OcCre made some shortcuts in their design of this ship and the materials used. This asks for some alternations, but I do like the overall looks of this model.
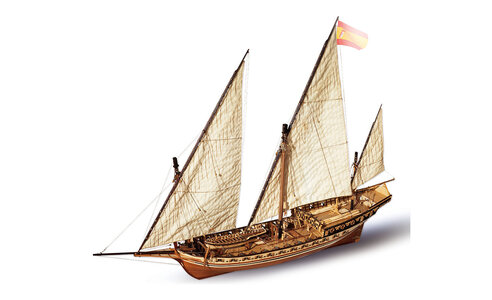
Cazador_Occre.jpg

Ref: 14002
Scale: 1:60
Length: 860 mm / approx. 33,8 inch
Width: 160 mm / approx. 6,3 inch
Hight: 630 mm / approx. 24,8 inch
Difficulty: *** out of *****

More information on https://www.occre.com/model-ship/jabeque.html

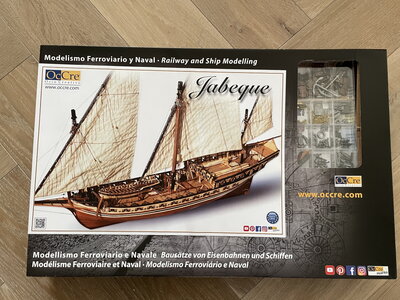
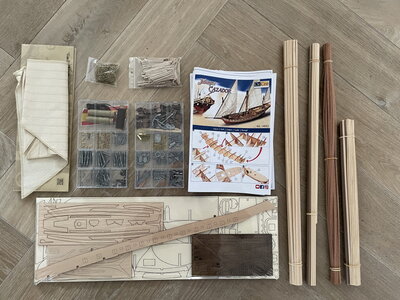
The box itself is pretty standard for OcCre, all boxes (box-art) are pretty much the same. I've you see one, you see them all, and all materials are nicely packaged.
The kit comes standard with pre-sawn sails which are handy which I probably will alter and a nicely step by step photographed manual.
A downsize of many "modern" kit's are the lumber which is used. They tend to use cheap plywood and Sapelli (reddish kind of mahogany type of wood) instead of the much more preferred Walnut. I will change this as well. The one thing I really dislike is the brown stained plywood which hauls the keel, stem and rudder. In my opinion, this must be solid hardwood / walnut which I'll try to remake.
Cazador_001.jpg

Cazador_002.jpg

Cazador_003.jpg

Next post will be the start of this kit, stay tuned.
Pter
 
Last edited:
Off we go
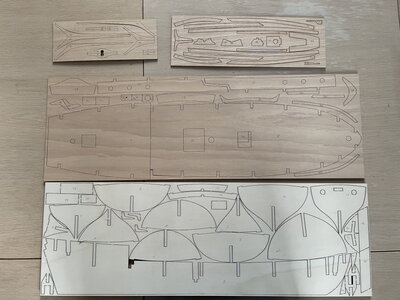
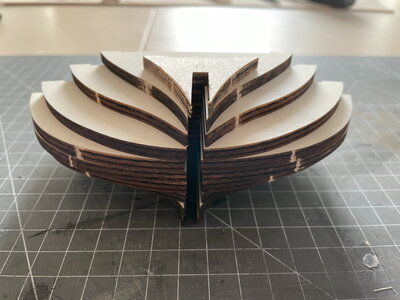
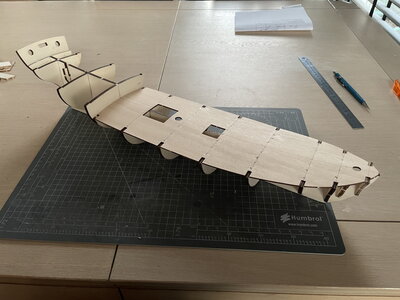
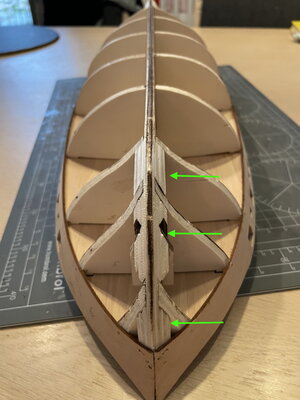
To start this build, it begins with extracting the bulkhead parts from the frame. It's not a very complicated kit, by that I mean it's pretty straight forward to build for a kit of this size.

Cazador_004.jpg

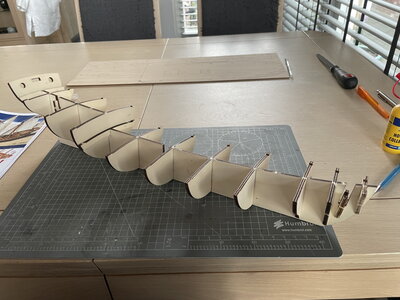
Time to put these beauties on the keelplate... All pieces fit nicely.

Cazador_005.jpg

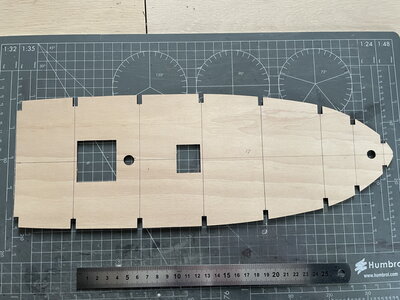
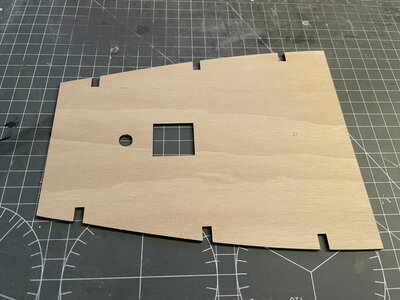
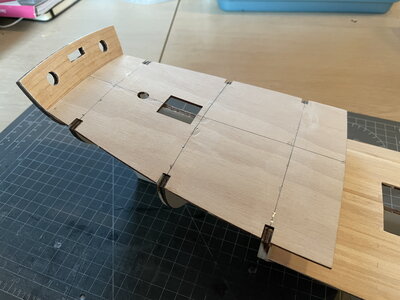
Next step is to place the deck on the top of the bulkheads.


Cazador_006.jpg

Cazador_007.jpg

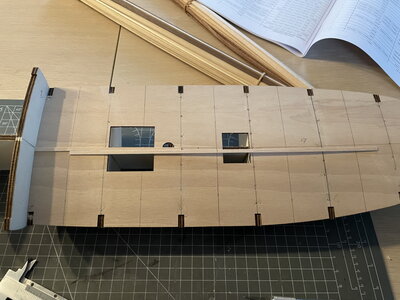
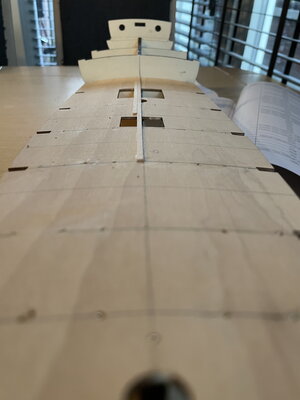
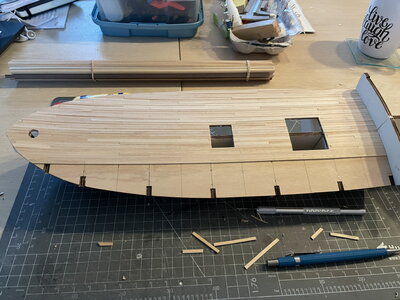
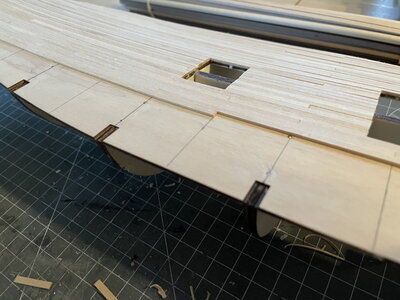
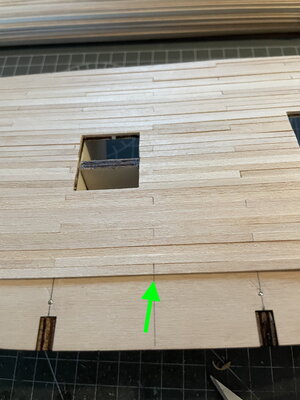
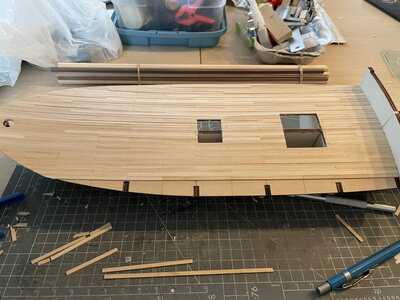
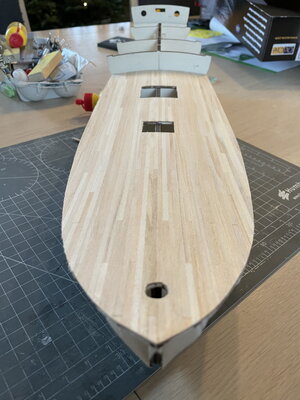
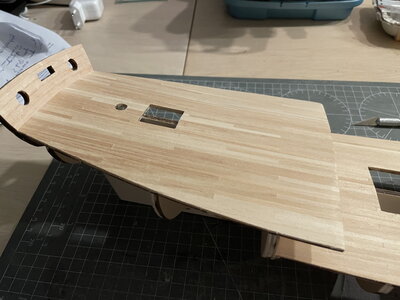
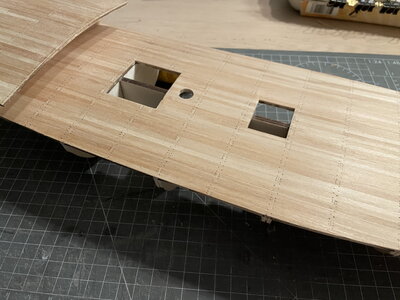
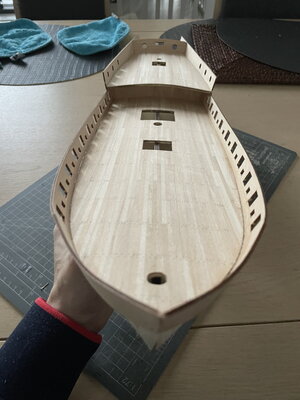
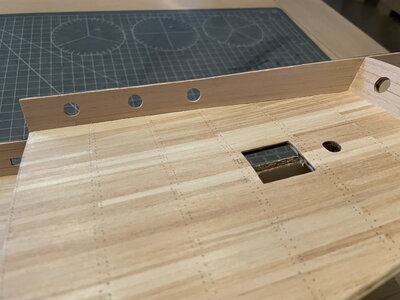
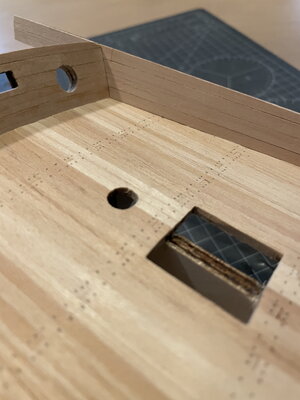
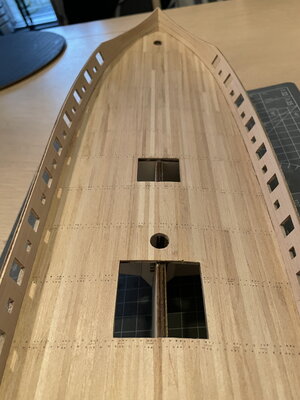
I start laying the deck planks and cut the strips into fixed lengths and went for an acceptable pattern. I went for a "no-caulking" look.

Cazador_008.jpg

Cazador_009.jpg

Cazador_010.jpgCazador_011.jpgCazador_012.jpgCazador_013.jpgCazador_014.jpg

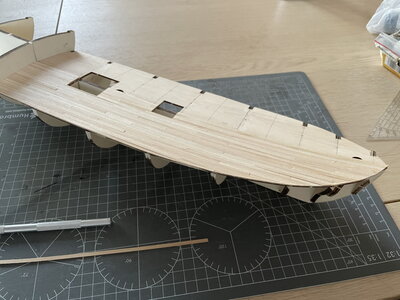
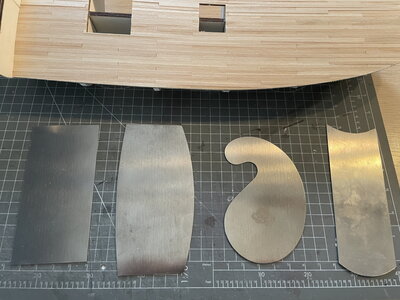
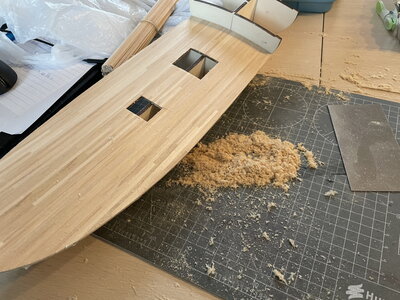
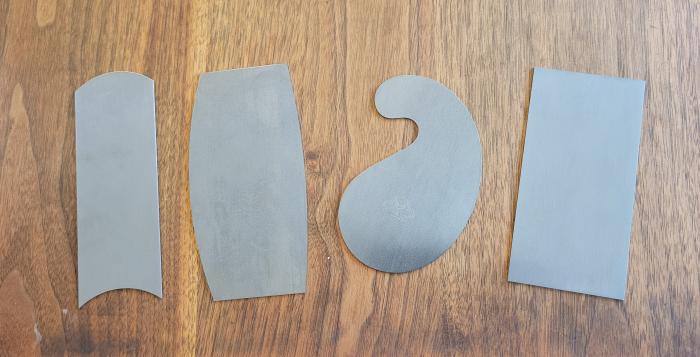
When finished, I use a scraper to level the deck.

Cazador_015.jpg

Cazador_016.jpg

Cazador_017.jpg

And these are the first baby steps I made for this model...
Pter
 
It’s very smooth after scraping. I try to avoid sanding due to the fact it closes the grain of wood. Also sandpaper tends to leave small scratches. So to me, scraping is my preffered choice.
Thank you for answering my question. I need to acquire a scraper and gain some experience preparing and using it. I'm familiar with the concept of how but not experienced.

Glenn
 
Thank you for answering my question. I need to acquire a scraper and gain some experience preparing and using it. I'm familiar with the concept of how but not experienced.

Glenn
Hi Glenn,

just try it on some soft wood with the blade of a Stanley knife. Probably in your toolbox somewhere. Keep it on an angle towards the direction of pulling and scrape
, push gently on the blade and pull in the direction of the length of the wood. It will work. A scraper works a bit better due to the burr on the end of the blade. it’s nothing more than a piece of plate steel with a burr on the edge.
 
Last edited:
Hi Glenn,

just try it on some soft wood with the blade of a Stanley knife. Probably in your toolbox somewhere. Keep it on an angle towards the direction of pulling and scrape
, push gently on the blade and pull in the direction of the length of the wood. It will work. A scraper works a bit better due to the burr on the end of the blade. it’s nothing more than a piece of plate steel with a burr on the edge.
I'll give it a try over the weekend. I like the idea of using a blade. Should be able to get an Xacto chisle blade to the lower deck of my current build when I progress that far.

Glenn
 
Continuing with the deck planking.

Cazador_019.jpgCazador_020.jpgCazador_021.jpg

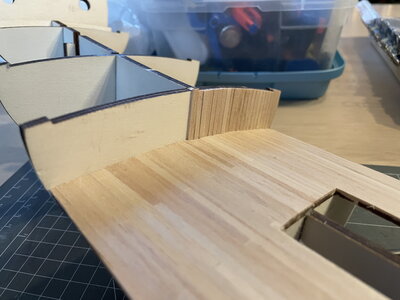
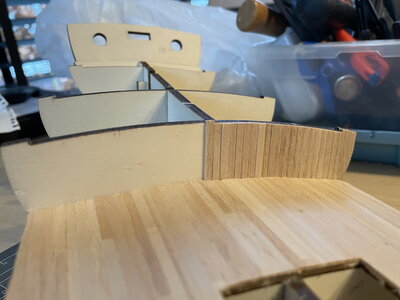
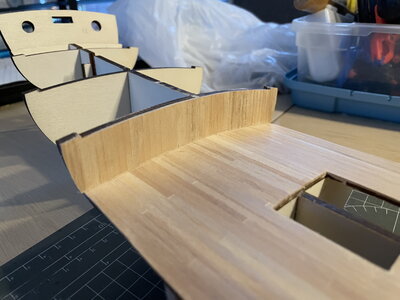
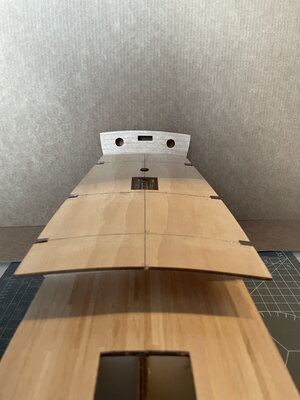
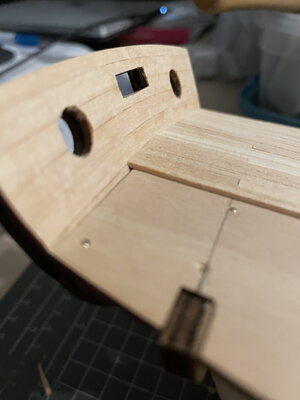
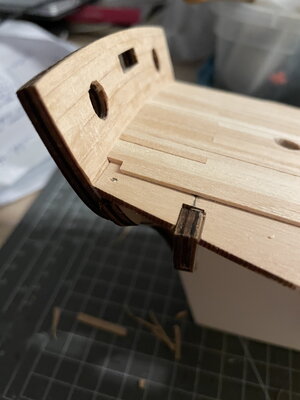
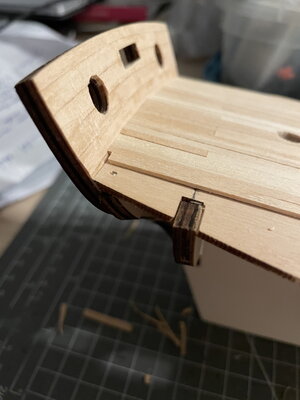
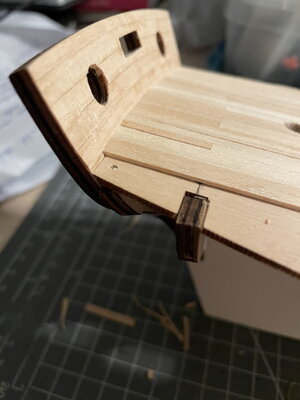
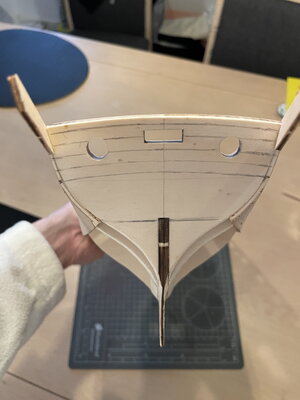
On the aft, I edge set the strips of veneer to follow the curve of the transom. edge setting with veneer is difficult, but I soaked the strips in hot water and used an iron to make the curvature.

Cazador_022.jpgCazador_023.jpgCazador_024.jpg

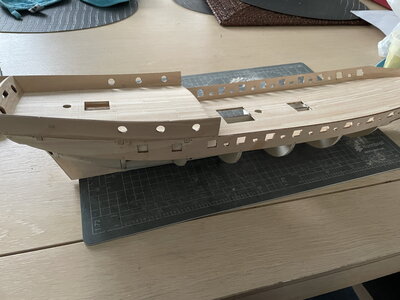
after this, it's time to install the upper deck.

Cazador_025.jpgCazador_027.jpgCazador_028.jpgCazador_029.jpgCazador_030.jpgCazador_031.jpgCazador_032.jpgCazador_033.jpgCazador_034.jpg

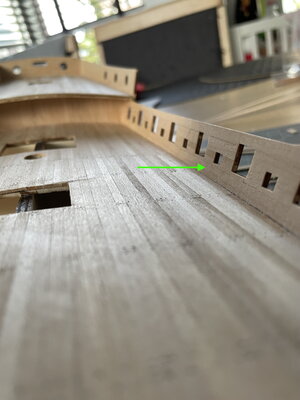
time for the bulwarks.

Cazador_035.jpgCazador_036.jpgCazador_037.jpgCazador_038.jpgCazador_039.jpg

The shape of the ship is coming along. Next update will be the planking process of the bulwarks.

see you next time.
Pter
 
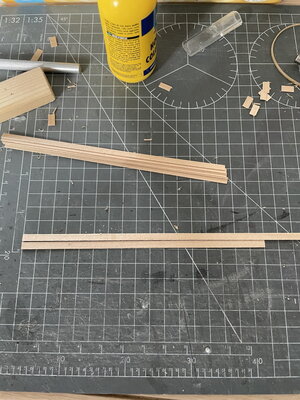
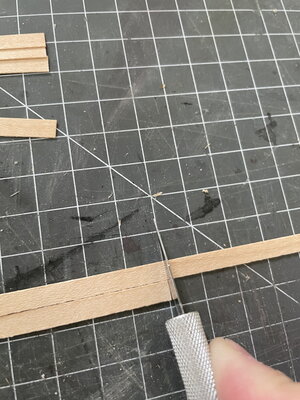
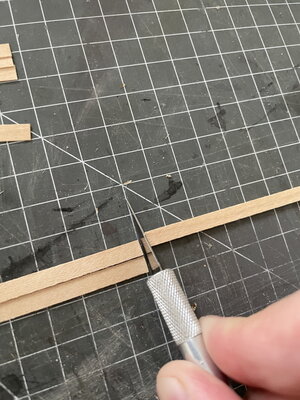
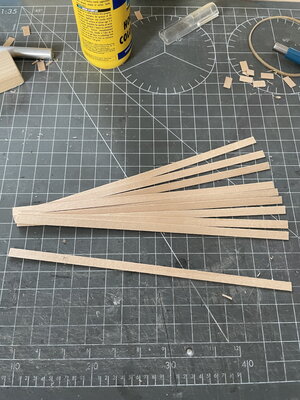
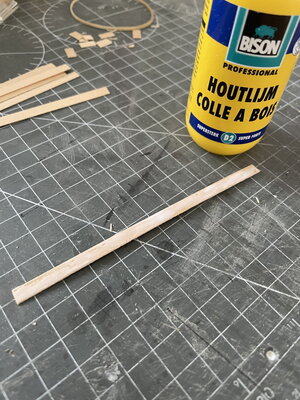
In this update the bulwarks are covered with veneer. I always cut a bundle of strips to length before planking. Let me show you what I mean.

Cazador_040.jpgCazador_041.jpgCazador_042.jpgCazador_043.jpgCazador_044.jpg

I use just the plain white woodglue but yellow woodglue or CA works just fine as well.

Cazador_045.jpgCazador_046.jpgCazador_047.jpgCazador_048.jpg

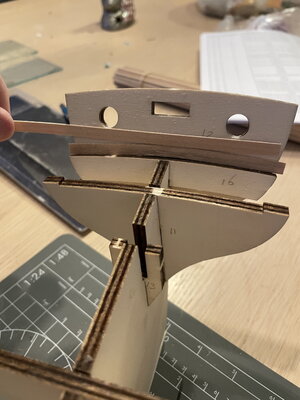
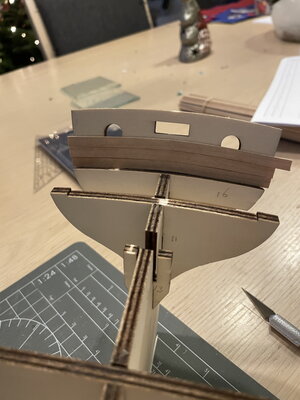
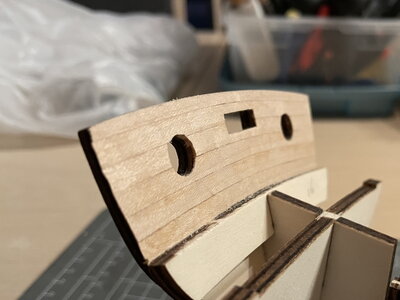
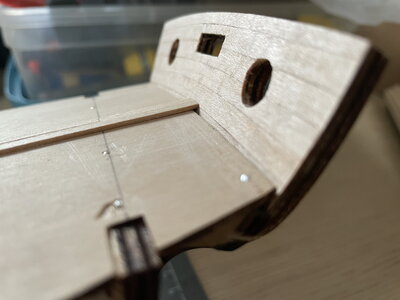
After this I drew some lines on the back of the transom. Again I like to follow the curvature of the top of the transom with the veneer strips.

Cazador_049.jpg

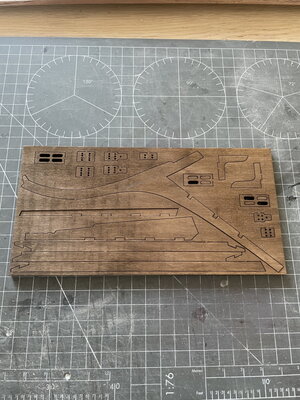
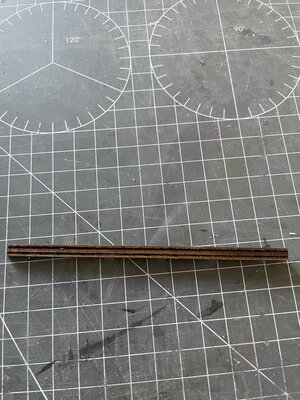
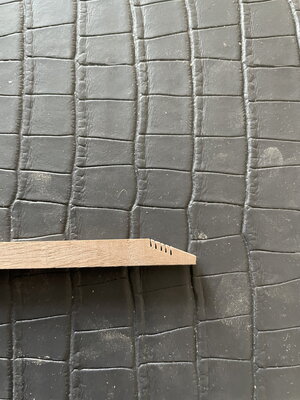
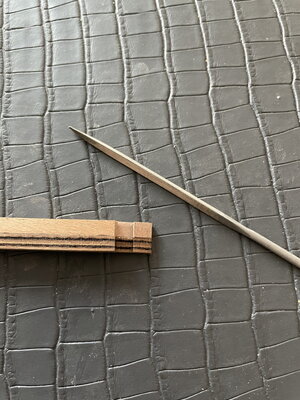
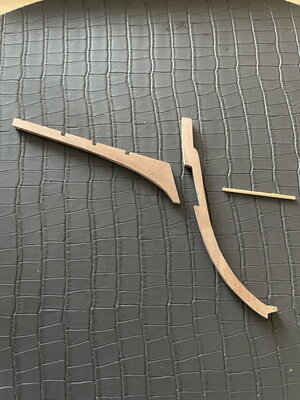
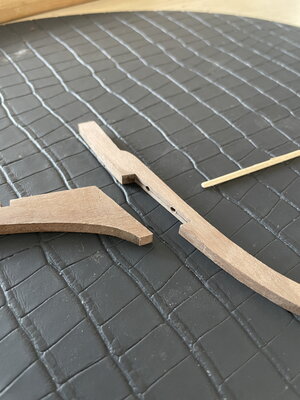
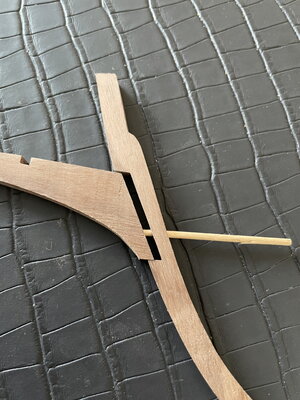
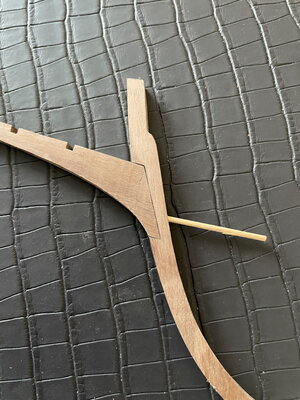
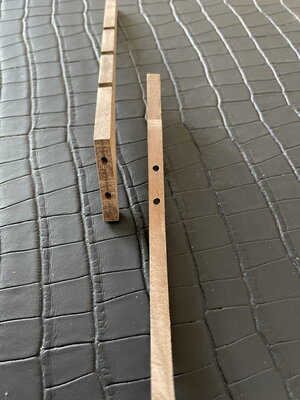
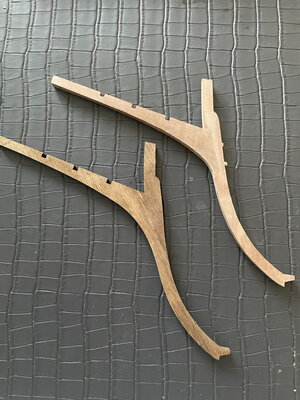
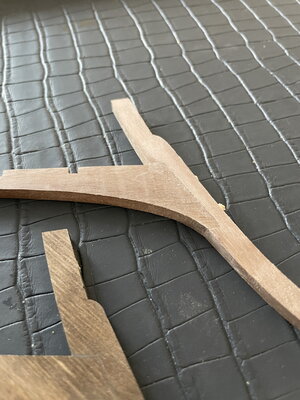
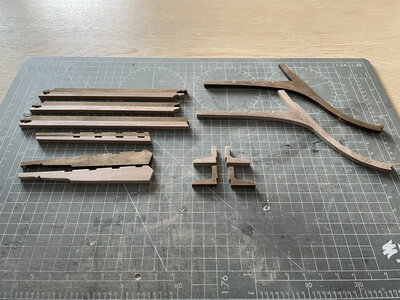
I'm leaving the hull for now. Time to look at the keel, stem and rudder. These are made of stained plywood. As mentioned before, I do not like ply on the outside of my models so I try to make some new parts from solid walnut. I never done this before, so I hope I'll manage with my handtools.

Cazador_050.jpgCazador_051.jpg

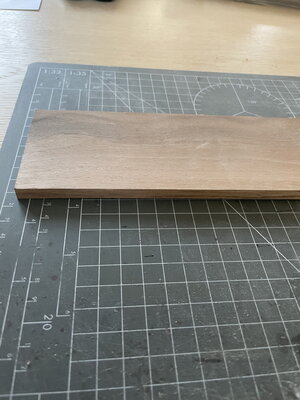
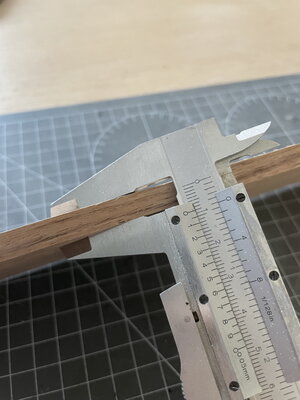
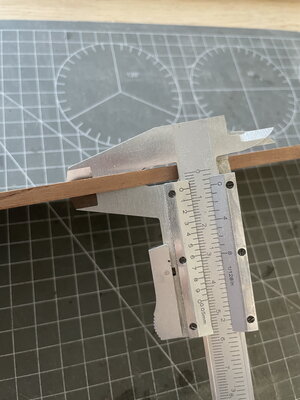
I've planed down a piece of solid walnut to the correct thickness...
Cazador_052.jpg

Cazador_053.jpgCazador_054.jpg

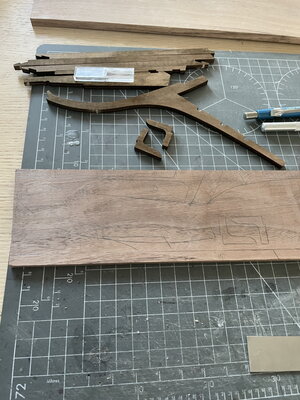
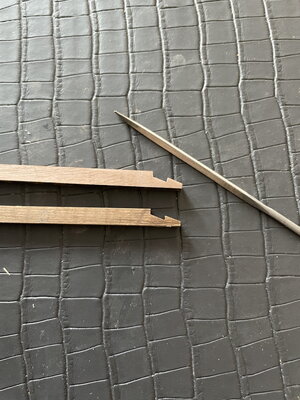
After this, I traced the outlines of the parts on the piece of walnut. The stem is too large for my wood so I decided to make the new one out of two pieces.


Cazador_055.jpg
 
Well, unfortunately some pictures seem to be lost on my phone during the process. Anyway, these were pictures of the first hullplanking in progress.
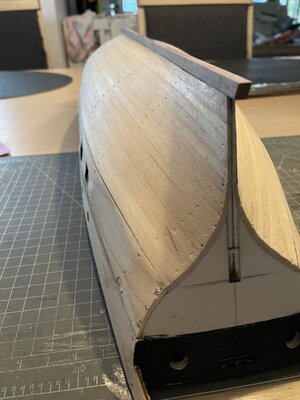
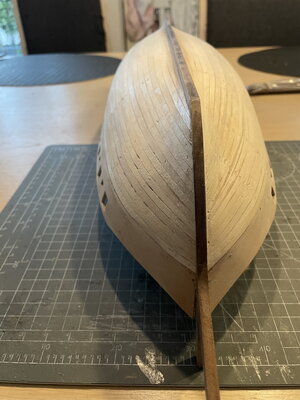
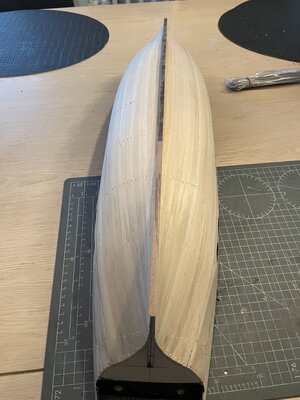
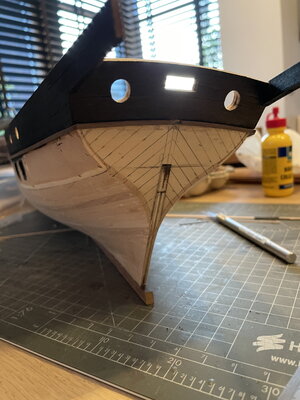
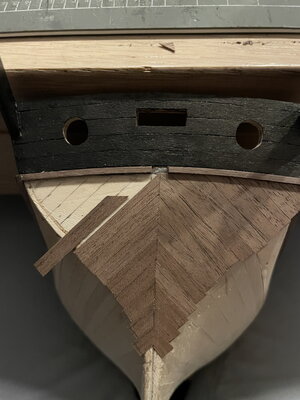
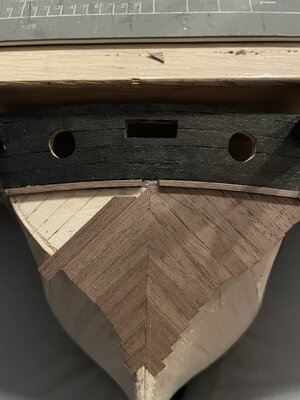
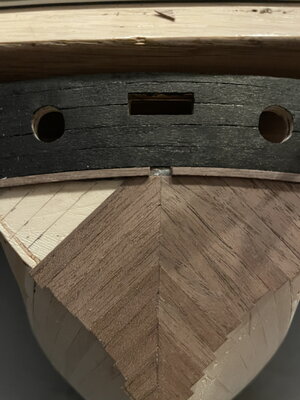
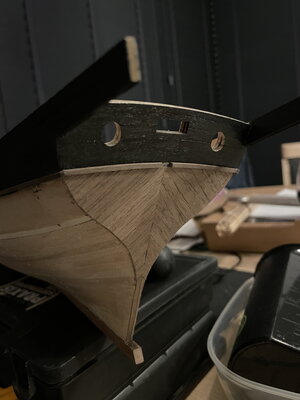
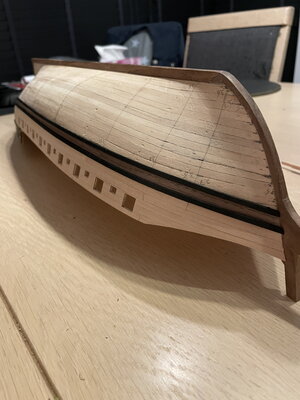
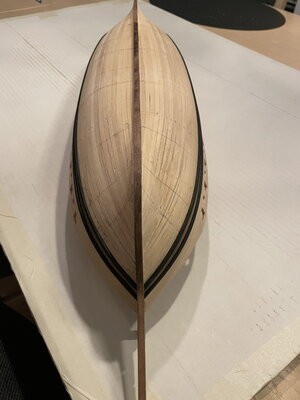
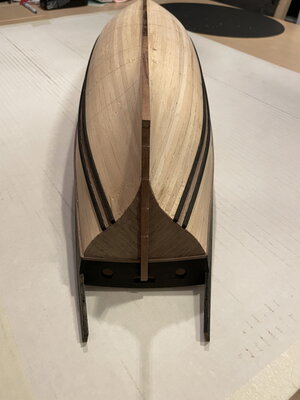
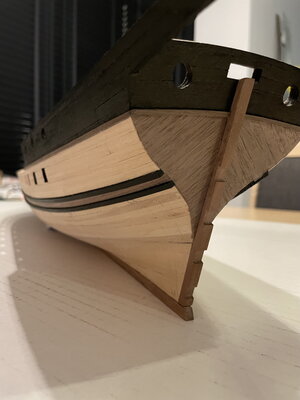
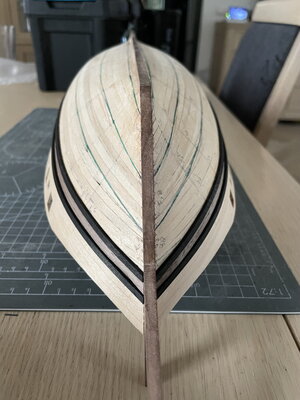
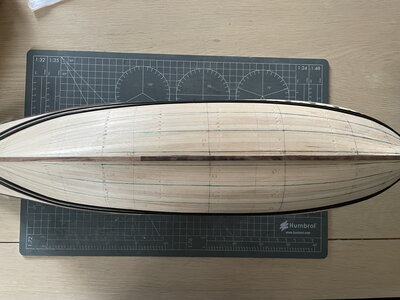
I can only show the result now. It will be covered with a second layer of walnut veneer. I discard the Sapelli wood..
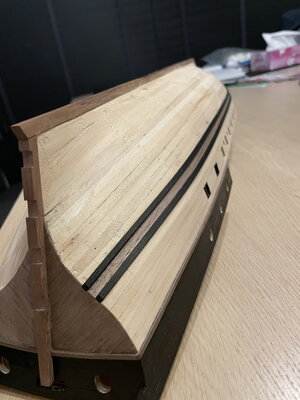
Double planked hull has it's benefits, by that I mean, I can practice a bit wit the running of the strakes. It doesn't have to be perfect, it just needs to give a good fundament for the second layer. Also it has to follow the shape of the hull nicely.

Cazador_069.jpgCazador_070.jpgCazador_071.jpg

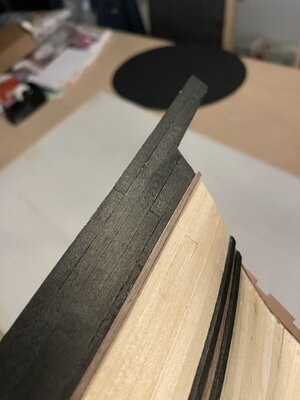
I've stained the upper part of the bulwarks black with East Indian Ink. I like the effect of the Ink over paint.

Cazador_072.jpg

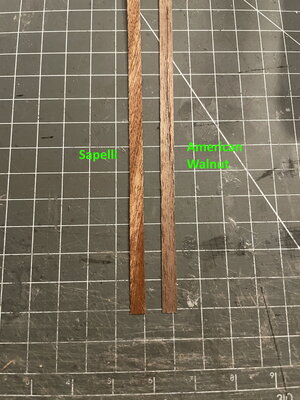
So, I already mentioned that I'll discard the Sapelli. Here's the difference with walnut. Not the best picture, but the Sapelli is orange / red color, while walnut is brown.

Cazador_077.jpg

Cazador_073.jpgCazador_074.jpgCazador_075.jpgCazador_076.jpg

After this, it's time to place the wales.

Cazador_078.jpg
Cazador_079.jpgCazador_080.jpgCazador_081.jpgCazador_082.jpg

Cazador_083.jpg

In the pictures below I set the lines for the running of the strakes. I played a bit with it so the strakes should come out nicely and made my calculations for tapering of the boards carefully.
It's always a nice process when the outcome "works out". However It's not my favorite part of the build due to the fact I'm perhaps not an experienced hull planker...

Cazador_084.jpgCazador_085.jpg

Okay, next time I start with the second layer on the hull.
regards,
Pter
 
Off we go
To start this build, it begins with extracting the bulkhead parts from the frame. It's not a very complicated kit, by that I mean it's pretty straight forward to build for a kit of this size.

View attachment 267842

Time to put these beauties on the keelplate... All pieces fit nicely.

View attachment 267843

Next step is to place the deck on the top of the bulkheads.


View attachment 267844

View attachment 267845

I start laying the deck planks and cut the strips into fixed lengths and went for an acceptable pattern. I went for a "no-caulking" look.

View attachment 267846

View attachment 267847

View attachment 267848View attachment 267849View attachment 267850View attachment 267851View attachment 267852

When finished, I use a scraper to level the deck.

View attachment 267853

View attachment 267854

View attachment 267855

And these are the first baby steps I made for this model...
Pter
Peter,
Did you make your own scrapers or you bought them somewhere?
 
I bought them at a carpenters shop in the Netherlands. You can find them in the US as well.
Thank You for the link, I already purchased them.
Great tool to use in many aspects of our hobby.
 
Back
Top