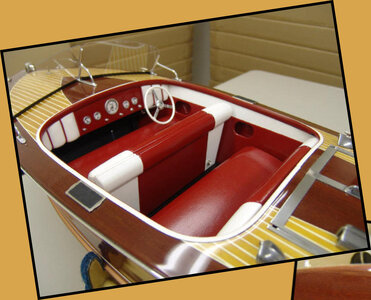
Century Sea Maid [COMPLETED BUILD]

Joined
Jun 20, 2024
Messages
157
Points
133

Location
La Porte Texas
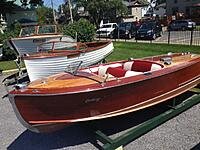
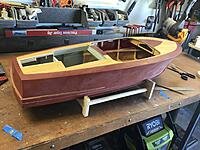
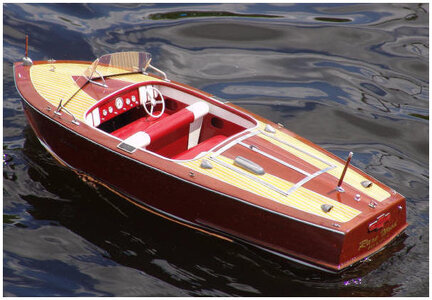
One of the prettiest mahogany speed boats of the 50’s IMO is the Sea Maid. Sterling put out a kit back in the day but I never got hold of one. I was really impressed when I saw that Mack Products was going to do a kit of an 18 ft Sea Maid. It is part of the Legend series. I bought the new kit in 2015 as soon as it was released. The model was based on the original at the Clayton museum in New York. Just like Miss Behave except that the Sea Maid was in storage and would be put up for auction in the future.

Little did I know what this model was going to turn out to be in the end. I was very impressed with the quality of the kit parts and fittings. I did not know at the time that I was going to have to make changes or that I would be in contact with the future owner. That was yet to come.

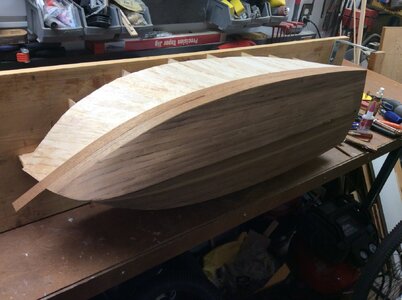
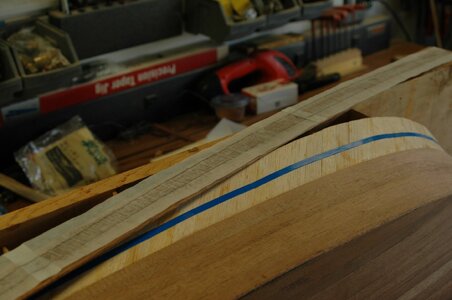
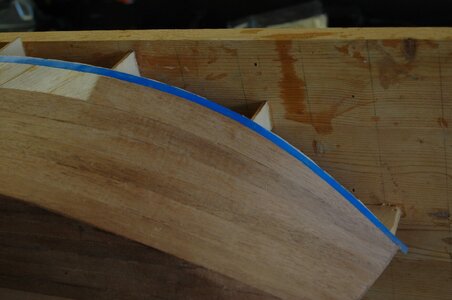
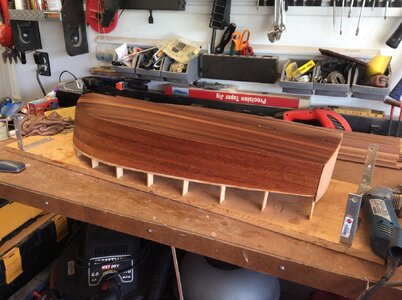
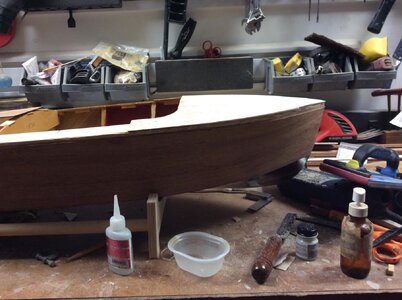
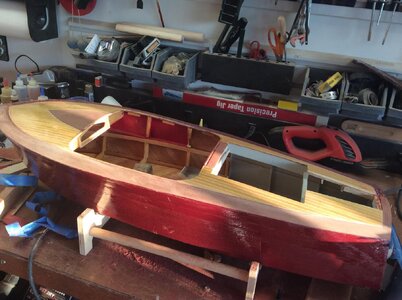
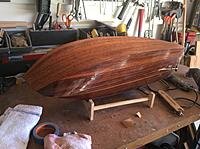
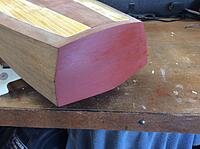
I built the frame and planked it with the kit supplied balsa wood. That was in 2015. Then life happened and it was set aside for 2 years still attached to the building board. In 2017 I decided to get the mahogany planks installed. I used the kit supplied planks for the bottom but I had some mahogany I milled which I used for the sides and transom. I made templates for the planking so it looked better.

There were going to be some issues for sure but these were down the road and years away.
IMG_3776.jpeg

IMG_3777.jpeg

IMG_1387.jpeg

IMG_1388.jpeg

IMG_1389.jpeg

IMG_1390.jpeg

IMG_1391.jpeg
 
I am very happy to see a new building log of a speed boat
Which scale does this model have?
 
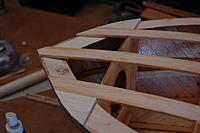
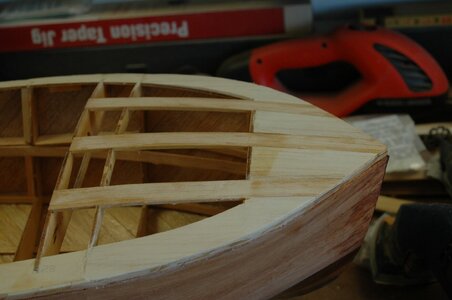
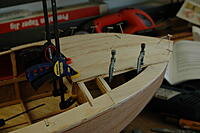
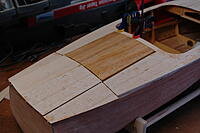
The first issue I had with the build was that the sub deck took a noticeable downward slope. I really can’t say if it was built wrong by something I had done or was kit problem. I had to build up the foredeck with balsa wood. It was an easy correction.

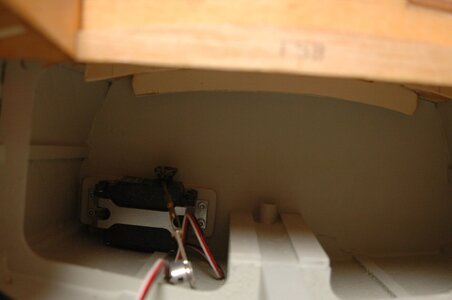
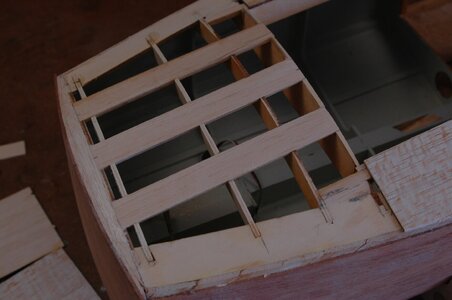
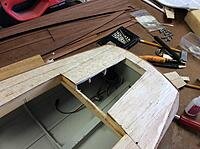
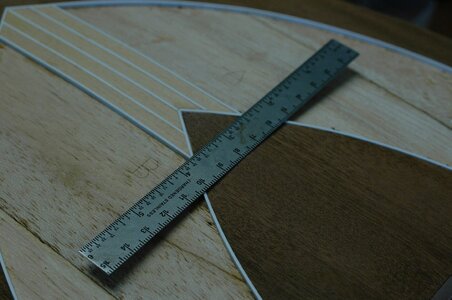
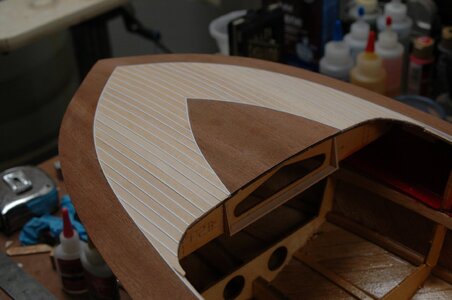
The kit design has the servo mounted under the rear deck on the starboard side. You know that access to it would be very limited plus adjustments to the linkage would be difficult. I had an idea about how to fix the problem. The contrasting deck colors worked in my favor. It worked out pretty well in the end. I actually made a hatch opening and used the center plank to hide it.

IMG_1392.jpeg

IMG_1393.jpeg

IMG_1395.jpeg

IMG_1396.jpeg

IMG_1397.jpeg

IMG_1400.jpeg

IMG_1401.jpeg

IMG_1403.jpeg

IMG_1402.jpeg
 
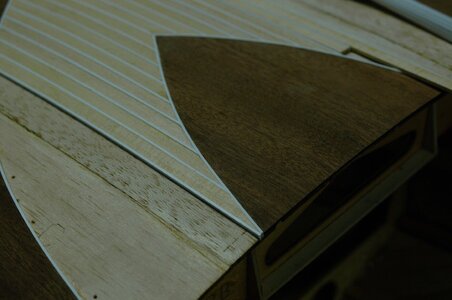
The downside to having contrasting deck colors is that you have to have your deck planks and caulking strips the same on both sides. They have to end up matching more or less. The planking of the foredeck was fun. I got real lucky and the planks didn’t need much adjustment.
 
After the deck was finished I noticed the first light colored plank should split the point of dark center inlay. I have a caulking strip as the center. I thought briefly about taking the planks up and doing it over. Decided to just keep it as is.
 
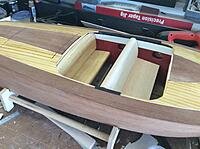
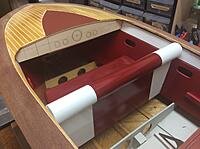
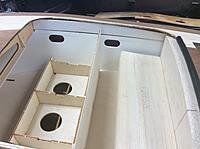
The next up was the building of the interior walls in the cockpit. Then building the seats to check the fit to the floor. I installed the motor mount and got the drive hooked up. I built the cockpit floor and noticed right away that diver was not going to have an easy time. Also the rear seat seemed too close to the front seat. Something was going to have change if I was gonna have a driver.

IMG_1416.jpeg

IMG_1417.jpeg

IMG_1419.jpeg

IMG_1418.jpeg

IMG_1426.jpeg

IMG_1428.jpeg

IMG_1427.jpeg

IMG_1429.jpeg

IMG_1425.jpeg
 
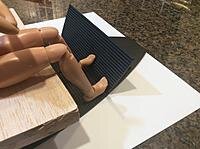
The front seat is rounded across the top. If built according to the instructions you need to laminate some balsa on either side of the plywood seat back. Then you shape it to get it rounded over. The problem for me was the seam across the top of the seat. I know most of you would have been able to do it but I doubt I could have done the shaping and made the seam invisible. I got some balsa dowels and turned down a couple of blanks of different sizes. It was a matter of trying to judge just how big the roll should be. Once I had the shape blended into the seat back I covered it with styrene.

IMG_1431.jpeg

IMG_1432.jpeg

IMG_1436.jpeg

IMG_1437.jpeg

IMG_1446.jpeg

IMG_1447.jpeg
 
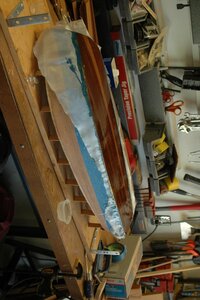
Next part was the fiberglass cloth and epoxy resin. This is where things went sideways. Did not have trouble with the sides or the transom. The problem came when I did the deck. For some reason the resin fish eyed badly. I had no choice but to sand off the resin and start over. I had intended to only redo the deck but decided to do the entire hull except the bottom. This way the deck and sides would match when I got things sorted. I have to admit at times like this I wonder about my hobby choices.
IMG_1443.jpeg

IMG_1444.jpeg

IMG_1445.jpeg

IMG_1448.jpeg
 
The primary tool I used was a flap wheel 60 grit in my Dremel tool. I was fortunate in that the weather was cool and low humidity. Dust mask was very helpful. I hate sanding through epoxy and cloth. The reason for the fish eye just on the deck was a mystery. There must have been something on the cover boards. The sides and transom were good, no fish eyes.

Ok now that I had the hull and deck reset I decided I wanted make some changes to the boat. I still was not happy with the driver fit. Also I wanted to see if I could find out what stain was used back in the day.
What I needed was an owner who could help me with information about the boat. I placed an add in Wooden Boats magazine looking for someone who had a Century from 1952.

IMG_1456.jpeg
 
Last edited:
Sometimes you get lucky. I was contacted by the owner of a Sea Maid. Turns out that the exact boat used for the kit was bought at an auction that the Clayton museum. Apparently the museum was selling some of their boats. Andrew was visiting the museum that morning and he decided to bid on the boat. Apparently folks were after the original Fireball engine in the boat and not so much for the boat itself. Andrew maxed out 3 credit cards but he managed to get the boat shipped back home to England. He told me it cost more to ship it home than it did to buy it.

I could not believe my luck. I now had access to the exact boat I was modeling. Andrew was dedicated to restoring the boat in honor of his dad. He named the boat Sunflower. That is how my model became a copy of his boat. I talked to him many times with questions about the boat and he was always happy to measure things and take pictures for me.

You know how model builders can be when they find a good reference for their build. I was very happy to find out that the problems I was having were related to inaccurate parts in the kit. The dash being a primary example. The kit dash was too big. That is why the driver would not fit properly under it. You would have thought that would have been measured and duplicated correctly in the kit but you would be wrong.

IMG_1453.jpeg
 
Last edited:
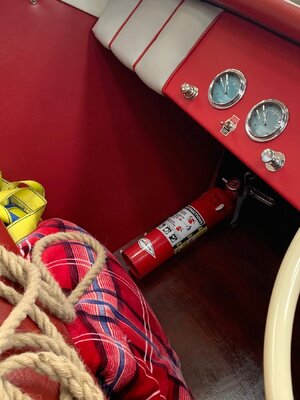
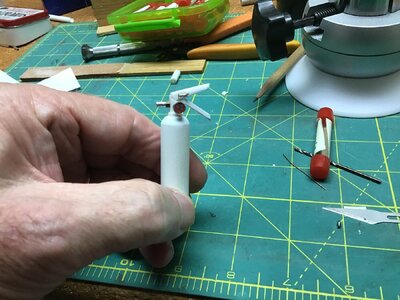
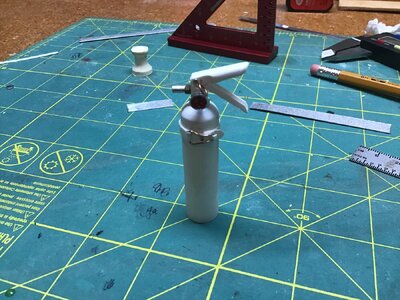
This is out of order but I wanted show the fire extinguisher I built. I did not make the fittings for the boat and that part will come later. Insurance required in the UK called for a fire extinguisher. Andrew sent a picture and it was from an American company. I called them and asked if they would send me a set of labels so that my graphics lady could reduce them and send me a scale set. They more or less told me to get bent. So I went out and bought one and peeled the labels off and sent them to Callie Graphics. If you need graphics she is the lady to talk to.

I used some nested styrene tubes for the body. The rest was bits and bobs from my scrap parts. The gauge face is from Callie too.

IMG_1495.jpeg

IMG_1499.jpeg

IMG_1500.jpeg

IMG_1509.jpeg

IMG_1511.jpeg

IMG_1510.jpeg

IMG_1512.jpeg

IMG_1513.jpeg

IMG_1514.jpeg
 
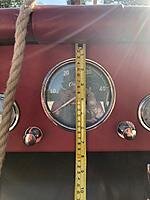
I had had fits trying to figure out why the driver would not fit properly in the seat. I know it wasn’t that important but it was the principle of the thing. I knew I could move the foot rest forward but I didn’t want to lower the seat. I decided to ask Andrew for a measurement of the dashboard. He sent me a picture that told me two things. The dash in the kit was too big and two,the gauges were a blue green color not white.

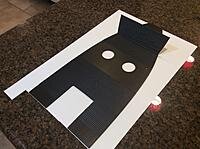
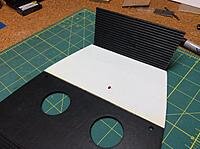
I thought about cutting the bottom off the dash but instead I decided to just make a new one.

I moved the foot board forward almost 2 inches.

IMG_1467.jpeg

IMG_1472.jpeg

IMG_1470.jpeg

IMG_1471.jpeg

IMG_1465.jpeg

IMG_1475.jpeg
 
The extinguisher is a,azing - would not wonder if it would be also filled and working in case.....
 
One of the things I wanted to see if I could find out what stain was used on the original boat. It took some searching but I found a restoration company that did work on a sea maid. They had the matching stain color as used on the original boats. It was not cheap and I have enough to do several boats but I had to buy a quart of the stain. This is a filler and a stain. Almost a gel stain. Before I committed to the epoxy and cloth I did some tests to see if there were any problems. I had heard that epoxy did not do well over oil based stain. I let the stain dry several days before I put the epoxy on it. Tests looked fine. I used West System and also Z Poxy.

IMG_1461.jpeg

IMG_1463.jpeg

IMG_1462.jpeg
 
Ok after testing I did the cloth and epoxy for the second time. I can’t see myself doing that today but back then I was trying to make the best sea maid that I could. I did the hatches separately of course and it worked well. I was happy with the color and it all matched.

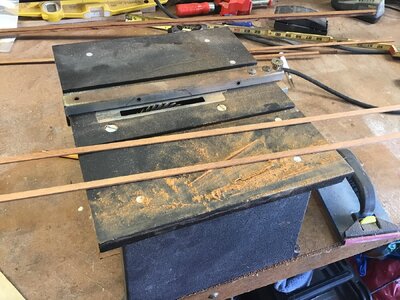
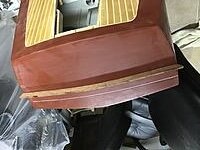
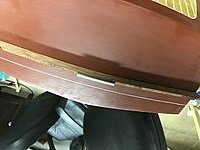
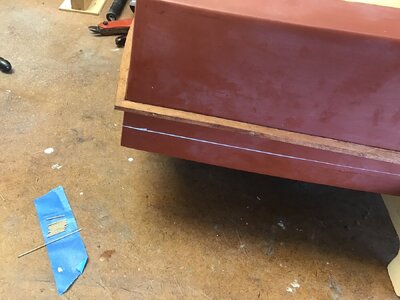
The sea maid was advertised as having a “dry ride” feature. This was accomplished by the use of a chine rail that ran almost 3/4 the length of the hull. Andrew sent me a photo of the rail and it showed an angle cut not just a square piece like the kit used. I cut this shape out of mahogany on my ancient Dremel table saw. It was tricky in the cutting as it was not a large piece. Fortunately I was able to keep all my fingers away from the blade.

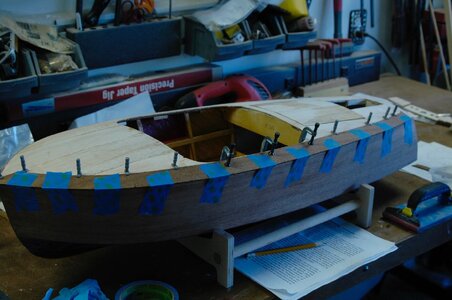
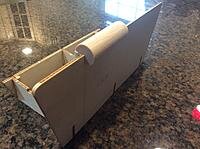
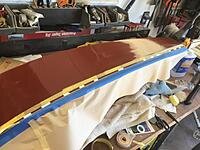
The issue was that the strip needed a curve to fit properly against the hull. I made a form out of plywood and used tape to hold the strip in place. I soaked the strip first for a few hours before I put it on the form.

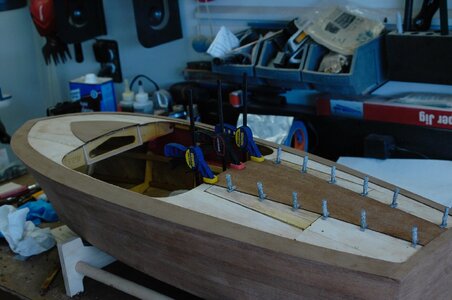
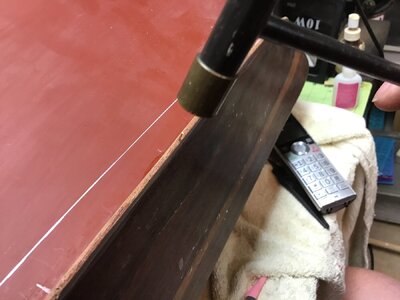
I did not trust a glue joint only for attaching the chine rail. I made a drilling jig so that I could use brass pins to attach it to the hull. I wanted to get a nice tight fit to the hull. I used some gel epoxy from the underside to fill any gaps. Between the epoxy and pins I figured it would stay in place. BTW this feature does work. The deck is always dry even in rough water. Miss Behave not so much.

IMG_1526.jpeg

IMG_1528.jpeg

IMG_1524.jpeg

IMG_1525.jpeg

IMG_1529.jpeg

IMG_1530.jpeg

IMG_1531.jpeg

IMG_1533.jpeg

IMG_1535.jpeg

IMG_1536.jpeg

IMG_1538.jpeg
 
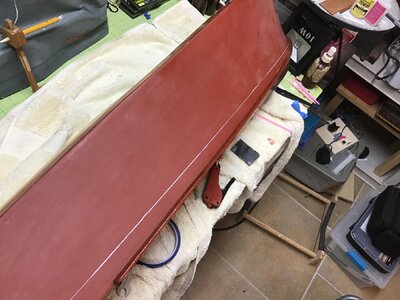
The quarter guards were next. The guards are not parallel with the water line. Andrew sent information so that I could get them correct. I attached them to the hull with brass pins just like the chine strips.

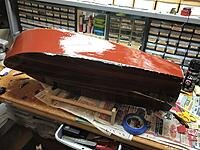
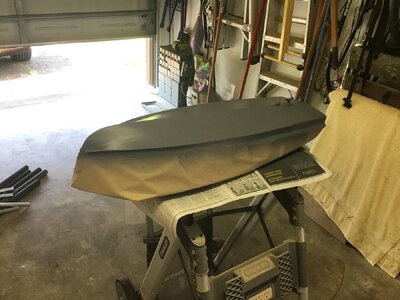
I finally got the bottom primed and painted. The copper is rattle can Rustoleum. The waterline was masked and painted. Hours of masking for 1 minute of painting.

IMG_1539.jpeg

IMG_1540.jpeg

IMG_1542.jpeg

IMG_1543.jpeg

IMG_1546.jpeg

IMG_1548.jpeg

IMG_1552.jpeg

IMG_1553.jpeg

IMG_1554.jpeg
 
Back
Top