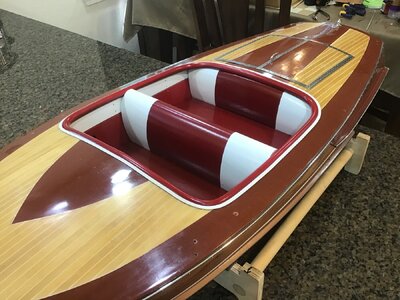
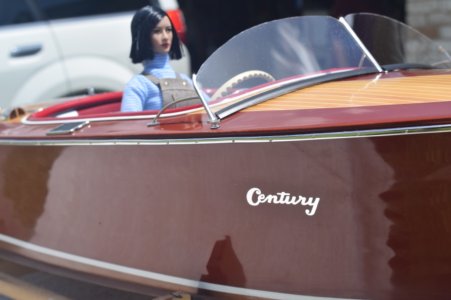
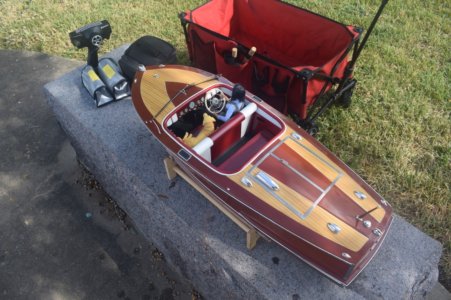
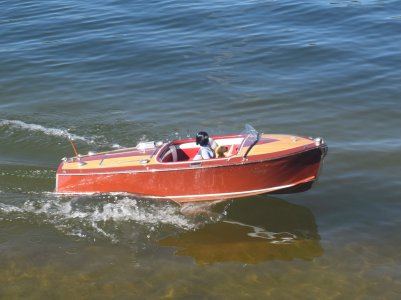
Century Sea Maid [COMPLETED BUILD]

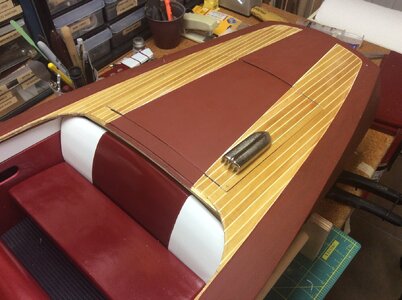
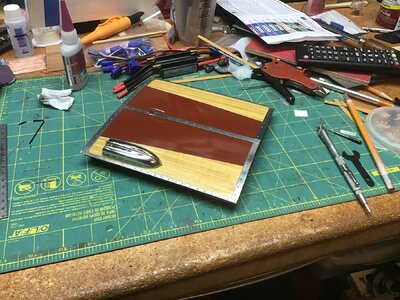
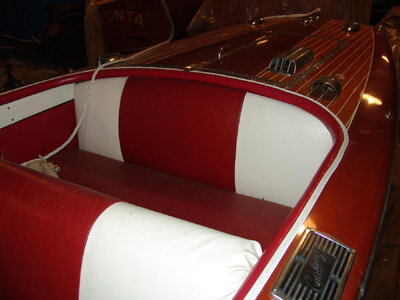
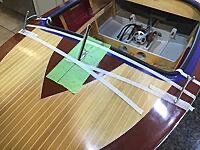
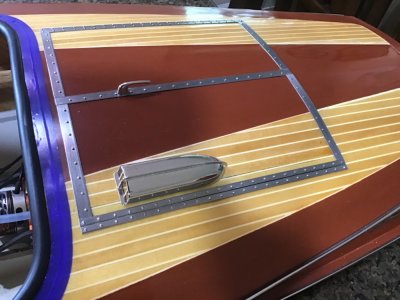
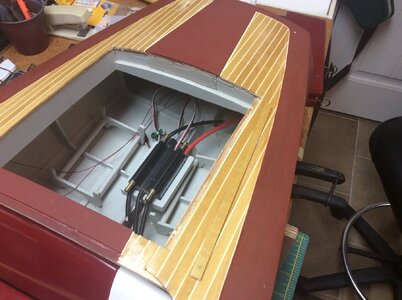
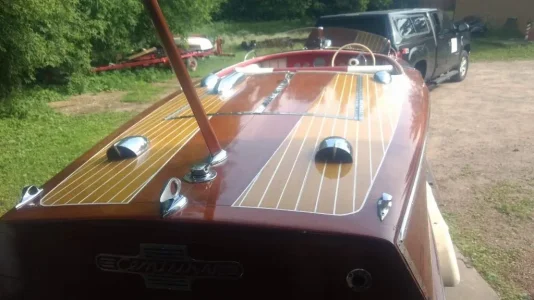
It was at this point I decided to check some of the kit fittings to see how they would look. There is a large carburetor vent on the engine hatch. When I put the part on the hatch I knew there was going to be a problem. On the real boat the vent does not touch the dark center plank. As you can see in the photos of the prototype the vent is over partially onto the center plank. If I moved it over to keep it off the center plank it would be too close to the hinge strip. I was annoyed with this issue because it could have been addressed back at the beginning if I had noticed it. The only thing I could was make the hatch wider. You can understand why at this late date I didn’t really want to cut the deck planking. Did I mention I was annoyed? Should I just leave it and go with the kit placement I asked the First Mate. She said I would be happier if I fixed it.

After an adult beverage and staring at it for awhile I got to cutting. I just had to go slow and make several thousand cuts with a #11 blade. I kept seeing the blade go skittering across the deck hatch and really messing it up. Fortunately this did not happen and I got both deck planks lifted off and attached them to the hatch. It is not a perfect patch but it got me the room I needed.

IMG_1520.jpeg

IMG_1488.jpeg

IMG_1522.jpeg

IMG_2656.jpeg

IMG_2686.jpeg

IMG_2662.jpeg
 
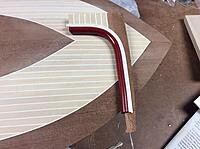
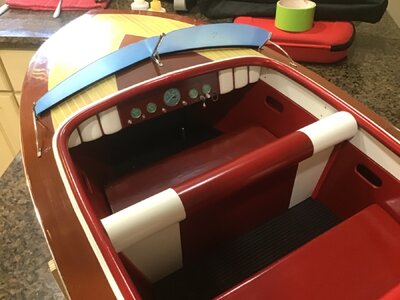
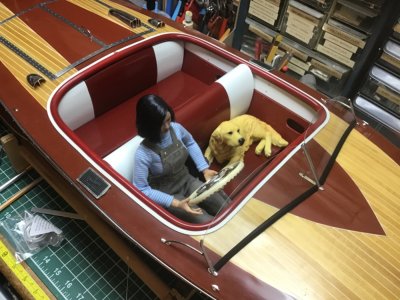
The cockpit coaming material in the kit is a single piece. You are supposed to trim it to fit around the seats and paint red and white. I was thinking there must be a better way. I went to the auto parts and got some windshield washer tubing. I slit it off center so that it would roll down on the deck. I did a test piece to see if I could duplicate the look of the coaming. The white ribbon is made up of white wire. I did not paint the wire.

IMG_3777.jpeg

IMG_1421.jpeg

IMG_1420.jpeg

IMG_2721.jpeg
 
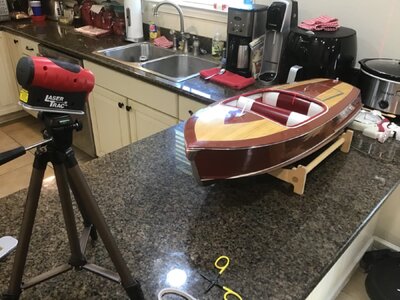
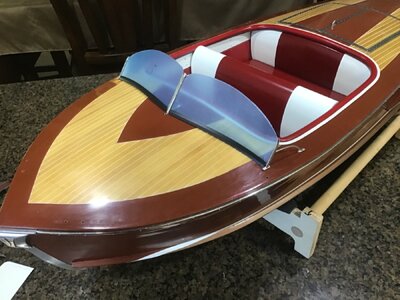
Installing the windshield supports was a challenge. It has become apparent as I age that what once could be done by eye can’t be trusted. I had to break out the laser to get the vertical alignment of the center post.


IMG_2723.jpeg

IMG_2728.jpeg

IMG_2729.jpeg

IMG_1591.jpeg
 
Installing the windshield supports was a challenge. It has become apparent as I age that what once could be done by eye can’t be trusted. I had to break out the laser to get the vertical alignment of the center post.


View attachment 466464

View attachment 466465

View attachment 466466

View attachment 466468
I acquired the Sterling kit and sold it years ago. This build plus the raw starting kit relegates the Sterling kit to a collectors item or perhaps a simple fun build. Your work is over the top here.
 
Thank you. I had that Sterling kit myself years ago. I can’t remember what happened with it. I know it was never built.

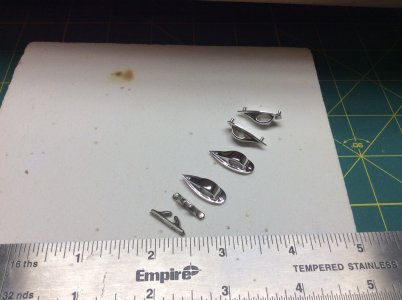
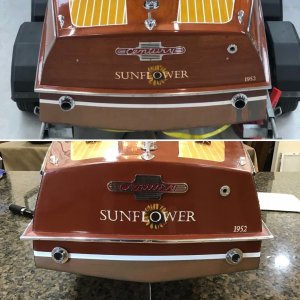
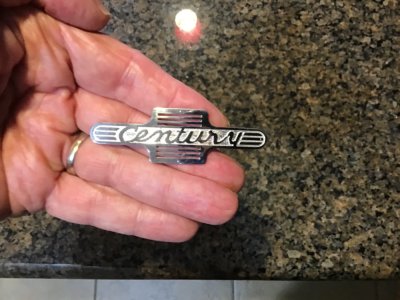
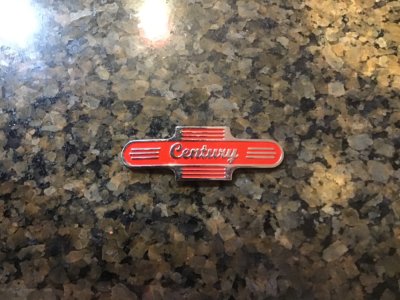
I teamed up with a retired Ford engineer to do the fittings for the boat. I sent him the measurements from Andrew’s fittings on Sunflower. He converted them into files which he sent to Shapeways. After a budget meeting with the First Mate we decided to do the fittings in metal. They start with a wax master and cast it in brass and then Rhodium plated. Excellent results but expensive.

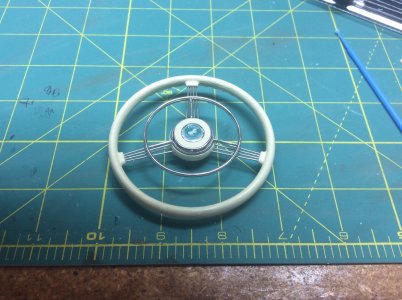
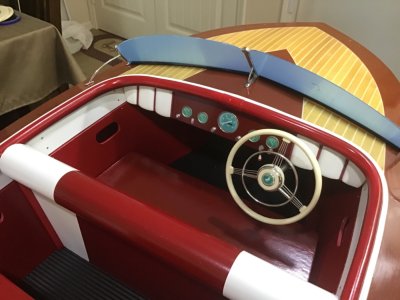
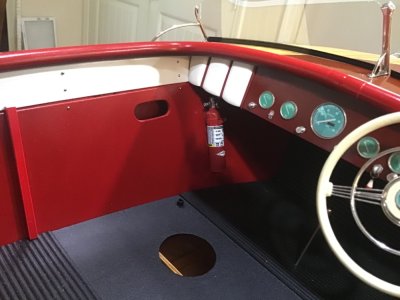
The steering wheel is the banjo type. I used pins for the “strings” on the wheel.

IMG_8131.jpeg

IMG_2686.jpeg


IMG_2677.jpeg

IMG_2684.jpeg

IMG_8957.jpeg
 
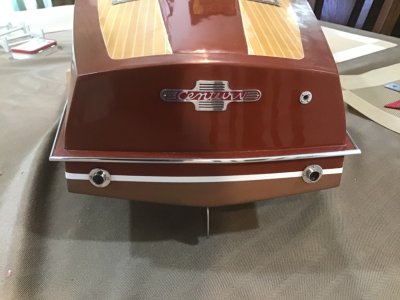
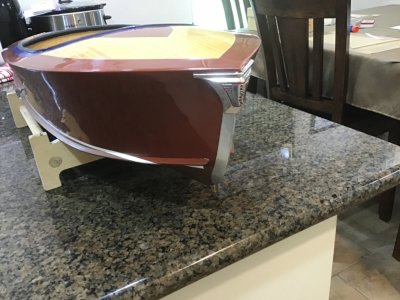
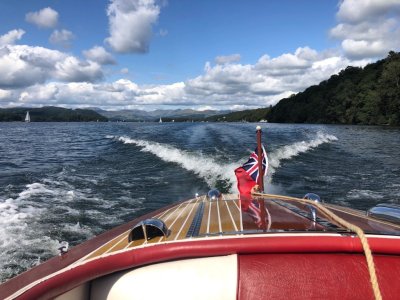
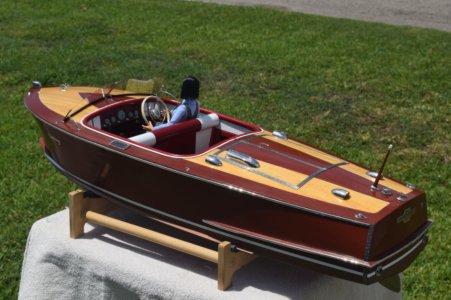
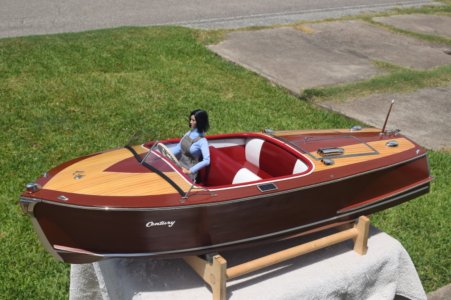
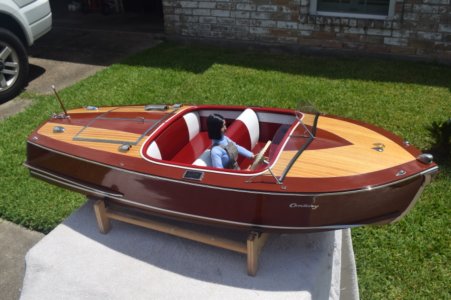
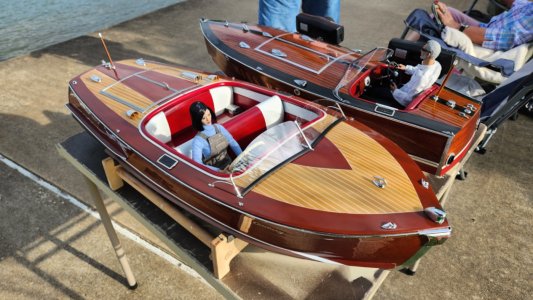
It was a long time coming but the model was finally finished this past year. I could not have done this without Andrew’s support. He never failed to take the time to help. Thanks Andrew, you have a fine boat and she is in good hands. Andrew spent awhile on the restoration.

Also a big thank you to Pat M. for his work on the fittings. They are definitely boat jewelry.

AF29E813-A43C-4B83-8E1B-CD00392ED16F.jpeg

IMG_2731.jpeg

IMG_2746.jpeg

IMG_0744.jpeg

IMG_0654.jpeg

IMG_3233.jpeg

IMG_2738.jpeg

DSC_0011.jpeg

DSC_0001.jpeg

DSC_0003.jpeg

DSC_0009.jpeg

DSC_0010.jpeg
 

Attachments

  • IMG_2714.webp
    IMG_2714.webp
    63.9 KB · Views: 0
Back
Top