• Ships of Scale has incorportated an extra level of security when you log In. Please follow on-screen prompts to acknowledge that you are not a robot via a "Check Box" or a "Pictorial Check Box Puzzle". This is needed due to higher level of AI Activity Security.
  • SUBSCRIBE TO SHIPS IN SCALE TODAY!

    The beloved Ships in Scale Magazine is back and charting a new course for 2026!
    Discover new skills, new techniques, and new inspirations in every issue.

    NOTE THAT OUR NEXT ISSUE WILL BE July/August 2026
  • Win a Free Custom Engraved Brass Coin!!!
    As a way to introduce our brass coins to the community, we will raffle off a free coin during the month of August. Follow link ABOVE for instructions for entering.

Chinese Junk - Imai/Aoshima 1:60

If I remember, he was unsure about how to do the anchors himself...
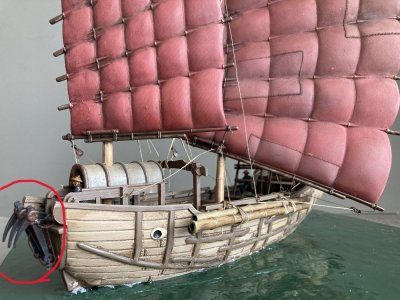
I can see why, if you look at the way the anchor's hang, the crew would need to be supermen to manhandle them in the hanging position. Although the instruction doesn't show it, there had to be some sort of a lifting assistance for them to flip and hang the anchors. because there are no traditional yards or jib. the only thing I can think of was the crew using some sort of bar to use as a brace to lift against?
 
A quick look online does not show anchors upside-down, as the kit recommends. Did you find anything that might aid in understanding how they were stored?
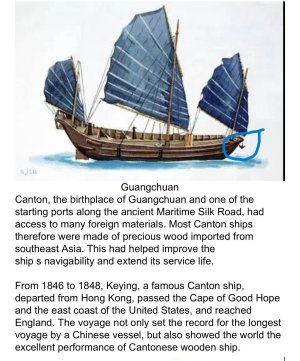
NO and it's making me crazy! I can understand them hanging like that, I just can't figure out how is heck they lifted them back into the position. I think I'm going to send a few inquiries to a Chinese historical site to see they can shed come light
 
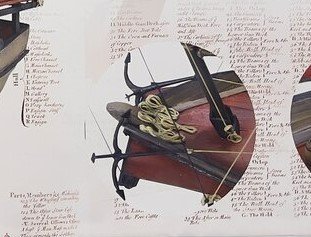
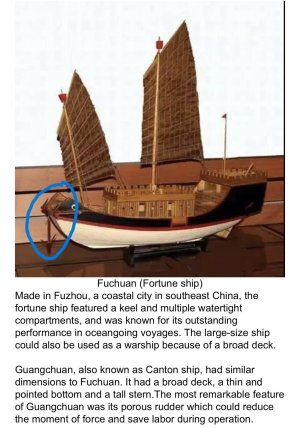
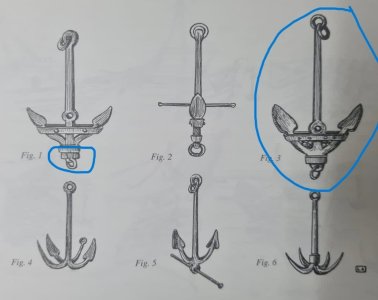
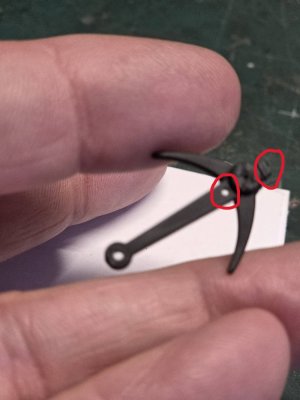
OK, I couldn't sleep past 3am and I went swimming the in the deep water of the net and found these references, from Ship of Scale and the net. Simply hanging the anchor off the bow like many of the pics show makes the ONLY sense. I suspect the still secured the hook from banging against the hull in heavy weather, but is normal sailing, they simply let them swing. I think for lack of better proof, I'll do the same BUT only use 2 anchors. I found reference to the style anchor that were used on some of the boat and the one circled is close to the simple style of the kit. I also think the hole by the hook would have been used for a BAR to keep the hook from getting stuck to the bottom, I have just enough room for drilling out a chain link for a buoy, I'm still trying to research IF they use buoy's

With the kit supplied anchors have the 'Bar hole'.

3AEDA19A-3628-467D-B557-FA42AF37789C.jpeg

4.jpg

6B98A730-092C-4836-B2E9-348B45D27B19.jpeg

84436CA2-068F-4129-9A08-CFAEC210A83E.jpeg

709206259_10233391584718171_4539990696658442425_n.jpg
 
John,

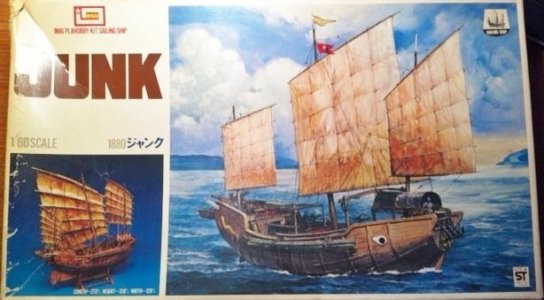
On the original box art, they show the anchors hanging as we suspect. But the instructions are incorrect.

imai junk.jpg

498234172_24197159769876830_7479847173245086906_n.jpg
 
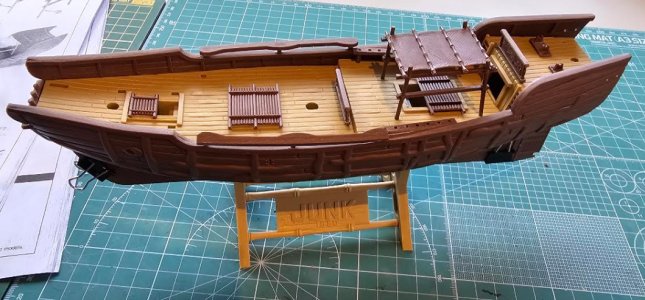
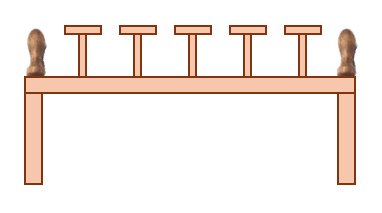
I noted that the pin rail (one on each side) has 7 holes but only 5 pins. The holes on the end do not go all the way through becasue the leg is immediately under those holes. I am thinking I will add a different kind of belaying pin there (the more traditional kind) , so it is functional, even if not rigged on this model.
Pic-0804.jpg
 
I noted that the pin rail (one on each side) has 7 holes but only 5 pins. The holes on the end do not go all the way through becasue the leg is immediately under those holes. I am thinking I will add a different kind of belaying pin there (the more traditional kind) , so it is functional, even if not rigged on this model.
View attachment 629685
I noticed that too. I didn't know what to do with it.
 
Last edited:
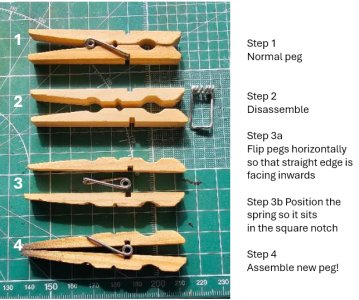
JOhn, how did you reverse the clothes pins?
It is a neat idea. I forget where I read it...may have been Fine Scale Modeller.

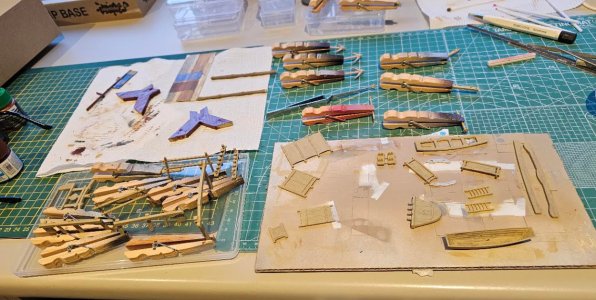
Just pull the pin apart and then rebuild it reversed, following a picture as an example. The grooves in the wood are not perfect for the reversed peg but they are good enough. I will take some pics and post them later today. It is useful to have a lot of cheap, reusable gentle clamps - and when they get covered with paint you just throw them away :)
 
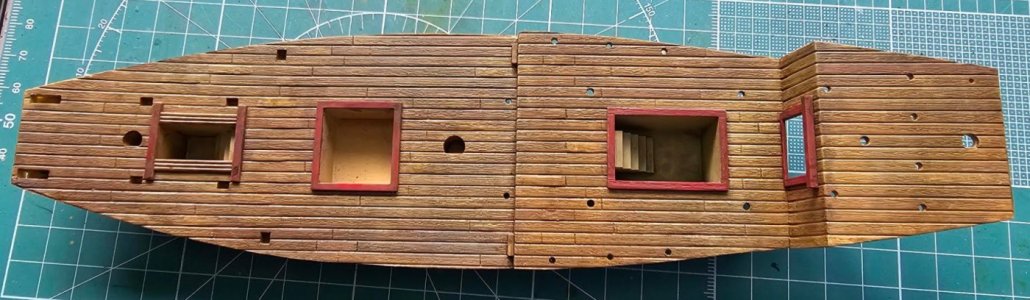
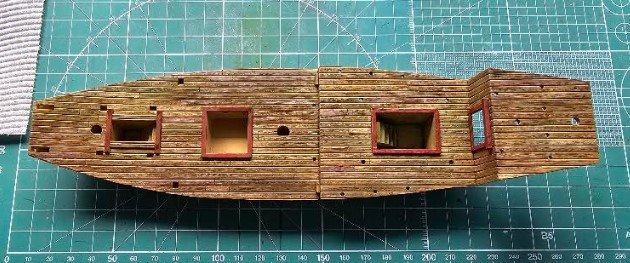
Started working on the deck. An undercoat of stynylrez yellow, then some planks coloured lighter and darker with posca pens.

I thought some of the planks were too dark so I went over themlightly with more stynylrez to softenthe effect.

Then the magical lifecolor pigments - wooden deck shadower and wood deck darkener.

Once dry I will likely add some dry brushing to highlight grains. Deck not finished yet!


Pic-0858.jpg
 
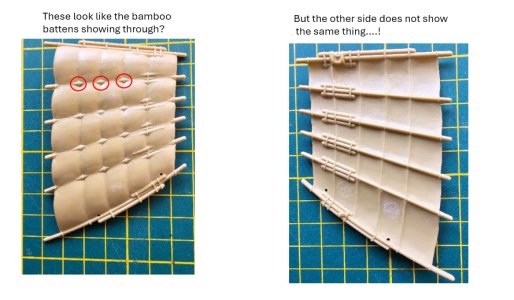
Here is a strange thing...

The sails, nicely moulded with texture etc, seem to show the bamboo battens going *through* the sail... But the other side of the sail does not show this...
Pic-1695.jpg

Anyone have any ideas as to what these are?

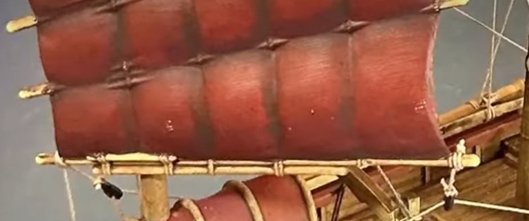
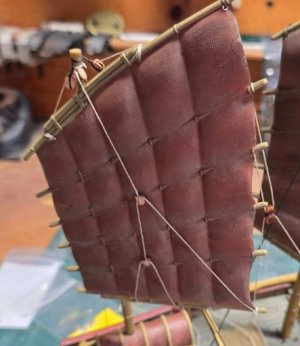
Harry Houdini just painted them the same as the sail (which would indicate that they are not the battens, which is consistent witthhe reverse side of the sail). But then...what are they???

Pic-1694.jpg

Big Jake did the same...

Pic-1696.jpg

...so I am a bit confused as to what they are and why they are so clearly moulded into the sail part???
 
I guess there are just 'Pinch Points' for anchoring the sail to the battens? SO little is written or published on the old sails, it's near impossible to really dig down into any true facts.
 
Back
Top