-

Win a Free Custom Engraved Brass Coin!!!
As a way to introduce our brass coins to the community, we will raffle off a free coin during the month of August. Follow link ABOVE for instructions for entering.
-

PRE-ORDER SHIPS IN SCALE TODAY!
The beloved Ships in Scale Magazine is back and charting a new course for 2026!
Discover new skills, new techniques, and new inspirations in every issue.
NOTE THAT OUR FIRST ISSUE WILL BE JAN/FEB 2026
You are using an out of date browser. It may not display this or other websites correctly.
You should upgrade or use an alternative browser.
You should upgrade or use an alternative browser.
Command Deck.- Mantua / Panart #709
- Thread starter Kurt Konrath
- Start date
- Watchers 20
-
- Tags
- command deck mantua panart
Kurt Konrath
Kurt Konrath
Kurt Konrath
Kurt Konrath
Kurt Konrath
Kurt Konrath
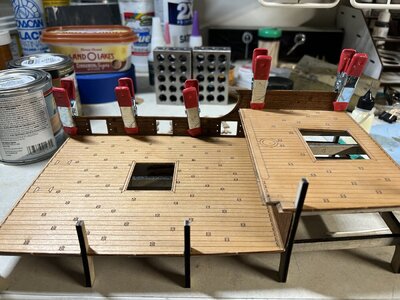
Ok so I glued in the front bulkhead and the small piece that is in front of it as bottom of deck planks
Hard to see under breath upper deck part. This left a double layer front edge that didn’t look correct (small gap in places). So I decided on my first bash of the project.
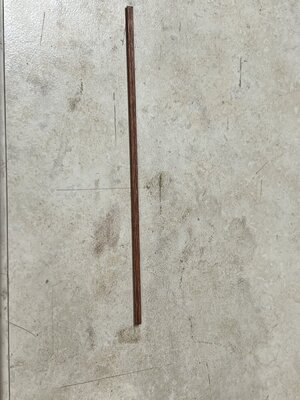
I cut a small piece of the frame the deck parts came from and stained with some reddish stain/poly combo I got. I then installed false front piece on the forward end to cover the two layers of the decking.
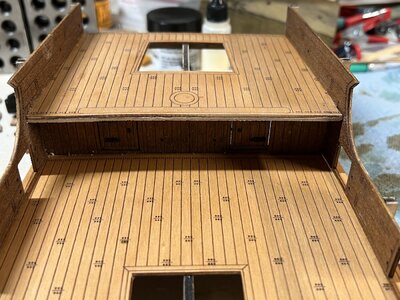
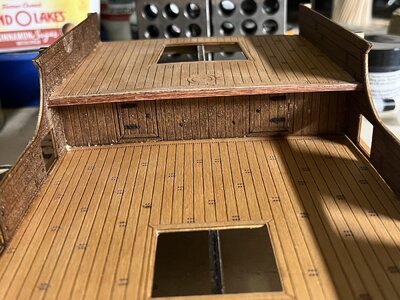


A nice improvement Kurt. Well played...
Kurt Konrath
Kurt Konrath
Ok next up in my work on multiple little tasks while glue dries slowly!
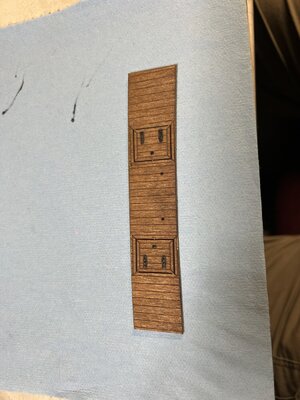
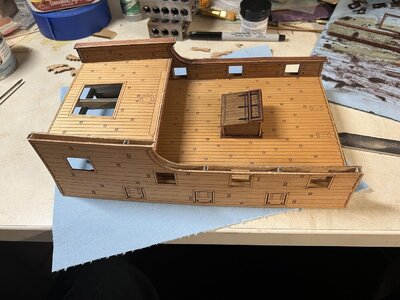
I started prep wok on lower deck shot locker for lack of better definition. The sides are designed with tab and slot inter lock and didn’t fit well. So I cut them off and used scrap from sheet frames to make corner posts. Stained them a different shade to try to make them stand out. During assembly I added more scrap as inside corner braces to hold it together. The walls glue inside a small deck trim piece and when glue had dried I finally added top cover. I used fine tip marker to highlight hinges engraved in the wood. I left off the thick trim frame on what would be the hinges section as it looked too out of place. So here is what it all looked like
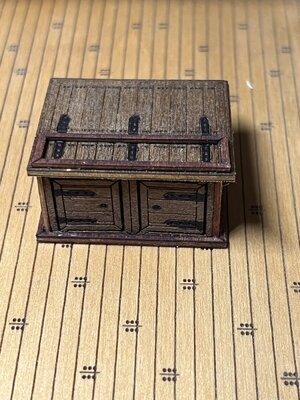
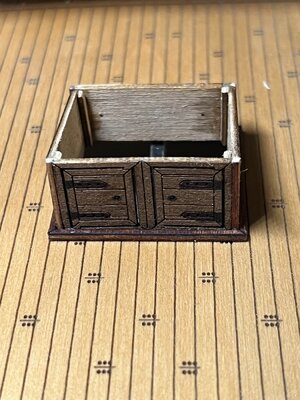
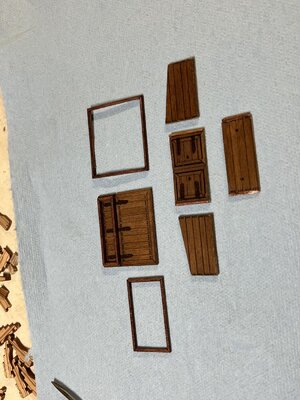
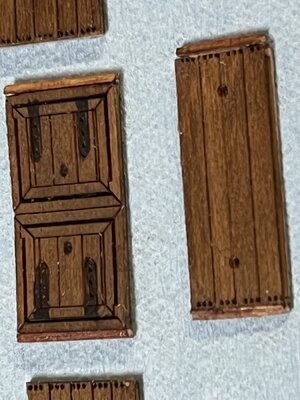
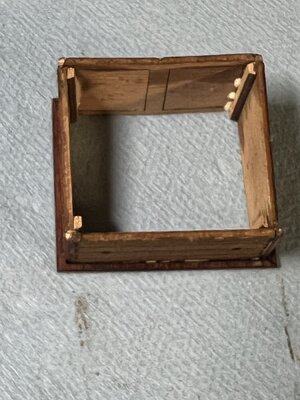
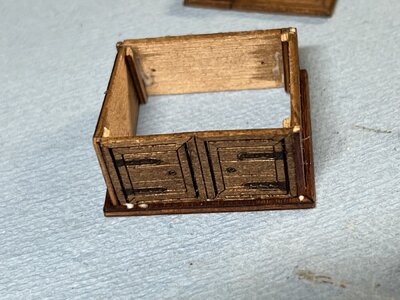
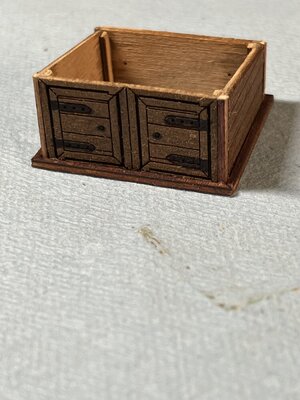
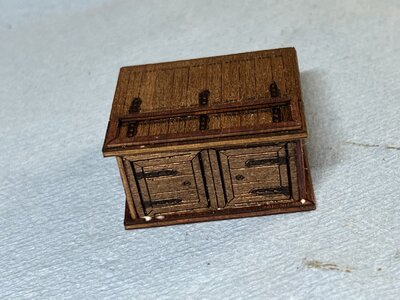
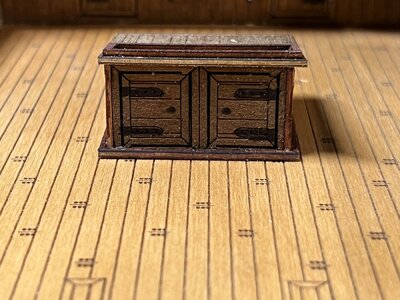
I started prep wok on lower deck shot locker for lack of better definition. The sides are designed with tab and slot inter lock and didn’t fit well. So I cut them off and used scrap from sheet frames to make corner posts. Stained them a different shade to try to make them stand out. During assembly I added more scrap as inside corner braces to hold it together. The walls glue inside a small deck trim piece and when glue had dried I finally added top cover. I used fine tip marker to highlight hinges engraved in the wood. I left off the thick trim frame on what would be the hinges section as it looked too out of place. So here is what it all looked like


Kurt Konrath
Kurt Konrath
Kurt Konrath
Kurt Konrath
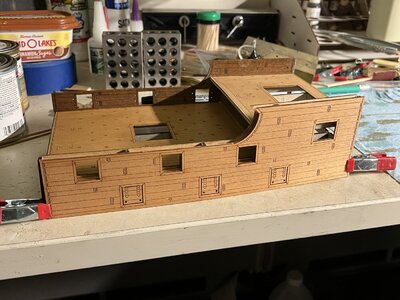
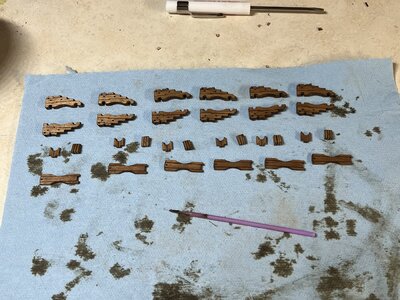
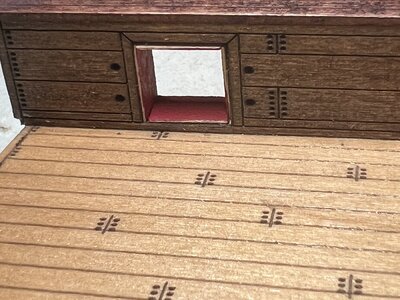
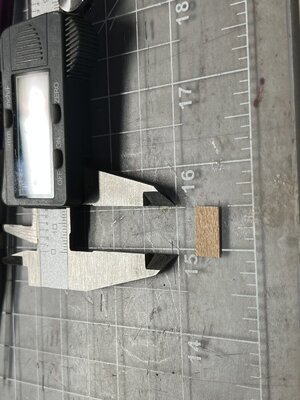
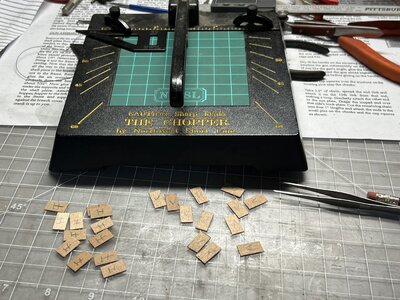
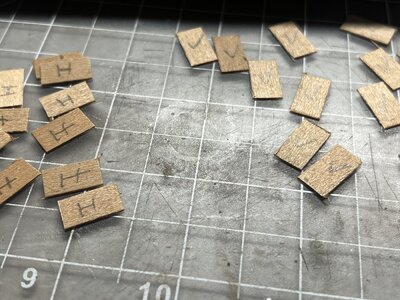
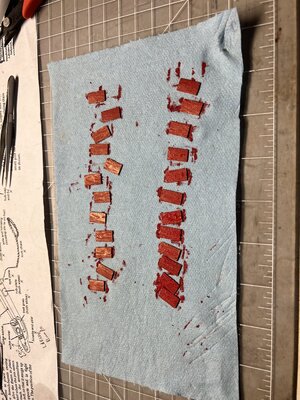
Other tasks worked on in last few days was liners for upper gun ports. The lit comes with two thin strips of wood to be cut for liner boards. Instructions call for 15mm pieces which was about correct. I measured to verify and used calipers to mark first boards to test fit. Since the sides were going to be my first pieces I sanded a piece to fit and tested in openings. Then I marked it with V for vertical. Repeated with one for bottom after I temp fitted two sides. Marked it H for horizontal. Then I pulled out my NW chopper and made full sets of V and H’s and marked them. After some light sanding I painted them flat red befor installing.


Kurt Konrath
Kurt Konrath
Kurt Konrath
Kurt Konrath
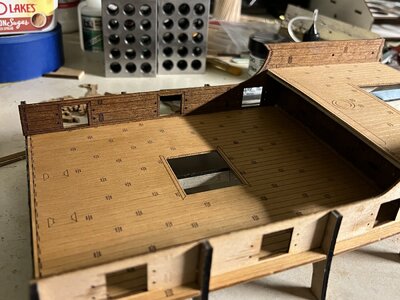
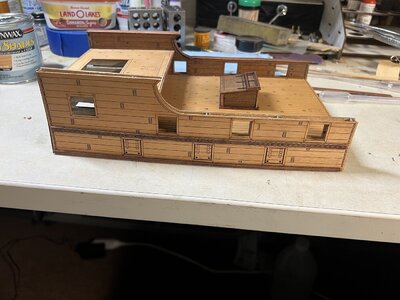
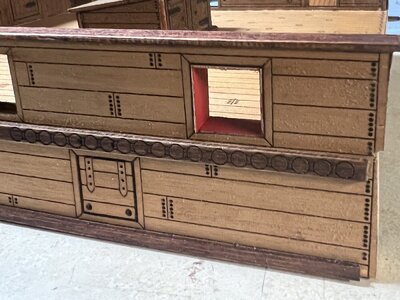
After the glue on sides had dried I added the wales and trim boards and rail tops. Another upgrade was I stained and glued some pieces of excess wood from gun port lining to make a better looking bannister for front of the deck. From deck below will later be covered and painted black
The rail caps are four pieces and one must be curved to fit the side. I heated these two up in hot water and bent them around old piece of 1” PVC plumping pipe I had laying in shop. After some sanding of small piece above the curved one I got them glued in and then added my upgrade
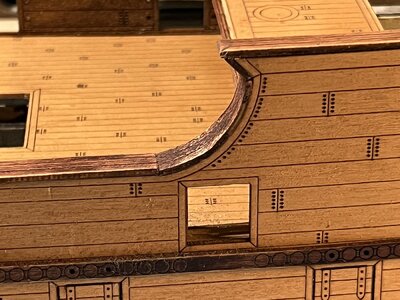
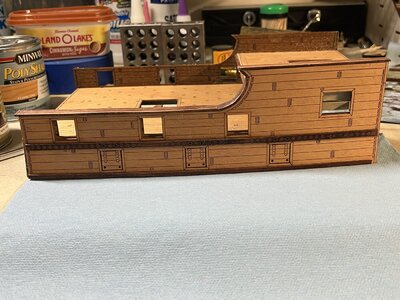
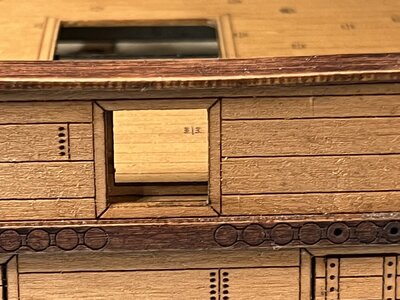
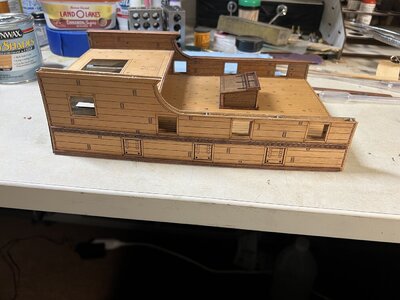
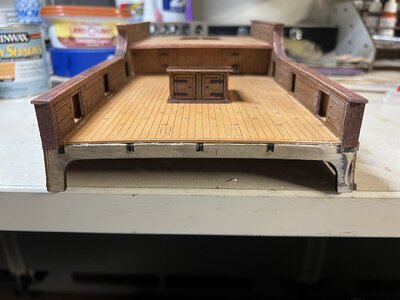
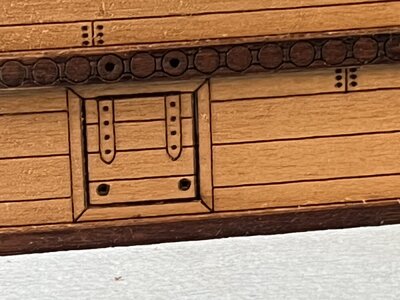
The rail caps are four pieces and one must be curved to fit the side. I heated these two up in hot water and bent them around old piece of 1” PVC plumping pipe I had laying in shop. After some sanding of small piece above the curved one I got them glued in and then added my upgrade


Kurt Konrath
Kurt Konrath
Kurt Konrath
Kurt Konrath
Kurt Konrath
Kurt Konrath
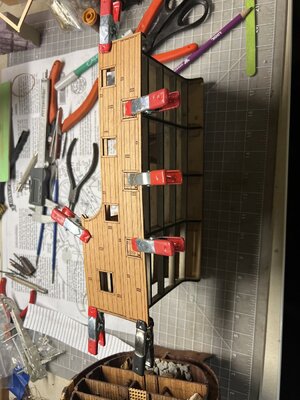
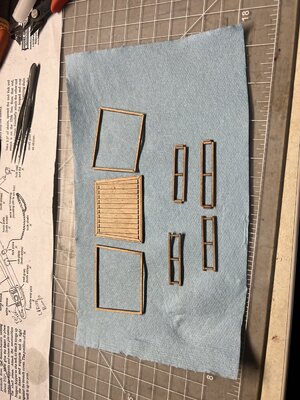
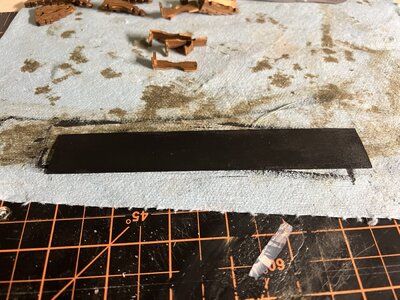
I spent some time working on blanking panels for end of model. I found some thin sheet stock and cut a piece out and then trimmed to fit. I then painted it flat black and when dry will install. I also started on rear blanking panel but didn’t finish yet. Have to get sanding on end frames to get flat installation. As I mentioned in another post the frame skeleton sections seem a touch longer than inside and outside panels so anyone planning to build one needs to measure parts before gluing frame so adjustments can be made
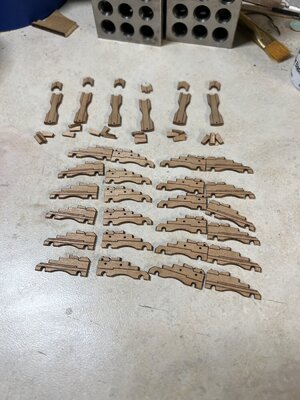
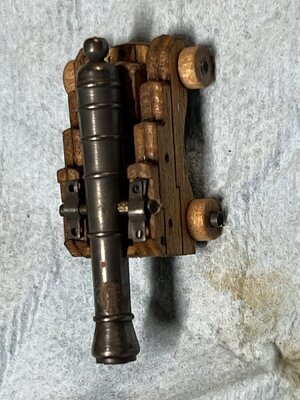
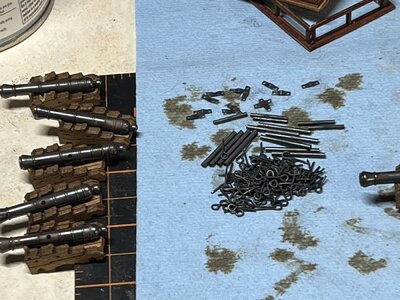
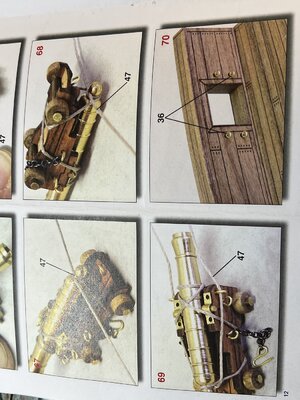
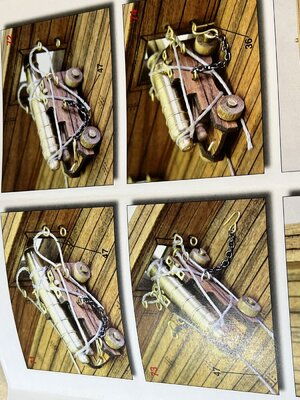
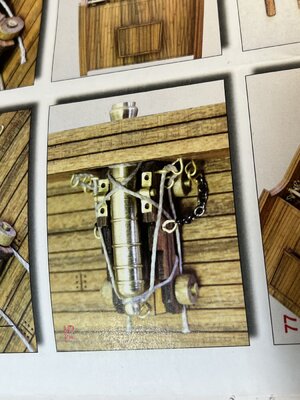
I also started gluing gun carriage parts together so see how they will fit. I got one half assembled to point I could test fit a cannon barrel. Not bad but minor filing of slot to get pivot pin to drop fully down will be needed. Next step it to see about adding wheels. And I will have to get with Dry Dock models to order some proper scale blocks for them
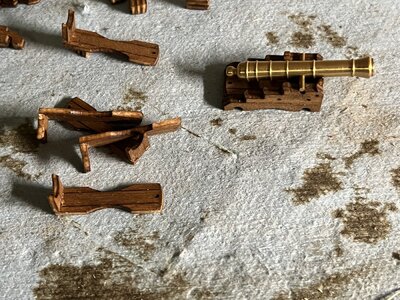

I also started gluing gun carriage parts together so see how they will fit. I got one half assembled to point I could test fit a cannon barrel. Not bad but minor filing of slot to get pivot pin to drop fully down will be needed. Next step it to see about adding wheels. And I will have to get with Dry Dock models to order some proper scale blocks for them

A handy tool that little chopper! Don't forget to paint the edges of the red inserts (?).
Kurt Konrath
Kurt Konrath
Yes I have that in the plan. This kit comes with frames for outside and I had planned to install them and paint all the inside and ends red.A handy tool that little chopper! Don't forget to paint the edges of the red inserts (?).
Kurt Konrath
Kurt Konrath
Kurt Konrath
Kurt Konrath
Kurt Konrath
Kurt Konrath
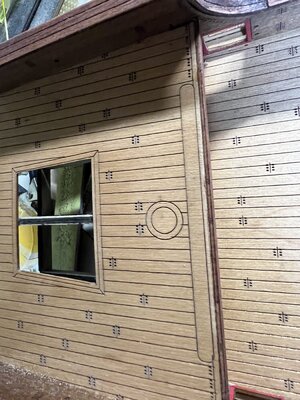
Last thing I decided was the lower deck has a pin rail on front and they are normally for masts and sail lines. So I decided to install a stub mast section and use the ring the kit provided to go around the ships wheel base. Thought it would make a good mast collar. Now to get some 3/8” dowel for the mast
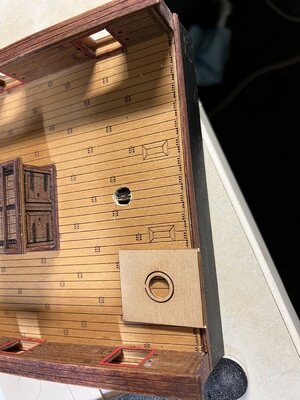


Looking good Kurt, very interesting kit!
Kurt Konrath
Kurt Konrath
Yes it is and the methods of some things are just plain wrong, I am working to fix what I can, and work around things I didn't notice up front.
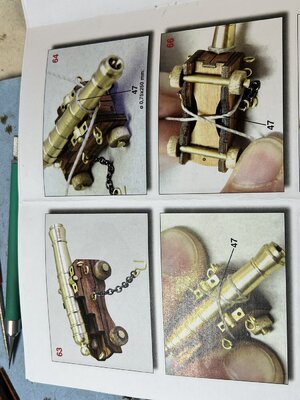
Correcting the cannon mounting and the way the kit shows to attach ropes to lower gun port lids are a few and I plan to add some color to make things less "plane Jane"
Correcting the cannon mounting and the way the kit shows to attach ropes to lower gun port lids are a few and I plan to add some color to make things less "plane Jane"


