Concorde-class Frigate (using cardboard)

  • Thread starter Thread starter edr
  • Start date Start date
  • Watchers Watchers 4

edr

Joined
May 11, 2023
Messages
36
Points
48

Bluebeard suggested that I show my progress on this so here goes.

I want to build a Concorde-class frigate from scratch using mainly cardboard. This will be heavily inspired by this great build log from Ab Hoving.

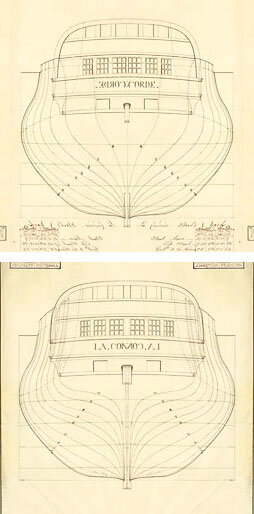
The plans I am going to use are the ones visible in this planset review, especially this plan.

I printed it and will just use the scale it provides, sorry, did not even calculate it.
I loaded the cross section in gimp and mirrored it for easier use:

large_cut_symmetric.jpg

As I mentioned in my introduction post progress will be slow as I will probably only work on it on thursday nights, but today was a bank holiday in Germany so I found some extra time to get started :)
 
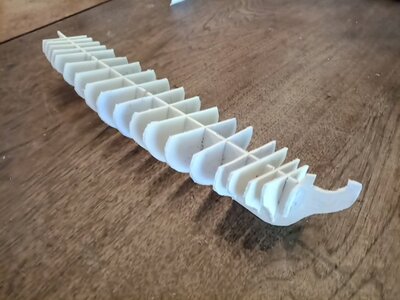
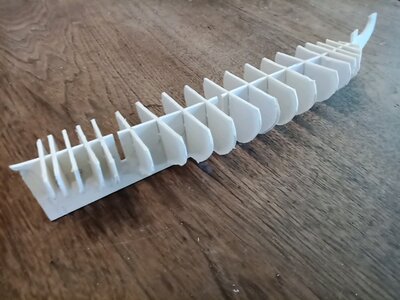
Today I printed the spine and all the cross sections, glued them onto card and cut them out.
They seem to fit together reasonably well but I still need to glue them together. I am a bit unsure how to make sure that they keep in place perpendicularly but I am guessing the glue should help:

IMG_20230518_184843.jpg
IMG_20230518_184850.jpg
 
a very interesting project - in which scale are you working?
 
a very interesting project - in which scale are you working?
I did not bother to calculate to be honest.
I just printed the plan linked above and used the scale as is. Wikipedia says the ship is 44,2 m long, so we must be somewhere around 1:130. (Not sure if the length is just the hull or really everything.)
 
Time for a status update...

Barely one week into the project I can proudly state that I am able to provide the first expert advice:

Tutorials like the one from Ab Hoving I linked to in the first post of this thread are full of information and as a beginner, one should be humble enough to look at them often.
I did not do that and ran into trouble pretty soon. I missed some important steps that Ab describes very well: I did not double the frames and I did not add the deck before starting to work on the hull. I also cut the frames on deck level instead of leaving some margin on the top.

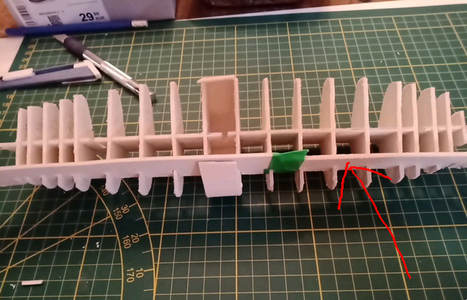
As a result I ended up with a spine that was moving back and forth all the time and frames that would not stay in place while I was trying to glue hull strips to them. The fact that the frames were not doubled did not help at all under these conditions. In order to mitigate the problem I made a support structure which held the frames in place a bit better:
1685056084951.png
I was hoping that this would keep the frames in place and make it easier to glue the hull strips, but It turned out difficult to cut the slots at the exact locations needed and as a result the frames where still not positioned quite right.
So I ended up cutting the support structure into several pieces and only supporting the frames to which I was currently glueing a hull strip.
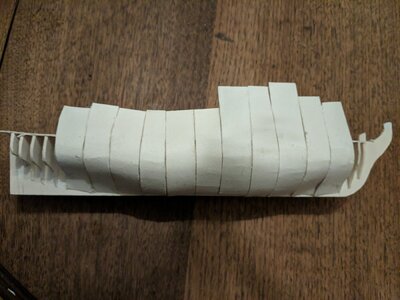
This worked out reasonably well and allowed me to get to the point where I had three hull sections in place on each side of the ship:
1685056264568.png
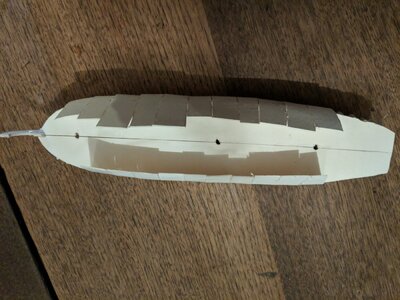
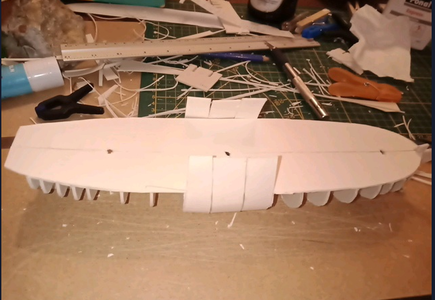
The spine was now a bit more stable. I then decided to add the deck to fix the spine's stabilty problem altogether. Again, I used the same drawing I already linked to above which provides a top view of the deck (or at least one half). So I cut two half decks, which worked out well while fine tuning the correct size. (Much easier to cut off a straight strip along the deck center line than it would have been to reduce the width of the full deck by cuts following the outer shape. Having two symmetric parts that could be harmonized by just laying them on top of each other also helped to actually make the deck symmetric.)
Here is a picture of the two deck parts glued on:
1685056359490.png
(Note that I did not even forget to follow Ab's advice to cut out holes for the masts... yey!)

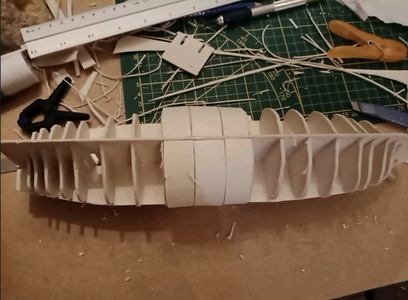
The whole structure is a lot more stable now and the spine is reasonably straight:
1685056651119.png
So the good news is that while I was seriously considering to start over several times during today's session I now think I am back on track! :)
Looking forward to the next session, although I am afraid that the next two Thursdays I might be busy with other things. (Maybe I can squeeze in a session on another day of the week, we'll see).
 
Last edited:
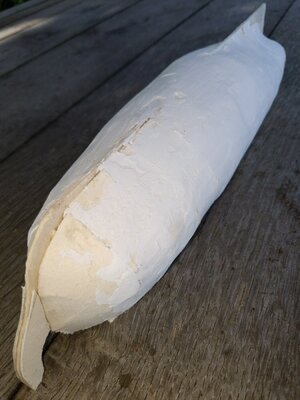
In last week's and today's session I made some progress on the hull but the closer I'm coming to the fore and aft ends the harder it gets, so this is more time consuming than I thought .

I am also unsure whether the bumps can be smoothened to a reasonable degree using putty.

IMG_20230622_232055.jpg
IMG_20230622_232124.jpg
 
Two more sessions and I managed to finish covering the aft side of the hull.
IMG_20230714_004102.jpg

Cutting the strips to the right shape takes for ages, I don't seem to have talent for this task.

It looks really bumpy, but Ab told me to have faith in putty, so I'll keep going
 
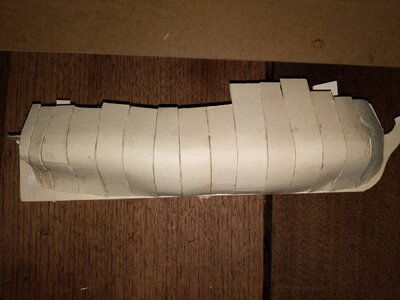
After a (too) long break I have finally been able to place the last hull strips.
IMG_20230811_002859.jpg
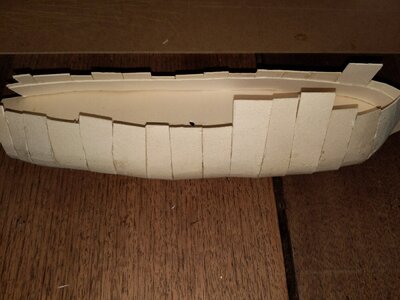
I have also added two long longitudinal strips right above the deck to reinforce the protruding strips from the inside:
IMG_20230811_002919.jpg
I am hoping that this will provide the stability required to be able to cut off the vertical strips' excess length.
 
A good basis for planking.
I think there will be some filler / putty and sanding necessary in order to ge a smooth hull form, before you can start with the "real" planking?
 
  • Like
Reactions: edr
By "real planking" you mean adding horizontal strips to the hull?
I wasn't thinking about this at all but it certainly might make the result prettier. Do you think I'll be able to glue these onto putty?
I used wood glue so far which works surprisingly well on the cardboard.
 
Paper and cardboard is made out of wood - so wood glue should work
 
  • Like
Reactions: edr
Paper and cardboard is made out of wood - so wood glue should work
Oh I am not worried about the cardboard - just wasn't sure about the putty. Nevermind, will just give it a try.
 
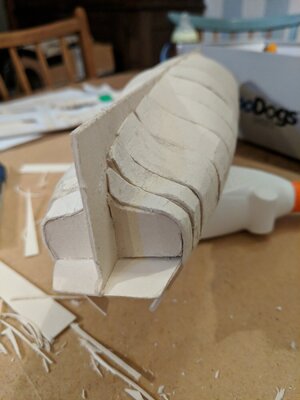
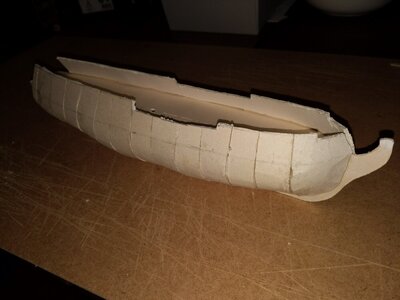
Today I cut the hull strips. I was afraid that this operation would tear them apart from each other at the glue points, but it worked out well...
IMG_20230817_231427.jpg

I also did some tests with putty on the card and than other card glued to it after it dried... this seems to be no problem at all!
 
Started applying putty today. Still need to sand it of course.
IMG_20230824_222600.jpg
Still quite bumpy, I am sure more layers will be required.

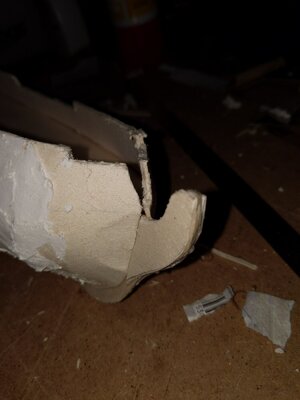
While applying the putty I damaged the galion, so I had to reinforce it by glueing a layer of card to it from both sides:
IMG_20230824_222622.jpg
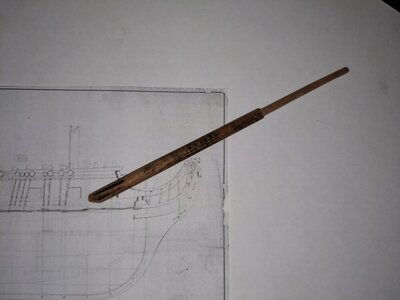
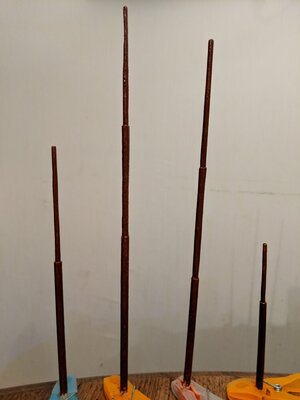
I also started working on the bow sprit and the masts. Saw on the plans that they are made from multiple pieces in reality but I decided to make them single-pieced for the model. In order to give the impression of multiple pieces I used knifes and sanding to make the front / top part thinner:
IMG_20230824_222447.jpg
For sanding I put the wood sticks into a cordless drill, wrapped it into sand paper and let it twist, this worked very well.

IMG_20230824_233638.jpg
 
After some sanding it looks a little less catastrophic but I guess there's way to go. :)
IMG_20230826_154914.jpg
 
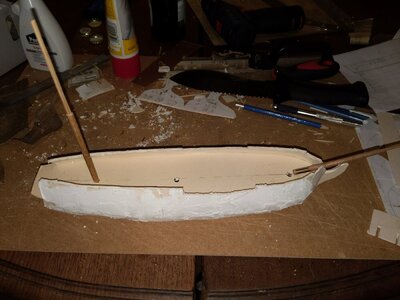
Today I made the last mast, painted all three of them as well as the bow sprit:
IMG_20230914_235404.jpg
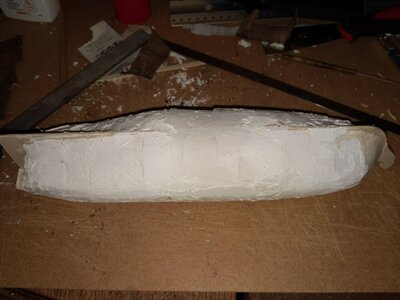
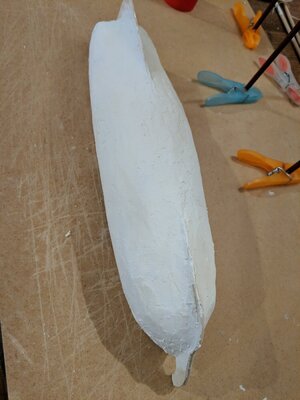
Meanwhile, after two more layers of putty, I am starting to be pleased with the hull.
Maybe one or two more iterations and it might be ok already:
IMG_20230914_233709.jpg
 
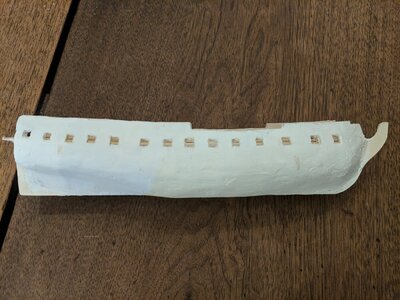
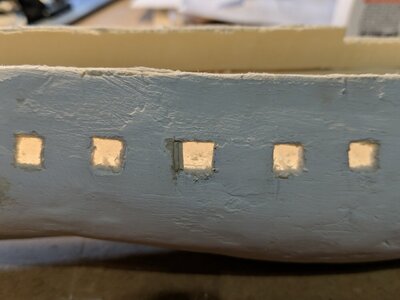
I realized that I need to cut gun holes in the hull (better late than never) and thought it would be good to do this before the final putty touch.
Luckily it turned out that cutting the holes through two layers of card covered by putty can be done, albeit not with the precision I would have liked.

I am particularly unsatisfied with the poor positioning of the holes. At the same time I am unsure what exactly would be the right method to determine and hit the correct positions, I found it surprisingly hard to do this on the curved hull shape.
Anyway, it is what it is, this is how the starboard side looks now (the port side is about half way done.)

IMG_20230921_235000.jpg
 
The openings of the gunports can be slightly adjusted when you cover the hull with the wooden planking
Step by step - no hurry
 
  • Like
Reactions: edr
The openings of the gunports can be slightly adjusted when you cover the hull with the wooden planking
Step by step - no hurry
What a great idea to adjust the positions. This did not cross my mind until I saw your post, but even without the wooden planking this can be done of course.
I took a crack at the one I was most dissatisfied with. First I glued two thin strips of card on the opening's inside. Then I cut the hole a little larger to the right:
IMG_20230924_163740.jpg
It is now perfectly positioned between the two adjacent ones! Once the glue dried I'll hide the "repair" with putty - perfect!
 
Back
Top