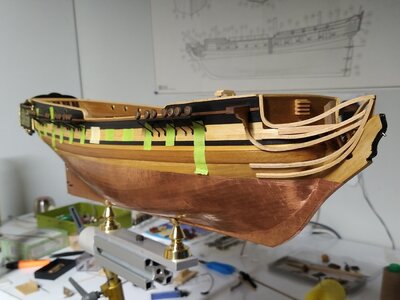
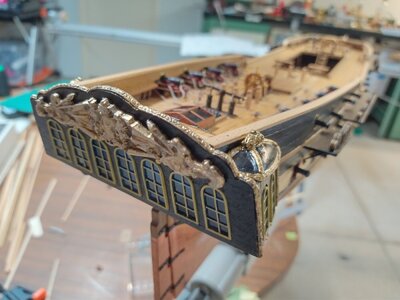
Corel HMS Unicorn - 1/75 scale [COMPLETED BUILD]

It's funny how when you finish doing a part you find out how it should have been done. Too late to change it now and I am happy with the way it turned out.
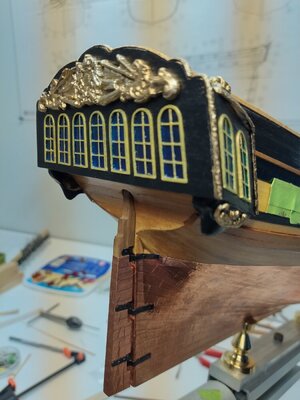
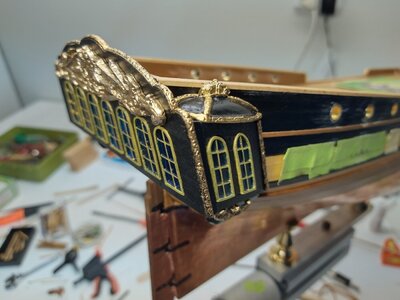
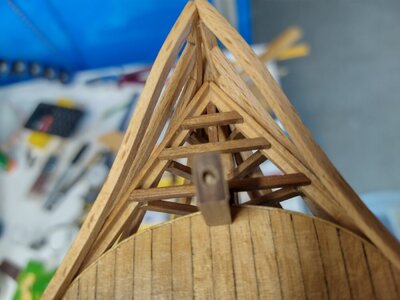
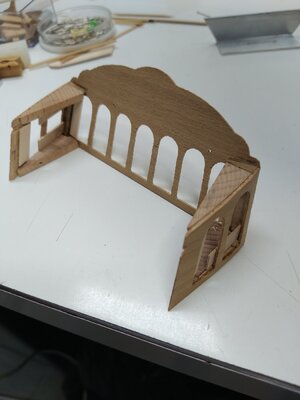
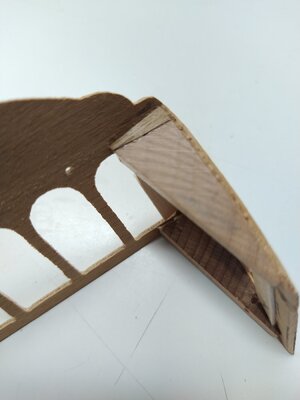
I decided to make the cabin detachable and fix it in place when fully assembled. I used wooden dowels to to keep it in the correct position.
IMG_20220108_164428.jpg

IMG_20220108_164501.jpg

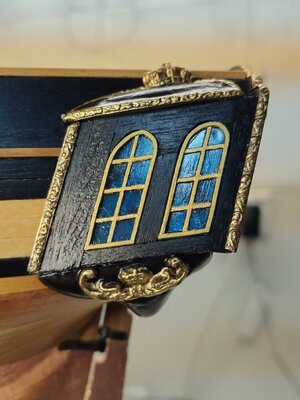
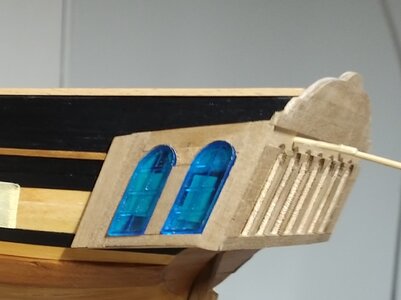
The blocks on the side galleries didn't fit very well so small pieces where made to fill the gaps.
IMG_20220110_172751~2.jpg
IMG_20220110_172716~2.jpg

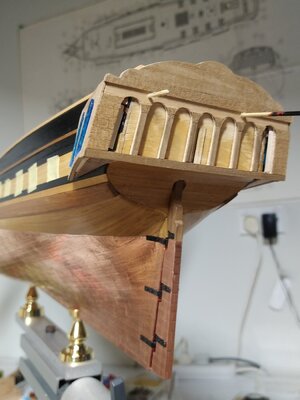
One of the reasons I made it detachable was it needed planking. It was much easier to trim the planks for the windows off the ship.
IMG_20220113_155020~2.jpg
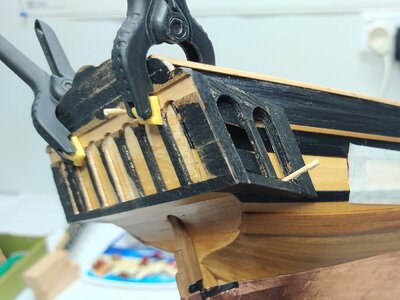
Fitting the gallery in place, one plank has been left off so I can still use the dowel holes.
IMG_20220121_141045.jpg
IMG_20220121_141238.jpg


IMG_20220121_140844~2.jpg
IMG_20220121_141143.jpg
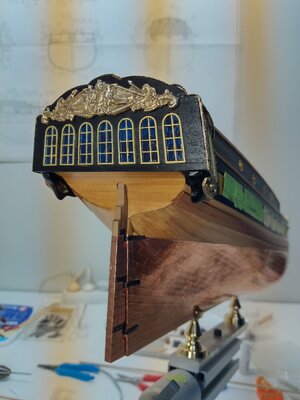
With the gallery in place and painted the windows and castings where painted and glued in place.
Now is not the best time to read the instructions but when I went back to check I found a small sentence that said the last frame should be rounded off so the stern is not flat. Had I done this the blocks would have fitted better but I don't think the casting would have bent very well.
 
Isn't that the story of modelbuilding/ What you lose on the swings you gain on the roundabouts. Nevertheless the finished effect looks very good Tony.
 
Isn't that the story of modelbuilding/ What you lose on the swings you gain on the roundabouts. Nevertheless the finished effect looks very good Ton
I think it's time I got off the swings and had a go on the roundabout, When I restarted this model I knew I would have some problems but I wanted the experience whatever I do on this build will help make my next one better.
 
Beautiful results Tony. I really like the blue colored plastic windows.
Nicely done Tony! The textured plastic/glass gives a nice effect.
When I first tried fitting the windows in place they didn't look right (too blue) so I put some black card behind them and liked the results.
 
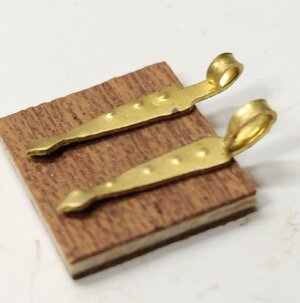
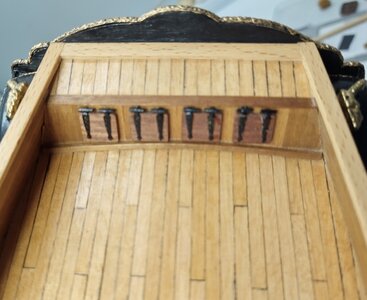
Thanks for the comments and likes it's very encouraging. This week I've been finishing off some of the parts that I put in the to hard basket. First the doors on the flag lockers. The main problem was the fittings didn't look right.

IMG_20220111_163756~2.jpg
This is how the hinges looked as supplied.


IMG_20220204_173837~2.jpg
With a little bit of modification they look much better.

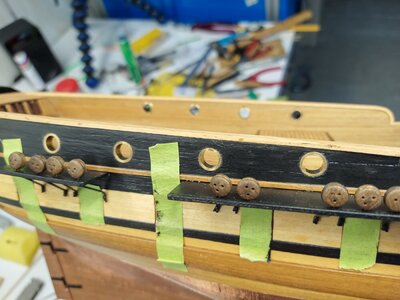
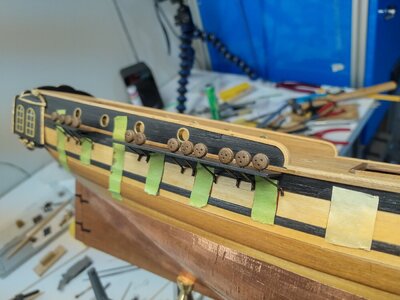
The next job was to fit 8 10mm diameter brass rings to make the gun ports on the upper deck. A 10mm drill would have damage the timber as it broke through. Luckily I had a 10mm reamer so in the end all I had to do was make a smaller hole then run the reamer through, in the end the holes were perfect.

IMG_20220204_173923.jpg

As you can see all the deadeyes are now in place.
IMG_20220204_173909.jpg

The tape is over the gun ports to stop some of the rubbish going into the lower deck.
I have nearly finished the head rails and will post some photos when finished.
 
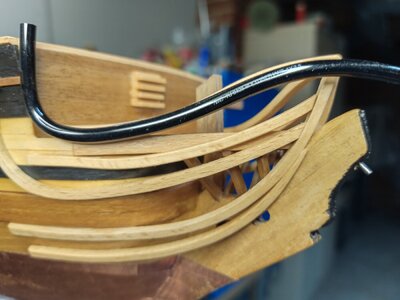
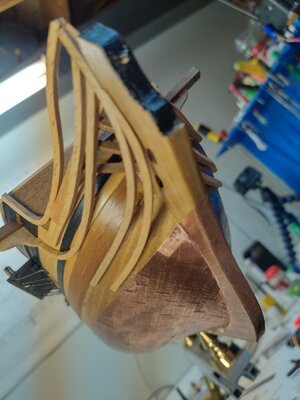
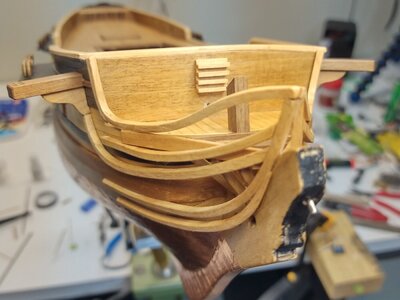
Today I completed what I thought would be the hardest part of this kit and it wasn't easy.
This is what I had to do.IMG_20220206_151414~2.jpg
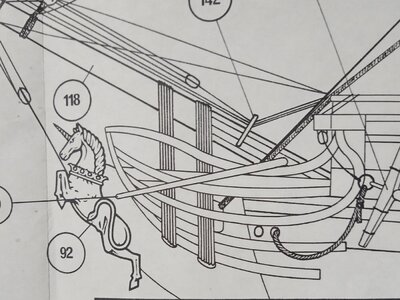
The head rails look a bit strange but I wanted to build it to the drawing. Just to make things worst there was only two strips of beech to make the rails with.

IMG_20220205_183509.jpg
The rail second from the bottom was the first to be fitted then the rest where made to suit. The wood needed to be placed in hot water and clamped for a few hours to form the radius. l used a piece of brass rod inside a plastic tube to work out what size radius I needed.

IMG_20220205_183226.jpg
IMG_20220205_183013.jpgIMG_20220204_174042~2.jpg
IMG_20220201_175136~3.jpg

Time to start the deck fittings.
 
Today I completed what I thought would be the hardest part of this kit and it wasn't easy.
This is what I had to do.View attachment 288864
The head rails look a bit strange but I wanted to build it to the drawing. Just to make things worst there was only two strips of beech to make the rails with.

View attachment 288865
The rail second from the bottom was the first to be fitted then the rest where made to suit. The wood needed to be placed in hot water and clamped for a few hours to form the radius. l used a piece of brass rod inside a plastic tube to work out what size radius I needed.

View attachment 288866
View attachment 288867View attachment 288868
View attachment 288869

Time to start the deck fittings.
Hi Tony, That’s very well done. I always find this a very difficult part of a build and for me it only ever comes out just about ok, you set a good example here and I’m glad that you showed it.
 
Firstly thanks for the likes and comments the feedback is always welcome.
It's been a while since I've added to my log, not much to show for time I've spent but the deck fittings are nearly all finished and just need fitting.
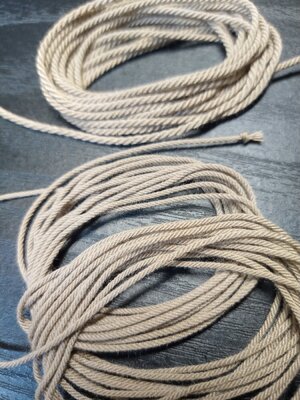
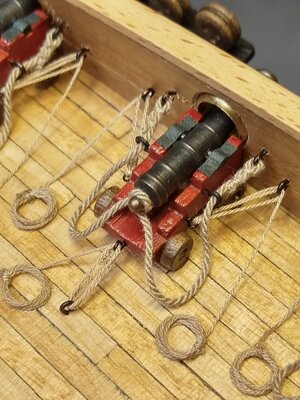
My first project was to fit the cannons the only problem was when I decided to restart this build I wanted to make all my own rope. It took me a couple of weeks and a lot of trail and error to learn how to use my rope walk.

IMG_20220302_172151.jpg
A sample of my rope it's around 2.5m long and can be made left or right hand. The smallest diameter is made with three strands of thread the largest one I need on this ship is thirty two strands.

IMG_20220220_120529~2.jpg
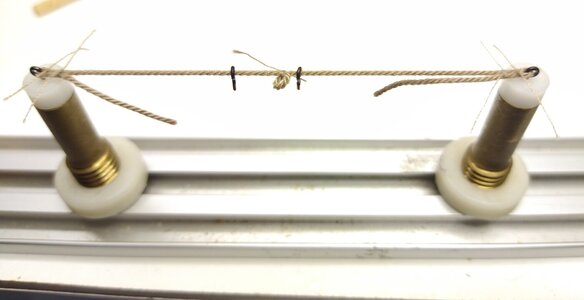
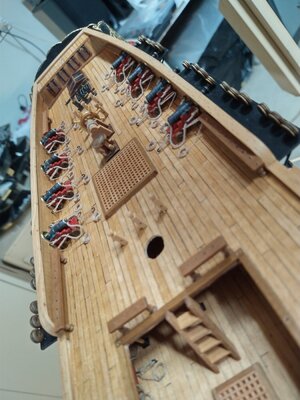
I tried to do as much of the rigging for the cannons off the ship.

IMG_20220228_101622~2.jpg
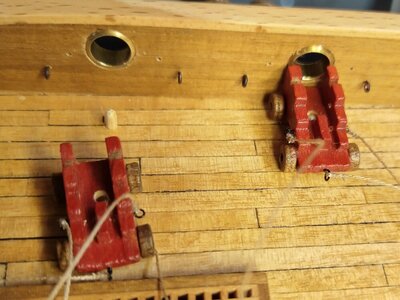
I used wooden pins to secure the cannons.

IMG_20220302_171647.jpg
IMG_20220302_171126.jpg
IMG_20220302_171511~2.jpg
IMG_20220302_171307.jpg
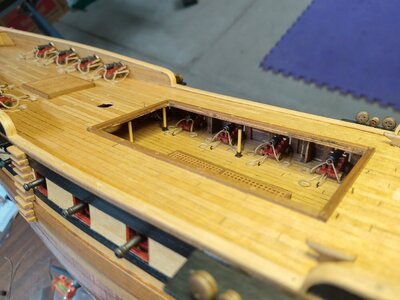
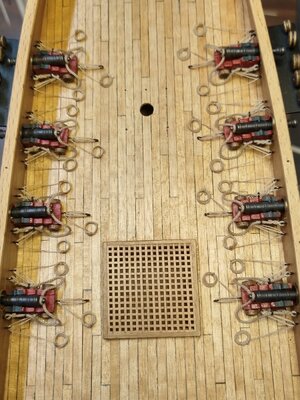
This is the first time I have fully rigged the cannons, overall I'm pleased with the results.
 
You have some really good-looking rope there Tony! I need to do some experimentation with other types of thread besides just polyester. I imagine what you have is way closer to actual period rope. I love it.
 
You have some really good-looking rope there Tony! I need to do some experimentation with other types of thread besides just polyester. I imagine what you have is way closer to actual period rope. I love it.
I'm using a polyester thread, as I knew most of it would be going straight into the rubbish bin I went for a generic brand ( 2500m for $6 ) figured by the time I run out I should know what I'm doing and get better quality next time.
 
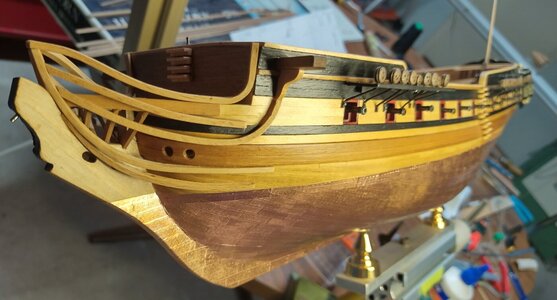
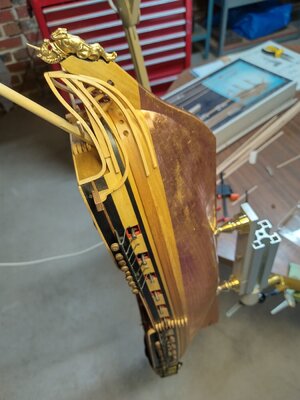
Today the figurehead was attached which completed the hull.IMG_20220304_171647.jpg
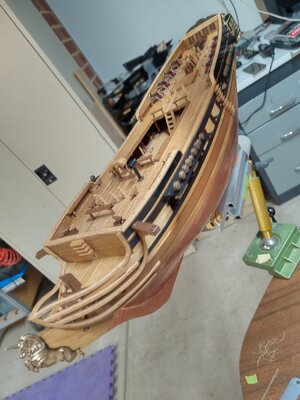
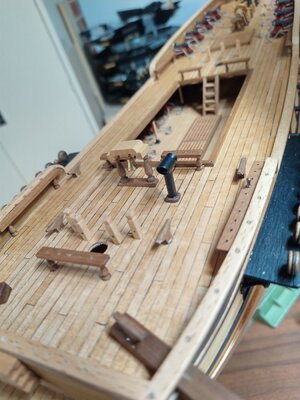
Some of the deck fittings are not very good quality, I was toying with replacing them but decided not to. This kit came out before laser cutting, I think the parts may be a lot better now.
IMG_20220306_160136.jpg
IMG_20220306_160157.jpg
IMG_20220306_160213.jpg
IMG_20220306_160252.jpg

I've made a start on the masts and yards, now I'm about to learn if I can make rope.
 
Back
Top