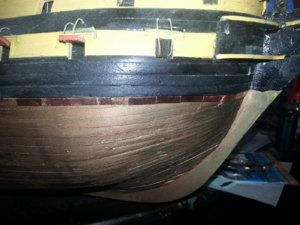
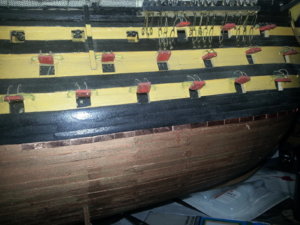
D’Agostini build HMS Victory

Joined
Feb 23, 2019
Messages
370
Points
323

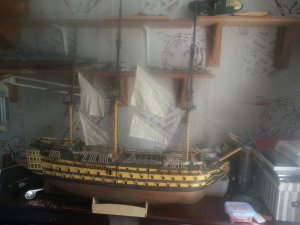
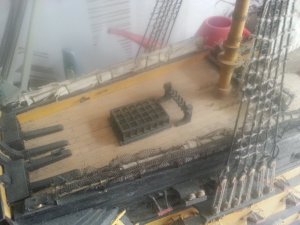
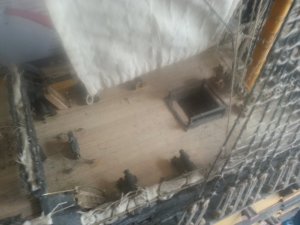
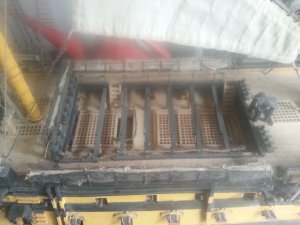
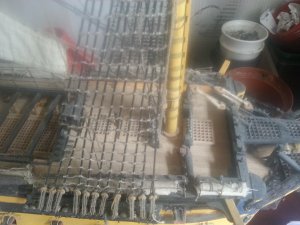
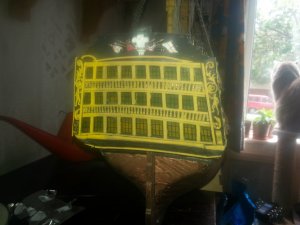
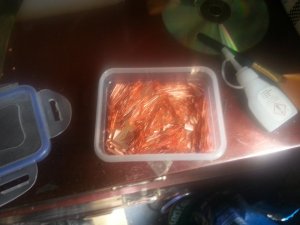
I would like to introduce my longest build I got the first magazine some thirteen years ago and I had the last one about ten years ago it's nearly done I just have ten magazines to go I have finished off the lower ratlines and just the upper ones to finish off before attempting some 4500 copper tiles to fix on here's some pics of a rather dusty ship.20190528_133927.jpg20190528_133935.jpg20190528_133941.jpg20190528_133949.jpg20190528_133956.jpg20190528_134230.jpg20190528_134026.jpg
 
Hi this is coming on nicely, the detail looks good. Before I began posting on this site, I like you built this model from D'Agostini. It took me a long time to build, (not quite 13 years though) but I did find the magazines really helpful and almost fool proof interms of the instructions. The magazines also provided some good back ground of naval history.

Once I completed the Victory I then moved onto the Cazador. I found this to be more of a challenge as the instructions were no way as informative as the ones for the Victory. I was very much reliant on Pauls build log of this particular model and of others comments on this site to help me through that build.

It was the build of the D'Agostini Victory hat encouraged me to consider the San Fillipe, again from D' Agostini and Model Space which I am currently building. However there are no magazines to this build, it is all on-line. The instructions are clear with photographs of which I find helpful.

I hope, now that you have restarted your build that you will finish. I remember well the painstaking task of copper tiling the hull, but well worth it when complete. This is a loveley model when complete but being the scale that it is finding the room to display it is a challenge in itself.

Please keep posting so as we can follow your build to its conclusion
 
Hallo,
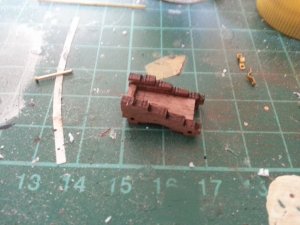
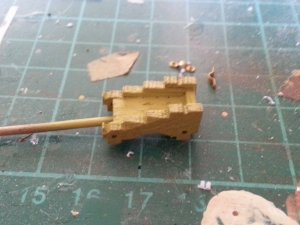
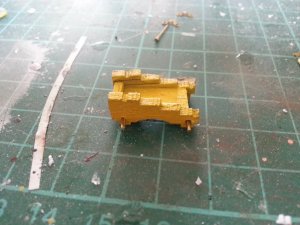
is this the first or the last one?
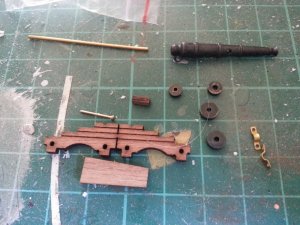
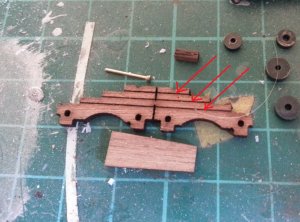
If you have further guns to prepare, I suggest to give the surfaces of the carriages a little bit sanding before you paint them.
I think, that the appearance will be better
20190510_123149.jpg

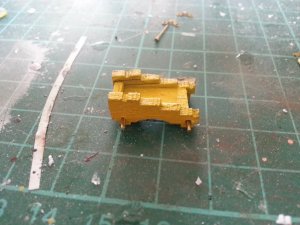
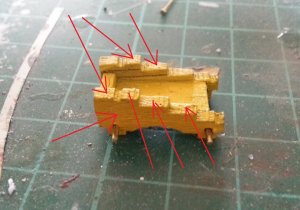
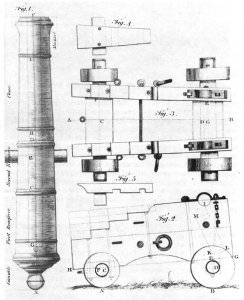
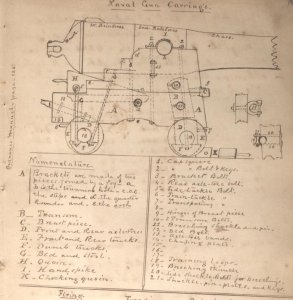
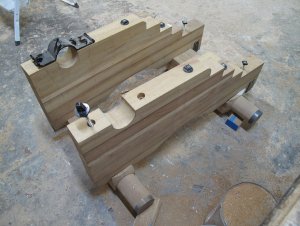
and a small second hint.....I think you should change the brackets - the three small lasered horinzontal lines shall give the imagination of the four segments, a bracket was built - so the inside should outside
20190510_091129.jpg

The usual bracket was built out of two elements, but the bigger ones also with more, connected with vertical bolts
1427899431487.jpg 07713V1p01_0.jpg 5387985_orig.jpg

Hope this is helping Thumbs-Up
 
is this the first or the last one?
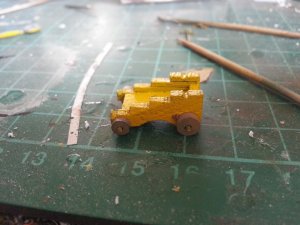
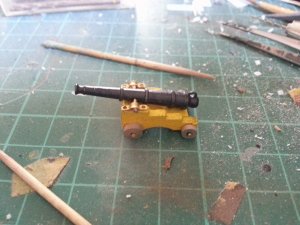
This one is spare I had lying around as I have already built and installed them a few years ago and as my modeling skills have improved I just thought I would have another go If I have another lying around I will try out your suggestions.
To give an idea of the scale the squares you see in the pictures are one centimetre
 
It is a tedious task but we'll worth it when complete. I would give up counting though, it will make it seem like a never ending job. Just keep standing back and look at the finish you are creating
 
Back
Top