-

Win a Free Custom Engraved Brass Coin!!!
As a way to introduce our brass coins to the community, we will raffle off a free coin during the month of August. Follow link ABOVE for instructions for entering.
-

PRE-ORDER SHIPS IN SCALE TODAY!
The beloved Ships in Scale Magazine is back and charting a new course for 2026!
Discover new skills, new techniques, and new inspirations in every issue.
NOTE THAT OUR FIRST ISSUE WILL BE JAN/FEB 2026
- Home
- Forums
- Ships of Scale Build Logs
- Super Detailing Static Models / Other Genres
- Historical Trailways, Guns, Aircraft, and Cars
You are using an out of date browser. It may not display this or other websites correctly.
You should upgrade or use an alternative browser.
You should upgrade or use an alternative browser.
- Joined
- Sep 3, 2021
- Messages
- 5,190
- Points
- 738

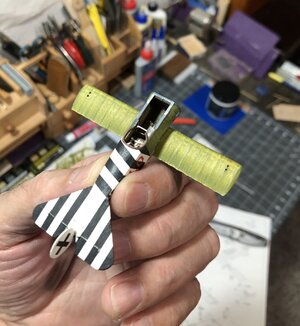
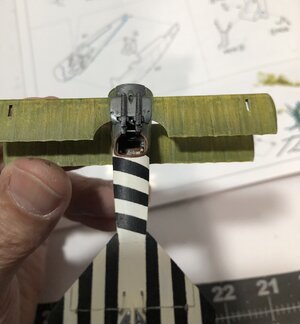
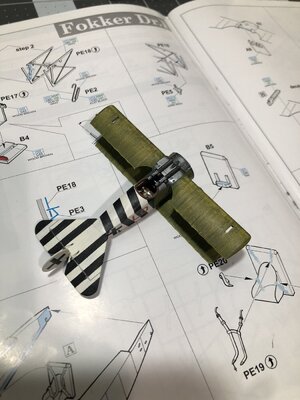
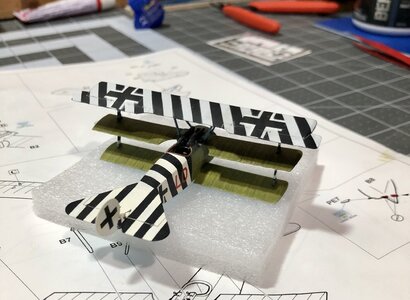
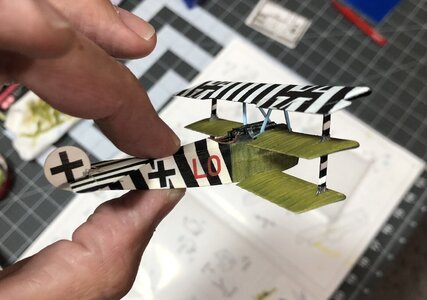
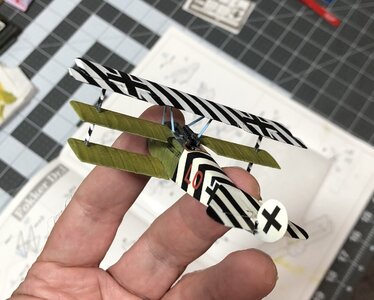
I truly like your attention to details, especially trying to highlight the ribs in the wing, so I hope you won't mind too much, but... I think I would have tried to make the ribs less "robust". Those were rather nimble planes, or fragile, if you like.Not liking that the wing ribs were lost in the paint pattern, I taped them all and did another brushing to help identify where the ribs are.
It’s very subtle, but I think it’s an improvement.
View attachment 387707View attachment 387708View attachment 387709
It actually looks better in person, but you can see the difference even in the pictures.
The picture below shows clearly what I mean; rather sharp, narrow outlines of the ribs:
(Having said that, it's your build, no offense is intended and I still thoroughly enjoy your growing collection of WWI aircraft.)
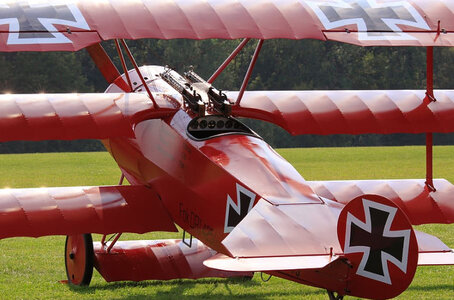
Thank you Johan for your input, I am never offended by constructive criticism!I truly like your attention to details, especially trying to highlight the ribs in the wing, so I hope you won't mind too much, but... I think I would have tried to make the ribs less "robust". Those were rather nimble planes, or fragile, if you like.
The picture below shows clearly what I mean; rather sharp, narrow outlines of the ribs:
(Having said that, it's your build, no offense is intended and I still thoroughly enjoy your growing collection of WWI aircraft.)
View attachment 387714
That said, the actual rib, which is highlighted in this picture by nails, is indeed thin. But if you look closely, you can see the seams were attached with a wider piece that overlapped onto each adjacent piece between the ribs.
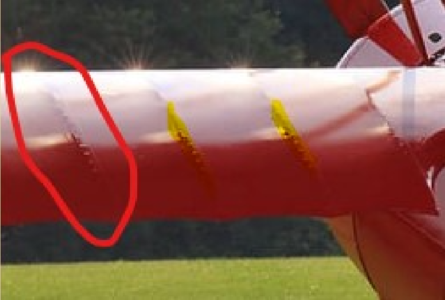
I have enlarged the picture to show what I mean, and I highlighted some of the strips in yellow (to illustrate the actual width) that attach the pieces together. They are much wider than the rib itself, and that is what I was trying to simulate was the attachment piece, not the rib itself. Hope that makes sense.
Last edited:
I just wanted to say thanks to the small group of people who are following me build these miniature WW1 airplanes.
And I also wanted to once again tip my hat to Adi @pianoforte, his Wingnut Wings airplanes are masterpieces! The detail is expert level, the washes, dry brushing, clean execution, etc.
I can look at that and recognize all the work and techniques that went into it. And the careful skilled execution and planning. I don’t think it could be done any better by anyone, myself included.
That said I really want to purchase a Wingnut Wings kit very soon. It will have to wait to be built, but I am ok with that. I will be happy knowing it’s there waiting on me.
- Joined
- Sep 3, 2021
- Messages
- 5,190
- Points
- 738

Thanks Dean, for taking your time to reply.Thank you Johan for your input, I am never offended by constructive criticism!
That said, the actual rib, which is highlighted in this picture by nails, is indeed thin. But if you look closely, you can see the seams were attached with a wider piece that overlapped onto each adjacent piece between the ribs.
View attachment 387722
I have enlarged the picture to show what I mean, and I highlighted some of the strips in yellow (to illustrate the actual width) that attach the pieces together. They are much wider than the rib itself, and that is what I was trying to simulate was the attachment piece, not the rib itself. Hope that makes sense.
Yep, I see what you mean; I guess I was rather pre-occupied by the idea of just highlighting the ribs, not so much the joining/reinforcing fabric, given the scale of the DR.1.
No worries! Had I wanted to highlight the ribs, I would have used a lighter color. But that’s a beautiful picture! Makes me want to build a red one!Thanks Dean, for taking your time to reply.
Yep, I see what you mean; I guess I was rather pre-occupied by the idea of just highlighting the ribs, not so much the joining/reinforcing fabric, given the scale of the DR.1.
- Joined
- Sep 3, 2021
- Messages
- 5,190
- Points
- 738

Almost invariably, when the DR.1 is mentioned, it's accompanied with a picture of a red DR.1, allegedly von Richthoven’s (the red baron) plane.No worries! Had I wanted to highlight the ribs, I would have used a lighter color. But that’s a beautiful picture! Makes me want to build a red one!
For sure it's a striking paint scheme.
Kurt Konrath
Kurt Konrath
These tiny 1/72nd scale plains are proof we need 1/48 scale.
I only wish the manufactures made both aircraft and armor in same scale, either 1/35 or 1/48, so you could build a nice diorama with both items.
I only wish the manufactures made both aircraft and armor in same scale, either 1/35 or 1/48, so you could build a nice diorama with both items.
- Joined
- Jan 9, 2020
- Messages
- 10,565
- Points
- 938

Each time, I see this I am amazed at the amount of detailing that Dean is able to squeeze into these miniscule planes. The color scheme must have been designed by some or other visionary German scientist in the Luftwaffe's Secret Project Department.
For sure he is known for the DR1, however we know most of his flying time and kills were in an Albatros.Almost invariably, when the DR.1 is mentioned, it's accompanied with a picture of a red DR.1, allegedly von Richthoven’s (the red baron) plane.
For sure it's a striking paint scheme.
This kit was actually first offered in 1/48 scale by Eduard. They later decided to add it in 1/72 scale. I think it’s a good scale for WW2 airplanes, but these WW1 airplanes are really difficult at this size!These tiny 1/72nd scale plains are proof we need 1/48 scale.
I only wish the manufactures made both aircraft and armor in same scale, either 1/35 or 1/48, so you could build a nice diorama with both items.
The schemes were very interesting and colorful. It’s actually hard to chose one!Each time, I see this I am amazed at the amount of detailing that Dean is able to squeeze into these miniscule planes. The color scheme must have been designed by some or other visionary German scientist in the Luftwaffe's Secret Project Department.
The patterns were to create an illusion to throw off the aim of the enemy. How effective they were I can’t say. It may be worth seeing if I can find anything on the subject! Regardless, I really like the way they look from an artistic standpoint.
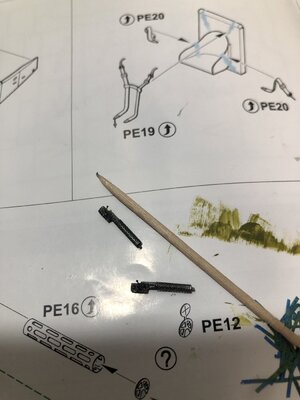
The minuscule motor, about the size of my thumb nail, was built and added. And then I put on the cowling…
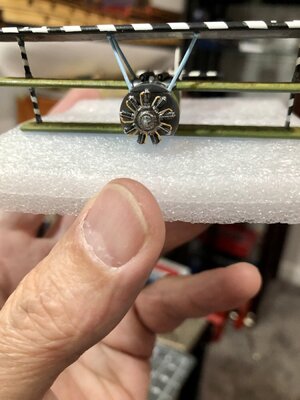
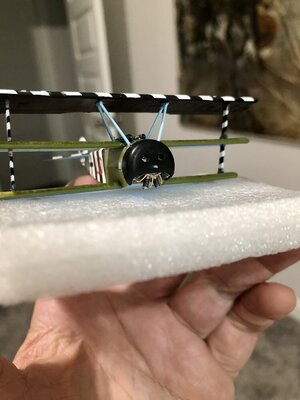
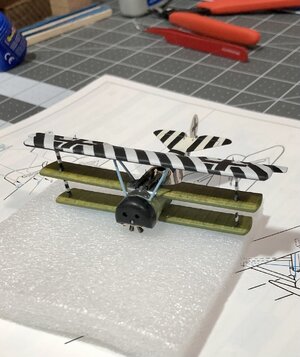
Next will be the landing gear with wheels, the tail skid and some other PE parts. Then the propeller and I can wrap this one up! It has been more work than I initially expected and it’s keeping me away from the NL for too long!
But I am really glad to have these added to my collection.


Next will be the landing gear with wheels, the tail skid and some other PE parts. Then the propeller and I can wrap this one up! It has been more work than I initially expected and it’s keeping me away from the NL for too long!
But I am really glad to have these added to my collection.
Well…I had hoped to finish the DR1 this week, and average 1 week per airplane. And I still may be able to finish it this weekend.
The past two days I have been in the studio putting down guitar tracks for a song I wrote for my granddaughter, who will be 6 years old this August 24th. So I am trying to finish the song before her birthday. Thus there has been no model building.
Hope to have an update soon!
The past two days I have been in the studio putting down guitar tracks for a song I wrote for my granddaughter, who will be 6 years old this August 24th. So I am trying to finish the song before her birthday. Thus there has been no model building.
Hope to have an update soon!
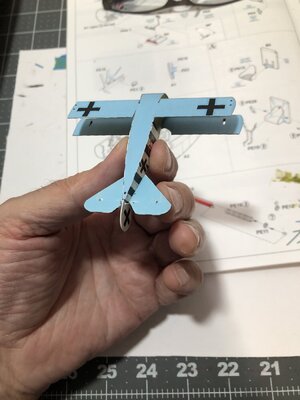
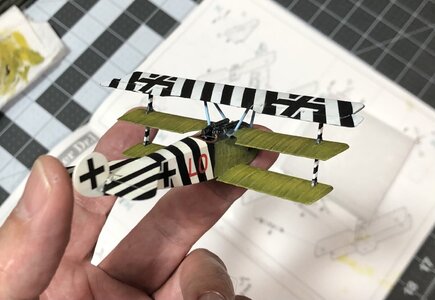
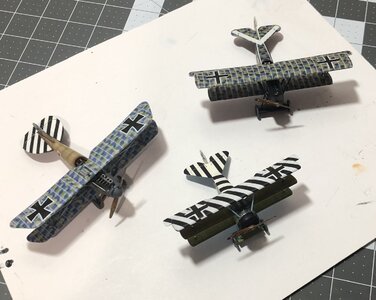
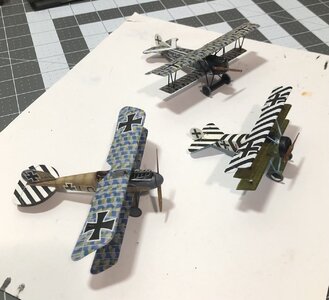
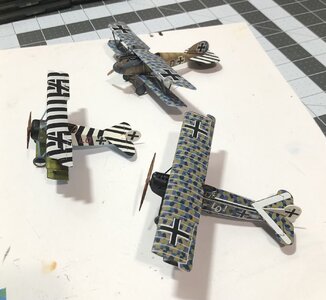
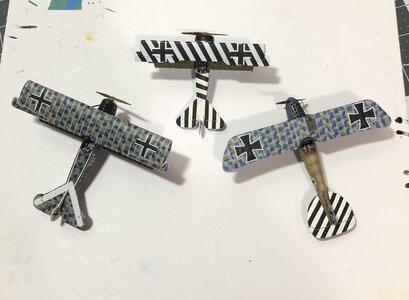
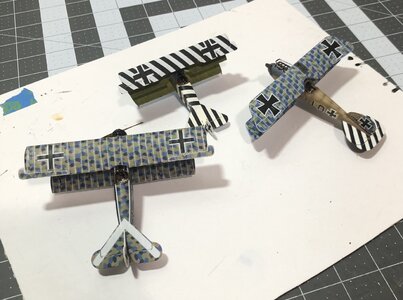
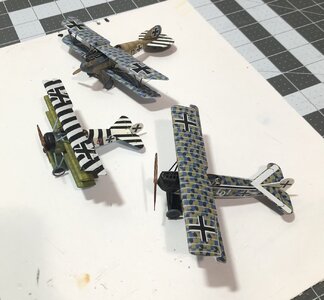
Finally…I have finished the Fokker DR1…
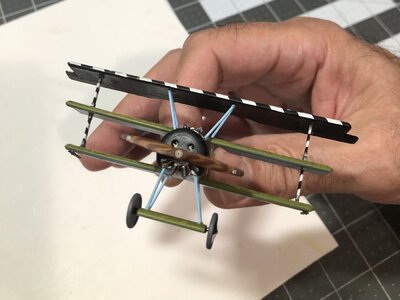
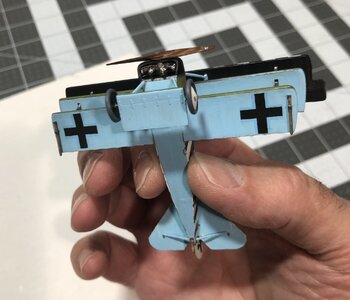
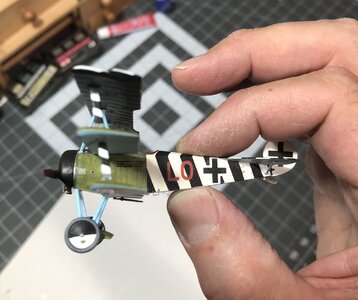
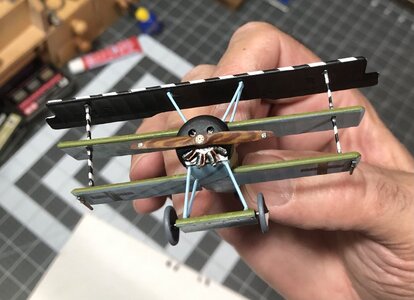
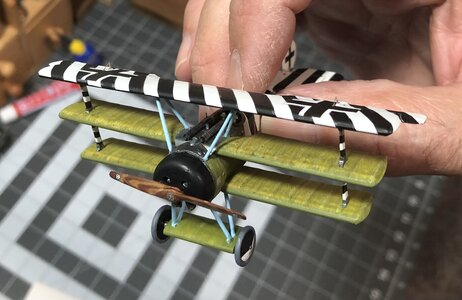
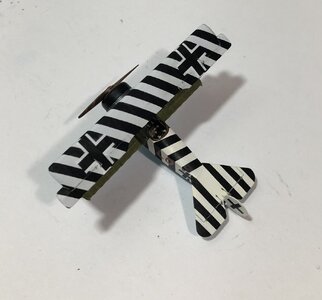
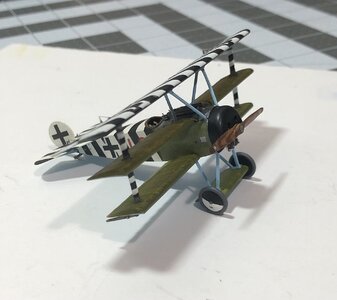
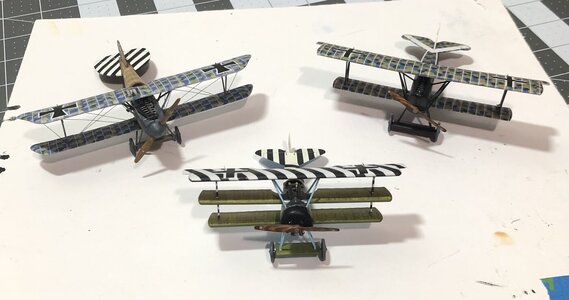
In comparison to the other planes, it is much smaller.
After doing some research online, I found out that the Fokker DR1 was a very small aircraft. So much in fact, that the Allied pilots thought it was a joke at first. But soon they realized it was armed with dual guns, very agile, and could outmaneuver other aircraft. After which it was respected and feared.
Last edited:
Congratulations for finishing these three "Du Doch Nicht!"- jewels
They are looking very good - very accurate and detailed work
They are looking very good - very accurate and detailed work
Great presentation Dean, and a bit of a learning experience as a bonus, thanks.
Excellent, nicely done. I enjoyed following your build log.
Jan
Jan
It’s a nice couple of airplanes, Dean.
Regards, Peter
Regards, Peter

