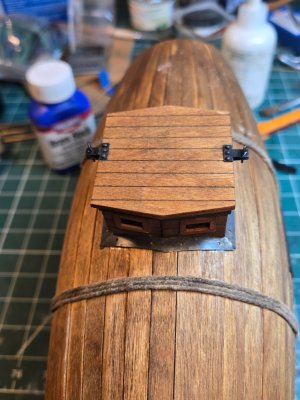
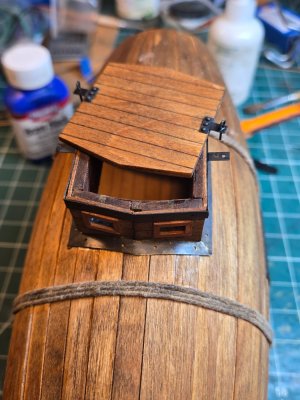
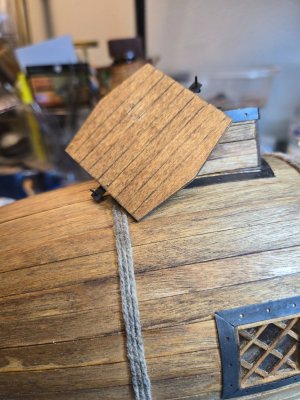
EFIM NIKONOV 1721 kit Modified: INTERIOR VIEW

Joined
May 13, 2020
Messages
2,205
Points
503

Hi all

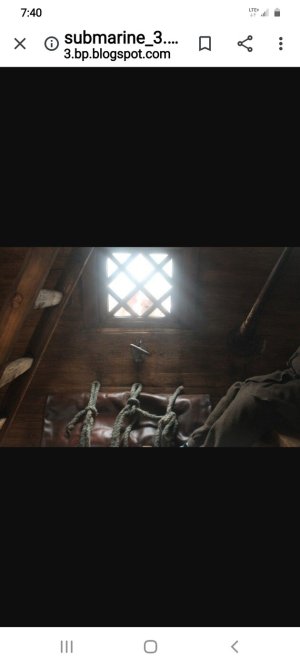
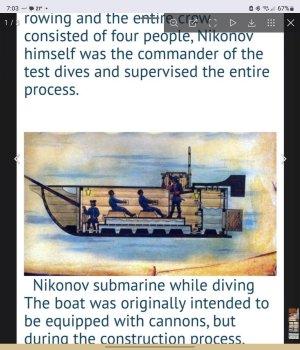
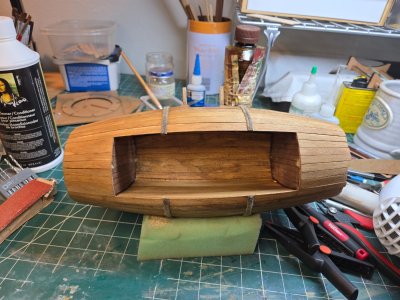
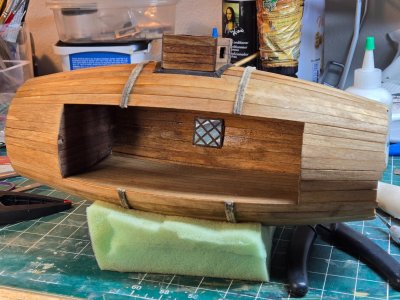
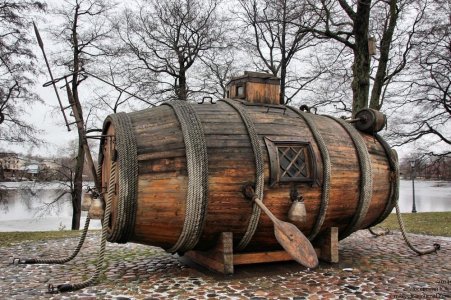
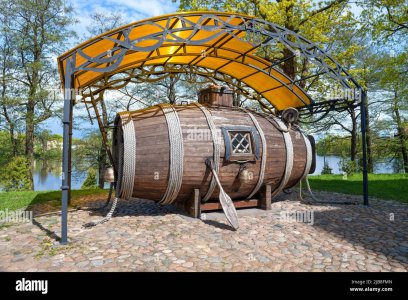
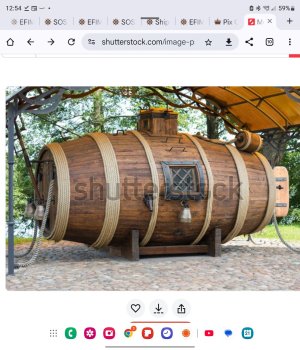
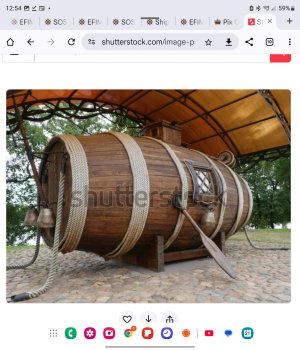
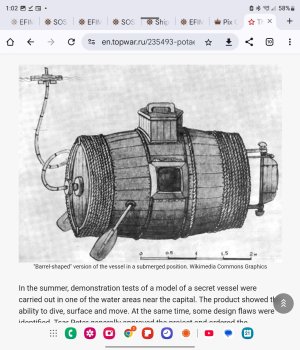
I have paused my work on the Anatomy of the Bounty to do something I wanted to try for a few time. To build the First Russian submarine showing his interior. To be honest, the interior does not have too much to show. I only have 1 picture of the museum model and my imagination. The challenge, for me was, how do I modify the kit, to be able to show the inside.

Here is the link for my first Efim Nikonov sub built, as the kit was designed.

Thread 'EFIM NIKONOV 1721 [COMPLETED BUILD]' https://shipsofscale.com/sosforums/threads/efim-nikonov-1721-completed-build.5475/

Details of the standard kit built were posted on the link. As well as a good intro.

Pictures are better than words, so here we go.
 
Last edited:
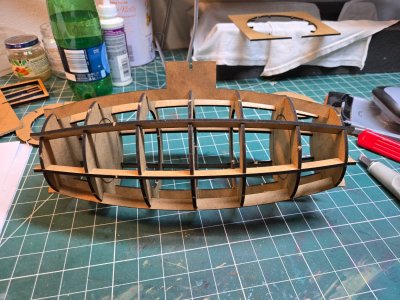
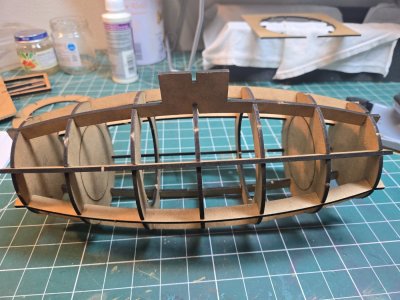
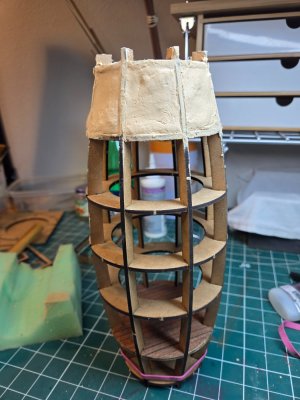
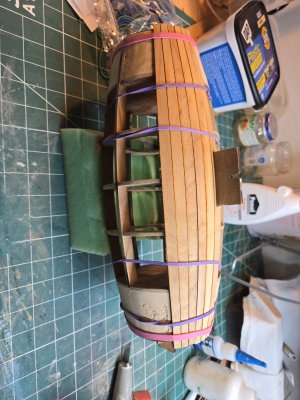
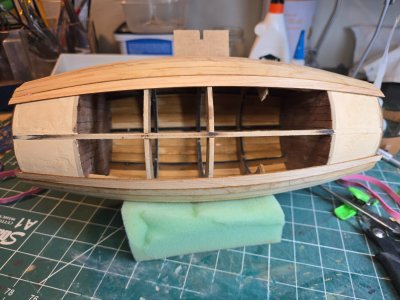
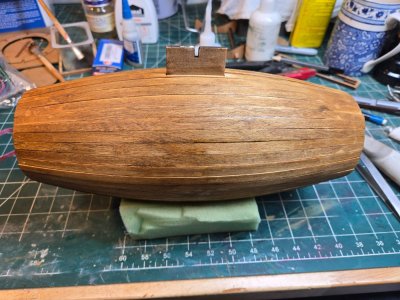
First the skeleton assembly

20250106_185641.jpg20250107_145539.jpg

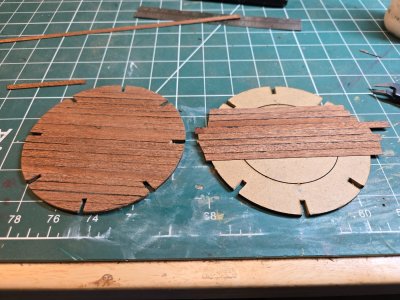
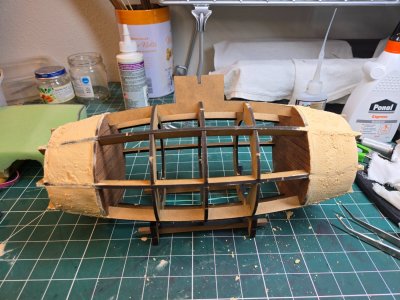
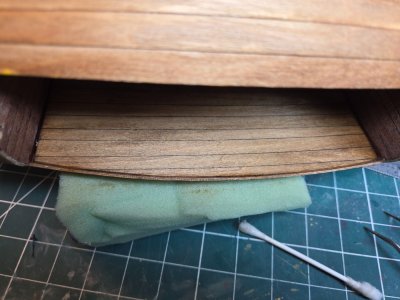
after testing it was all fine, I disassembled it and added planking to what it will be the interior walls

20250107_164339.jpg

20250107_173859.jpg


Later, to provide more surface to glue the planks, i filled the "bow and stern" sections with wood putty.

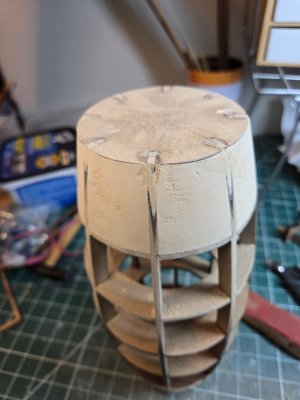
BTW, the skeleton WAS NOT glued at any time, to allow me to modified it later. NEITHER were glued the planks to the skeleton. They will be glued to the bow and stern sections (that's why I filled them) and among each other.

20250111_152139.jpg20250112_083952.jpg

20250112_153249.jpg


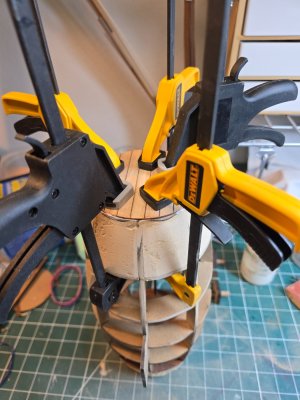
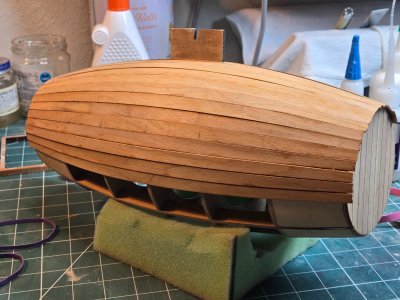
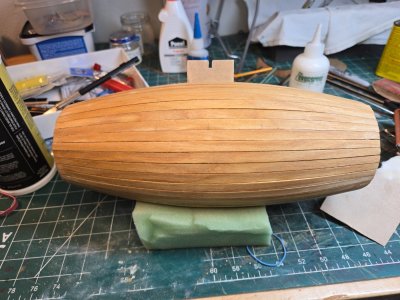
Then I glued the "lids" of this barrell shaped sub.

20250112_155304.jpg


To be continued....
 
Last edited:
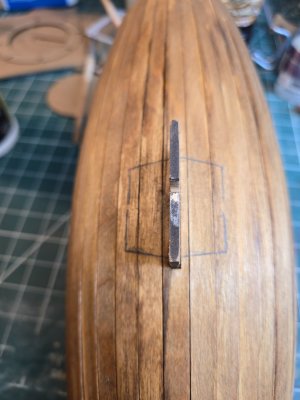
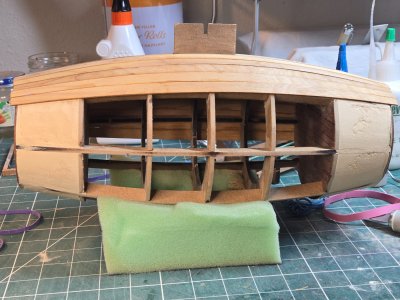
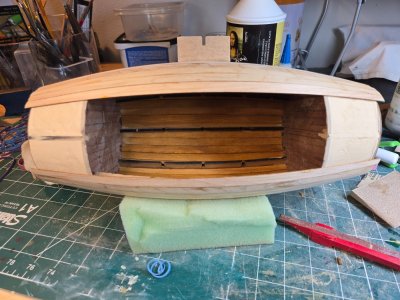
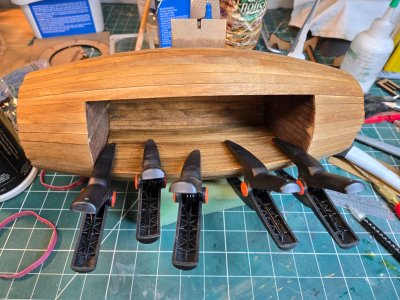
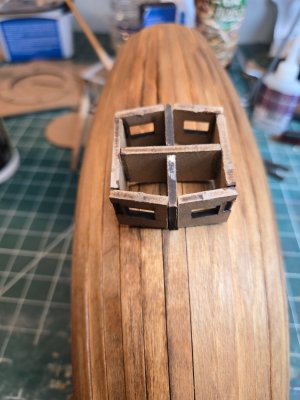
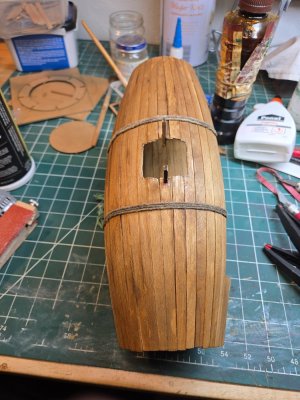
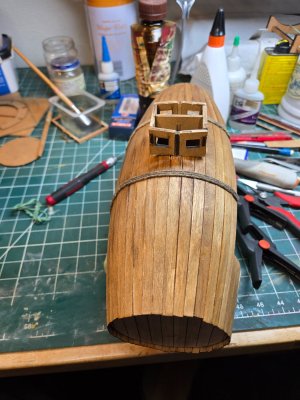
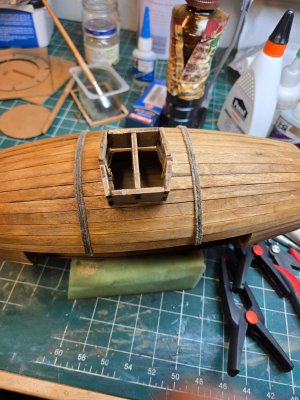
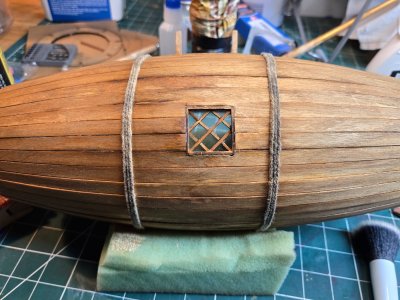
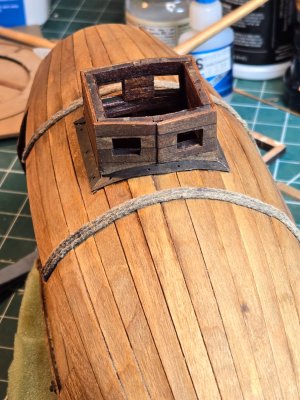
Then I followed with the tower opening. Added the "ring rope" to provide more strength to the barrell planks, as i was going now to cut the middle upper beam and because i already took another side skeleton beam to allow for the window cutting and an interior clean view.

20250118_163644.jpg20250118_171038.jpg20250118_171109.jpg20250118_190549.jpg20250118_190615.jpg20250118_191155.jpg20250118_191212.jpg
 
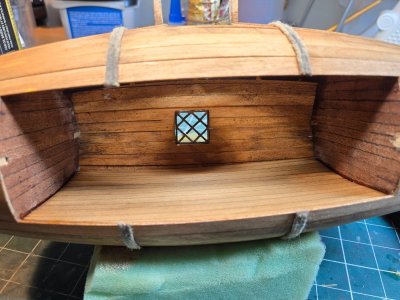
I forgot to mention that, when I took out the skeleton beams, I painted all the planks interior with super glue, to provide more strength to the planks and reinforce the gluing between the planks. I used liquid super glue to allow a better capillary penetration between planks. After I added the supper glue, stained the interior.
 
My dear friend, Daniel! You choose the most innovative things to do - which I thoroughly enjoy. Your first build of the Nikonov was a peach and the exposed view one, is set to follow suit! I will follow with interest.
 
My dear friend, Daniel! You choose the most innovative things to do - which I thoroughly enjoy. Your first build of the Nikonov was a peach and the exposed view one, is set to follow suit! I will follow with interest.
Thank you my friend. It's been a long time without seeing/reading a post from you. True is that I also spend a couple of months without posting, just reading. I few days back I saw you posting on another thread. I told Mike the great news. I didn't write on that thread..... because.... I was vetting my name that you will be the first and probably the only one, to write a post here. And it happened. I am very happy !!!

Cheers , and i hope all is going well for you in China.

Daniel
 
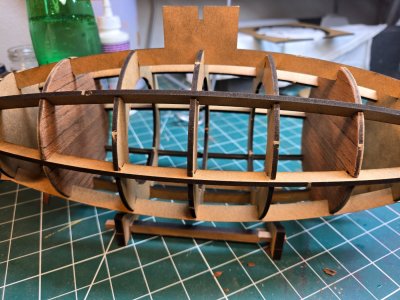
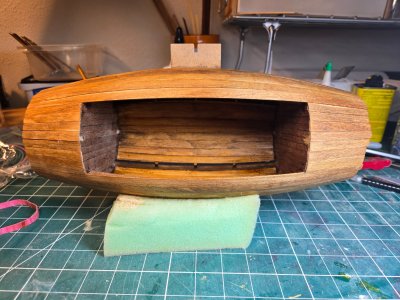
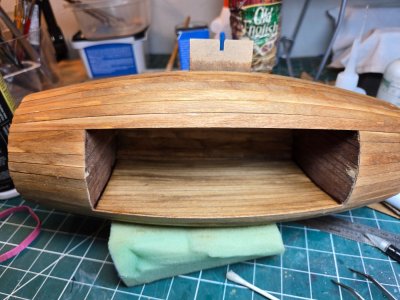
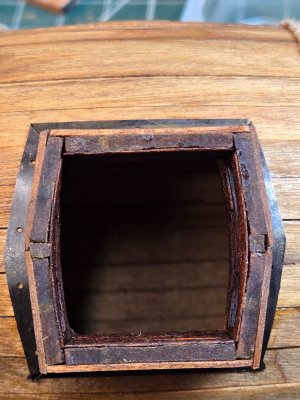
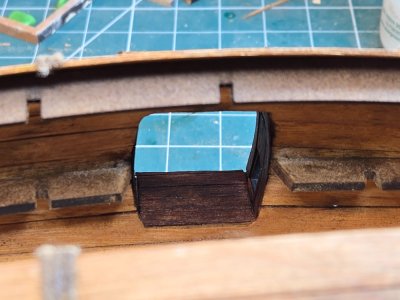
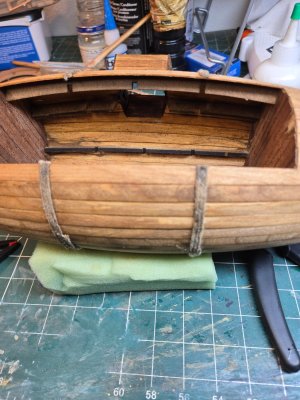
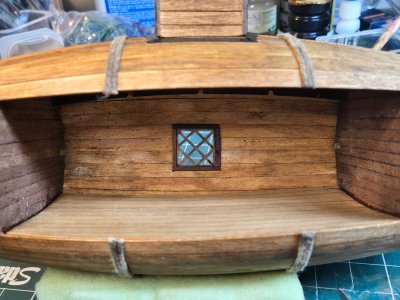
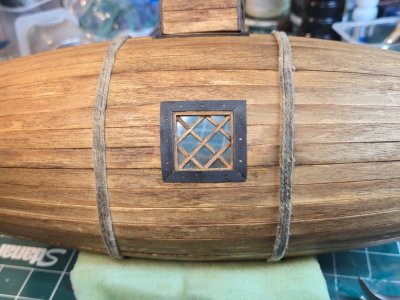
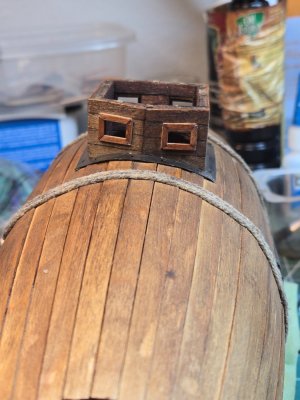
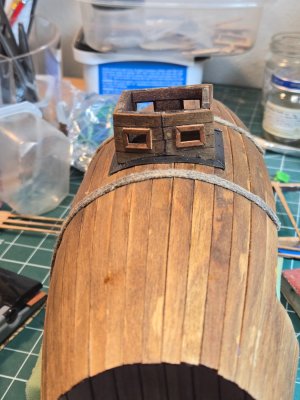
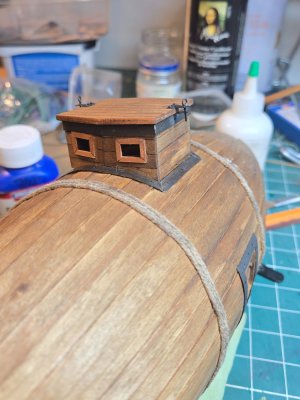
The bulk part of the tower construction it's done. I planked the inside too. A few more details will be added later (bolts, window frames and glass). The upper part will be done later too.

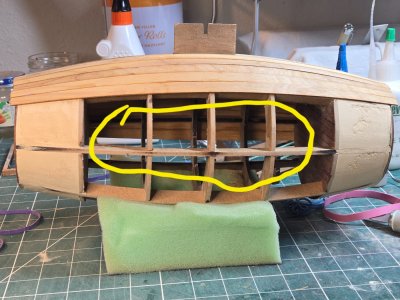
You will see 3 "beams" of the original kit skeleton. I left those on the upper section and 3 that are supporting the floor. Those of the "roof" can't be seen unless you place the sub upside down. If I took those, I have the feeling the barrel shape will be in danger. Let's see if I take them or not in the future after I added all the ropes around the open section.


20250122_182848.jpg20250122_183038.jpg20250122_183151.jpg20250122_183239.jpg17375893694252248759592063367280.jpg
 
Hi
I have built this vessel. My build log is on here somewhere. Like the idea of an interior view, so good luck with your project.
 
Back
Top