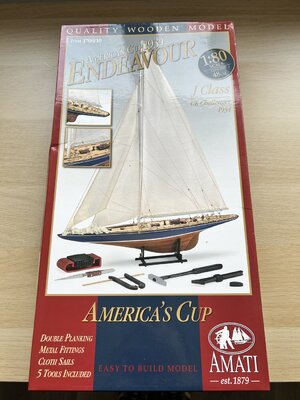
Endeavour - J Class - 1934 America’s Cup challenger - Amati 1:80 scale

Joined
Aug 27, 2023
Messages
12
Points
58

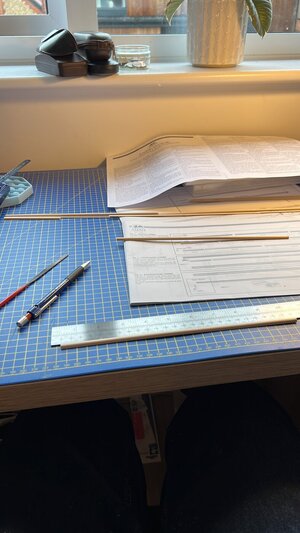
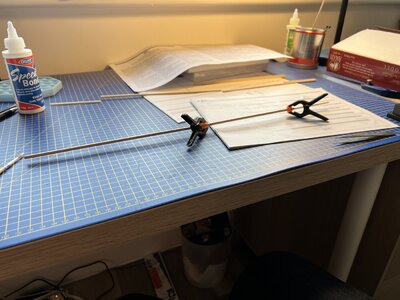
Hi - kicking off my build log with a first tentative post - I’m going to need to catch up on posts here as I’ve nearly completed the mast and boom (just final coat of paint needed) and have made a tentative start on the first hull planking.

Never built a wooden ship model before and really excited and enjoying this new hobby

IMG_6630.jpeg

IMG_6632.jpeg

IMG_6633.jpeg
 
This was fast startiung your building log directly after your introduction post.
Many thanks for starting the Endeavour log - a beautiful vessel
I wish you a lot of fun with the project and also here in our forum
 
Quite a few build logs have started with the hull and planking, however as this is my first ever wooden model ship I decided to follow the instructions in a linear fashion.

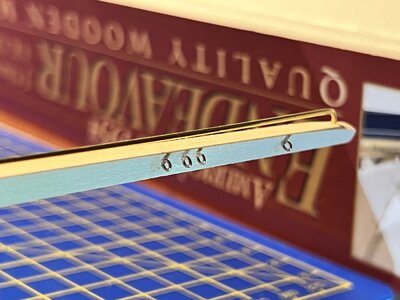
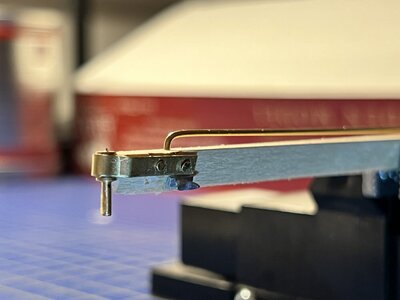
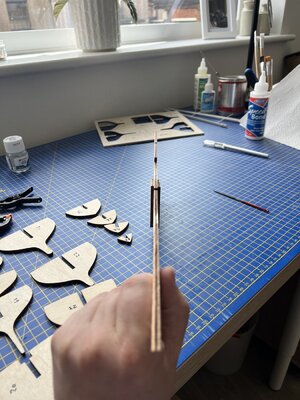
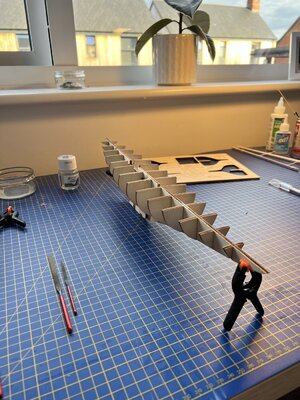
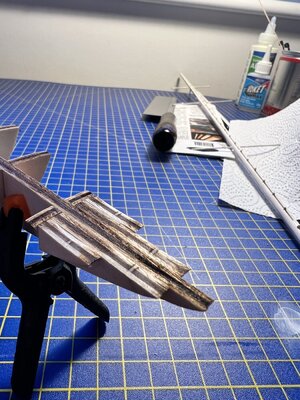
Here’s a few shots of the mast and boom under construction. The hinge mounting for the boom was tricky - and only after did o read the instructions advising to glue this in place first before fixing the nails. I tried and failed to do it the other way and “gave up” and glued it in place first. All is well that ends well I guess :)20A8C3CF-4076-4E52-B9EB-067E3367F6F5.jpegIMG_6650.jpegIMG_6664.jpegIMG_6663.jpeg
 
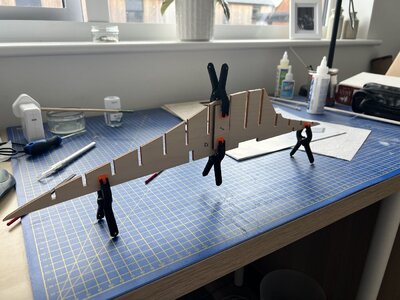
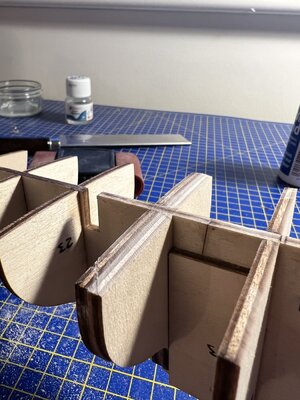
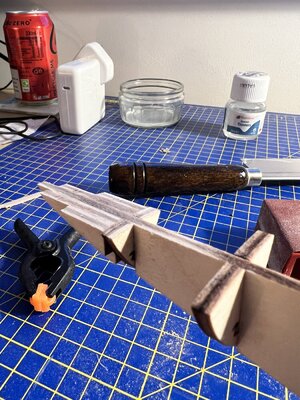
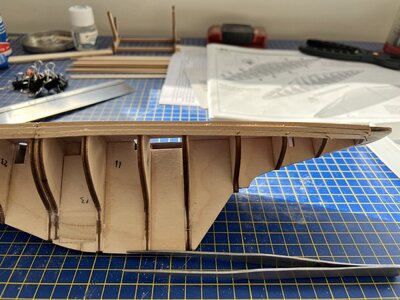
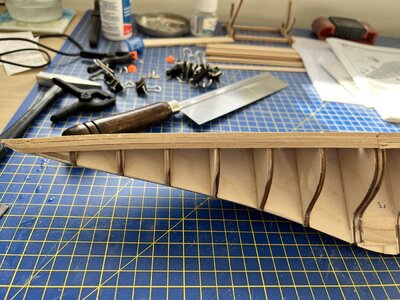
Next up, the fake keel, bulkheads and small filler pieces that help shape the stem and stern. Other than taking care to number the bulkheads before removing them, and also paying close attention to the instructions re. the placement of the two reinforcement pieces that cover the joint in the fake keel this was all very straightforward and easy. The secondary bulkhead that is fixed amidship required trimming down to sit level ready for the deck - an easy enough job with my new fine toothed modelling saw.

I was pleased with how straight I managed to get the fake keel, although there is a slight bend in it.
IMG_6676.jpegIMG_6678.jpegIMG_6685.jpegIMG_6689.jpegIMG_6690.jpegIMG_6691.jpeg
 
If you love these boats and their history as I do, you will find a copy of "The J-Class Yachts "by Ian Dear to be an invaluable source of information and a fun read as well, compelling and novelistic in its' writing, not overly academic. It shouldn't be hard to find a copy on ABE books or the like. Not expensive.
I've been building the smaller scale Amati versions. I am curious to see what the larger scale ones are like. I will be following along with interest. I like the Amati kits. They seem to be well thought out by designers that actually take the time to build prototypes from their kit designs and make improvements to them over time. Sadly, they seem to have taken some out of production. They have made some simplifications for practicality's sake. Like with the "Park Avenue" boom and features of the spreaders. Many of these features can be recreated with a little ingenuity. I am also very interested in how you will approach the sails.
I see I have a lot to learn from your build already and await your subsequent installments eagerly.

Pete
Thanks so much for the info Pete! I've tracked a copy down on AbeBooks for £10 and just placed the order. Looking forward to receiving and getting further drawn into the world of these beautiful J-Class yachts and their history...there's something about the lines of their hull that just fascinates me!
 
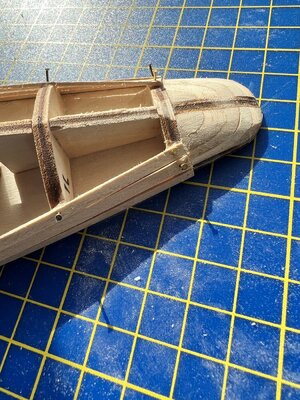
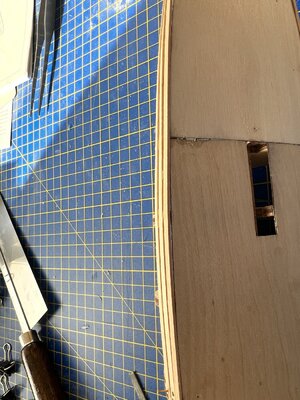
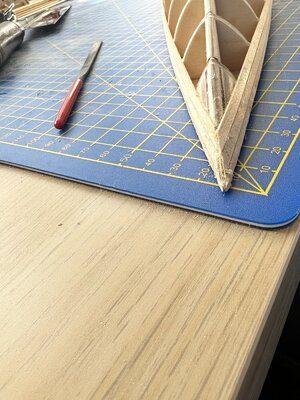
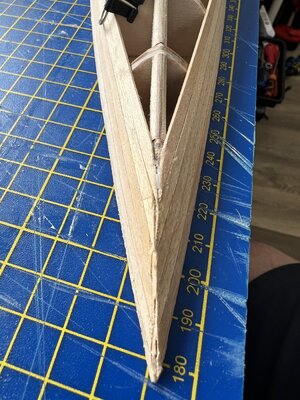
And so the first planking has begun...I'm very much learning as I go here and would love some tips and advice from others on here. Having studied the drawings in the instructions, and the build logs of others, I decided to start the first row of planking at deck level and work my way down towards the keel. I'm trying to keep each row of planking straight and level aligned to the first row i've put on. Overall it feels like it is going ok...but with a few niggles creeping in (I'm aware this is only the first planking and I rescue some imperfections with sanding/ filler/ etc)
1) The sharp line of the bow seems to be getting "watered down" and is losing definition. I'm gluing each plank on slightly over-length and then using my saw to trim it back however the two planks don't seem to be butting up tightly (I guess the width of the saw blade is causing this?) - am I doing this correctly or should I trim to size first then fix to the frame? How do you accurately measure and cut each plank if not done in-situ?
2) I seem to be getting a "clinker" effect on the aft planks - the port side is more pronounced than the starboard. Is this normal and just needs sanding back, or have I missed a step in prepping something?
3) I'm amazed at how pliable the planking is - there are some fairly sharp/ complex curves towards the stern and so far I've not had to either soak the planks or use my plank bending tool - again thoughts on how this is looking would be appreciated.

One thing is for sure - I'm definately enjoying myself and love the state of "flow" I enter and the rhythm of measuring, cutting, fixing each plank - I can lose hours here very easily I can see :)

As mentioned - all feedback welcome and if I'm doing things totally wrong please tell me so I can learn and improve!

IMG_6878.jpeg IMG_6877.jpeg IMG_6876.jpegIMG_6880.jpeg IMG_6879.jpeg
 
Done another couple of rows, and learning to "dry fit" each plank first, measure and mark, trim to size (inc. chamfering the bow end) and then fix to the frame. Last row bit disappointing but penultimate row looking pretty good (to my beginner/ untrained eye at least)


IMG_6881.jpeg
 
Thanks so much for the info Pete! I've tracked a copy down on AbeBooks for £10 and just placed the order. Looking forward to receiving and getting further drawn into the world of these beautiful J-Class yachts and their history...there's something about the lines of their hull that just fascinates me!
I'm Glad you could get a copy. It's chock full of useful information detail and the dramatic history of these boats. It's a fun read as well as a n invaluable source of detail specific to individual boats, like Endeavor I.
I am following your build with great interest and look forward to seeing her take shape. I believe she is one of the last of these boats still in existence and in operation. check it out.
Planking a fin keel boat is a real challenge. Especially considering these boats had metal hulls. Endeavours I and II are especially challenging because their bows had such sharp crisp lines. like a knife edge and very precise. I missed that on my model. I hope to get it right if and when I undertake "Endeavour II".
Yours is looking good thus far. I wish I had something of value to offer in this wise. But I'm actually learning from you!;)

Pete
 
Last edited:
A word about your planking. Of course, be as precise in the initial applications as you can, but remember these were painted metal hulls,so that leaves lots of room for filling, leveling and sealing to get the surface that you will be painting as smooth and flawless as a baby's bottom before you apply a lick of paint. The final look is all in the prep. The good part is you need not worry about displaying a perfect naturally finished planking job. And the color scheme is wonderful and very iconic, distinctive to the Endeavour "J" boats, blue and red with the wide bootline waterline. Thumbsup

(You can tell I'm excited about your build!) Pete
 
Its been a while since I last posted - the distractions of family visiting from overseas and also coming down with flu!

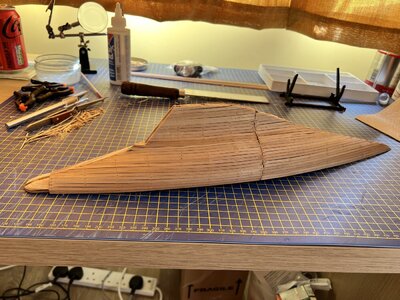
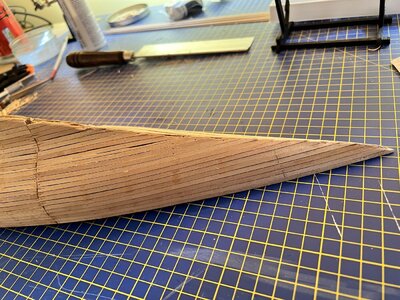
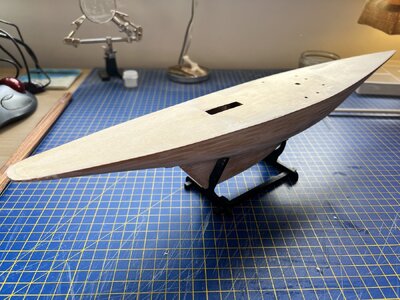
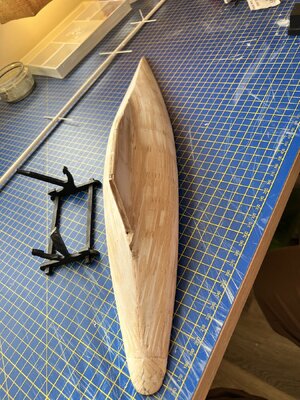
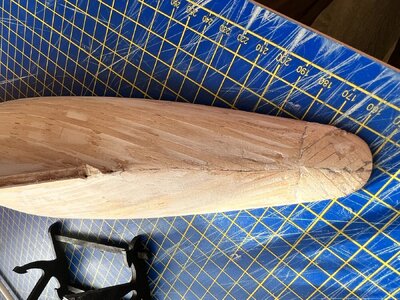
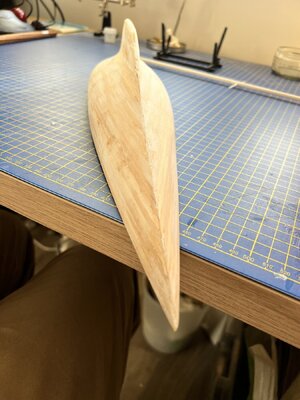
However, earlier this week I completed the first planking of the hull. Compared to other builds here it looks pretty "rough" however I'm hoping with some sanding and filling I can cover up the mistakes made whilst learning, and improve things with the second planking.

Here's a couple of shots of the pre-sanded/ filled hull. Hoping to do some more later today


IMG_7098.jpegIMG_7099.jpeg
 
Quick update on my build :)

It's been a hectic time in my personal (non ship modelling) life, however the festive period has allowed me time to focus on things and make some good progress. First planking is now all complete, and I've got underway with the second planking. I've continued to work on painting the mast and boom, but am struggling to get a smooth finish that I'm happy with.

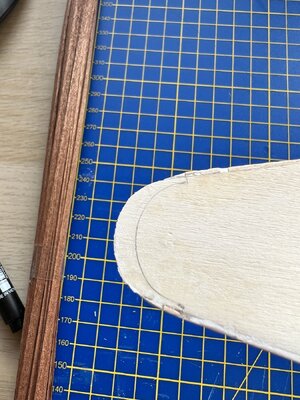
I had the forsight to do a trial run on fitting the U-shaped piece of deck planking before commencing with the second planking. The first planking had resulted in the rear-most part of the stern sitting proud of where this shaped piece of planking would sit. Some further sanding and shaping has corrected this.

IMG_7468.jpegIMG_7469.jpegIMG_7470.jpegIMG_7471.jpegIMG_7472.jpeg
 
Mike, have you had a chance to delve into the Ian Dear book? There's also lots of good stuff online. Amazing that Endeavour I, being one of the earliest original examples from the short span of J-boat years of dominance in the sport, that she is one of the very few still in existence and in regular use! Remember, these boats had metal skins (some of bronze, which spelled their almost inevitable demise after 1939, due to the need for war materials). So that the seamless smoothness of the finished hull is paramount as opposed to the method by which you achieve that final result. All the sanding and filling necessary to achieve that will disappear beneath the final finish. It's the fairness and flawlessly smooth evenness of the final surface that matters most. Thumbs-Up

Also, looking into replicating the unique design of the "Park Avenue" boom, with its adjustable transverse mainsail foot attachments is worth looking into. If Endeavour did, indeed, have a "Park Avenue" style boom. (I don't recall precisely if she did.) It's a bit of iconic racing technology of these highly technologically designed boats that stands out as a distinctive bit of period detail, among other things unique to each of these racing yachts, such as the composition of their masts (hollow, with interior halyards running below decks to save weight above the waterline for the handling gear) made of wood composite, or "Duralmin" metal. Lots of detail to consider on these deceptively un-cluttered looking decks and rigs.
I am following your build with great anticipation. Keep up the good work!
But, once again, obsessing over the fascinating offerings on this forum is chipping away at my shop time. So, back downstairs to work on the "Flying Cloud!

Pete
 
Last edited:
Back
Top