• Ships of Scale has incorportated an extra level of security when you log In. Please follow on-screen prompts to acknowledge that you are not a robot via a "Check Box" or a "Pictorial Check Box Puzzle". This is needed due to higher level of AI Activity Security.
  • SUBSCRIBE TO SHIPS IN SCALE TODAY!

    The beloved Ships in Scale Magazine is back and charting a new course for 2026!
    Discover new skills, new techniques, and new inspirations in every issue.

    NOTE THAT OUR NEXT ISSUE WILL BE July/August 2026
  • Win a Free Custom Engraved Brass Coin!!!
    As a way to introduce our brass coins to the community, we will raffle off a free coin during the month of August. Follow link ABOVE for instructions for entering.

FAIR AMERICAN 14 GUN Privateer by Model Shipways 1:48 SCALE

I don't know what that means Allan
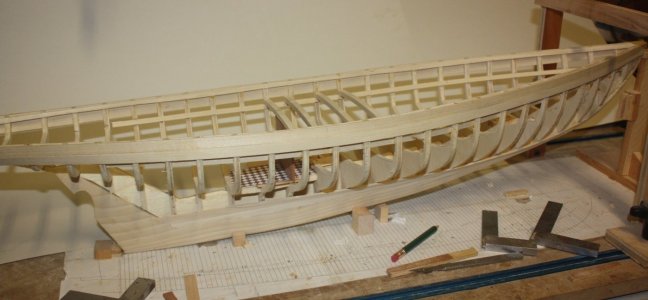
The kit gives you some bulkheads with a big space in between. It would be easy to draw additional bulkheads to go in between the ones that come with the kit and avoid having to add all the blocks of balsa and carve them. An example showing additional bulkheads is below. In your case you would wind up with about 30 frames instead of 15. In the example below, which is a 65 foot schooner, there are 24 frames so no need for filler blocks.

1785150648049.jpeg
In this case I used frames that are bulkheads part way up from the keel, then shaped like actual frames higher up.
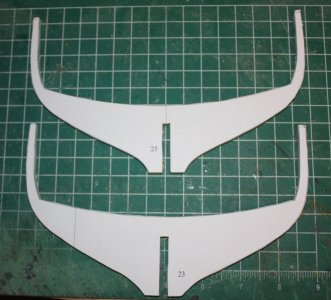
1785150765166.jpeg
I hope this makes sense.
Allan
 
Thanks Corsair and Namabiiru.

I haven't been working on it too much. I really need to do more. I don't really care for this build, but just don't feel right leaving it and starting something else. I just need to get on with it and finish this ship..
 
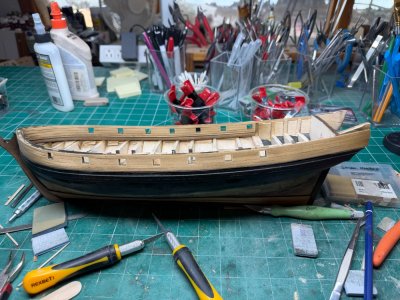
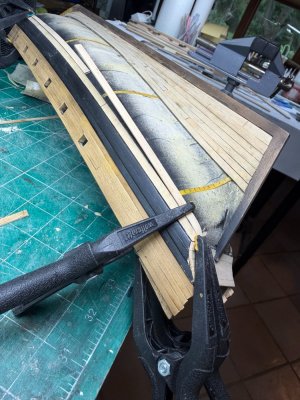
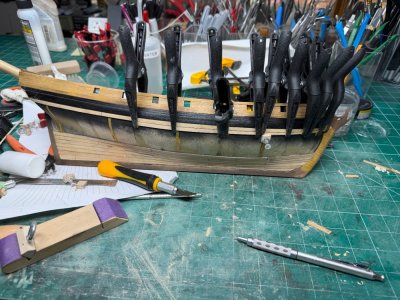
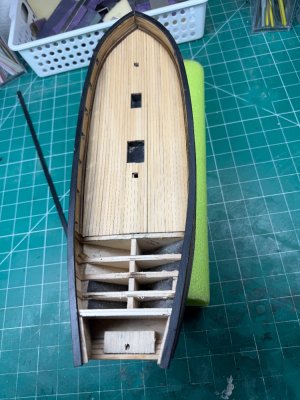
Planked the hull. Nothing great, but by-golly she's seaworthy. I've planked about 9 ships now. Was getting better as time went on, but for some reason this felt like my first planking. Everything seemed so hard.

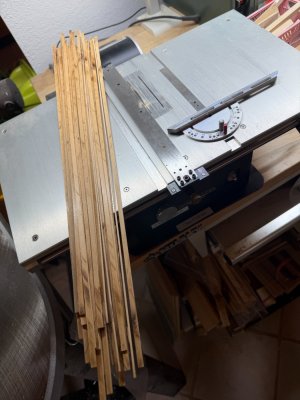
I ripped a bunch of strips from swiss pear slightly over 3/16x1/16 (the plans plank size). Then ran them through the thickness sander to get them to 1/16.
1.jpg

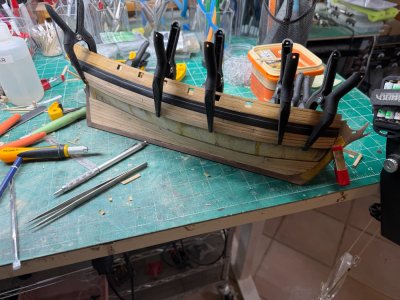
I put each plank on the hull as 1 continuous strip to fit it to the curves of the hull, then removed it and cut it into aproximately 20' (about 5"-6" pieces.) I then glued each piece on the hull. 3.jpg2.jpg4.jpg5.jpg

Last piece...
6.jpg

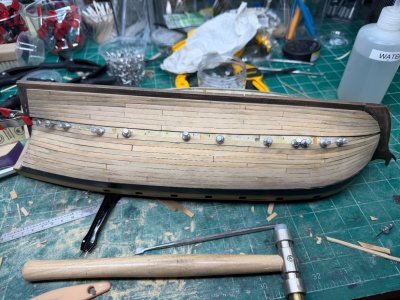
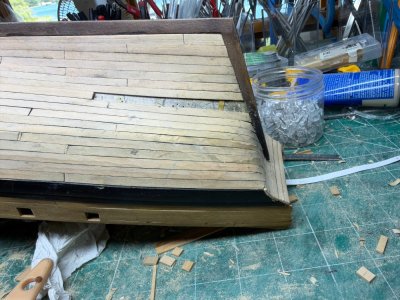
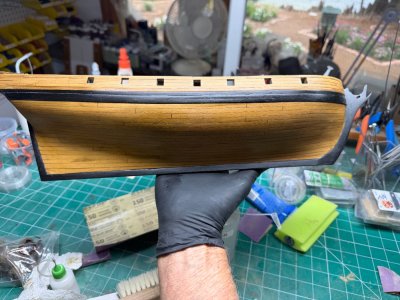
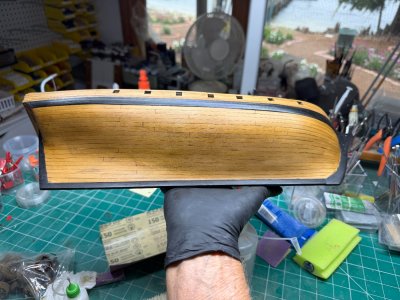
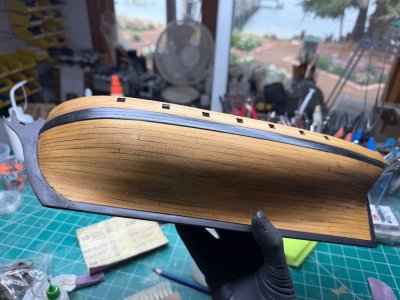
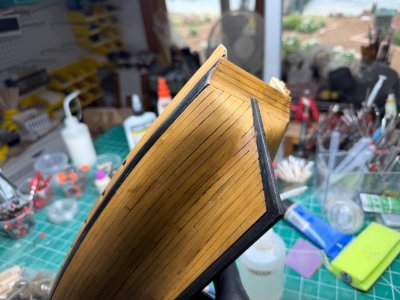
Sanded, then airbrushed a light coat of oak. And it's pretty much finished. It's not quite as dark as it looks in the photos.
7.jpg8.jpg9.jpg10.jpg
 
Last edited:
Planked the hull. Nothing great, but by-golly she's seaworthy. I've planked about 9 ships now. Was getting better as time went on, but for some reason this felt like my first planking. Everything seemed so hard.

I ripped a bunch of strips from swiss pear slightly over 3/16x1/16 (the plans plank size). Then ran them through the thickness sander to get them to 1/16.
View attachment 631192

I put each plank on the hull as 1 continuous strip to fit it to the curves of the hull, then removed it and cut it into aproximately 20' (about 5"-6" pieces.) I then glued each piece on the hull. View attachment 631194View attachment 631193View attachment 631195View attachment 631196

Last piece...
View attachment 631197

Sanded, then airbrushed a light coat of oak. And it's pretty much finished. It's not quite as dark as it looks in the photos.
View attachment 631199View attachment 631200View attachment 631201View attachment 631202
superb !
 
Beautiful planking, I am glad you are stickingkeep with it. I hadn't followed your build for a bit, the filling of the hull prior to planking is something I will be using on my next build, it sure looks like the planks have more surface for attaching rather than just the frames. My Fair American hull planking was filled , sanded, and painted so my "junior grade" planking errors wasn't overly visible, but actually didn't look to bad to the eye given the scale of the model. Keep up the fight.
 
Back
Top