Fokker Spin III, scale 1:48, scratch build

Thank y’all for your sympathy and words of wisdom and encouragement. It’s just what I needed.
Right now I’m looking at an incomplete frame and a pile of cleaned-up ribs.
The next stop is to solder the two detached main ribs to the main frame, followed by bonding the ribs to the frame again.

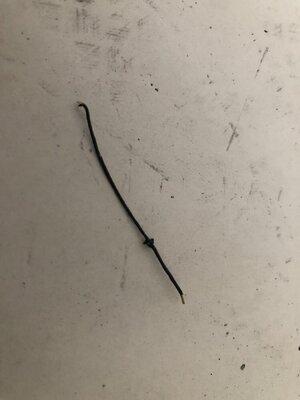
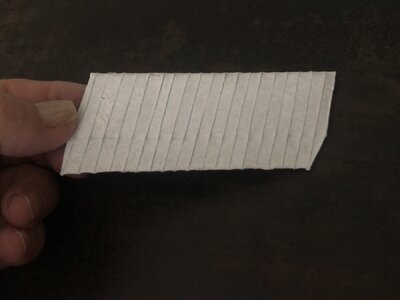
Typical rib, pre cleanup:
IMG_2054.jpeg

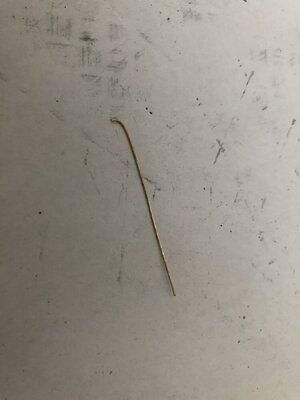
Typical rib, post cleanup:
IMG_2055.jpeg

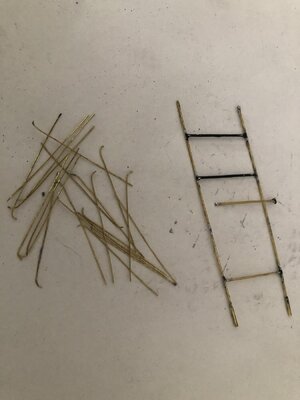
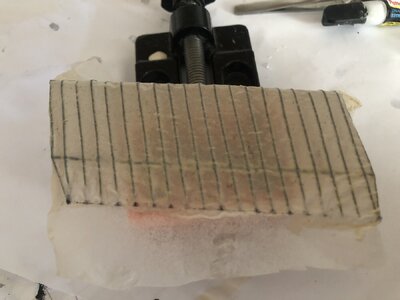
Left the cleaned up ribs, right the partial complete main frame:
IMG_2056.jpeg
 
Thank y’all for your sympathy and words of wisdom and encouragement. It’s just what I needed.
Right now I’m looking at an incomplete frame and a pile of cleaned-up ribs.
The next stop is to solder the two detached main ribs to the main frame, followed by bonding the ribs to the frame again.

Typical rib, pre cleanup:
View attachment 456048

Typical rib, post cleanup:
View attachment 456049

Left the cleaned up ribs, right the partial complete main frame:
View attachment 456050
Good morning Johan. I have missed this….Wow you are owning this little Fokker ;) . I admire your striving for that perfect look and good luck with the redo. Cheers Grant
 
Ai, ai, ai


These are those moments when you are (for a while) done with your model.

You learned the word Redo.

Let it sink in. Do something else and do nothing about it for a while.

Then it tickles again, that is the hobby.

Regards
Henk.
The word “redo” is permanently etched into my brain…

I’ll probably not let it rest very long; I’m really eager to get to the finish line with a result to look at.
 
The right wing half is coming along nicely; it has been topcoated and is now waiting for the application of the trailing edge wire. After that the skin has to be reapplied.
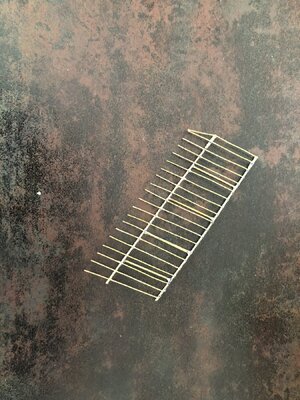
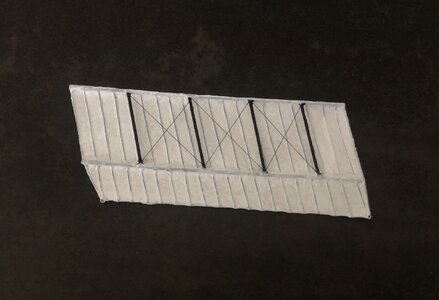
In the mean time the left wing half is nearing completion. Bracing wires between the four main ribs have been added and some final touch ups were taken care of, see pics below.

Bottom view with the bracing wires:
IMG_2062.jpeg

Top view with a few of my too large fingers in view for sense of scale
IMG_2063.jpeg

In all not perfect, but good enough.
 
The right wing half is coming along nicely; it has been topcoated and is now waiting for the application of the trailing edge wire. After that the skin has to be reapplied.
In the mean time the left wing half is nearing completion. Bracing wires between the four main ribs have been added and some final touch ups were taken care of, see pics below.

Bottom view with the bracing wires:
View attachment 456402

Top view with a few of my too large fingers in view for sense of scale
View attachment 456403

In all not perfect, but good enough.
That wiring looks very convincing and realistic, Johan.
 
Last edited:
Wow, fascinating, I’m just catching up with your log. I admire your perseverance. I’m surprised that you have not emptied our your swear jars and taken a long trip to ……

Jan

Thanks Jan,
It took me a while, but I am now fully committed to completing this little build.
The main challenges being imposed are:
1. Is there sufficient reliable information to build this airplane? Answer no, AL-FI is indispensable.
2. How am I going to build any given part? Especially the engine gave me quite some headaches, since it was not covered by engine cowlings and also has a quite dominant place on the airframe.
3. Can I make a working gear suspension?
4. Are working flight controls feasible?
5. Wing covering; how to handle a single ply of tissue?
6. Build sequence: I build the fuselage including skids first and then started adding stuff. Another sequence could have been building wing halves and tail first, followed by fabrication of the fuselage. I guess I am pre-conditioned: in real life quite a few airraft are build fuselage first, followed by adding the tail surfaces, wing, landing gear and engines, in that particular sequence.
7. Bracing wires, especially the sequencing of adding the wires. I decided to work from the inside out, in order to avoid accessibility issues. So far, so good.

Despite its deceivingly simple looks, it's by no means a simple and straightforward build. If one is looking for an interesting scratch build without building instructions and numerous drawings, this is worth your while.

PS The swear jars need a little more filling up before I'm off to a nice warm land with sunny beaches...
 
Back
Top