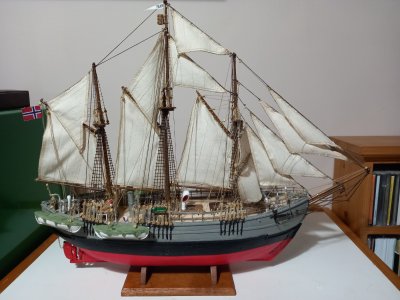
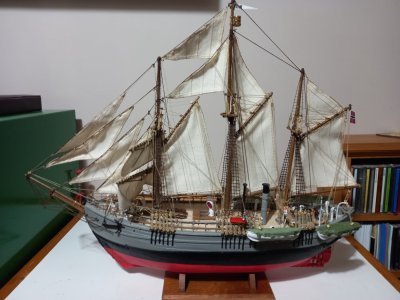
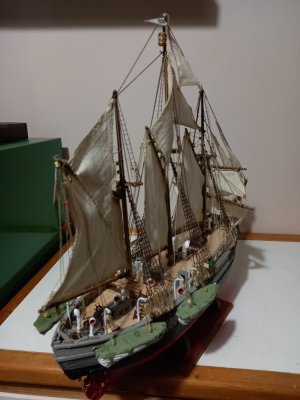
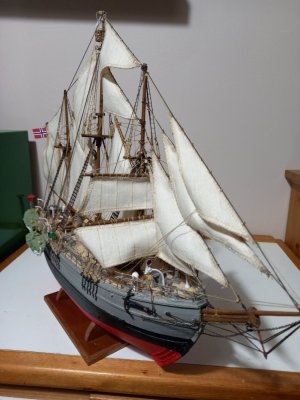
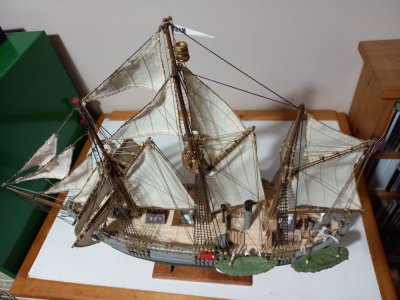
Fram by Occre

Joined
Aug 26, 2020
Messages
423
Points
278

Location
UK Dorset
Why the Fram?
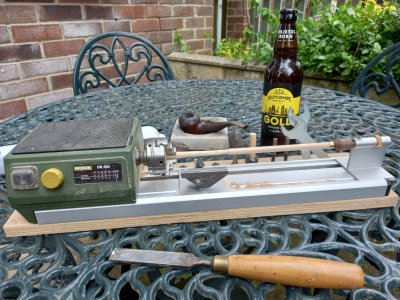
Having just completed the Royal Caroline (very ornate) and Cutty Sark (25 sails) I fancied something a bit simpler as a summertime activity. A leisurely complement to a beer and a pipe on the patio watching the lawn grow. It is not a very pretty model but my main enjoyment of our hobby is the building, not the subsequent display. It is a satisfying way of using (and acquiring!) tools and working with wood to replace the more robust DIY of my younger days.
The Fram has a hull shape and deck fittings that are distinctly different from my earlier builds: no forecastle, quarter deck and poop, no cannon. Instead, a funnel, ventilation pies and a propeller. The rig is predominantly fore-and-aft which is a novelty for me and will eventually require a shelf of modest width.
Unboxing.
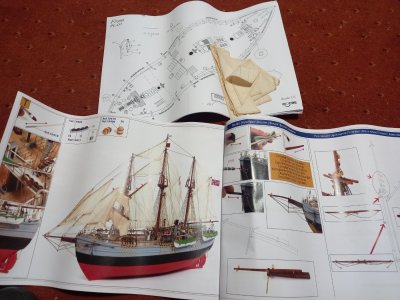
With several OcCre models already built I found few surprises. The usual compartmented box of bits, a set of pre-sewn sails, rigging threads, 2x5mm lime planking, 0.4x5mm (paper thin!) sapele and a bundle of dowels in a close grained white wood. With occasional exceptions I find the OcCre instructions clear and comprehensive. There are plenty of coloured pictures of an actual build. A pdf is also available for download which is often a convenient supplement to the paper version.
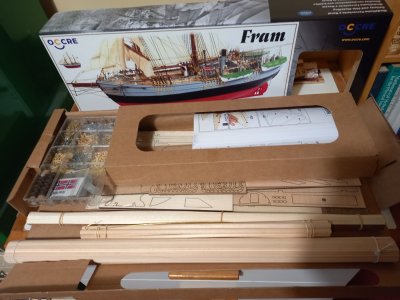
Unbox1.jpg Unbox2.jpg
 
That sounds like a perfect summertime project, and I’ll be following your build log with great interest! The Fram’s design really stands out with its unique hull shape, fittings, and rig, especially compared to the more ornate and traditional ships like Royal Caroline or the Cutty Sark. I also really appreciate your philosophy, focusing on the joy of building itself rather than the final display. There's something especially satisfying in working with wood, tools in hand, with a pipe and a cold beer nearby. I’m also a pipe smoker and a fan of a good beer, so your description of building on the patio while watching the lawn grow hit home for me!


By the way, I just recently posted a kit review of the Fram over on SOS. If you haven't seen it yet, feel free to check it out and let me know what you think!
I have just re-visited your excellent kit review (I did read it some time ago) and found it very helpful and thorough. I should have referenced it rather than writing my relatively sketchy unboxing post.
I have a minor issue with your recent post: by all means chill your lager but beer should be served at no lower than cellar temperature!
Some years back I was with a party of Brits attending a conference in Arlington, Texas. We were delighted to find an "English Pub" selling excellent Sam Adams draught beer. However, it was served in thick, pint glasses taken from the freezer. On our second (of many more) rounds we declined fresh glasses and asked for our original glasses to be refilled. "We've got these warmed up"
Addendum: your coffee is great but your hot tea is not treated with sufficient respect - even when you are not dumping it in Boston harbour.
Thanks so much for revisiting my kit review. I'm happy you found it helpful! And don’t worry at all about your unboxing post; it was a great read. Sometimes a sketch says more than a blueprint, especially when it comes with personality.
Now, about the beer… fair point! I’ll admit to chilling my lager just a bit below “cellar poetry” level—but only because my shipyard tends to overheat faster than a cannon in a broadside. ROTF I promise to leave the proper beer temperature debates to the true connoisseurs—and next round, I’ll try to drink it before the glass frosts over.
As for the tea—ouch, that Boston jab still stings! I assure you, no tea has been harmed in the making of this build (well… maybe slightly bruised). I'll steep one properly in your honor next time. :D
 
I have just re-visited your excellent kit review (I did read it some time ago) and found it very helpful and thorough. I should have referenced it rather than writing my relatively sketchy unboxing post.
I have a minor issue with your recent post: by all means chill your lager but beer should be served at no lower than cellar temperature!
Some years back I was with a party of Brits attending a conference in Arlington, Texas. We were delighted to find an "English Pub" selling excellent Sam Adams draught beer. However, it was served in thick, pint glasses taken from the freezer. On our second (of many more) rounds we declined fresh glasses and asked for our original glasses to be refilled. "We've got these warmed up"
Addendum: your coffee is great but your hot tea is not treated with sufficient respect - even when you are not dumping it in Boston harbour.
I can’t say you’re wrong about the tea, but you’ll have to make some allowances for our treatment of fermented grain. It’s only been in the last few decades that Americans have rediscovered how to make good beer. We’ve been making do with the stuff coming out of Milwaukee and St Louis for so long, the only way we knew how to drink it was so cold you can’t taste it. ROTF
 
Preliminary Analysis.
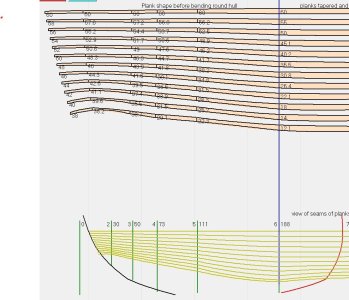
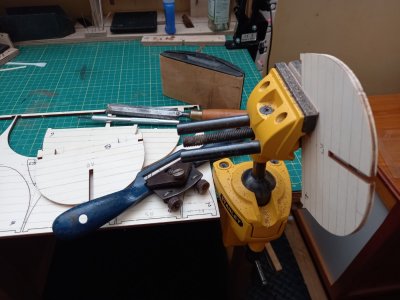
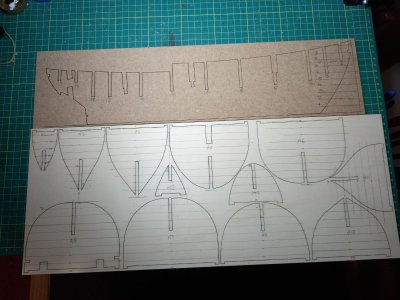
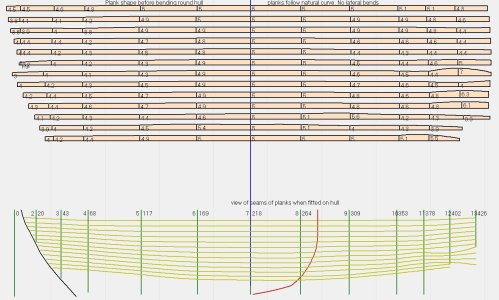
The first photo below shows the laser cut boards marked up to measure and record the stem and bulkhead profiles. These data are fed into a noddy computer program to get a preliminary idea of how the planks will behave when fitted on the hull.
In the second photo the planks are initially fitted with the full 5mm width on the widest bulkhead. The upper part of the picture shows how the planks would need to be individually shaped as they bent round the bulkheads and allowed to follow their natural line with no lateral bending. The lower part shows how the seams would look on the hull. The black line approximates the stem; the red line shows the profile of the widest bulkhead. The plank widths are marked and vary erratically. The bow is the main point of interest. The program struggles with the stern as the planks pass under the counter.
The third picture shows haw the planks would fit if they were all tapered from full width at the fattest bulkhead to 70% of the width at the stem. A small amount of lateral bending would be needed to fit them together.
These results suggest that planking the Fram should be relatively easy.
In contrast, the last photo shows the results for the bluff bowed Revenge. Even with severe tapering to 40% at the stem there would need to be a lot of lateral bending.
These results are very approximate. Refinement will come when the planking is being fitted to the hull.
Markingup.jpg unshaped.jpg
tapered.jpg revenge.jpg
 
I'm building the Fram right now. I'm modifying the project to look more like the Fram on display in Oslo. Which is to say rougher and without the brass everything OcCre provides. Also, study the picture of the finished ship on instruction sheet "T". You'll get a kick out of the boom and sail locations midship. I will be modifying those as well. It's been fun so far.
 
Initial steps
Build strategy
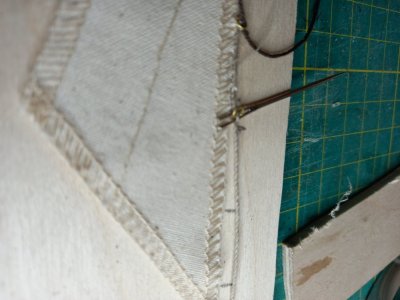
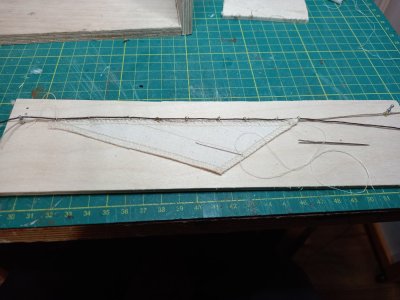
I am resolved on this build not to get bogged down with long sessions of single, repetitive tasks. In the early stages of build there are many tasks that can be carried out in parallel rather than in series: planking the hull, shaping and finishing the spars, assembling and painting deck fittings, sewing bolt ropes on sails, stropping blocks, assembling cannon (if relevant) and preparing deck planks. I have made this resolution before but it always seems to get trumped by an urge to finish one job before starting another. This is commendable in some activities but not necessary in ship building. Perhaps it is connected with the supposed inability of us chaps to multi-task, The main disadvantage of this plan is having to keep planking tools, rigging tools, paints and brushes concurrently active in a limited workspace. I wonder what strategy other members adopt.
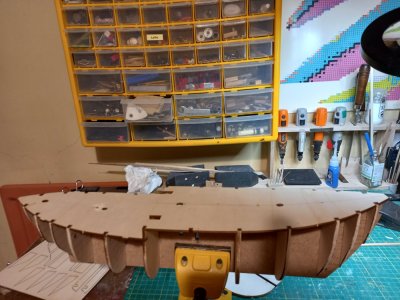
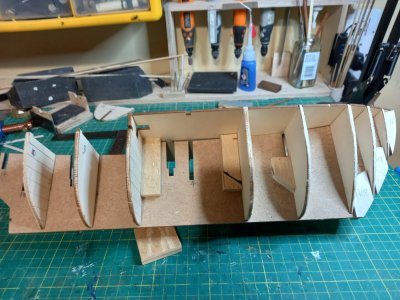
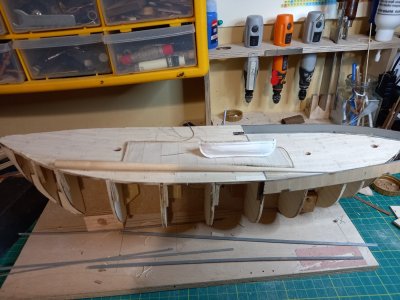
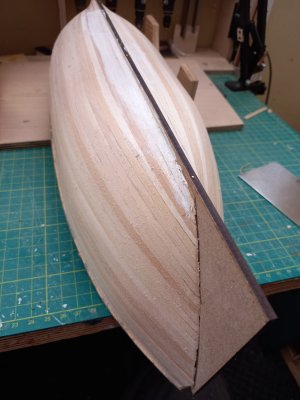
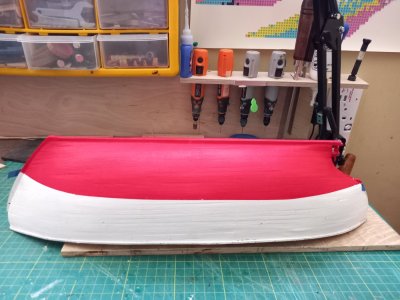
After extracting the bulkheads from the pre-cut sheet, I have cleaned up the charred edges and put a tentative chamfer on the bulkheads near stem and stern. A dry fit on the false keel revealed very poor fitting. The slots in the mdf keel would be a snug fit for 4mm plywood bulkheads; Unfortunately, they are 3.8mm thick – not up to the usual OcCre standards. A picture below shows the initial fit. The decks have been temporarily fitted to square the bulkheads. A screw holds them into their ultimately curved shape. One doesn’t get much bite screwing into the edge of mdf; I was almost inclined to cut a plywood replacement – with slots appropriate to the bulkhead thickness. But I couldn’t be bothered so I added some blocks into the bulkhead/keel corners.
Deck planks
The plan sheets include the generic OcCre instructions for planking the decks: lay full length planks then mark off the joints with a pencil line and the fixings with pencil dots. I have done this in some of my earlier builds and it looks passable but I think I have grown beyond of that.
So, how were the deck planks fixed on the Fram? I’m sure that by 1893 the use of trenails had ceased so what to do instead. Some mages of the real Fram show the upper decks but the details are hidden by a layer of something looking like black paint. I don’t know if this is something authentic or whether it has been put there to provide secure footing for the visitors or to preserve the planks. I don’t think I will paint the decks black on my model.
A failed experiment.
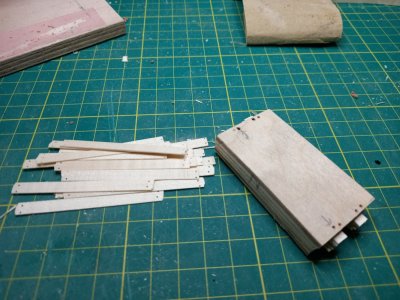
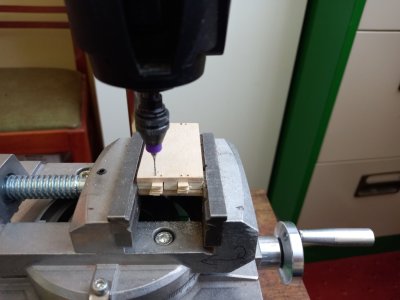
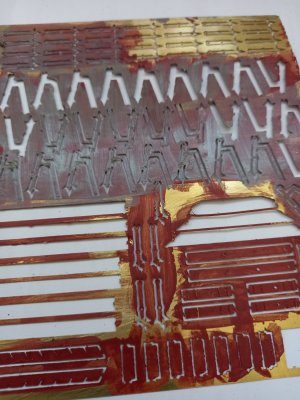
I Clamped together a stack of deck planks then drilled small holes (0.7mm and 1.0mm) where the fixings would go. I then passed some PVA soaked rigging thread through the holes. When the glue had set, I separated the planks in the bundle with a thin blade hoping that the short lengths of thread would stay in the holes. They didn’t! It might have worked with thicker planks but not with the usual thin ones.
Next attempt.
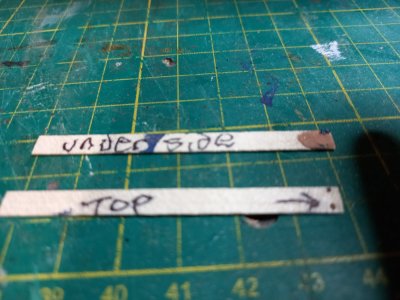
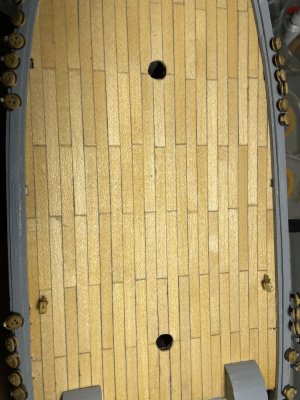
I smeared wood filler on the under side of the test planks and forced it though the drilled holes. The excess was scraped off. The filler appeared on the upper side of the planks as a brown dot with no staining. Perhaps I can interpret this as a wooden plug inserted in the deck to cover the recessed head of a bolt, nail or screw. I am not prepared to hammer in hundreds of tooth picks.
Looking at the attached photos I think it is time to turn the cutting mat over.
Bulkhead prep.jpg Dry Fit.jpg
Bulkhead reinforce.jpg Deck planks.jpg
 
Back
Top