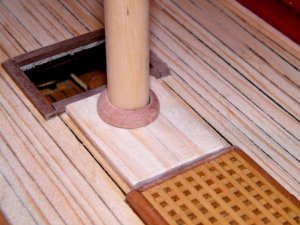
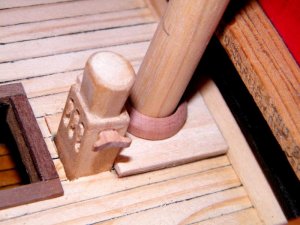
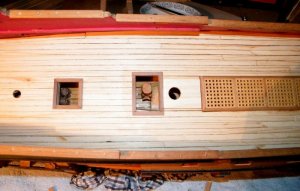
I was chatting with Brian and he mentioned he had built one of these kits, so I thought I would post my build log of it that was deleted on another forum,
I have put it in the kit section although it is mostly scratch using the kits castings.
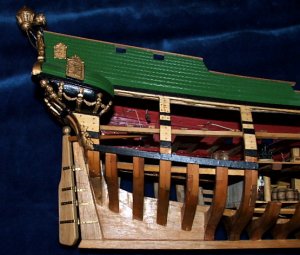
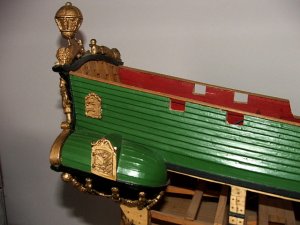
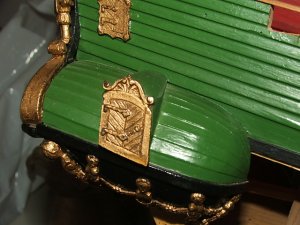
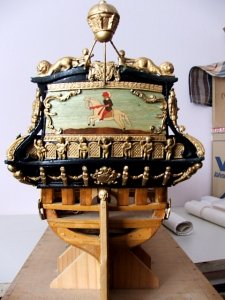
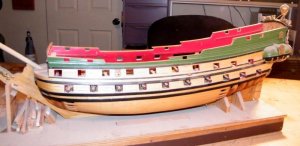
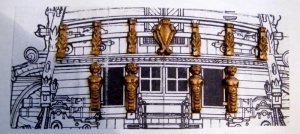
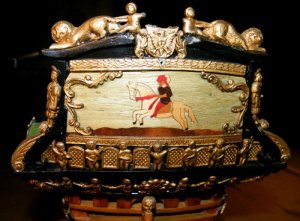
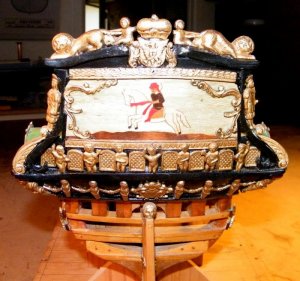
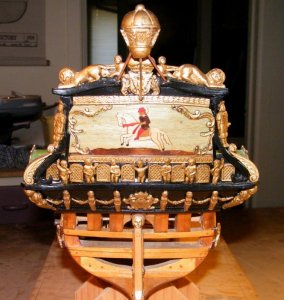
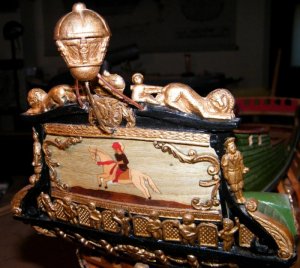
This is a Euromodel kit of The Friedrich Wilhelm zu Pferde, I believe it translates as Fredrick William on Horse back, I started this kit quite a few years ago, and due to many things I am only just getting round to finishing it.
When I received the kit and checked it over, there were a few things that did not seem right, the four middle bulkheads were approx 4inches apart, which seemed to much, also when I dry fitted the bulkheads to the keel and ran a strip of wood along to check the alignment there was an obvious bulge where bulkhead four was, when I checked the plans and line drawings I found that they had drawn and cut bulkhead five twice, so after re cutting one of them to the size of bulkhead four, the strip of wood then ran fair, but I still did not like the spacing of the center bulkheads, so I decided to scratch build the hull with full frames, this was my first attempt at lofting and cutting frames so you will probably pick out a few mistakes, these early pics were pre digital camera so I only took a few because of the cost, see following pics,
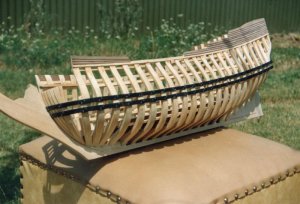
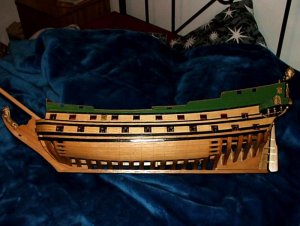
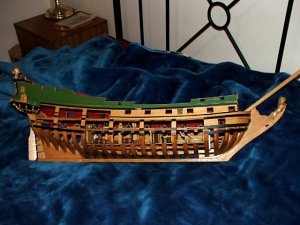
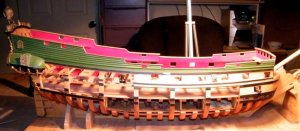
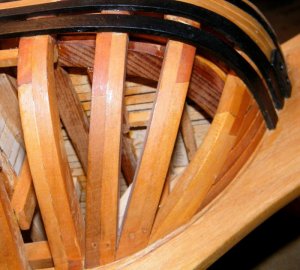
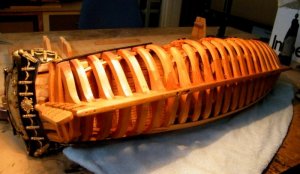
View of the hull in frame. Luckily they gave a good set of drawings including the body plan and water lines, so I tried to place the frames between the ports to make things a bit easier, I decided on my frame thickness and drew the lines between the ports taking the lines down over the water line plans and with the help of the body plan I redrew the frames.
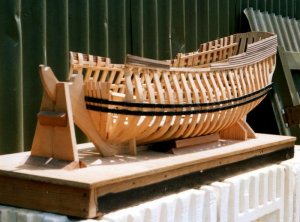
another view
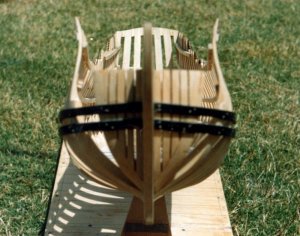
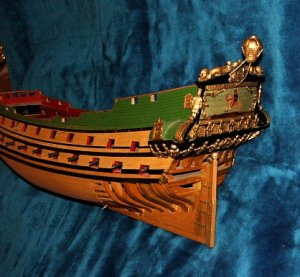
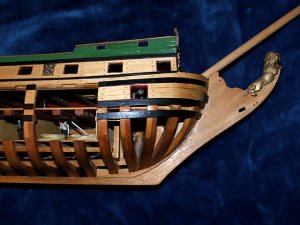
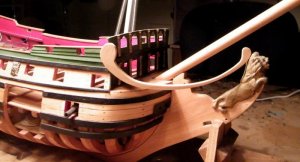
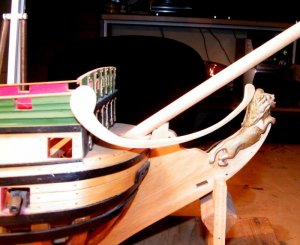
Bow shot
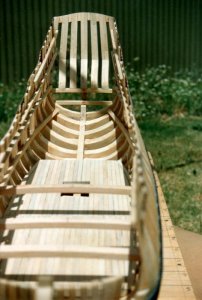
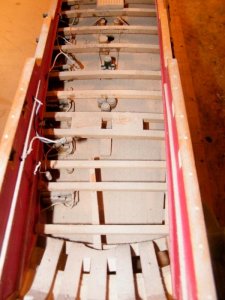
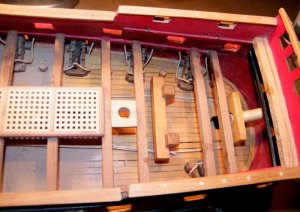
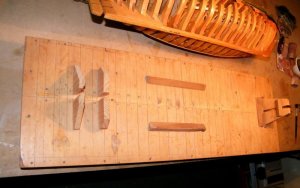
Looking down on the orlop deck, I must emphasize this is scratch built, not boasting or anything, just want to make sure so you do'nt buy a kit thinking this is what you get.
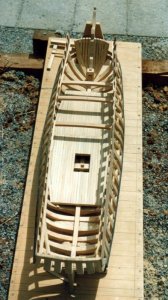
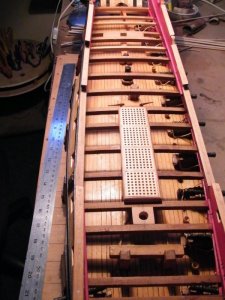
Full length overhead
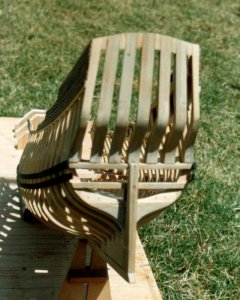
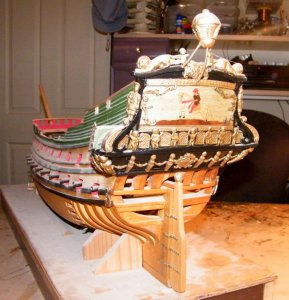
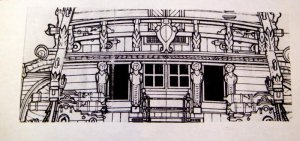
Transom, in hind sight the timbers are too large, wide.
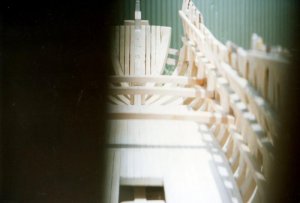
view through the transom.
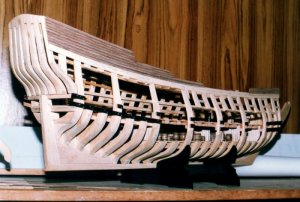
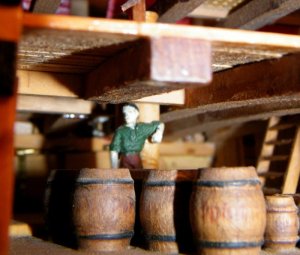
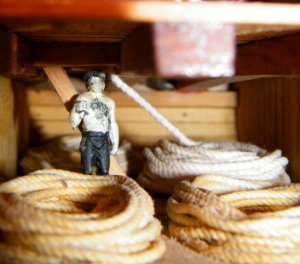
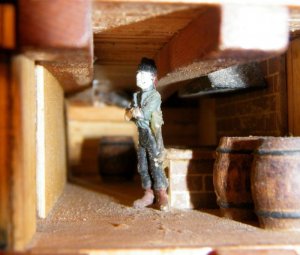
This was my objective to build a fully framed hull with cut aways so that you could see inside of the ship
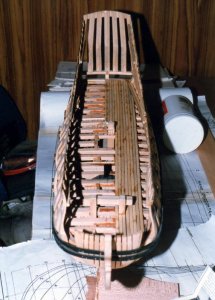
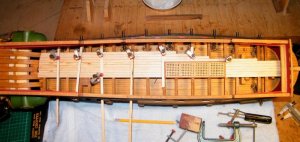
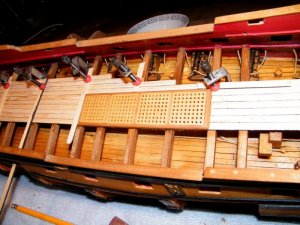
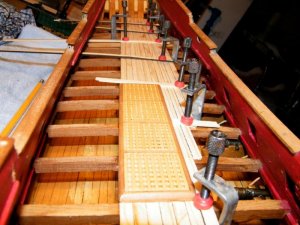
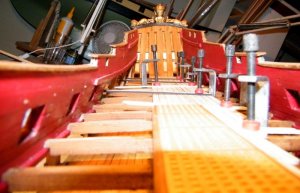
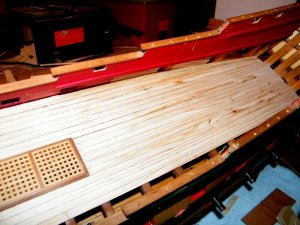
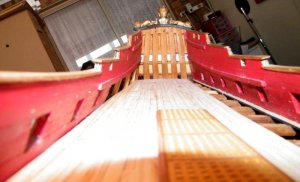
The lower gun deck being planked.
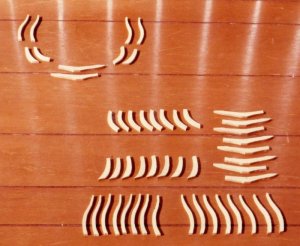
In the top left corner, these parts make one double frame, and below these will make four frames.
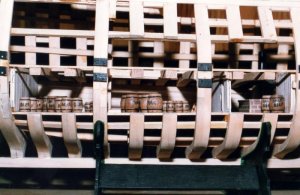
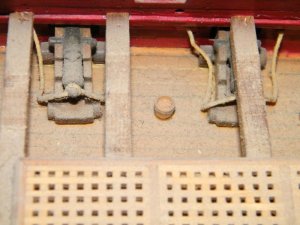
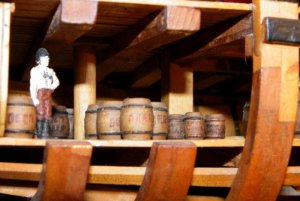
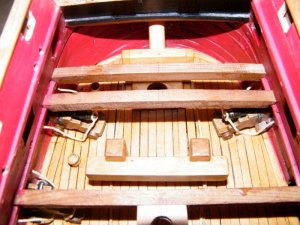
Close up of the orlop deck
.
I have put it in the kit section although it is mostly scratch using the kits castings.
This is a Euromodel kit of The Friedrich Wilhelm zu Pferde, I believe it translates as Fredrick William on Horse back, I started this kit quite a few years ago, and due to many things I am only just getting round to finishing it.
When I received the kit and checked it over, there were a few things that did not seem right, the four middle bulkheads were approx 4inches apart, which seemed to much, also when I dry fitted the bulkheads to the keel and ran a strip of wood along to check the alignment there was an obvious bulge where bulkhead four was, when I checked the plans and line drawings I found that they had drawn and cut bulkhead five twice, so after re cutting one of them to the size of bulkhead four, the strip of wood then ran fair, but I still did not like the spacing of the center bulkheads, so I decided to scratch build the hull with full frames, this was my first attempt at lofting and cutting frames so you will probably pick out a few mistakes, these early pics were pre digital camera so I only took a few because of the cost, see following pics,

View of the hull in frame. Luckily they gave a good set of drawings including the body plan and water lines, so I tried to place the frames between the ports to make things a bit easier, I decided on my frame thickness and drew the lines between the ports taking the lines down over the water line plans and with the help of the body plan I redrew the frames.

another view

Bow shot

Looking down on the orlop deck, I must emphasize this is scratch built, not boasting or anything, just want to make sure so you do'nt buy a kit thinking this is what you get.

Full length overhead

Transom, in hind sight the timbers are too large, wide.

view through the transom.

This was my objective to build a fully framed hull with cut aways so that you could see inside of the ship

The lower gun deck being planked.

In the top left corner, these parts make one double frame, and below these will make four frames.

Close up of the orlop deck
.
Last edited:


