After completing a slightly longer carriage, proportioned to the barrel I have made some bore depth measurements and marked them on the ram rod illustrating the various working depths that were machined and taken up by the charge load and ball shot for the remaining functional firing barrel length of shot for that charge load.
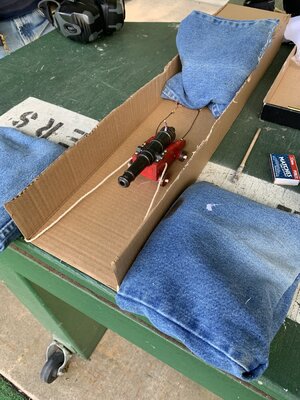
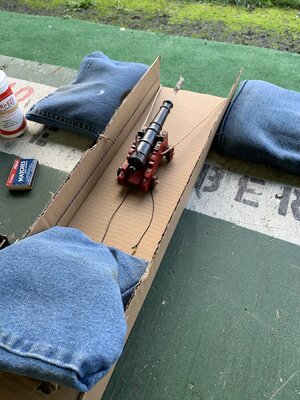
First the two carriages. The shorter would have been better for a carronade than a long gun.
View attachment 185808
Next is the ram rod to full machined depth of bore and charge, marked off. The diameter of the charge portion is smaller than that of the working bore. Depending upon the charge grain load that load extends past the charge depth into the full bore diameter, shortening up the barrel length for the ball shot travel.
View attachment 185809
I have skipped past the shot bore depth and charged depth, as well as face of ball shot to show all of those as marked on the rod which was being "extracted" with the shorter depths.
View attachment 185810View attachment 185811
Here you see all of the depth marks and have to mentally "pull" the rod to your right, out of the muzzle to visualize the working depths in the bore.
Here is the firing after loading. Note that the carriage restraining lines are slack allowing recoil and a rear wheel jump. You can see this if you go to full screen and use the slider button at the bottom to slowly advance, view by view the powder expulsion and rear wheels coming up about 1/4 to 1/2 inch. When later shooting I kept the restraining lines taught giving better accuracy but still recoil jump. I have been able to get on 24x48 inch paper starting at 12 yards, then 16 and out to 20 but losing elevation accuracy. I couldn't tell where the shots went at 25 yards. All were able to penetrate at least 2/3 of a 5/8 inch chip board stop. This is a potentially lethal mini-cannon for which mis-use can have adverse results.
Using various combinations of three breech bolsters for elevation at distance I will continue to refine my understanding of the accuracy of my load, shot weight, and estimated elevation aiming. Windage has not been a problem left and right as sighting along the tapered barrel is fairly easy; the problem arises in elevation where the visual downward slope over the breech and muzzle cross downwards the axis of the bore itself sending shots higher than visually estimated.
I take no responsibility for any use of what I have posted or shown by others. Use hearing protection, safety glasses, know your target and what is behind it. Stay safe. Have fun. PT-2
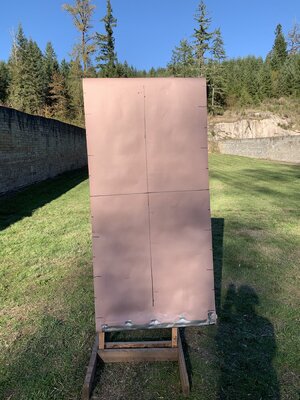
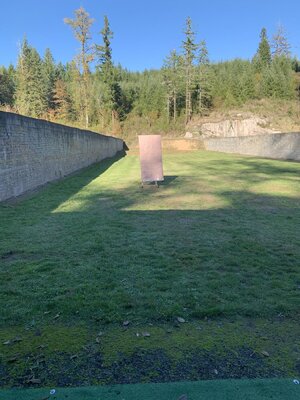
When again firing to build a data base for range and elevation impacts at the range today I used a more documented procedure. Leveled the firing surface with a 24 inch level and sighting along the top to a tall paper target 10 yards out found the level line point. The target is 7 ft. high x 30 inches wide with a vertical center line and horizontal line crossing at the mid point; there are side marks for foot and half-foot upwards and down. I didn't think to take a photo but will next time out.
I use combinations of the three breach bolsters: one double height, one half of that, and one tapered.
The following results were found with varying combinations of bolsters (more lead to depression of the bore. . . fewer or smaller lead to elevation of the bore) Starting low working upwards:
Dbl+Sngl+Taper struck into the ground below the target.
Dbl +Singl struck 24 inches below the crossing line
Dbl + Taper struck 30 inches below the crossing line which is puzzling as it should have risen
Dbl alone struck 6 inches below the crossing line
Sngl + Taper struck 30 inches above the crossing line
Single alone struck 39 inches above the crossing line
I still had the Taper bolster alone and then None but it was too cold to continue.
I should have refired the Dbl + Taper which should have risen but dropped for unknown reasons so I'll probably reshoot that again for a check.
Next time out will be firing the same series at 15 yards, then progressively 20, 25, 30, 35, 40, 45, 50 or if unable to hit paper to suspend the sighting-in tests. I can only elevate the bore to about +37 degrees and not a full 45 degrees due to the carriage components under the breach.
It is a lot of fun but needs full respect in loading, handling, firing, and then cleaning out before the next shot. Variations are to be expected from a number of variables but the shot and charge grain weights are consistent with a few tents of a grain. Cold temps constricted the bore a small amount that I could detect when ramming down the wadded ball shot which took more pressure. Cleaning was also more difficult to insert and then withdraw that padded rod.
Firing only on an approved firing range and complying with "Hot Range and Cold Range" procedures insure communication between shooters present and not going in front of the firing line when it is Hot which also includes not handling or loading firearms/my cannon when Cold and people move forward to their targets and back.
I take no responsibility for any use of the information that I put up by others, in any manner, as there is potential danger, even lethal, with these small scale cannons or other simulations of cannons. PT-2
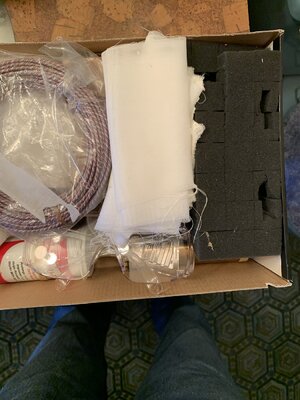
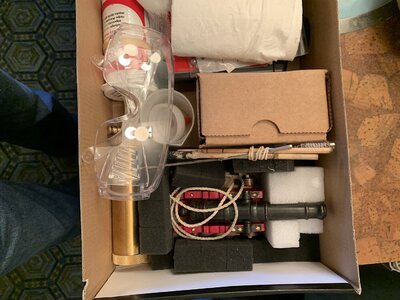
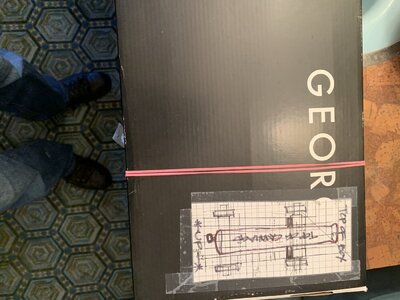 Box with identification to not turn it over and know where the muzzle is pointed. Next removing the cover and padded contents.