H.M.S. Bounty's Jolly Boat Artesania Latina scale 1:25

Joined
Aug 23, 2017
Messages
168
Points
113

Location
central Florida
OK, before I start, first I know the ship is more correctly referred to as H.M.A.S. Bounty but I am using the name on the kit box. Second, it looks to me, after referencing John McKay's excellent book in the Anatomy of the Ship series, that the boat in this kit is really the 20' cutter and not the 23' launch. I think the Model Shipways Bounty's launch is a model of the boat that Capt. Bligh navigated to Timor after the mutiny. The launch in the McKay book was equipped with two masts whereas the cutter had a single mast as with the Artesania Latina kit. So, it is my opinion that the A.L. kit is the 20' cutter aka. Jolly Boat. Also the kit is just under 10" long stem to stern which scales to just over 20'. This may be ancient history to some of you but I have never seen this pointed out previously, here or elsewhere. Another detail I feel the need to mention is the number of frames in this kit. There are 8 frames in the kit vs. 16 in the drawings in the McKay book. If I were building this model as a museum piece I would most likely create the additional frames or better yet build it from scratch using the drawings in the McKay book. But I am not. So. I will build it using the kit parts and following the procedures outlined in the guide booklet.

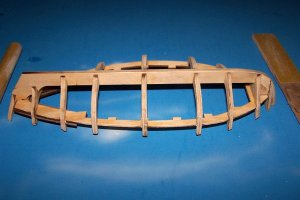
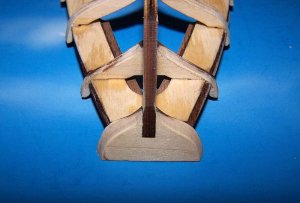
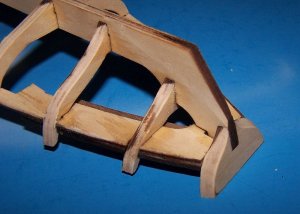
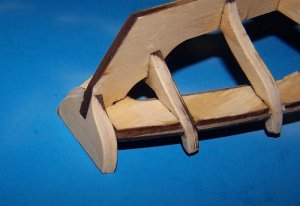
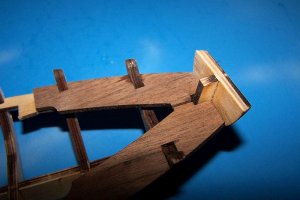
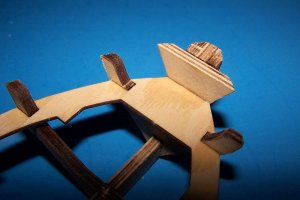
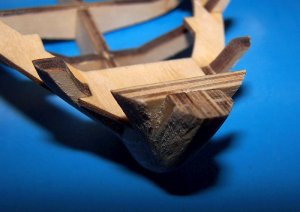
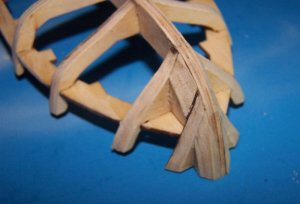
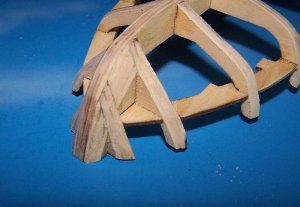
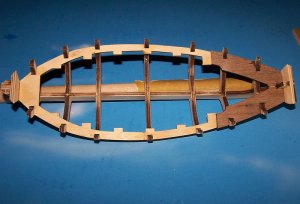
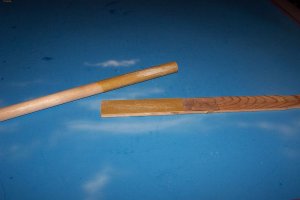
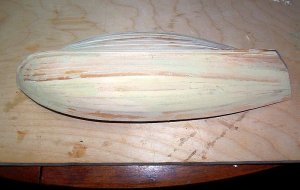
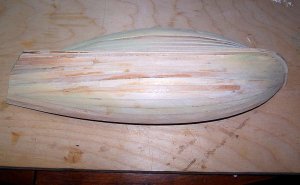
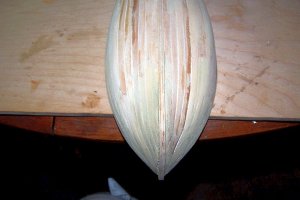
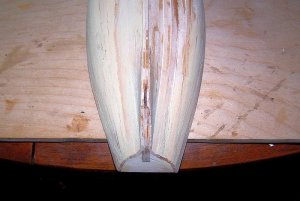
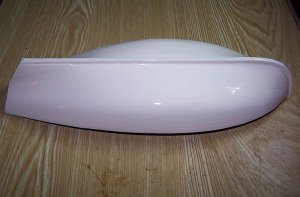
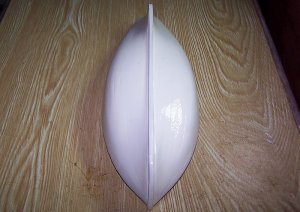
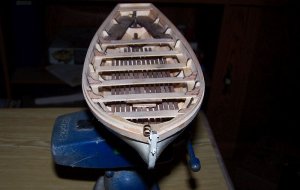
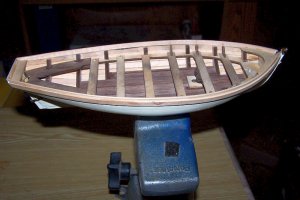
I have noticed that other modelers have had a lot of difficulty planking the hull and some have given up at that point. I think their difficulty was caused by rushing through the early stages of construction and not getting the frames faired properly so that the planks will lie flat on the frame while following the curve of the hull. If anything the frames are probably wider than those on the actual boat and if sanded properly will provide a good surface for the planks to be glued or nailed to. The most important areas for this process are at the bow and the stern. I am making sure that frames 2, 3 and 4 as well as 7, 8 and 9 and the transom line up smoothly before attaching the first plank. The kit provides filler blocks at the bow, two ahead of the first frame (part 2) and two behind it. There are none at the stern but if I see the need I will add filler blocks there too, as long as they are not visible under the seat. My two main tools thus far are a flat sanding stick made from a wood paint stirrer and a large diameter round dowel both with 220 grit sandpaper glued to them. Here are the images of my progress so far.

Stage 1 002.jpgStage 1 003.jpgStage 1 004.jpgStage 1 005.jpgStage 1 006.jpgStage 1 007.jpgStage 1 008.jpgStage 1 009.jpgStage 1 010.jpgStage 1 011.jpgStage 1 012.jpg
 
Nice start Bob, this was the first wooden boat model I built and whilst I had a few problems with the planking, as you say, probably not preparing them correctly, I enjoyed building it and it didn't put me off either. I like these smaller A.L. kits, not too complicated but enough of a challenge to keep it interesting.
Cheers Andy
 
I neglected to mention that this kit over 20 years ago was my first attempt at building a plank on frame kit, At that time I got to the point where I had attached about 6 planks and was beginning to have trouble getting them to follow the curve of the hull and put it aside, Then I moved and most of the remainder of the kit got lost so the unfinished hull sat in a drawer for a long time. This time around I'm not trying to pick up where I left off and the old start will remain a reminder of what not to do. Hopefully, I am older and wiser now and have additional experience so the new kit won't end up like the old one.
 
It looks fine Bob, once the Hull is smoothed down and given a few coats of varnish it will look even better. Were the pre-shaped planks the same thickness as the other planking strips, on my Bon Retour, also by A.L. they were slightly thicker and that caused me a few problems.

Cheers Andy
 
Aginvicta post_id=24895 time=1512589483 user_id=4798 said:
It looks fine Bob, once the Hull is smoothed down and given a few coats of varnish it will look even better. Were the pre-shaped planks the same thickness as the other planking strips, on my Bon Retour, also by A.L. they were slightly thicker and that caused me a few problems.

Cheers Andy

I had the same experience with the pre-tapered planks. They were hard to bend and after everything was in place it took forever to sand them down to the same level as the rest of the planks. If I knew then what I know now I wouldn't have used the tapered planks, instaed I would have tapered the straight planks to the correct shape.
 
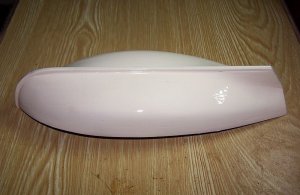
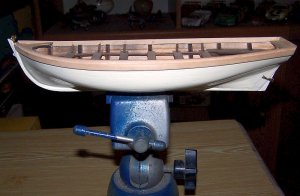
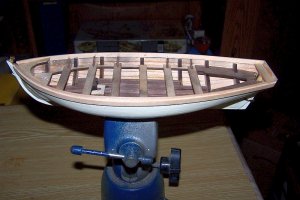
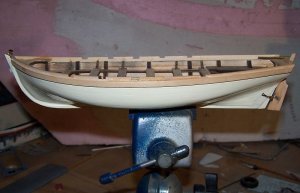
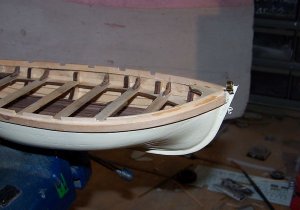
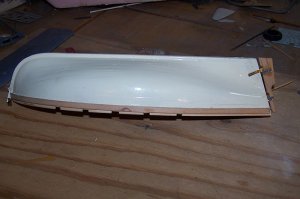
I now have the hull painted white and to me it looks ready to move on to the next step. I wanted to get the hull looking good before moving on to the rest of the build. I still may mark a waterline and paint the hull above the waterline black but most of the ship's boats I have seen are all one color and it is usually white.

white hull 001.jpgwhite hull 002.jpgwhite hull 003.jpg
 
G'day Bob.
Just found you log.
I've never seen this kit before, but looks like a fun one to do.
I've build a few A.L. kits on the pass, and after a few pages of trying to understand the pigeon English instructions, I through them away and built it my way.

Good luck and I'll be keeping an eye on this log.
GREAT START AND I'M SURE IT, IF NOT A MUSEUM PIECE, IT SHOULD BE A MODEL THAT WILL TAKE A PROUD POSITION IN YOU COLLECTION.
Havagooday and havagreatchristmas
Greg
 
This is an updated release of an older A.L. kit. It has a 63 page instruction booklet containing 25 pages of photos covering every stage of construction. There is a section that has a description of what is to be accomplished in each page of photos. There is also a parts list describing the part in question. There are also two pages of full size plans again with all the parts identified. I honestly think they have tried to make building this kit as easy as possible short of supplying a build practicum. I have a couple of earlier A.L. kits and I agree that the instructions for those kits are abominable.
 
It looks really good Bob. I agree with you the new A.L. instructions are a lot better than they used to be although my Bon Retour instructions look like they are a copy of a copy, some of the pictures are a little blurred in places,

Cheers Andy
 
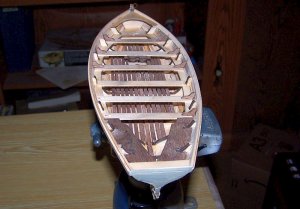
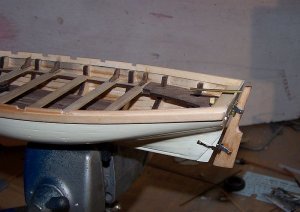
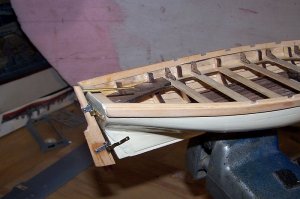
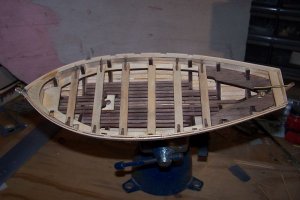
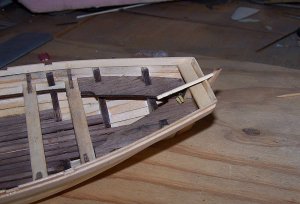
Since the last posts I was able to pretty much finish the work on the hull. I mounted the rudder and cut the slots in the top rail for the oars. At this point the instructions suggest that the interior be either painted or stained before proceeding with rigging the sails. Also at this point the written instructions say the hard part has been done and the remaining work is to be guided by the photos and rigging plan and no more written directions. To be honest that should be sufficient as the rigging is very simple. After all, the main means of motivation for a boat this size is muscle power pulling oars. As far as I can recall after watching the three major movies tell the story of the mutiny on the Bounty I never saw any of the ships boats under sail.

Jolly Boat finished hull 001.jpgJolly Boat finished hull 002.jpgJolly Boat finished hull 003.jpgJolly Boat finished hull 004.jpgJolly Boat finished hull 005.jpgJolly Boat finished hull 007.jpgJolly Boat finished hull 008.jpg
 
G'day Bob.
Great stuff on what you have done...... I can almost smell and feel the sea salt on my face, as I'm cursing Fletcher Christian.

Havagoodone mate.
Greg
 
G'day mate
Looks great and fair dinkum.
Same as Greg said, I wasn't familiar with the model; WOW
Impressive!
Thanks for sharing the build with us.
Merry Christmas.
 
Ahoy Bob,
Really nice job on the Jolly Boat. This model is special to me as it was my first build project and got me interested again in model ship building. You have done a much better job with it then I did. Bravo!
 
Here I sit two years later and I have done practically nothing toward finishing the boat. And the pity is that it is 95% complete. Maybe I will start nack on it and push to the finish. At least nobody can accuse me of rushing the job ;)
 
Back
Top