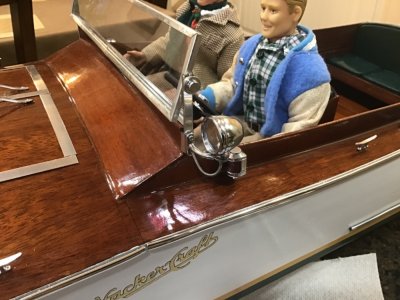
Hacker Craft [COMPLETED BUILD]

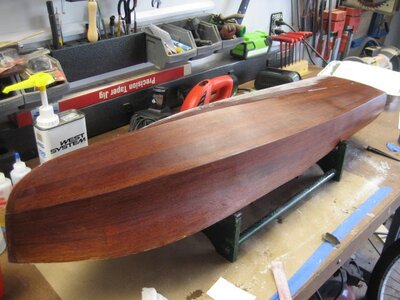
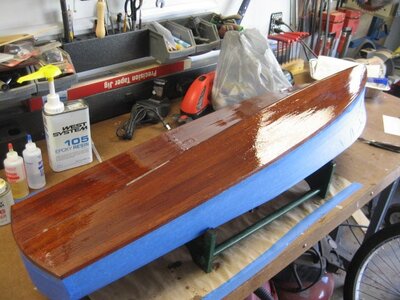
Next step was to add a layer of FG cloth covered by West System epoxy. Unfortunately what happened next caused the model to be put away for the next 11 years. Everything seemed to go well with the cloth and epoxy or so I thought.

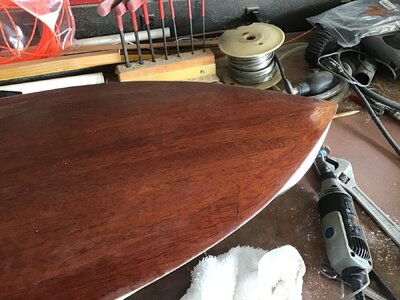
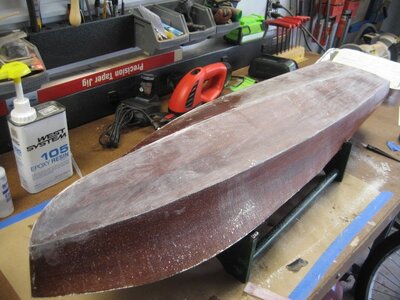
On close inspection you could still see the weave of the cloth. I just did not notice it until the second coat of epoxy was dry. I don’t know why the cloth did not turn translucent. I bought a roll from Spruce Specialties. I talked with some folks about it but there was no consensus as to cause. Never had this happen before and I had built a couple of mahogany boats so I was not expecting any problems.

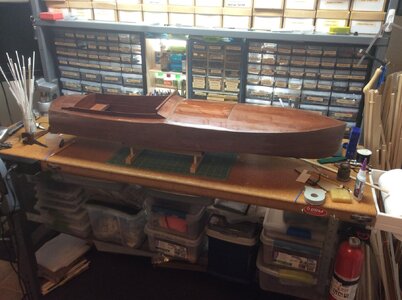
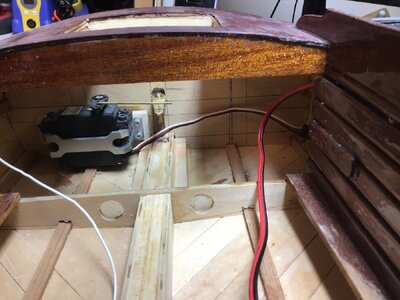
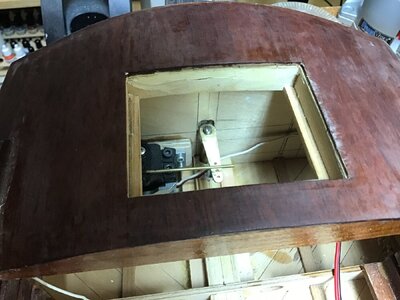
The only answer was to sand it off completely and start over. In 2016 I dug it out from under my workbench and installed the drive train and back under the bench it went. I just could not see myself sanding the boat back to raw wood.

The years rolled on by and I even put it up for sale at one time. 300 bucks with shipping but got no takers.

Where did 11 years go? The model was my first project after I retired and it was a nice way to pass the time. I could work on it every day.
IMG_1252.jpeg

IMG_1250.jpeg

IMG_1251.jpeg

IMG_1253.jpeg
 
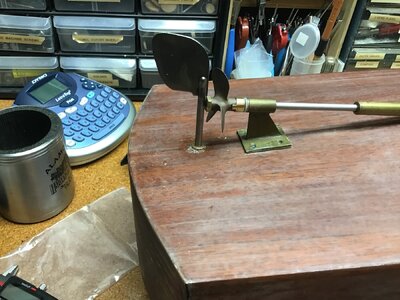
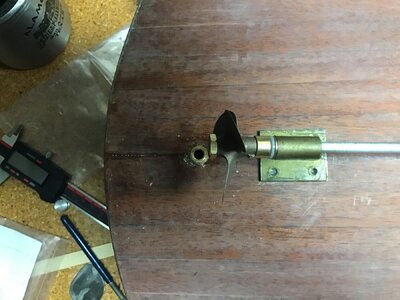
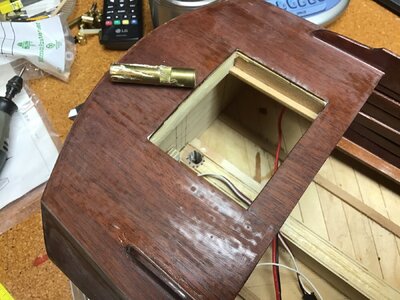
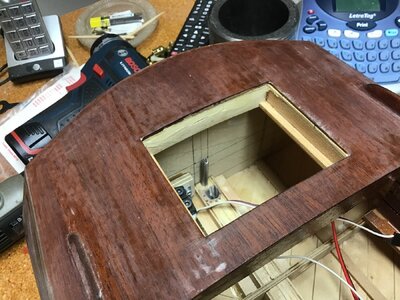
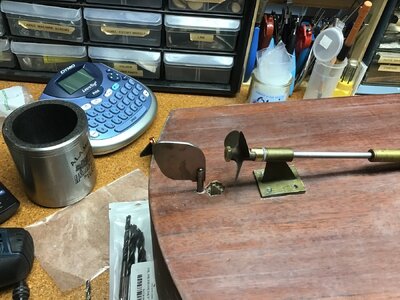
The model was built in 2013 and in 2016 I decided to install the drive train. I was going to finish the boat but I found out that the drive train was going to need to be changed. There was interference between the rudder and the prop. So to fix it I was going to need to move the rudder post. At the time I was annoyed that I did not catch this problem early on.

IMG_2950.jpeg

IMG_2949.jpeg
 
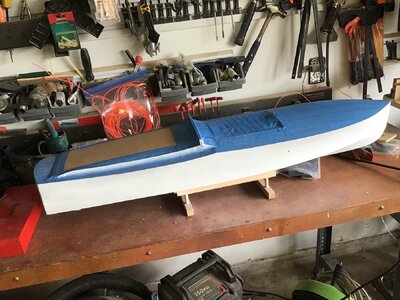
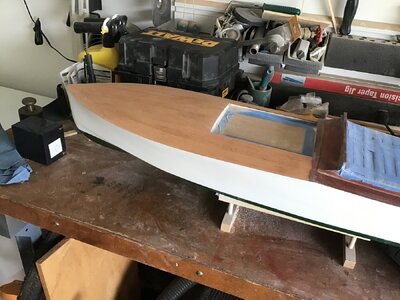
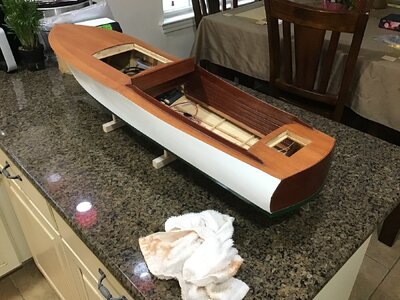
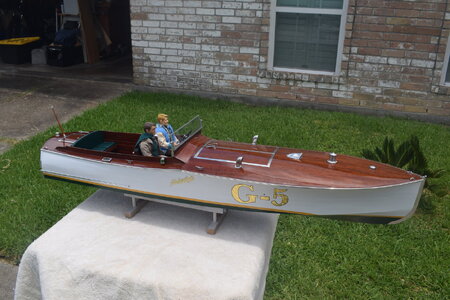
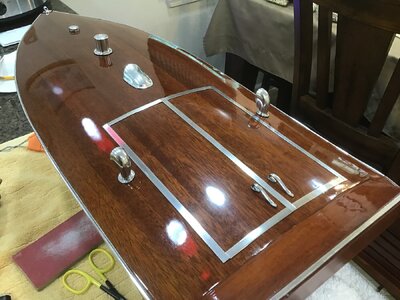
In Aug of 2023 I decided to get the boat out from under the bench and see if I could get her fixed up. I knew that I wanted to sand the deck and hatches back to raw wood. I had seen pictures of some of the old boats that had natural decks with white hulls. I know in some ways it is almost sacrilegious to paint over the mahogany. The good thing is that it is only paint and it can easily be removed in the future if I decided to do the hull over again.

The first thing I did was to check the drive shaft to see if it still turned freely after 7 years. Only took a minute to determine that something had shifted over the years. The shaft was not turning as it should. When I pulled the shaft out of the stuffing box there was a twang sound when it cleared the end of the tube. This told me that the strut needed to be repositioned. I already knew the rudder post needed to come out as well.

I removed the screws from the strut and pried it off the hull. Then I put a bed of gel epoxy down on the hull in the new strut location and set it down. When it dried overnight I put the screws back. Now the shaft was turning much better than before.

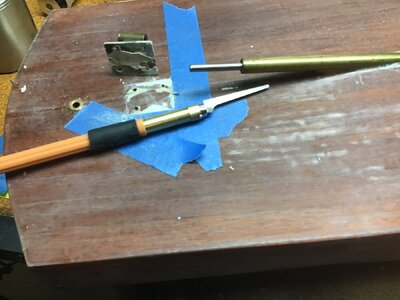
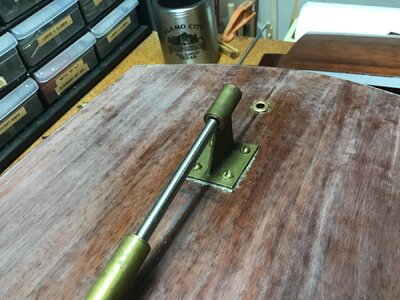
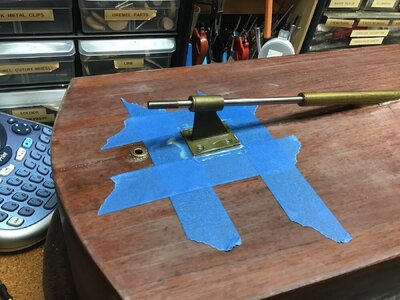
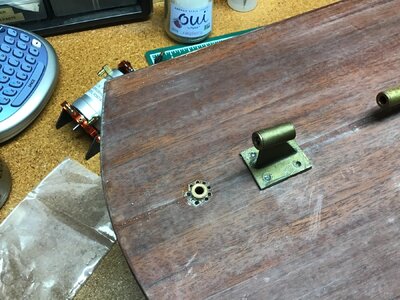
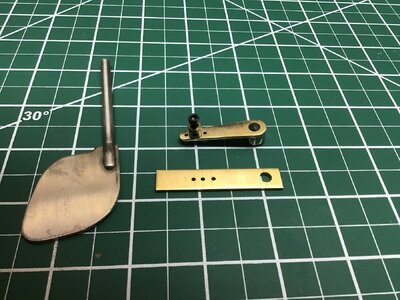
The next step was to move the rudder post rearward. I did not have much room without cutting into the transom wall. I drilled holes around the edge of rudder tube and pulled it out like a bad tooth. I had to cut a slot in the transom wall for clearance of the post and tiller arm.

IMG_2933.jpeg

IMG_2932.jpeg

IMG_2937.jpeg

IMG_2951.jpeg

IMG_2952.jpeg

IMG_2955.jpeg

IMG_2954.jpeg
 
Last edited:
I made a tiller arm from some brass strip and a 3/16 wheel collar soldered in place.
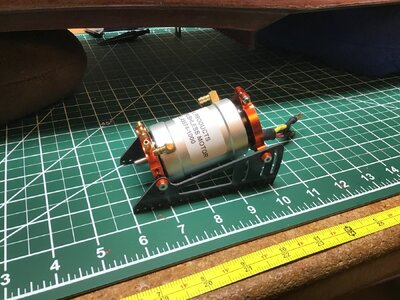
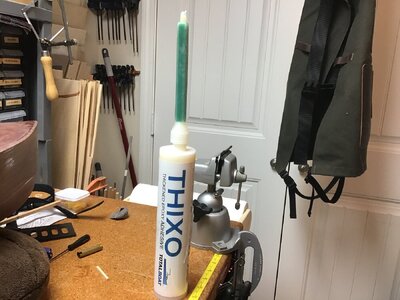
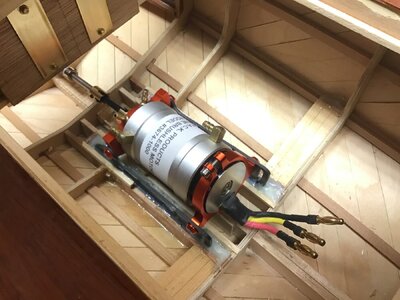
I attached the brushless motor to its mount and built a couple of channels to hold the Thixo.
I filled the channels with epoxy and set the motor in place. There was a lot of cussing and fussing to get a good alignment for the dog bone.

IMG_2960.jpeg

IMG_2962.jpeg

IMG_2961.jpeg

IMG_2935.jpeg

IMG_2978.jpeg

IMG_2973.jpeg
 
Once I got the motor installed I added the water pickup tube. Water cooling was probably not necessary but old habits die hard.

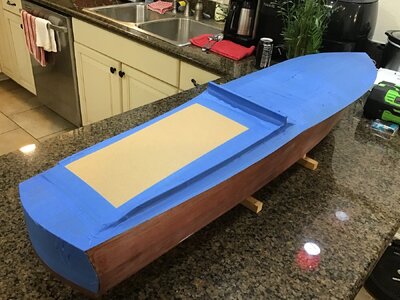
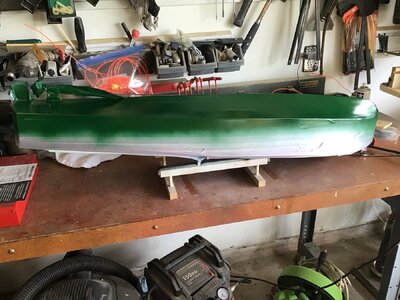
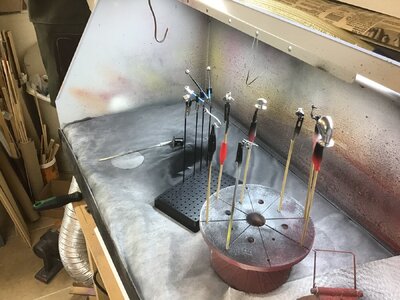
I was curious about what problems I would find once I put a coat of primer on the hull. Before I could get to painting I had to mask off the deck. Masking is one of the things that takes a lot of time. An hour of masking for 3 minutes of painting. The primer showed a couple of places on the stem that needed some work but overall it was good. I painted the hull green below the waterline after the primer dried.

Now it was time to start sanding the deck. I used a flap wheel on my Dremel to get started. Dusty work to be sure.

IMG_2988.jpeg

IMG_3175.jpeg

IMG_3179.jpeg

IMG_3191.jpeg

IMG_3194.jpeg

IMG_3195.jpeg

IMG_3204.jpeg
 
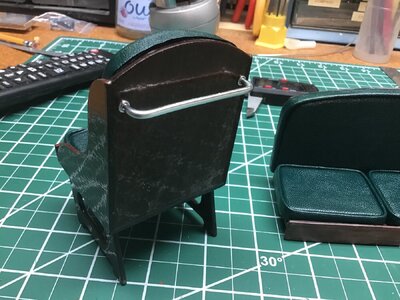
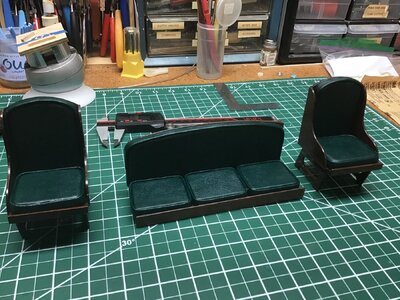
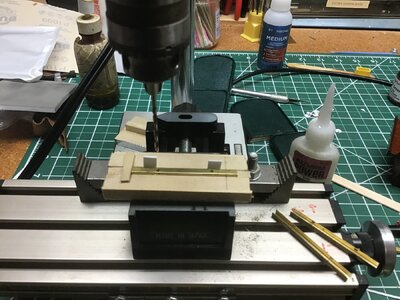
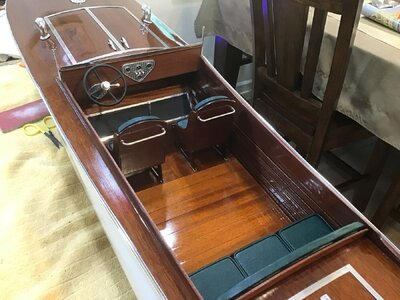
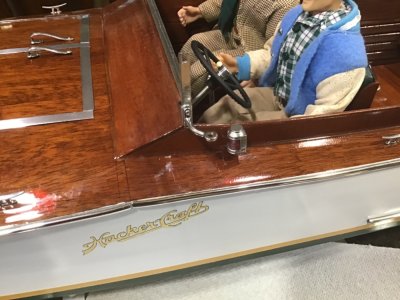
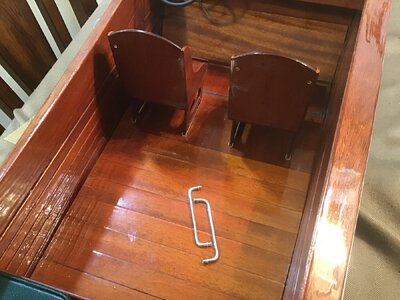
The removable cockpit floor is tapered and this presents a problem. You can’t slide the floor to the rear so the only way to get it out is lifting up and pivot forward. The issue is that the seats will need to come out and the steering wheel as well. I decided to use some brass channel to hold the seats in place. I made a jig to hold them so that I could drill holes for mounting bolts. I wanted to make sure the channels stayed in place. I had fits getting these simple parts installed in the proper place. There was fussing and cussing for sure.

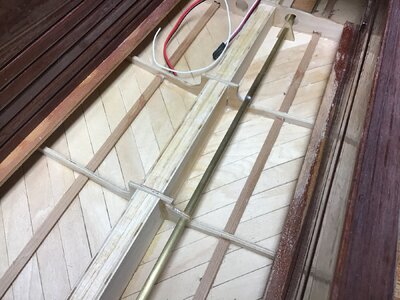
Before I set the floor in place I installed the water cooling pipe. I may never need to lift the floor out of the boat again but just in case I could do it.

I used some tacky putty on the feet of the seats and so far the seats have stayed put after running twice. I bet you could use E6000 as well.

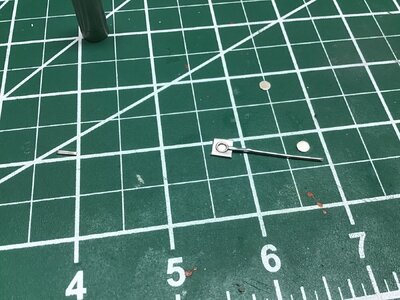
I made the shifter from some aluminum tubing and a chrome half bead. It is fiction fit into the keel so it is removable.

IMG_2986.jpeg

IMG_3416.jpeg

IMG_3419.jpeg

IMG_3422.jpeg

IMG_3417.jpeg
 
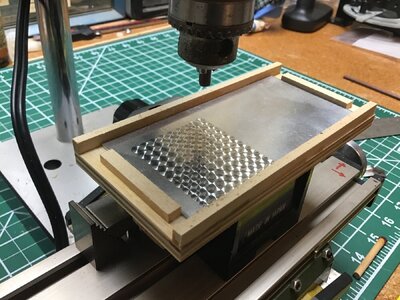
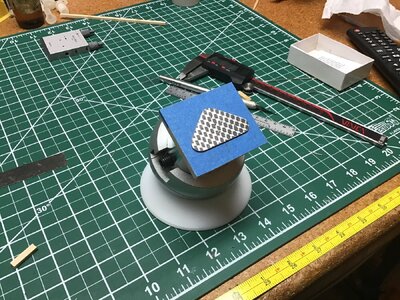
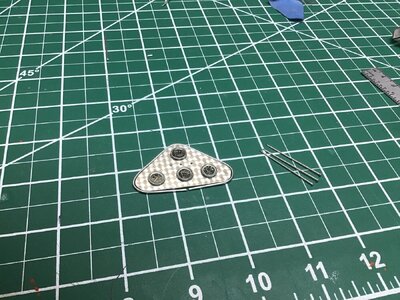
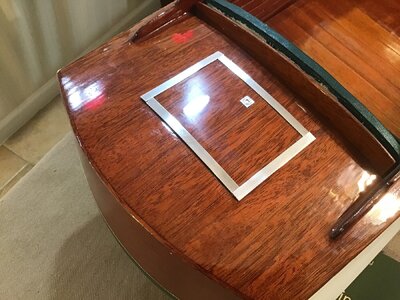
I kept the instrument panel simple. I am good at simple. I have always admired machine turned panels. I decided to give it a try after watching some videos. You can buy the abrasive sticks in different diameters and it worked perfectly. I set up a piece of aluminum in my drill press with an X-Y table. After some test runs I used 4 turns on each wheel to get the overlap that I wanted.

IMG_3060.jpeg

IMG_3100.jpeg

IMG_3126.jpeg

IMG_3129.jpeg

IMG_3123.jpeg
 
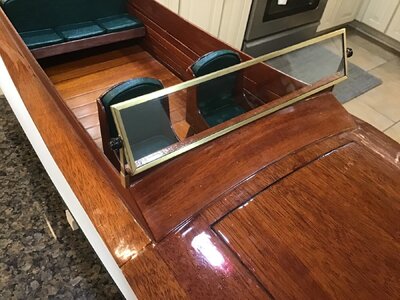
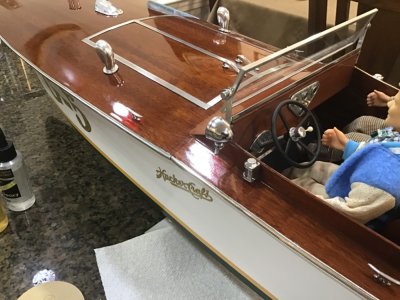
I wanted to add a windshield to the boat. I had no idea how much frustration building one would cause.

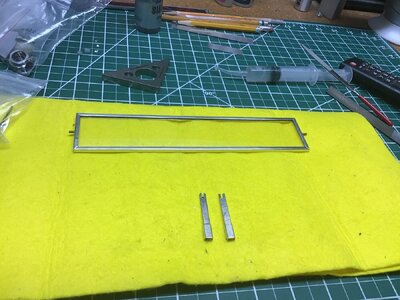
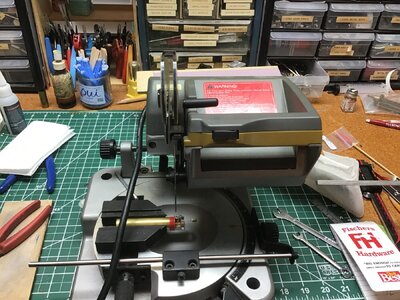
I have a miter saw with a rotating table that allows you to cut angles. Sounds like a perfect solution to replicate parts for the frame. Well that is not how it worked out. The width of the windshield was 8in. I set the saw up and measured from the edge of the blade to the stop to be exactly 8”. I then rotated the table to 45 and made my cuts. I did the same procedure for the vertical parts which were 1.5 inches long.

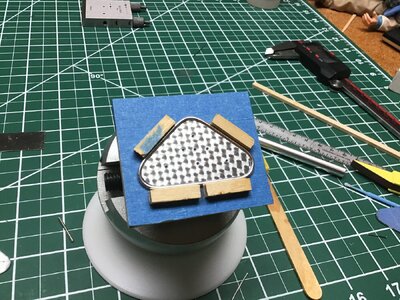
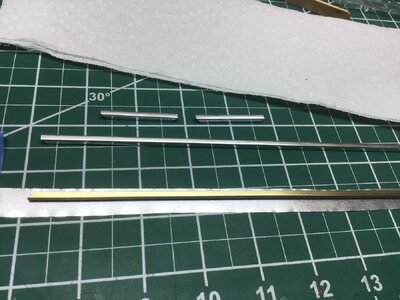
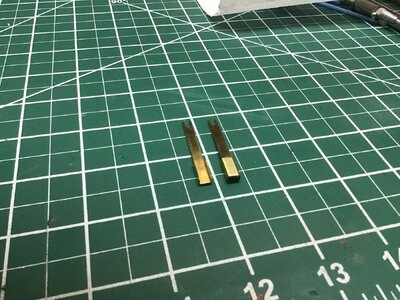
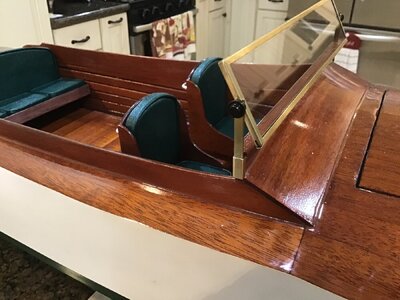
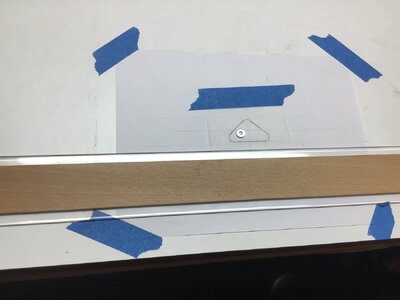
I wanted to have a chrome finish on the frame but I didn’t have a way to do that. I tried one of those home plating kits but I couldn’t get it to work properly. Dumas sells sheets of aluminum with an adhesive backing. They use it for hatch trim and cut waters in their kits. I used it to cover the brass pieces which actually worked well. I added bolts to the uprights for mounting to the support brackets. I used plex for the “glass”. Imagine my surprise when I went to fit the windshield to the brackets and it was 7 and 7/8 wide instead of 8 in. I had fastened the thing together with epoxy so there was no taking it apart.

Ok so now I go back and do a test cut paying much more attention to the set up. Measured 8” and made the 45 cuts and sure enough it was 7 and 7/8. There must be something in the table geometry that I don’t understand. I had to set the stop to 8 and 1/8th. The second frame fit perfectly.

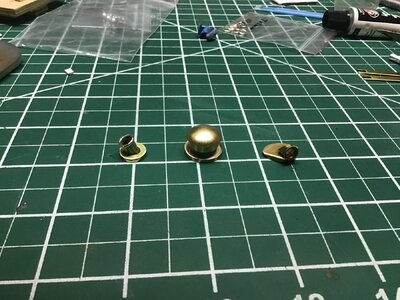
I used a couple of lego parts for the tension knobs. I set a brass nut inside each one with JB weld.

IMG_3261.jpeg

IMG_3329.jpeg

IMG_3437.jpeg

IMG_3338.jpeg

IMG_3339.jpeg
 
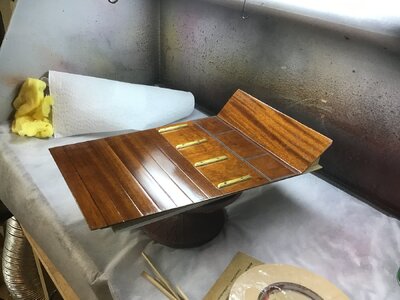
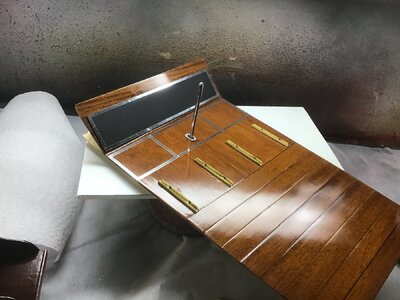
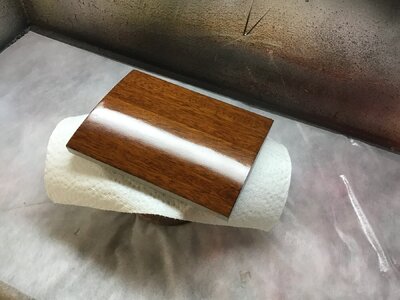
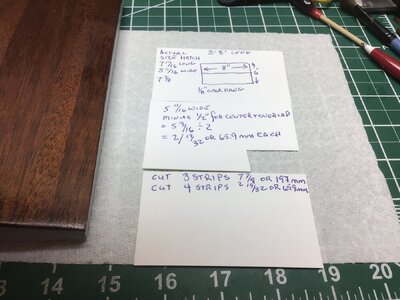
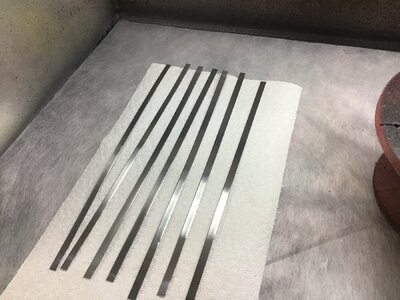
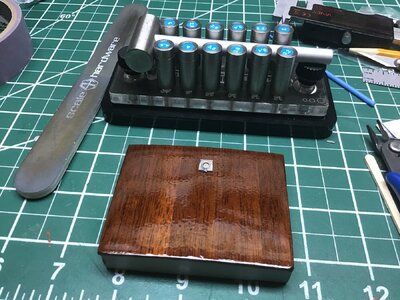
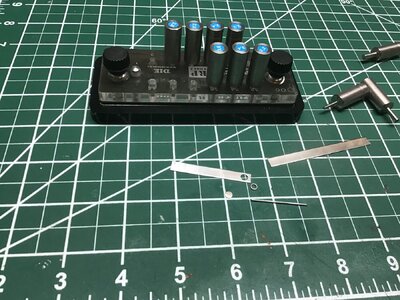
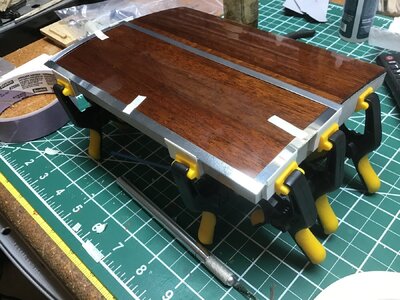
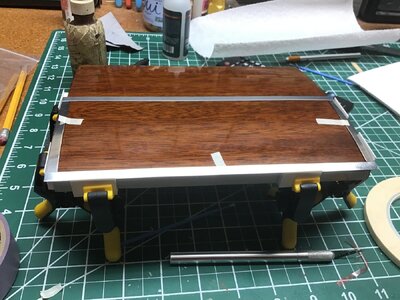
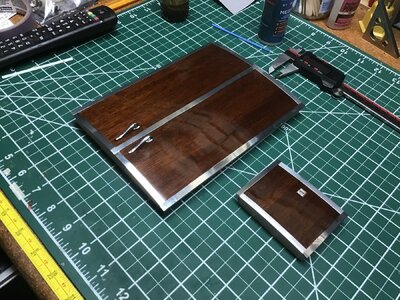
I decided at this point to redo the hatches to match the deck. So I sanded them back to bare wood and stained them. I cut some aluminum strips to trim the hatches. I added a finger ring lift to the rear hatch.
To make sure I cut the strips to proper size I have to write stuff down. I used double sided trim tape to hold the strips in place.

IMG_3370.jpeg

IMG_3357.jpeg

IMG_3365.jpeg

IMG_3376.jpeg

IMG_3373.jpeg

IMG_3374.jpeg

IMG_3393.jpeg

IMG_3392.jpeg

IMG_3387.jpeg

IMG_3397.jpeg
 
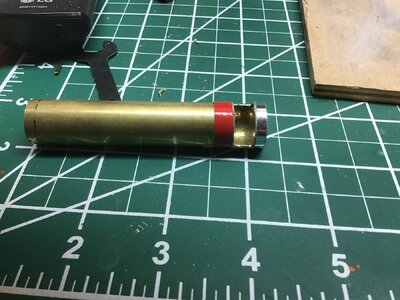
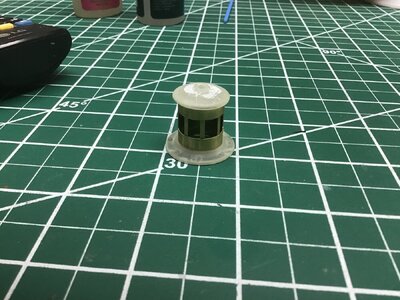
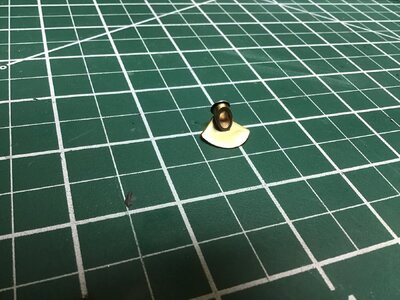
Thank you. I made some scratch fittings for the deck. I had a 3D printed deck light that I had made back in 2013. I immediately broke it trying to sand it and clean it up. So I cut it apart and used the top and bottom pieces with a new center section. I used my chop saw to cut a slot in a piece of brass tube.

IMG_3330.jpeg

IMG_3297.jpeg

IMG_3298.jpeg

IMG_3306.jpeg

IMG_3328.jpeg
 
One of the problems that needed addressing was what would be the finish on the various deck fitting? On my Sea Maid I had Shapeways build them for me. I got the dimensions from the owner and a friend drew them up in cad and Shapeways made them in metal. They look just like chrome.

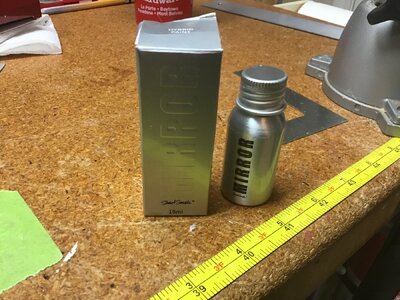
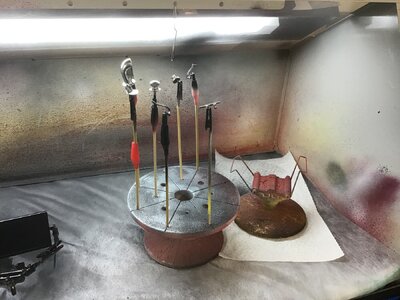
This was not an option with this boat. A friend sent me a link to this place in England that makes what they call mirror paint. Now nothing will replace a chrome fitting but this stuff comes pretty close. I brushed it on the fittings. A small amount of this paint goes LONG way. That is good because this stuff is not cheap.
IMG_3278.jpeg

IMG_3347.jpeg

IMG_3352.jpeg
 
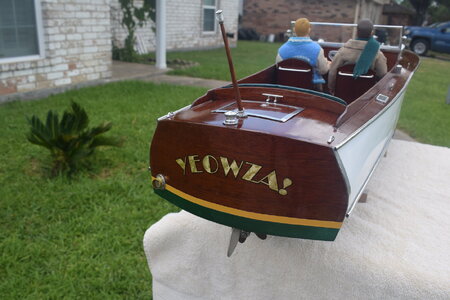
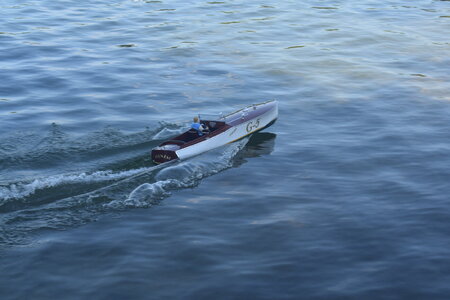
The cutwater on the boat was from Dumas. They use it in their triple cockpit runabout. Perfect fit. This about wraps it up for YEOWZA. It took 11 years to get it finished but it was worth it. She performs really well on the water.

Thanks to everyone who followed along with this thread.

DSC_0006.jpeg

DSC_0003.jpeg

IMG_3462.jpeg

IMG_3461.jpeg

DSC_0046.jpeg
 
A Beauty - the model (great work) and also the original boat
BTW: it is looking very realistic in the water
 
My pleasure and thank you. Some folks feel that I did wrong by painting the hull white. Just depends on how you feel about paint versus natural mahogany.
 
Back
Top