• Ships of Scale has incorportated an extra level of security when you log In. Please follow on-screen prompts to acknowledge that you are not a robot via a "Check Box" or a "Pictorial Check Box Puzzle". This is needed due to higher level of AI Activity Security.
  • SUBSCRIBE TO SHIPS IN SCALE TODAY!

    The beloved Ships in Scale Magazine is back and charting a new course for 2026!
    Discover new skills, new techniques, and new inspirations in every issue.

    NOTE THAT OUR NEXT ISSUE WILL BE July/August 2026
  • Win a Free Custom Engraved Brass Coin!!!
    As a way to introduce our brass coins to the community, we will raffle off a free coin during the month of August. Follow link ABOVE for instructions for entering.

HANNAH

Dave Stevens (Lumberyard)

Vendor
Vendor
Sponsor
Joined
Dec 1, 2016
Messages
6,942
Points
728

Harold Hahn had written 35 articles on ship modeling, 2 books, 16 sets of plans, 25models and hundreds of figures, 16 etchings of nautical subjects and hundreds of prints, etchings and drawings each and everyone titled, numbered and signed and his work in three museums. He won awards at the Cleveland Museum of art as well as national competitions at the Library of Congress in Washington and the National Academy of Design in New York, at the Victory show at the New York Metropolitan Museum his was the first of five prints purchased for the Library of Congress collection. This classroom will pick up where the Harold Hahn article ended. An overview to show the system used by Harold Hahn, the system known as the upside-down method which is designed for a first-time builder of a plank on frame model. There are pros and cons to the system and pit falls a builder has to watch out for which we will get into later on. For now, the focus is on how to modify the original plank on frame plans to a plank on bulkhead model. The article will focus on building the Hannah, all the plans Harold drew are set up the same so the same procedure can be applied to any of the ships in the Hahn collection or any plan with hull lines.
 
Last edited:
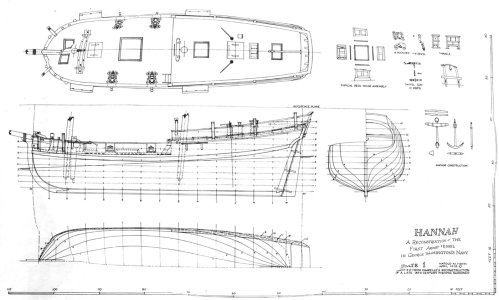
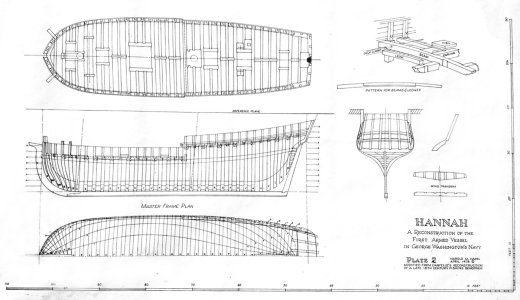
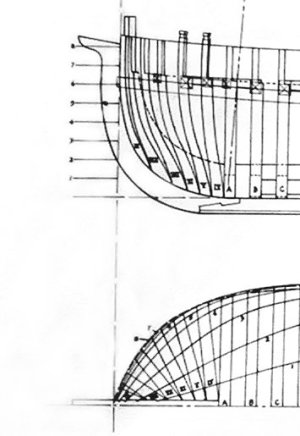
Starting with the Hannah plans Plate one is the hull lines and outside profile, bodyplan, deck layout and detail drawings. Because the drawings have a copyright the plans shown here are distorted and for viewing only they cannot be used to build from.

hannah 1 distort.jpg

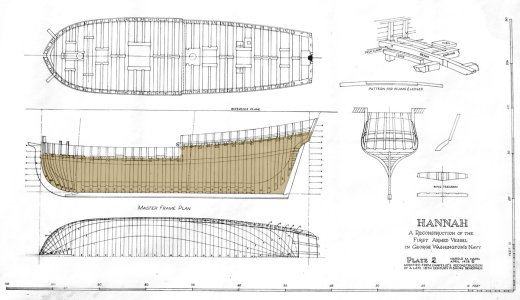
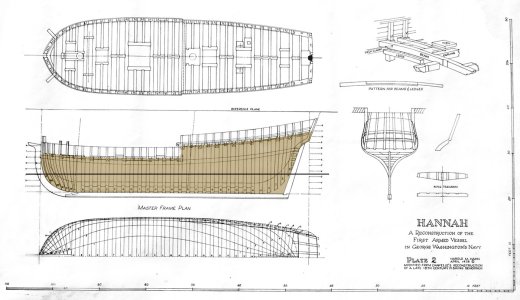
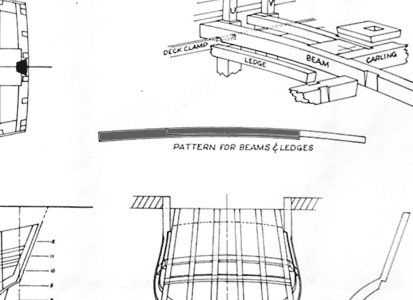
On plate 2 we have the deck, stern and hull framing as well as the deck beam profile and a deck construction drawing

hannah 2 distort.jpg

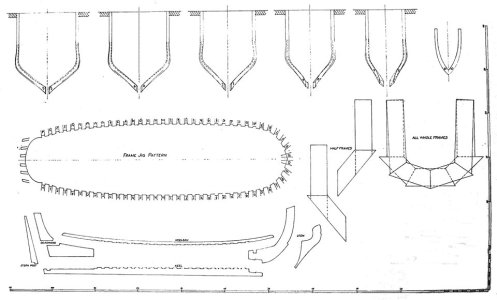
Every Hahn plan includes a jig drawing as well as a frame blank drawing which we will not need for a plank on bulkhead model.

halifax 5.jpg

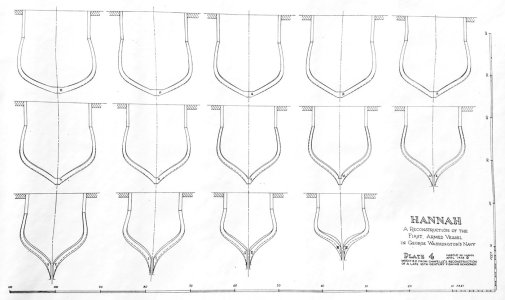
We will need the frame drawings to convert to bulkheads

hannah 4 distort.jpg
 
Last edited:
The plans are drawn for a plank on frame model but if you do not want to build every frame you can simplify hull construction by building a plank on bulkhead model. This is how it is done. It will require some drawing either by hand or if you have a drawing program the drawings can be done on a computer. I will cover both ways To begin the planning for a plank on bulkhead hull first you need a center profile piece the profile starts at the rabbit along the keel and up to the deck line. This is shown on the original drawing.

profile1.jpg

A line is drawn for the bottom of the bulkhead notches.

profile1A.jpg

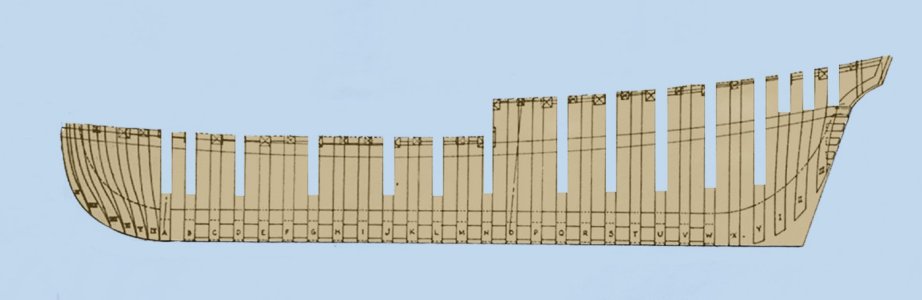
What you do is select the frames you want to convert to bulkheads. The final profile piece with the slots for the bulkheads. The more bulkheads you add the better your chances for a better hull shape but the weaker you make the profile piece by adding more slots. A balance between most kits which have bulkheads space far apart require adding filler blocks and or double planking as where thicker and more bulkheads may not need filler blocks and can be planked in a single layer of planking.

new profile1.jpg
 
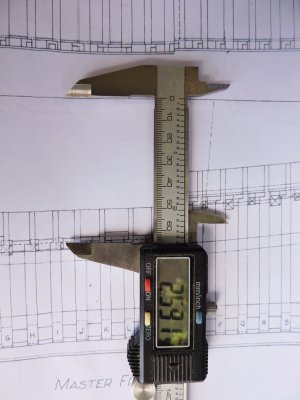
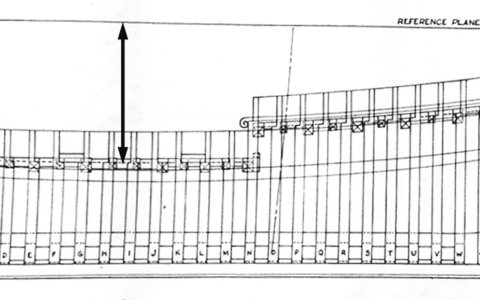
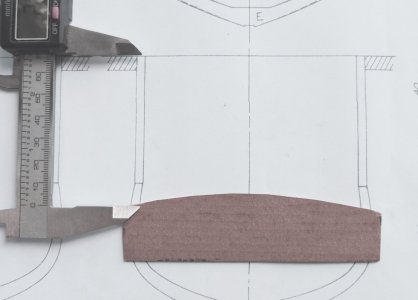
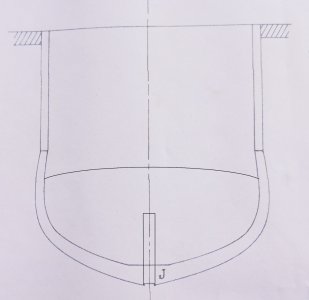
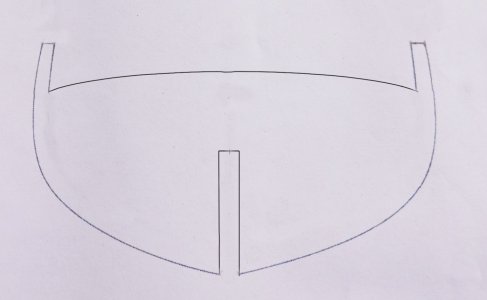
Next we are going to need bulkheads and these are made from the frame drawings. The shape is on the plans all that has to be added is the slot for the profile piece and the deck line. To start take a measurement from the reference line to the deck. The deck line drawn on the plan is the deck at the side of the hull so you will need to mark a point on both sides of the frame drawing. There isn’t a rabbit line drawn at the bottom of the frames but there is a reference line that extends all the way across the frame.

DSCN2031.JPGdeck measure.jpg

From the plans make a cardboard template of the deck beam this will be uses to draw the deck on each bulkhead.

deck beam pattern.jpg

Use the reference line and mark the location of the deck. Using the template trace the top of the deck beam on to the frame drawing. Take each frame and draw the deck.

DSCN2040.jpg

bulkhead1.jpgbulkhead 2.jpg


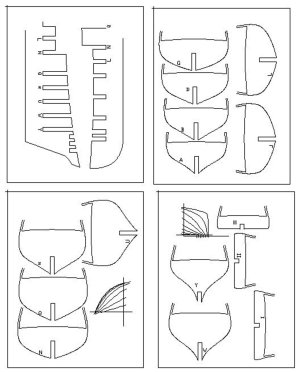
When all the bulkheads and profile pieces are drawn they will fit on an 8 ½ x 11 sheet so they can be printed on a home printer. The profile piece is a little to large so it is printed in two pieces.

Capture bulkheads.JPG
 
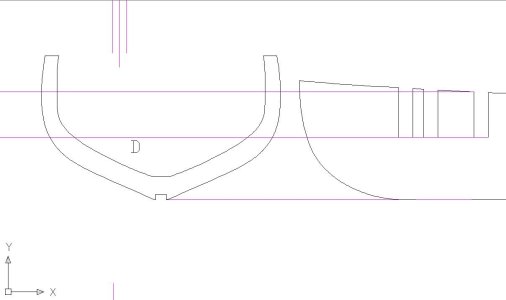
converting frame drawings to bulkheads in a drawing program line up the frame to the bottom of the profile piece and draw 2 lines one at the deck level and one at the bottom of the slot.

Capturef1.JPG

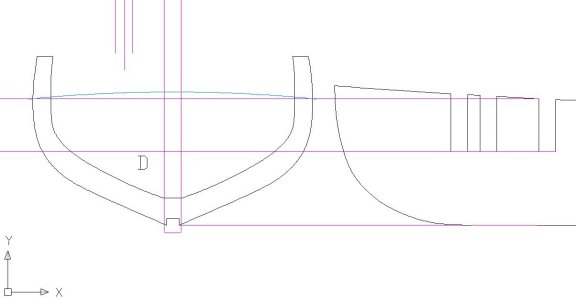
Next draw in the deck and the slot

Capturef2.JPG

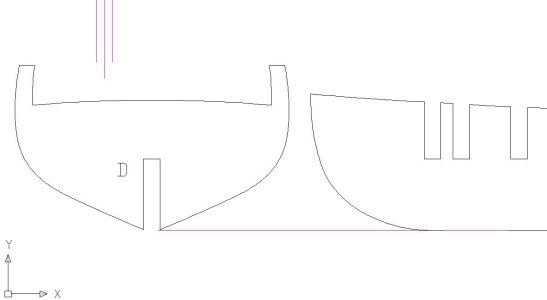
and the finished conversion from frame to bulkhead

Capturef3.JPG
 
Building the bulkhead hull

Bulkhead kits rarely come with hull lines so builders will use a block of wood at the bow and stern which may result in a misshaped bow and stern. When you have hull lines to work with you can get a more accurate shape to both the bow and stern.

The shape of the bow pieces are on the sheer drawing and the thickness is on the profile drawing.


bow pieces.jpg

Once you have the patterns trace them on to sheet stock and cut them out with a scroll saw or band saw

bow3.jpgbow2.jpg

Same at the stern the lower pieces are drawn on the sheer and the thickness is on the profile.

stern.jpg
 
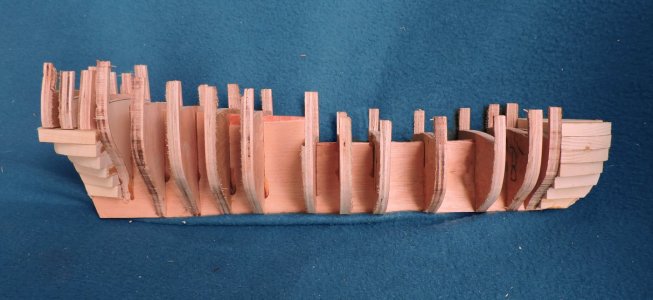
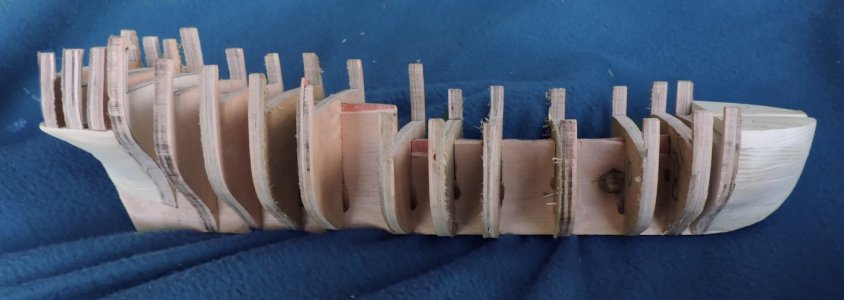
With all the pieces glued in place the hull will look like this. The next step will be shaping the bow and stern.

DSCN2186A.jpg

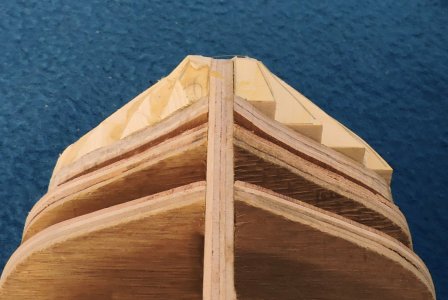
At the bow begin by sanding down the triangle section at frame A,

DSCN2207.JPG

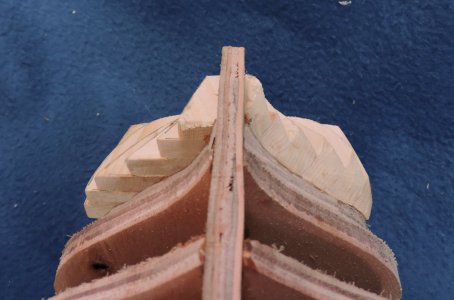
Looking from the front the lower points of the triangles are the bevel points for frame A. Once you have sanded the bow pieces even with frame A Start sanding frame A until the triangles are gone this will put in the bevel on frame A.

DSCN2215.JPGDSCN2227.JPG

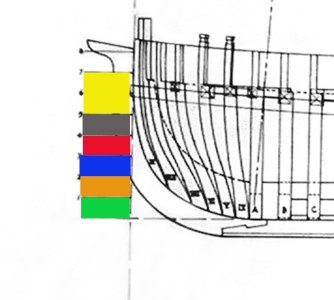
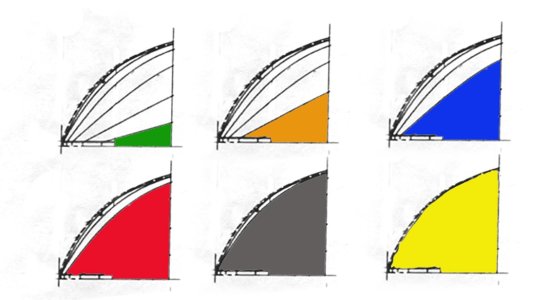
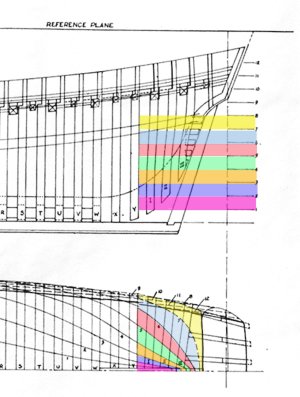
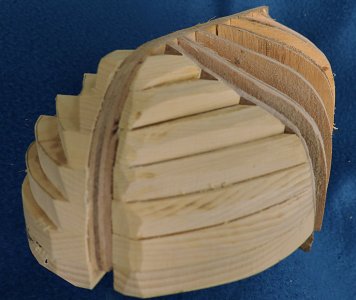
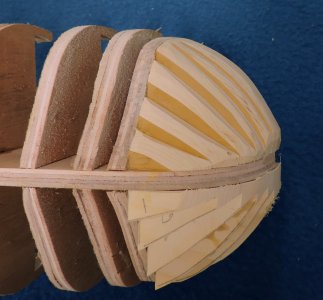
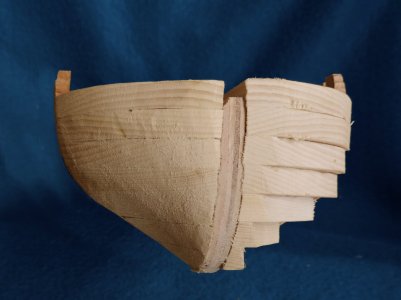
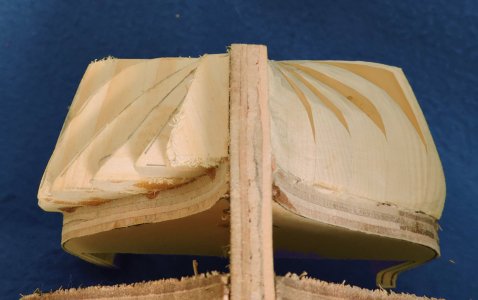
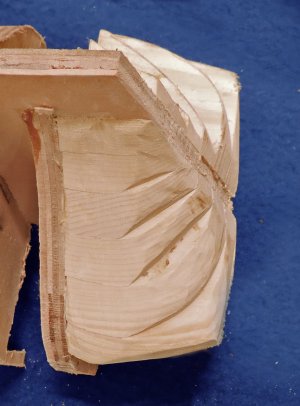
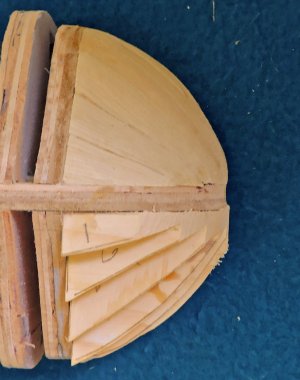
With kits you do not get pre shaped bow blocks or in most cases hull lines are not included, so you have no idea what the shape of the bow should be. You can only take a best guess. Without a proper shape to the bow it often leads to difficulty in planking. Using lifts from the hull lines you have an idea to guide the shaping of the bow.

Begin by sanding the lifts to the shape of frame A and the profile. You now have the outer shape of the bow
.

DSCN2212.JPG

By using the triangles between the lifts as a guide keep sanding until they meet. By using lefts rather than one single block the concave section of the bow begins to take form.

DSCN2236.JPGDSCN2241.JPGDSCN2247.JPG
 
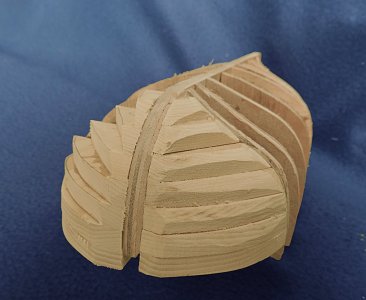
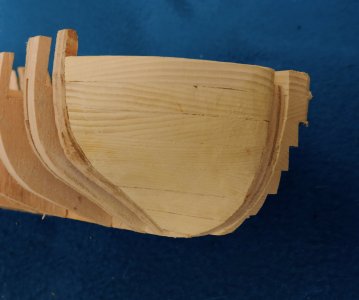
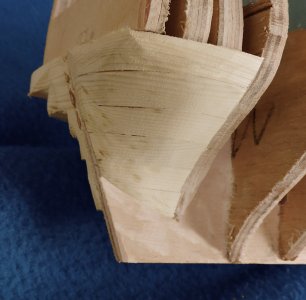
The stern is done the same as the bow starting with sanding the lifts to the shape of frame Y

DSCN2250.JPG

At the stern work the shape from frame Y to the to the back edge.

DSCN2260.JPGDSCN2262.JPG


Go as far as you can with the general shape and the last of the triangles between the lifts are sanded concave to make them go away. There is also a rising line that arcs from frame W to the stern

DSCN2281.JPGDSCN2270.JPG
 
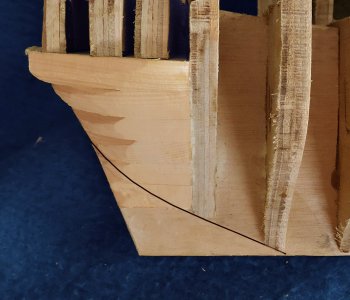
Finally the stern and bow are shaped and ready for planking.

These are a number of books, articles and forum build logs on how to plank a hull so there is no need to go in-depth on how it is done. This article is focused on designing and building a bulkhead hull from drawings. The final results are bulkheads close together at the bow then spaced further apart at the center of the hull where the hull does not take any drastic changes in shape then at the stern the bulkheads are closer together. Pre planning the structure of the bulkhead hull will make a big difference when it comes time for planking


DSCN2279.JPG
 
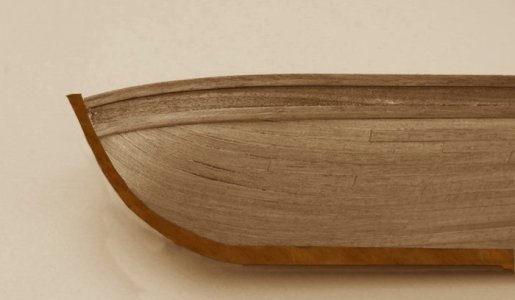
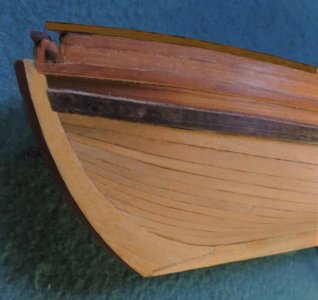
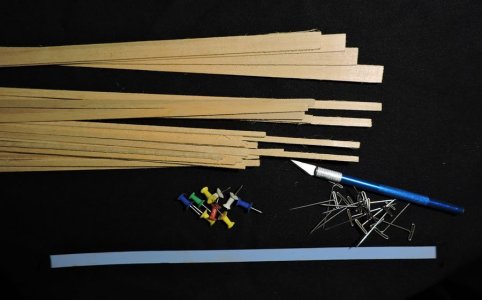
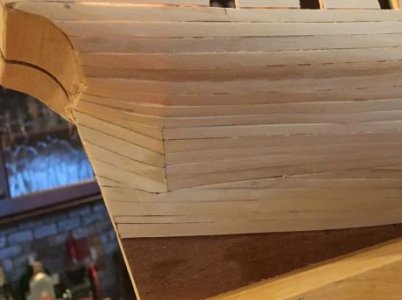
If you plan on building the Hannah you will need hull planking if you cut it yourself or buy it pre milled. Most every kit on the market supplies only one width of planking, which is to narrow to do a proper job. To plank the hull you can only tapper the planking which would result in planks coming to a point or running out of room at the stem and running the planking short of the bow and under the wale. The correct way to plank a hull is for every run of planking to end at the stem.

plankw3.jpgplankw4.jpg

Hull planking is shaped from wider material to fit the shape of the hull.

garboard plank shape.jpgplanking1.jpg

The shape of the bow and stern sections are very important for the run of the planks and not cause high or low areas. Kit makers provide a very basic hull shape and rely on the planking to form the final shape of the hull. Actually it is just the opposite it is the underlying structure that gives shape to the hull the planking is merely a covering over the hull. So to avoid low or high spots or kinks in the planking take the time to build the structure.

stern01.jpg
 
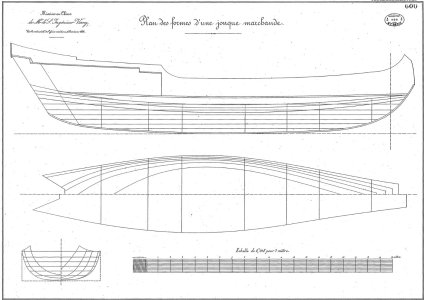
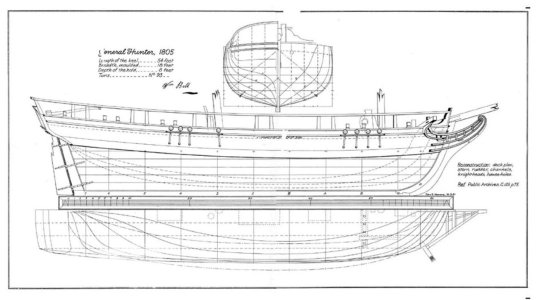
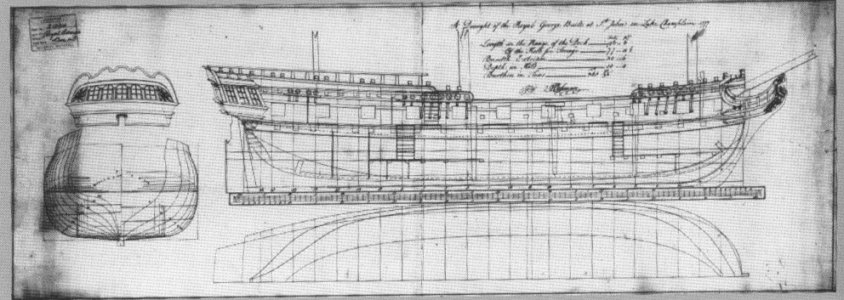
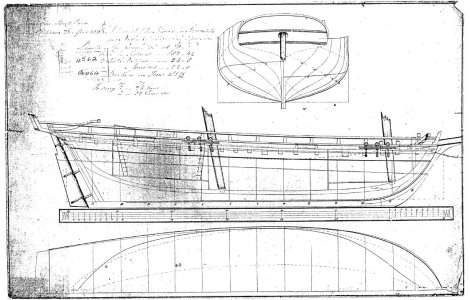
Converting hull lines to a bulkhead hull applies to any drawing that has a bodyplan and profile. So you think kit manufactures do not offer a wider selection well make your own POB hull there are a lot og down right odd subjects to select from

GM01PL0042.jpgGM01PL0048.jpgGM10.jpgGM11PL0600.jpgstevens original.jpgroyal geroge.jpgoriginal lines tecumseth.JPG
 
Getting back to the Harold Hahn upside down building method is not as straight forward as you may think there are a number of pros and cons to the system so lets take a deep dive.
 
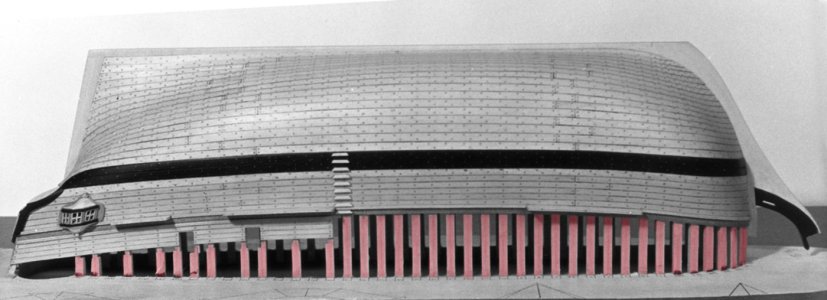
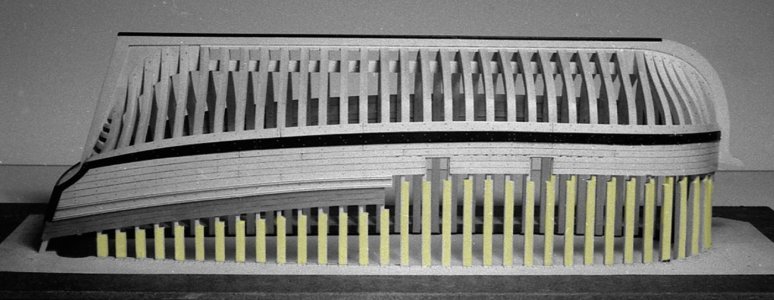
When Hahn introduced the system it was considered innovative and a great way for a first time plank on frame builder to succeed at building a plank on frame hull. Then the critics had their say on the system starting with it such a waste of wood adding extensions to the frames. When you look at the hull and how much the extended frames added it does seem quite small. Now if you are using expensive wood it will add to the cost of framing material. On the other hand if your using Cherry, Maple, or Beech the added cost is very little and as for waste i see these woods stacked as firewood or Cherry logs laying a field rotting so calling the extensions a waste of wood is a moot point.

wood use2.jpgwood use3.jpg

Then the critical finger was pointed at the use of frame blanks which produce far more waste because what you started with and what you end up with in a final frame. I was going to weigh the framing stock then weigh the finished frames to see exactly how much was used but never did.
 
Back
Top