-

SUBSCRIBE TO SHIPS IN SCALE TODAY!
The beloved Ships in Scale Magazine is back and charting a new course for 2026!
Discover new skills, new techniques, and new inspirations in every issue.
NOTE THAT OUR NEXT ISSUE WILL BE July/August 2026 -

Win a Free Custom Engraved Brass Coin!!!
As a way to introduce our brass coins to the community, we will raffle off a free coin during the month of August. Follow link ABOVE for instructions for entering.


You are using an out of date browser. It may not display this or other websites correctly.
You should upgrade or use an alternative browser.
You should upgrade or use an alternative browser.

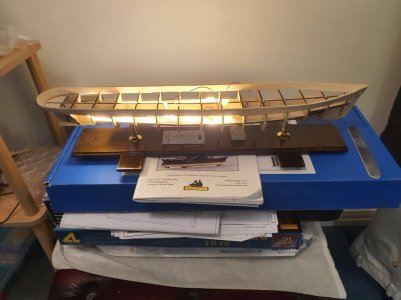
Installing the motors to drive the paddle wheels, I have found that with this kit, the axel is almost level with the deck & that is probably why the wheels in the kit are fake. I think the whole wheel set up should really be a lot lower on the hull but that is not to be at this stage. My deck will have to be modified to accomadate the axel
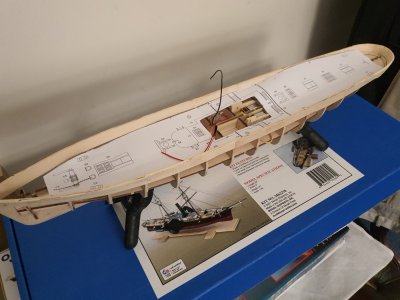
Ok, I have started planking ( Slightly behind DocTom, Where I intend to remain as his details are great & I find his info necessary for my build) DocTom had problems with the length of his planking yet my planking does not seem to have that problem. DocTom please continue with your detail during the planking as you you seem to be the only builder who proves this info. Nothing glued as yet - I will let the planks dry, check & glue
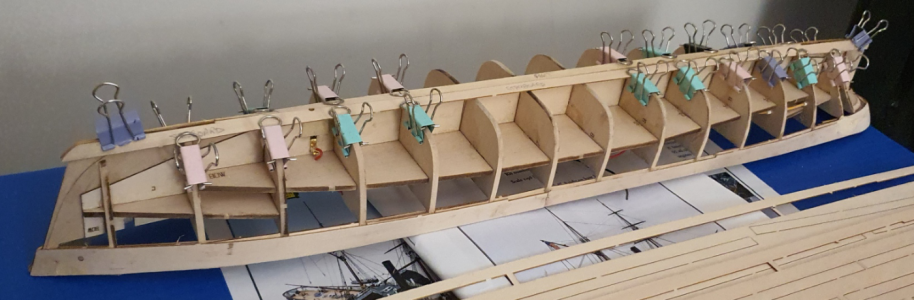
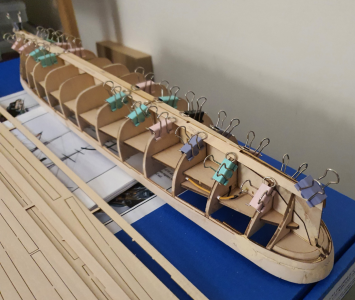

Take a look at my build log before you glue the next strake. There are a couple of easily correctable issues that someone else pointed out to me.
Tom
Tom
Well I have completed the first 5 levels of planking (sheets 14 & 15). My skill at woodwork is not great so I rely quite a lot on filler which is a fairly long process to acheive good results. The hull will be painted so the actual planks will not be seen (I hope). so I do not feel guilty about this. My two previouse boats were double planked & I think this provides a better result
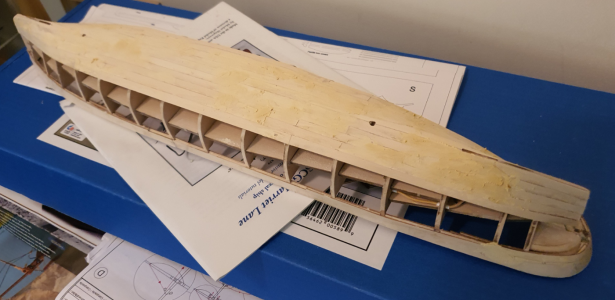
Looks good! Did you have the issue with the uneven port and starboard planks? I think filling as you go along is a great idea. I will try it, instead of waiting until I'm done with all the planking.
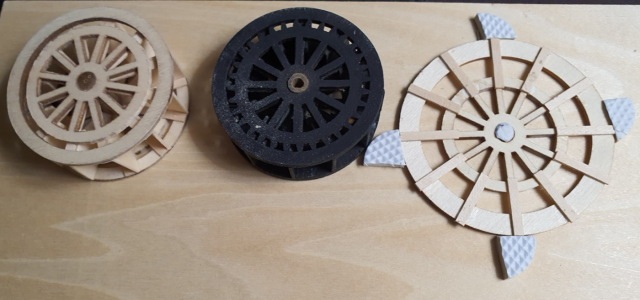
I am now making my third set of paddle wheels, From left to right - First set was too wide and there was just no way I could fit this width in the wheel cover, - second set was narrower and had no problem but looked too small.(a bit silly really) - last set was a lot bigger (Dimensionlaly) & I have checked that they will fit in the cover. they are slightly narrower than the fake wheel.
As to the planking, no real problems yet but I have only done 5 rows each side at this point of time. I was worried abt my bedding & fitting of the planks but first appearance is that the filler will cover my mistakes
As to the planking, no real problems yet but I have only done 5 rows each side at this point of time. I was worried abt my bedding & fitting of the planks but first appearance is that the filler will cover my mistakes
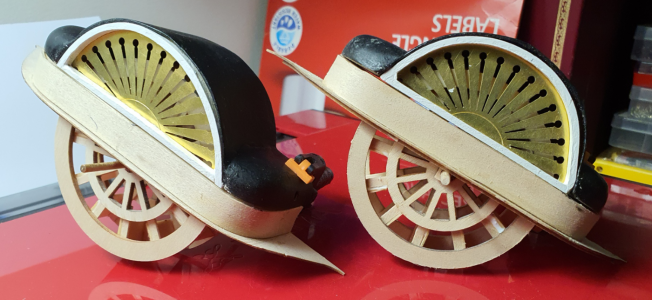
I have completed the new paddle wheels, they are as large as I can make them and still fit inside the covers (pontoons?) Still to be painted but that can wait for a while. back to the hull and lets see if I have the same problems as others (DocTom) and if I do, then they have already provided a solution
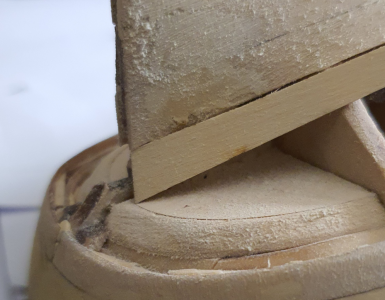
I think different production runs of Model Shipways kits can have differences in the laser cutting. When I built their Lobster Smack the bulkheads all seemed too big. They sent me a new set, and indeed the new ones were all 2mm shorter than the original ones. There are also differences in how we each fair the hull, but I don’t think that explains why my 6 plank was 4mm short of the knuckle. I’m hoping this is the last hull I plank with preformed planks.
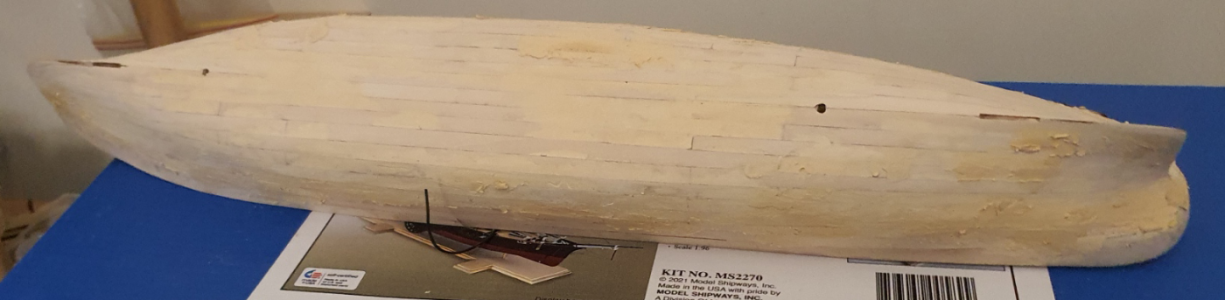
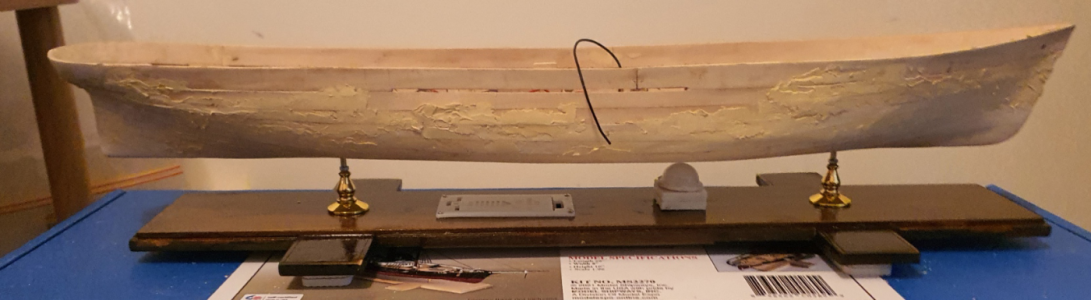
Whilst I am waiting for the filler to dry (you know fill,sand,fill, sand etc etc) I have decided that I do not really like the lifeboats that come with the kit. very simplistic!!
So I have bought some cheap chinese ones & I am trying them. They are small (right size) so we will se how we go
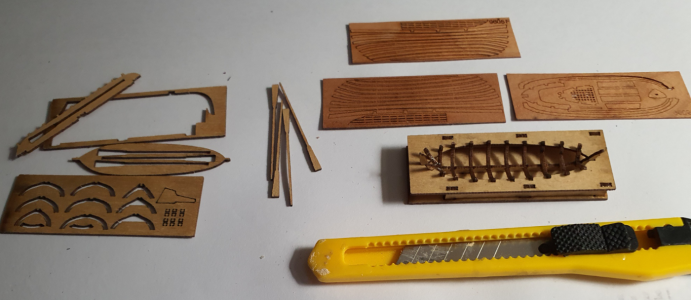
So I have bought some cheap chinese ones & I am trying them. They are small (right size) so we will se how we go
Your hull looks about the same as mine, so don’t sell yourself short. I hope to start filling today. Did you find the lifeboat kits on Amazon?Running quite away behind DocTom & I am relying on filler rather than expertise, DocTom's work is impressive & I have given up trying to match it, However I am hopping filler can cover a lot of errors
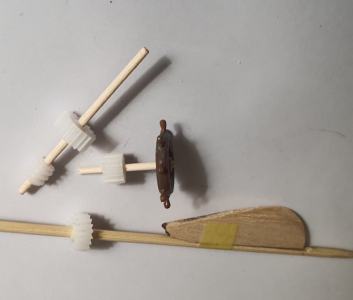
commenced the rudder as well. I want the wheel to actually conrol the rudder so I am planing a cog system such that the ships wheel actually works
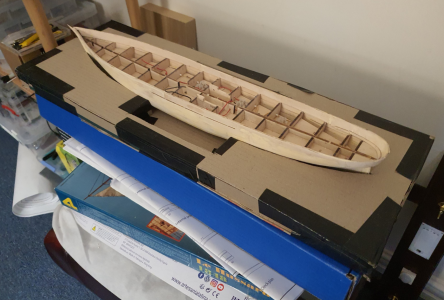
Having real trouble with the lifeboat I chose. I hink it is too small and parts are too fragile (for my competance anyway). Might have to abandon this kit and look for something somewhat bigger
Having real trouble with the lifeboat I chose. I hink it is too small and parts are too fragile (for my competance anyway). Might have to abandon this kit and look for something somewhat bigger
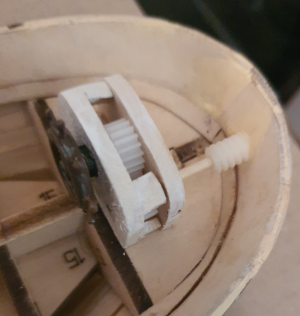
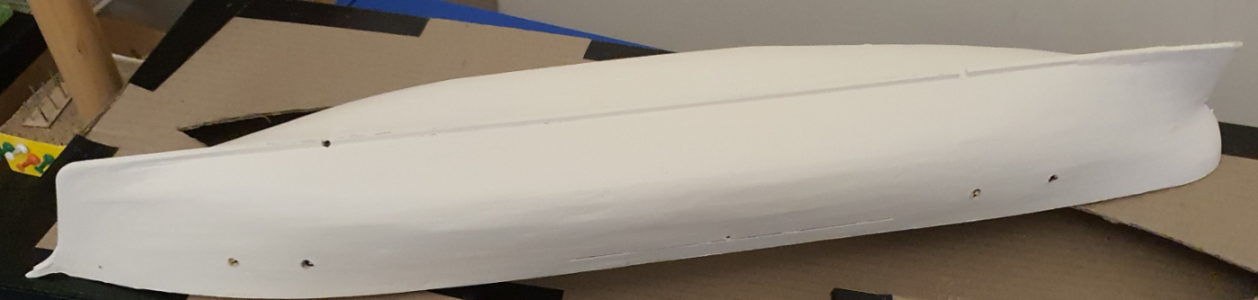
Well, I have filled, sanded,filled, sanded etc etc and I think this is as good as it is going to get. but still disapointing. this model really needed a second planking but that decision is beyond me now so I will have to go with what I have got. Others who spent more time on the planking will no doubt have a better result.