• Ships of Scale has incorportated an extra level of security when you log In. Please follow on-screen prompts to acknowledge that you are not a robot via a "Check Box" or a "Pictorial Check Box Puzzle". This is needed due to higher level of AI Activity Security.
  • SUBSCRIBE TO SHIPS IN SCALE TODAY!

    The beloved Ships in Scale Magazine is back and charting a new course for 2026!
    Discover new skills, new techniques, and new inspirations in every issue.

    NOTE THAT OUR NEXT ISSUE WILL BE July/August 2026
  • Win a Free Custom Engraved Brass Coin!!!
    As a way to introduce our brass coins to the community, we will raffle off a free coin during the month of August. Follow link ABOVE for instructions for entering.

Harriet Lane - Model Shipways by Omega

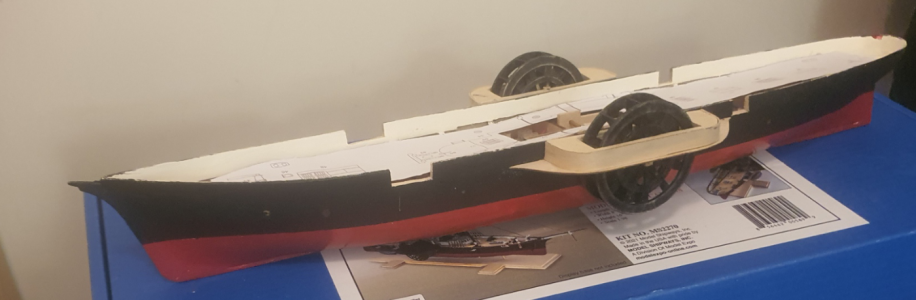
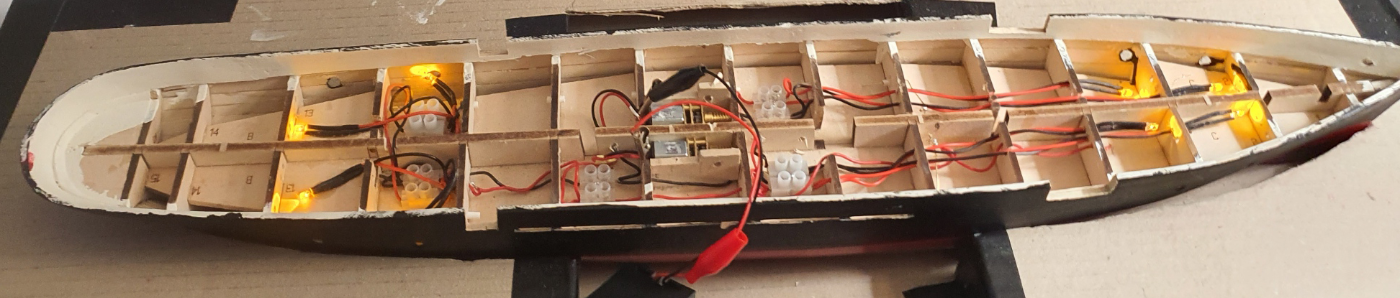
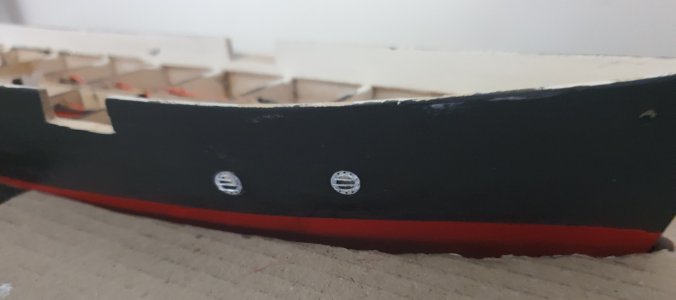
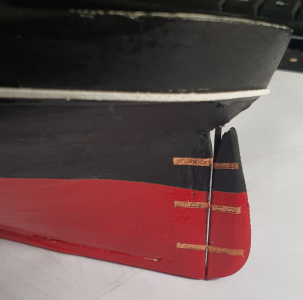
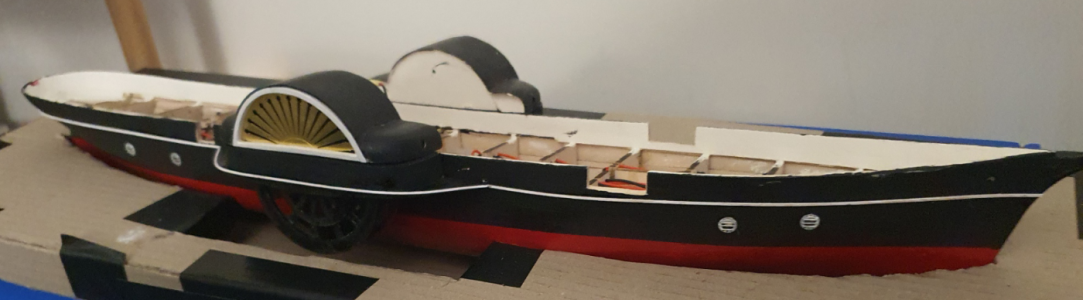
Well my first attempt at painting (this is one of my major weaknesses, which despite my effords, I seem to be unable to improve) I have also opened two gun ports each side and although more are shown on the kit, I think this is all I will Provide, The first photo is without lights & the second is with lights (to check if they work) & they seem to function as designed
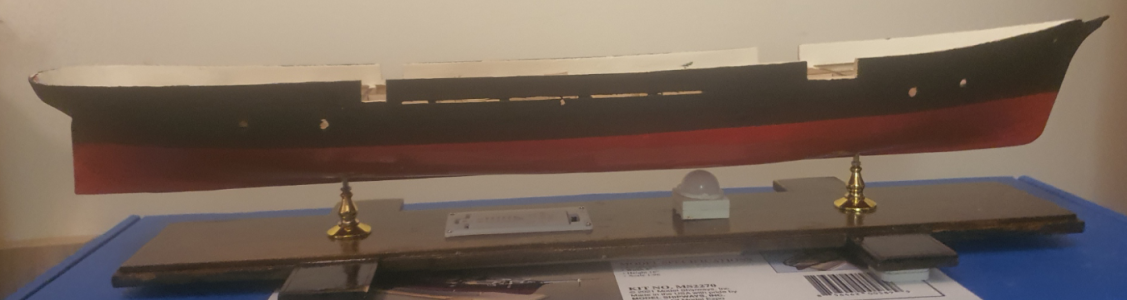
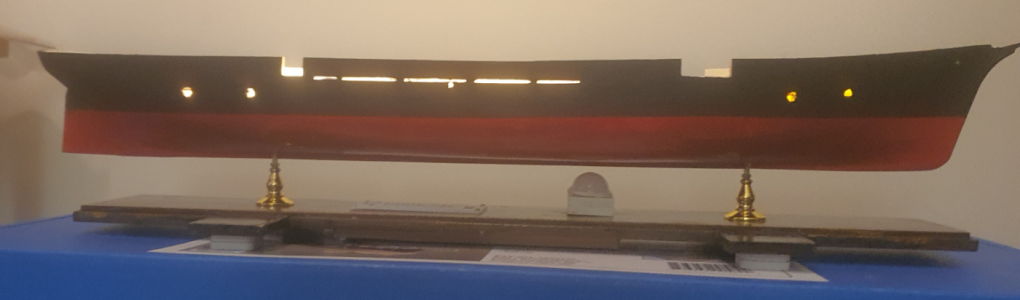
HL33.png

HL34.png
 
I attached the paddle wheel just to be happy with the fitting, With some adjustment they fit. problem is that the axel is about 1.5mm above the deck so I will have to make some adjustments to the deck at the region of the axels. I hope there is enough power too drive these wheels

HL35.png
 
Well I decided to remove my Neon type LEDS as they were taking too much power, As I have chosen to use 3V system they are just too much. I will replace them with individual LEDs (Flashing). On hind site I should have upped my voltage ???
 
OK I have replaced the Neon LEDs with individual LEDs and I now have sufficient power to rum the paddle motors

HL36.png
 
Well I was adjusting & fixing the drive motors but unfortunately I used too much super glue, & guess what the motors no longer work. Lesson learned - be very careful how you use super glue. Ordered 2 new motors (less than $AU20.00) so time is the major embarassment here. There are plenty of other jobs that can be done in the meantime
 
I have started installing the portholes, I used "glue n Glaze" to put glass in the portholes

HL37.png
 
I occasionaly try a fitting of parts to make sure everything fits, nothing glued yet. Also started on some of the deck fitting, These are fiddly & I am not good at this

HL40.png

HL41.png
 
Last edited:
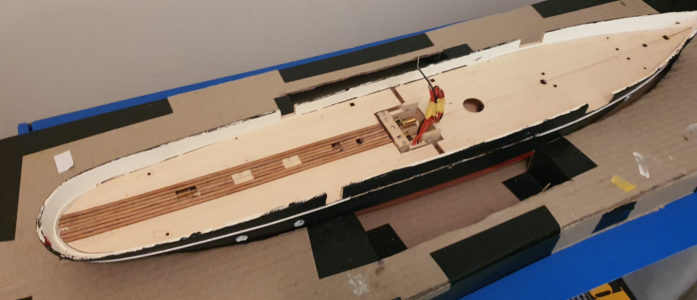
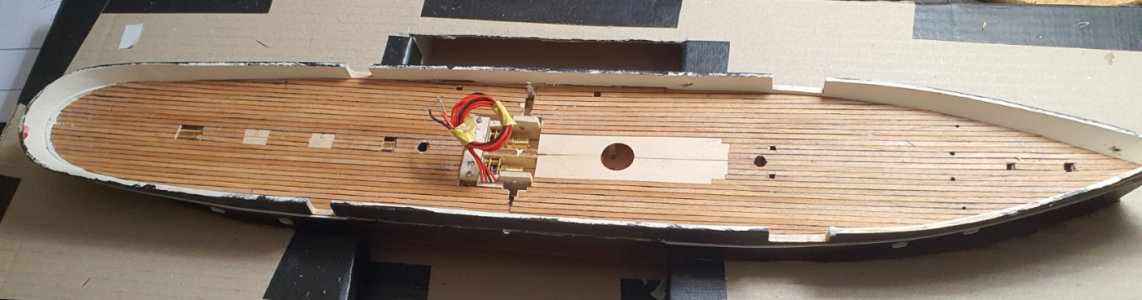
Well I got my replacement motors & they are installed so now I have been able to install the decking & start the deck planking, Checked the electrics & the lights and Motors work. I am installing a switch so the motors can be turned on/off seperately, Otherwise the electrics turn on when a person is close and off 30 secs after that person leaves (abt 5 meters). The wood in this kit is very thin and the lights shine through it. I am hoping the deck planking will stop this

HL42.png
 
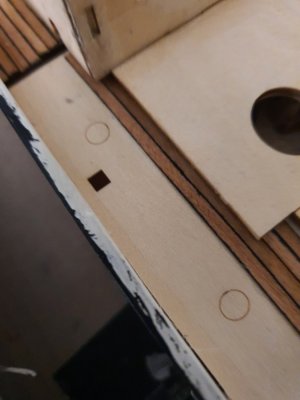
Here is someting that has me confused, What is the purpose of the circles shown on the deck. They are not cut out just marked & I can find no reference to them in the instructions.
Should I plank over them????
HL43.jpg
 
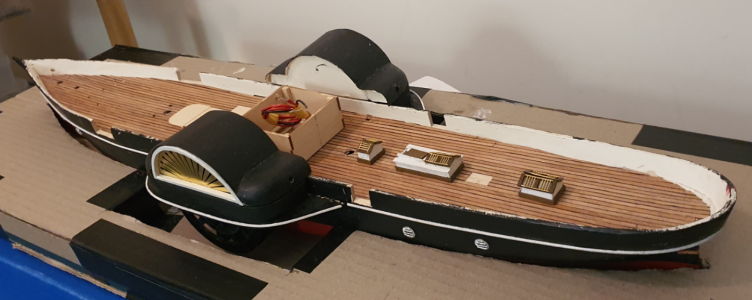
Well I decided to ignore these circles and complete the deck planking, I am hoping that no one comes to tell me I have done something very stupid. the planking still need to be sanded, marked and varnished. As I used 3mm planking, I dont think nails can be marked just plank ends

HL44.png

HL45.png
 
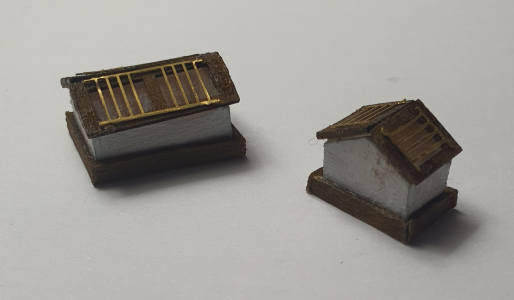
My kit had PE brass covers that I assume were to simulate covers for fuel, with your planking it shouldn't be a issue just to attach those covers to the location that was marked on the deck providing you remembered where they were. I used brass blacking to diminish to the brass.
 
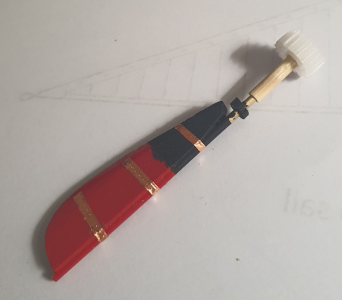
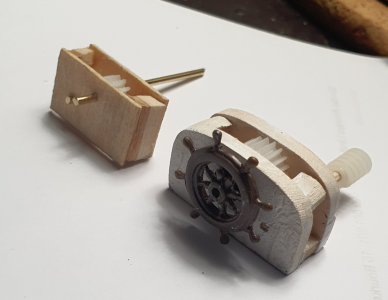
I was quite happy with my steering mechanism, It worked very well -but - It was just too big! I had no choice but to minimise where possible so this is what I now have. By the way I have found the coal chute cover amongst the Brass

HL46.png
 
Looking good, glad you found the covers. My kit was shorted the Eagle bow decoration and the steering wheel. Looking forward to seeing how your customizing turns out.
 
Yes, I also had several missing white metal parts, which Model Expo sent me. In today's mail should be some of the small eyebolts as I was short by my count. I also did not have nearly enough of the 0.2 and 0.4 mm dark brown rigging ropes. Since the instructions did not give any definite sizes for the eyebolts and rigging ropes, I made my best estimate as to what they should be. In my build log of the Harriet Lane, I have posted tables I made for the eyebolts, blocks and rigging ropes as to what size I was using in each step of the instructions in case it might help a builder of the kit after me.
 
I agree the instructions were lacking is those points you mentioned, I was somewhat surprised by the lack of detail in the plans coming from Model Shipways. I used my best judgement for eyebolt size, lines, and blocks based on the scale and what fit my eye.
 
Back
Top