Harvey (Artesania Latina Kit circa 1990's)

Joined
Jul 10, 2020
Messages
29
Points
68

Location
Cheltenham, England, UK
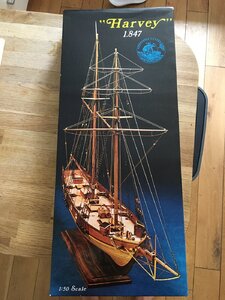
Well first time for everything they say and that is certainly the case here. My uncle has built models for many years which have been the subject of some discussion and I finally decided to build my own. I recently picked up the AL Harvey 1847 kit on Ebay and it has essentially been left unopened for over 30 years. It is the single plank on bulkhead version of the kit. Plan is to keep adding entries as I go as others have done and my thanks already to all of the "Harvey" types out there whose logs I have been reading over the last few weeks (not to mention the rest of them as I absorb the huge amount of information needed to build one of these properly!) Looking forward to it...
 
Last edited:
Assemble and Loose Fit
9/7 1 Hour
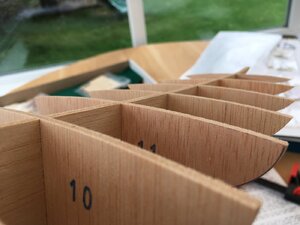
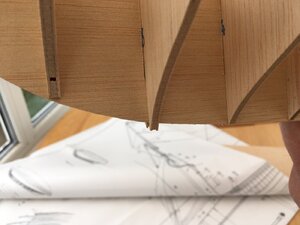
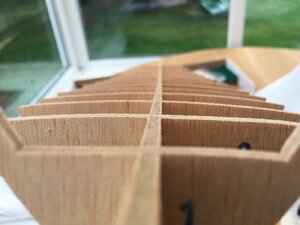
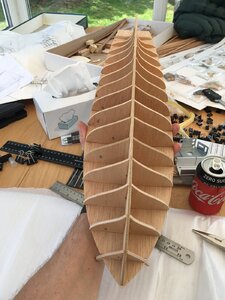
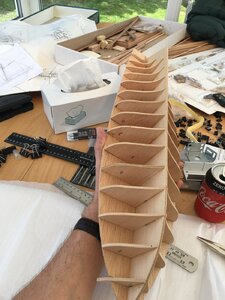
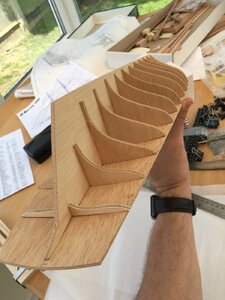
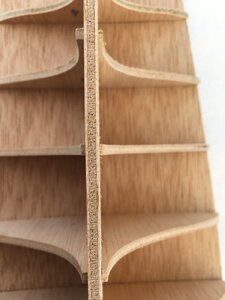
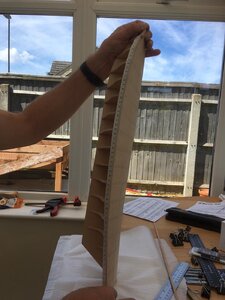
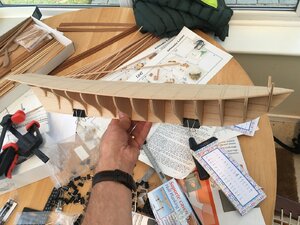
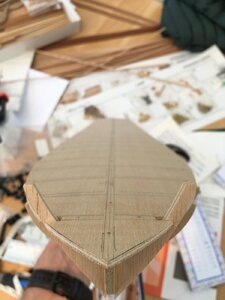
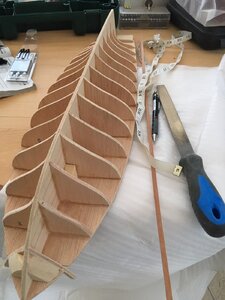
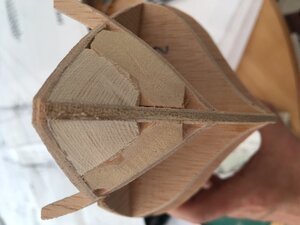
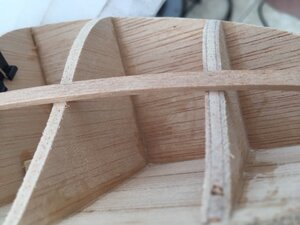
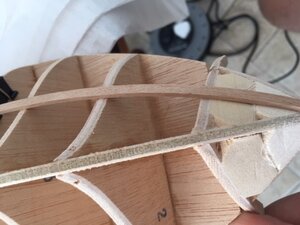
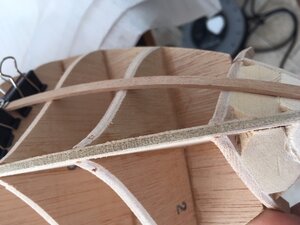
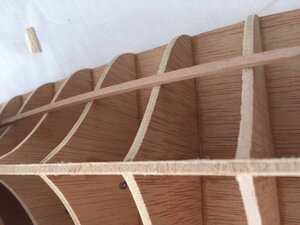
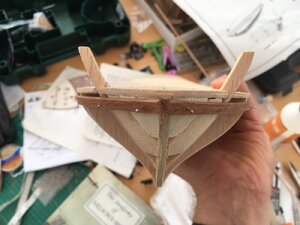
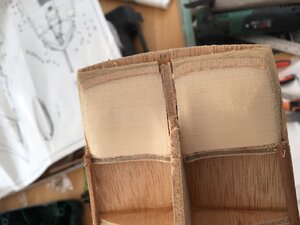
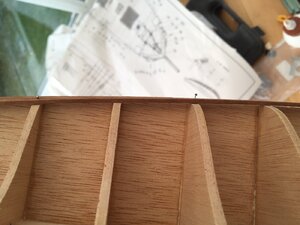
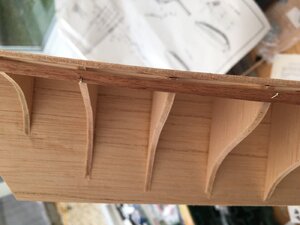
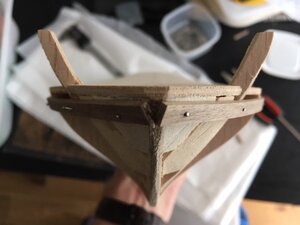
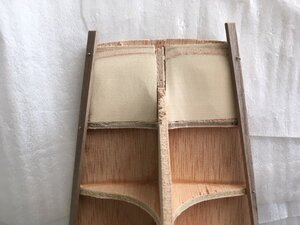
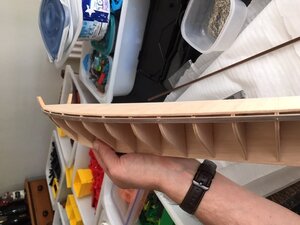
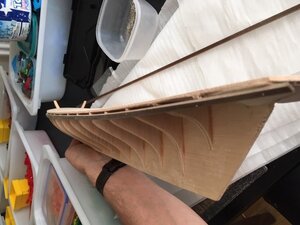
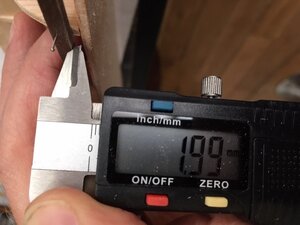
Unpacked and assembled "keel" and bulkheads to achieve a flush fit. Spent time filing to ensure the top of the bulkheads was level with the keel in all but a single bulkhead (Number 3) where the line just didn't seem to lie right when inserted. I laid that down on the other bulkheads to ensure the line was true and then shimmed the bulkhead higher and took 1.5mm off the top to bring it in line with the top of the keel. Took the curve of the top off the No 4 bulkhead. Seems to fit much better now.2020-07-07 @ 11-02-12 - 001.jpg2020-07-09 @ 18-52-10 - 001.jpg2020-07-09 @ 18-52-16 - 001.jpg2020-07-09 @ 18-52-24 - 001.jpg
 
Glueing Keel to Bulkheads
11/7 1 Hour
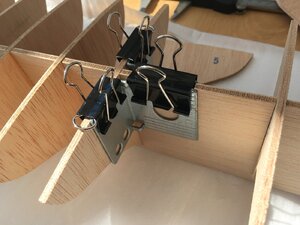
Realised just how sparse the original plans were and so spent a short time downloading the later plans for the double planked version from one of the other forums and reviewing how they recommend assemble in the initial stages. Unlikely to be too different in my opinion. Then carefully glued the bulkheads to the keel using square brackets and ensuring sufficient drying time between stages.2020-07-11 @ 16-37-30 - 001.jpg
 
Assembling the False deck to the keel and bulkheads
12/7 3 Hours
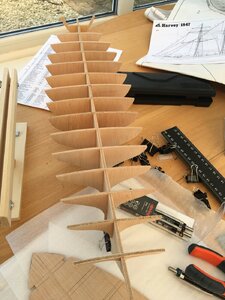
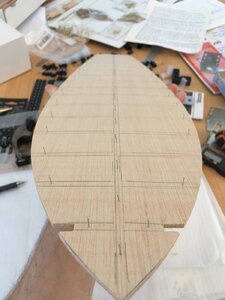
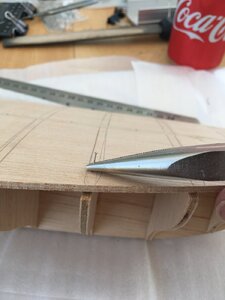
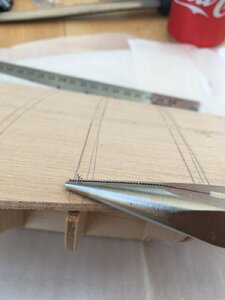
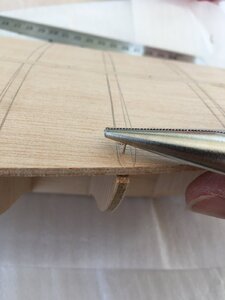
This was not particularly easy - but became simpler once I worked out you don't need to hammer the pins! Measured and marked the false deck on the inverse as advised in the plans. Then measured again just to be sure using a rule and was glad I did - it is wood after all! Pinned the centre line using a hammer and really struggled. Then I taped around the outside of the false deck and under the keel pulling taught to pull the edges of the deck down to meet the bulkheads and create the camber on the deck. This worked reasonably well and enabled me to pin the deck to the bulkhead frames. The issue was the hammering of the pins. Holding the frame and attempting to hammer the pins in was a nightmare and one can't push onto anything near the end of the bulkheads. In the end I realised that simply pushing the pins in with needle nose pliers worked perfectly with much more control, no need for a hammer and no bent pins! Wish I'd known that in advance. Pinned the centre bulkheads first on both sides and then alternated towards the prow and stern. When fully assembled and pinned I measured each bulkhead from the prow using a cloth tape and ensured that each one was within 1mm of the opposite side. A few needed adjusting but it was a simple case of pulling the pin, moving the bulkhead and re-inserting the pin. When fully aligned I clamped the side of the deck to the bottom of the keel on both sides and removed the tape. I then glued all of the joints and allowed it to dry for 24 hours. I found it interesting just how "far out" the dimensions are on some of the bulkheads and just how much material will need to be removed in the fairing process to ensure things align properly!2020-07-12 @ 10-13-31 - 001.jpg2020-07-12 @ 10-25-48 - 001.jpg2020-07-12 @ 11-23-26 - 001.jpg2020-07-12 @ 11-23-45 - 001.jpg2020-07-12 @ 11-24-12 - 001.jpg2020-07-12 @ 11-25-50 - 001.jpg2020-07-12 @ 11-25-55 - 001.jpg2020-07-12 @ 11-26-06 - 001.jpg2020-07-12 @ 11-26-57 - 001.jpg2020-07-12 @ 12-02-26 - 001.jpg2020-07-12 @ 13-17-31 - 001.jpg2020-07-12 @ 13-17-41 - 001.jpg
 
Last edited:
Fairing the Hull
13/7 3 Hours
Just spent today with a file and some sandpaper working on fairing. Taking a long time to get not much done but concerned about taking too much / not enough off. Keep using a plank to check but incredible how "springy" they are and how long it takes to get them to sit flat. Anyway done about a quarter now in my opinion.2020-07-13 @ 20-23-29 - 001.jpg
 
OK, so this kit wasn't designed as double plank hull, but that doesn't mean you can't build as double plank.

Build kit as show, doing best plank as possible, and then when done with sanding and filling you can add a thin venire plank layer for final planking. Will give better results and you will learn double plank method.
 
Hi Stu. I like your approach. You spend a lot of time in preparing things which will be well worth your while later on. So far, things look super neat which I always appreciate. A word about the planking (and I will probably come in for some severe criticism here), but to the best of my knowledge, real ships were NOT double planked. To me nothing beats the satisfaction and excitement of planking brought about by the finality when doing a single-planked hull. That "filling" part when doing a double-planked hull goes against my grain. And contrary to what Kurt said., there is no reason why you can't achieve just as beautiful an effect with a single-planked hull. Just my two cents ...
 
Hi Stu. I like your approach. You spend a lot of time in preparing things which will be well worth your while later on. So far, things look super neat which I always appreciate. A word about the planking (and I will probably come in for some severe criticism here), but to the best of my knowledge, real ships were NOT double planked. To me nothing beats the satisfaction and excitement of planking brought about by the finality when doing a single-planked hull. That "filling" part when doing a double-planked hull goes against my grain. And contrary to what Kurt said., there is no reason why you can't achieve just as beautiful an effect with a single-planked hull. Just my two cents ...

I can see I've opened up a can of worms here...:) Thanks both! I'm not sure really what I would like to do. Kurt I hadn't really considered what you suggested and it makes such logical sense - not to be held back by the kit. At the same time Heinrich, I understand the perspective of wanting to get it looking good without the filler. I guess we'll have to wait and see what happens as I give it a go. If it comes out perfect I will leave it at single. If not then I may cover up my newbie mistakes and learn a new skill in the process!

Probably to annoy both of you, I am planning on painting her in the black and white of circa 1812 and not leaving her to her original wood effect. I will also probably copper the hull as this would have been normal too as I understand it. Going to make a few adjustments to the deck fittings too as they don't seem to be quite right and I know a lot of others have dispensed with things or moved them on Harvey.

If you don't mind I do have a question on planking which I can't find covered elsewhere. The planks I have are long enough to cover prow to sterns in most areas but not on the waterline. At this point they reach only to the last bulkhead leaving a 50mm gap. Clearly I need two lengths at least so the question is where should I split the planks to create the best effect? Midships / on the quarter? The bow? Where possible I will use single lengths, this is just where I can't. Appreciate the help. Back to fairing then!
 
Hi Stu. Nothing wrong with painting or coppering if that is per the real ship. On my Batavia/Haarlem I will also paint below the waterline. The inadequate length planks is an irritation. I have no issue if shorter lengths are used throughout the planking process for the sake of a scale appearance but it might look odd to have full lengths otherwise and then one or two planks which are joined. I would see where the planks would have to be reduced in width (towards the bow area) and make the joint in that vicinity. I wouldn't make the joint midships as that is a natural focal point for the eye. Also, when making the joint, you can always make that a feature (like a scarph joint) or try to keep it as unobtrusive as possible (butt joint).
 
More Fairing!
16/7 7 hours over 4 days

I've spent most of this week working on the bulkheads and ensuring the planks are going to sit flat. Amazing just how long it takes. Anyway I think I'm there. I've glued the filling blocks into the bow and stern and the mast supports are glued in as well. Had to add some extra into the bow as I think I oriented the blocks the wrong way and I was left with a gap, where I am going to need to pin some planks, so added a second block and then sanded it down. Done the same on the stern but haven't finished sanding that yet. Next step would be to start planking and I wanted to get some thoughts if possible.

The kit clearly says to align the first plank with the curving false deck - 2mm below the level of the deck as this is what the bulwark will need to rest on. They also say to leave the first plank at its full width. Any thoughts? That makes sense to me but wanted to check. They say to plane the balance of the planks down 1mm from the 3rd bulkhead forward and that aligns to my measurements so I will do that. As the gunports are set into the bulwark this aligns with the single deck planking instructions I've read elsewhere and the advice I've taken so seems right.

Wanted some other thoughts too if possible. They recommend full planking the hull, and the deck, before drilling the 10mm hole for the masts. This doesn't make sense to me as it will be far easier to get this drilling accurate (and to repair any issues) if the hull is unplanked surely? Is there a reason why I can't drill now? I've measured to the drawings and the positions line up with the supports on the keel.

Third question! They recommend that I plank the bulwards vertically on the inboard side with the walnut veneer and then horizontally on the outboard side. Seems strange to me as there are stanchions anyway, as separate fittings, and why would the inboard bulward be planked vertically? Is that right?

Any advice welcomed! Thanks :)

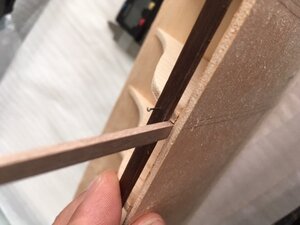
2020-07-16 @ 19-13-46 - 001.jpg2020-07-16 @ 19-13-57 - 001.jpg2020-07-16 @ 19-14-05 - 001.jpg2020-07-16 @ 19-14-15 - 001.jpg2020-07-16 @ 19-14-24 - 001.jpg
 
Your test with the strip is showing, that you are on a good way - seems to be well prepared for the planking
 
First plank on to shape it!
17/7 2 hours

Your test with the strip is showing, that you are on a good way - seems to be well prepared for the planking

Thanks Uwek! All being well, its had enough fairing. Couldn't find any bits that were out. Had a bit of time this evening so finished shaping the stern filling blocks and then soaked and pinned my first two planks so that they can take up the shape before gluing them tomorrow evening. 2020-07-17 @ 20-20-47 - 001.jpg2020-07-17 @ 20-20-58 - 001.jpg2020-07-17 @ 20-21-07 - 001.jpg2020-07-17 @ 20-21-19 - 001.jpg2020-07-17 @ 20-21-28 - 001.jpg
 
First plank on to shape it!
17/7 2 hours


Thanks Uwek! All being well, its had enough fairing. Couldn't find any bits that were out. Had a bit of time this evening so finished shaping the stern filling blocks and then soaked and pinned my first two planks so that they can take up the shape before gluing them tomorrow evening. View attachment 165185View attachment 165186View attachment 165187View attachment 165188View attachment 165189
Hi Stu
beautiful job, good luck on shipbuilding
 
Redid the first planks!
24/7 2 Hours

I thought about what everyone had said around putting joints in to extend the planking and ended up just buying longer planks! So I've waited a bit this week - patience is a good thing right?

Anyway the new planks arrived and I've now redone the first two planks, mounted them and glued them in place.

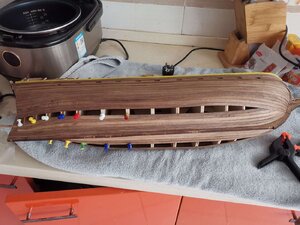
2020-07-24 @ 10-11-09 - 001.jpg2020-07-24 @ 10-11-26 - 001.jpg

At least they run the full length now and make it all the way over the counter meaning there is no further need for any jointing. Means I'll have a lot of spare wood at the end but I'm sure I'll find a use for it ;)

2020-07-24 @ 10-11-32 - 001.jpg2020-07-24 @ 10-11-43 - 001.jpg

I measured to ensure I had a 2mm gap below the deck level as that is what the plan calls for. The bulwark "sits" on that first plank.

2020-07-24 @ 10-11-52 - 001.jpg

And I then left the plank to dry in place to take on the shape of the hull. Took it off last night and glued it into place before re-pinning it to hold it.

2020-07-24 @ 10-12-04 - 001.jpg

I used a length of 2 x 5mm to get the correct gap between the top of the plank and the bottom of the false deck. Worked pretty well. At least I've had some use for that old planking so far!

2020-07-24 @ 10-12-11 - 001.jpg

Today is about fitting the next plank. I've done the measurements on each bulkhead forward of 7 and the distance from false deck to keel is the same till bulkhead 4 at which point it starts to drop slowly at first and then rapidly. I've plotted this out from 4 to the keel at the prow and the drop is from 5mm to 1.3mm per plank as the plank meets the keel. Conscious I'm not supposed to drop the width below half of the plank so I've decided to trim them down from 5 to 2.5mm. Assume that's ok? It will mean the planks at the bow started to crowd a little but I guess I will just end them off lower down?

The plan says to drop from 5 to 4mm but that would mean I would only have space for 10 planks up forward whereas there are 21 midships.

Thoughts from anyone?
 
Hi Stu. I see that you put your pins through the planks. On a double planked hull that is OK for the first layer, but if it is going to be single-planked hull, I wouldn't do that. The holes that the pins leave - however small they are - will make the effect less than perfect. Rather get yourself some pushpins which you push in just above or below the plank into the bulkhead so that the head of the push pin pushes the plank tight against the respective bulkheads.

Build 348.jpg
 
More planking!
30/7 3 Hours through the week

Hi Stu. I see that you put your pins through the planks. On a double planked hull that is OK for the first layer, but if it is going to be single-planked hull, I wouldn't do that. The holes that the pins leave - however small they are - will make the effect less than perfect. Rather get yourself some pushpins which you push in just above or below the plank into the bulkhead so that the head of the push pin pushes the plank tight against the respective bulkheads.

Thanks Heinrich! I've taken your advice and stopped pinning through the planks. I've done a combo of clamps and then the pins as you recommended. Found the pins a little thick for the bulkheads so I've ground away a bit on the bench grinder.
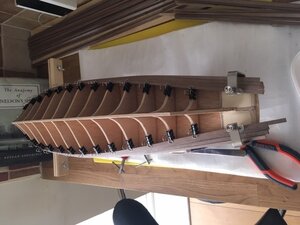
2020-07-30 @ 17-17-39 - 001.jpg

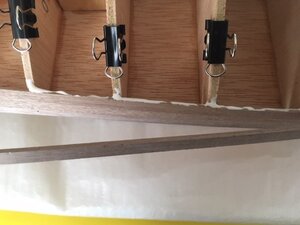
I've made up the clamps from bulldog clips as I've seen elsewhere and the small ones are strong enough to hold the planks in place while they take shape. I'm soaking and then clamping, allowing to dry and then gluing.
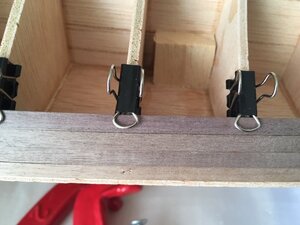
2020-07-30 @ 17-17-30 - 001.jpg

This shows how they are aligning now and obviously without the hole damage from the pins causing any issues which is positive. Of course I'm going to paint in the long run anyway but worth putting the effort in to make sure it looks nice before I cover it up with paint ;)

2020-07-30 @ 17-17-49 - 001.jpg

I'm gluing along each bulkhead and the full length of the planks. Just taking a very small amount off the plank I'm fitting on the deck side to ensure there is a bevel and try to get them to fit snugly. Seems to be working amidships and towards the stern just fine.

Not quite as neat at the bow!
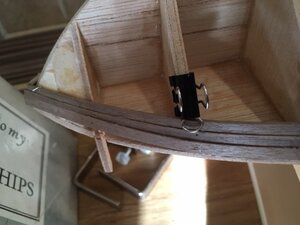
2020-07-30 @ 17-17-20 - 001.jpg

This has been a challenge just as I'm cutting down from 5 to 2.5mm across 5 bulkheads and then bending them to shape. There are some areas where the planks sit slightly proud and others where my cuts have clearly not been perfect and I have a small 0.5mm gap.

I've been told that this will be less of an issue when I sand it flat?

Has that been your experience?

Anybody got any hints on how I could do it differently or anything I need to think about?

Always happy to take advice :)
 
Hi Stu. I am glad you went for the pins and clamps - that is MUCH better! Thumbsup You say that you have tapered the planks across 5 bulkheads - to me that seems too big a distance. I have only tapered across the two bulkheads closest to the stern. The shorter distance means greater accuracy when lining up the planks - BUT - your hull shape may dictate that you do it across more bulkheads - so that is a difficult one to call. When sanding, make sure that you keep all the sawdust. when done, mix the sawdust with some diluted white glue into a paste and then smear into the gaps. When dry, you then give it a final sanding. This is advice I have seen on the forums that seems to be the norm - luckily I have not had to do that.
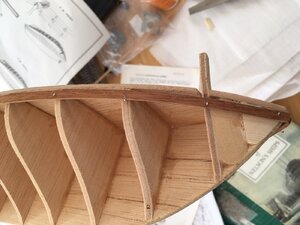
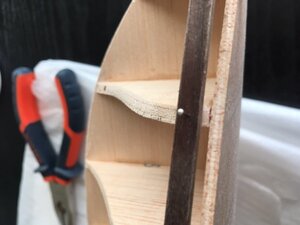
 
Hey Heinrich. I've looked at your model and I'm not tapering towards the stern at all. I'm pretty certain I will in fact need steelers there in the long run. It's only towards the bow and that is to try and prevent significant crowding. I'm already going to get some but I'm planking in a different way to you by the looks of it. You appear to be going full width to the bow on the image you've shared. I'm working on the principle of tapering the planking to suit the faired area of the bulkhead on every bulkhead. As they are all within 1 or 2mm of each other up until the 5th bulkhead and then they only drop gradually until the last two, it has mean me just tapering the bow ends of the planks from 5 to 2.5mm. I didn't want to go down to 1.3 as it breaks the "no more than half a plank" rule and so I will just have to drop a plank at some point I guess. For now it seems to be working.
 
Back
Top