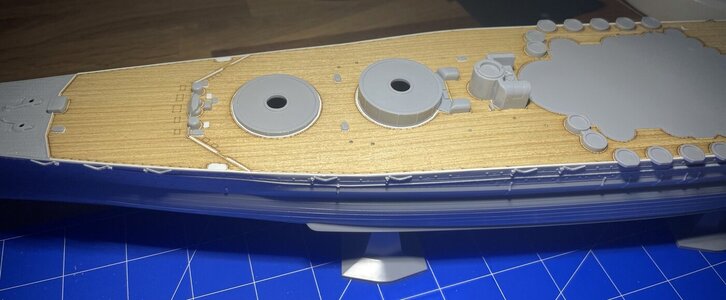
Hello everyone and happy new Year! I am starting this (first time here) WIP about the Yamato from Hasegawa with Pontos aftermarket set as main upgrade of the kit plus Eduard PE as a secondary and backup set. I will use also some smaller aftermarket sets plus some custom 3D parts done by myself and printed in the USA...