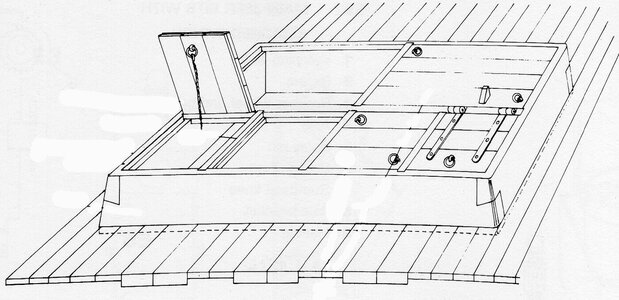
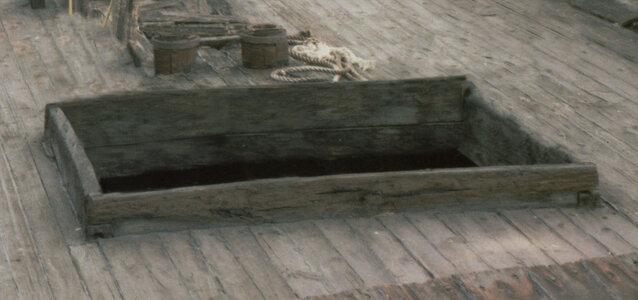
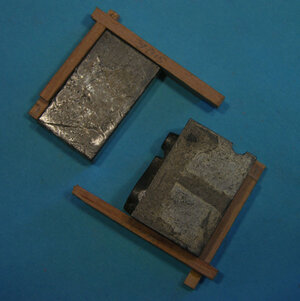
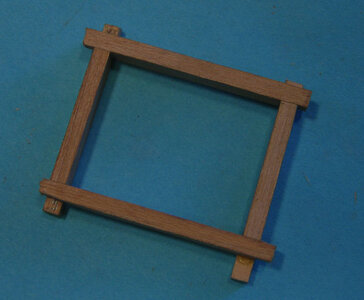
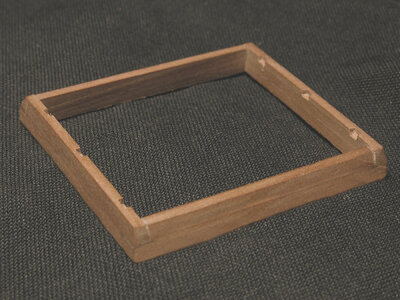
hatch coamings

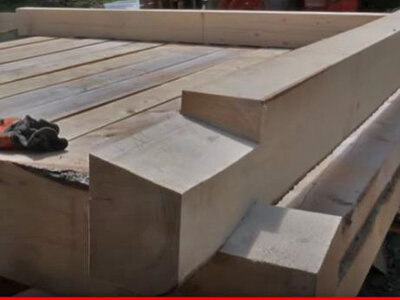
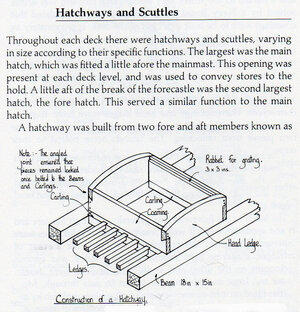
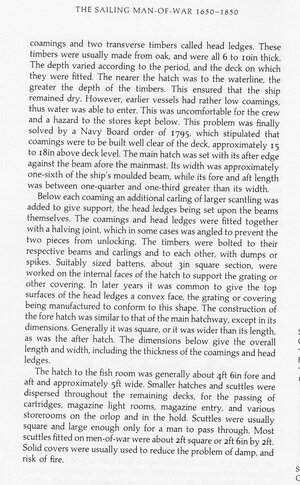
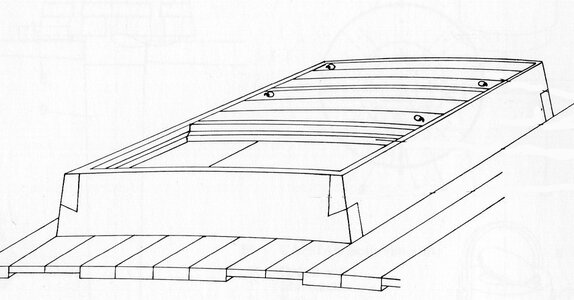
This is a very interesting topic. I do prefer the look of the lap scarf joint rather than the picture frame mitre joint.

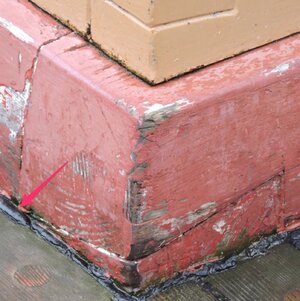
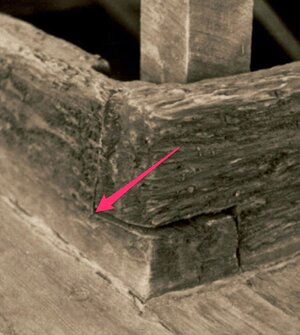
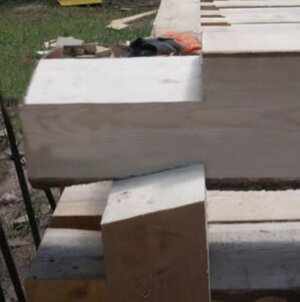
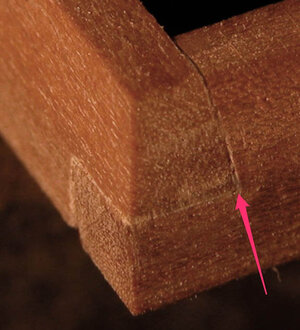
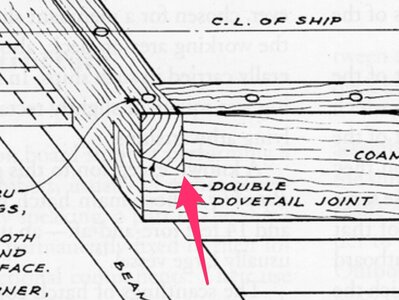
On the subject of the lap scarf joint I'm a bit confused on the logic behind the 'dovetail' wedge on some of the below pictured joints, specifically since the lap scarf joint does not have the second dovetail wedge to lock the joint in place.

Also, the lowest point of the wedge is located on the inside of the joint.
Screen_Shot_2021-05-09_at_4_13_21_pm.jpg
Screen_Shot_2021-05-09_at_4_14_04_pm.jpg
Screen_Shot_2021-05-09_at_4_14_14_pm.jpg

Screen_Shot_2021-05-09_at_4_13_43_pm.jpg
If the lap scarf joint is not serving as a locking dovetail joint, then wouldn't the inner corners of the wedge (red Arrows) be better placed higher than the coaming corner to not allow water to accumulate inside the joint? (I hope I explained this ok)
Or is there another reason for this type of wedge shaped lap scarf joint?
 
yard.jpg

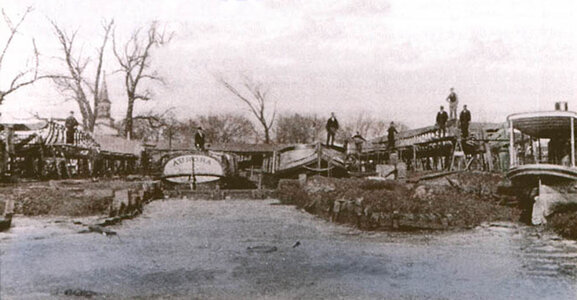
Back in the 1970s i worked with the Cuyahoga National Park to research, document and draw working plans for a historic canal boat. The idea back then was to build a working canal boat the park would use on the canal as an attraction. There were a lot of issues so the park ended up with a 1/2 scale stern section for the Canal Museum. During the research old ads and interviews were uncovered that were asking for barn builders to work in the boat yards. Not ship or boat builders but "barn" builders. This was because of the German immigrants that settled in the area were master woodworkers and builders. The saying at the time was building a canal boat is like building a barn upside down.
Barns were like Starbucks of the day i could not walk a mile from where i lived in any direction and not come across a barn.
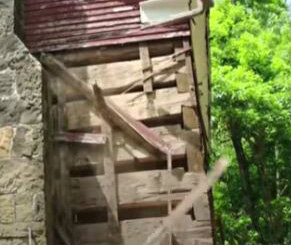
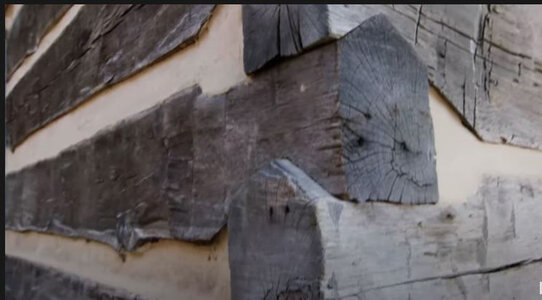
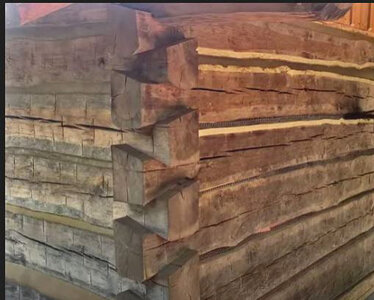
Looking at barn construction it becomes clear the same joinery used in their construction was also used in boat building. The dove tail in various versions were used for 100s of years to join timbers at a 90 degree angle.

cabin1.JPGcabin2.JPGcabin3.JPGcabin5.JPGcabin6.JPGcabin7.JPG
 
Last edited:
Even in ship building the lap joint and dove tail was used way back. In some cases a simple version was used as just a lap joint and sometimes the carpenter got his fancy on and did a dove tail.

img078.jpgimg079.jpgimg080.jpgimg081.jpg
 
keep in mind a ship was a dynamic structure it moved and joinery had to be strong or the ship would pull itself apart. a mitered corner on a hatch coaming would pull apart.
 
There aren’t many beams to place the coamings on with kit builds. I guess this only applies to scratch builders?

not really just for scratch builders kit builders would first install the hatch coamings on to the false deck then run the planking up to the side of the coaming rather than set the coaming on the deck planks. You would have to look very close to see if there is a caulking seam between the end of the planking and the side coaming.
 
If the lap scarf joint is not serving as a locking dovetail joint, then wouldn't the inner corners of the wedge (red Arrows) be better placed higher than the coaming corner to not allow water to accumulate inside the joint? (I hope I explained this ok)
Or is there another reason for this type of wedge shaped lap scarf joint?


Screen_Shot_2021-05-09_at_4_13_43_pm.jpg


very good point John and when you look at the joint when i was cutting it you can see a oh so very slight rise to the top of the coaming below before i trimmed it. Once it i was trimmed that slight rise is hard to detect.

hatch c9.jpg
 
Last edited:
not really just for scratch builders kit builders would first install the hatch coamings on to the false deck then run the planking up to the side of the coaming rather than set the coaming on the deck planks. You would have to look very close to see if there is a caulking seam between the end of the planking and the side coaming.
That makes sense, Dave.
 
You're absolutely right, but the 'correct' angles are more difficult to realize. That's because many people avoid them.

that might be true but the joy of model building is teaching yourself how to do things and as you get better and better at miniature woodworking you accomplish finer and finer details. This is how i build a hatch coaming

hatch.jpg

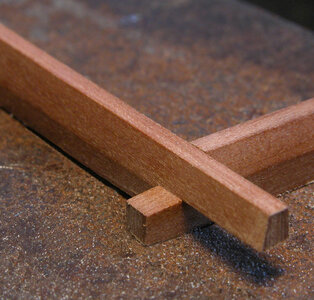
not all coamings use a fancy double dove tail some are just a simple lap joint and that is what i am doing here.

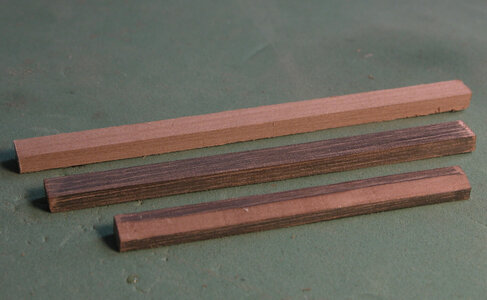
Start by cutting the correct size material larger than the longest length you will need. Coamings have a bevel on the outer face starting at the surface of the deck plank and slant inward, from the lower part of the bevel the coaming is straight down so the end of the deck plank butts against it.

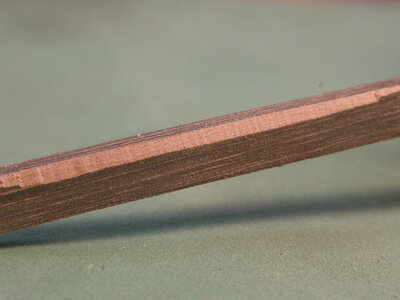
It is difficult to make a bevel without any sort of guild. One trick is to use a pencil and shade the piece. As you shape the bevel you can see the lower and upper edges and you are able to keep them even from one end to the other.​

hatch 5.jpg
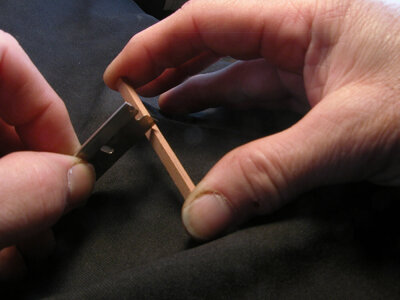
Cutting the bevels by hand can be done quite simply by holding the piece between your fingers and scraping the edge with a single edge razor blade.

hatch 6.jpg


The trick is to keep the shaded edges even all along the piece. Once you are down to size for the bevel a few swipes with a file or piece of sandpaper will even out any ill regularities. The top of the deck planking should run along the bottom edge of the bevel.

hatch 7.jpg

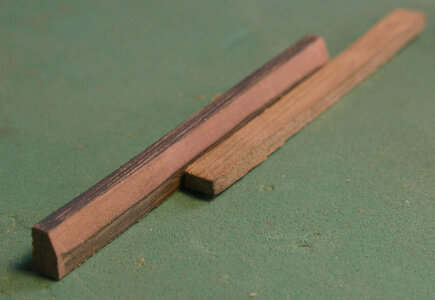
you see here where the deck plank rests against the coaming and the upper part of the coaming bevels.
hatch coaming 4.jpg


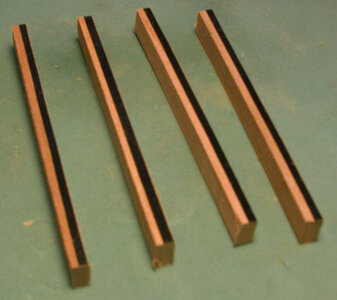
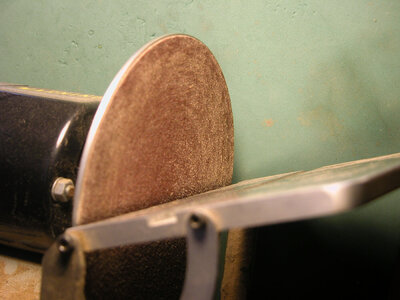
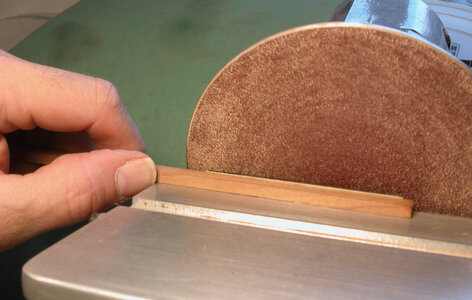
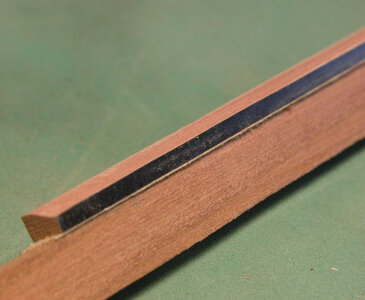
Another method to create the bevels on the hatch coamings is to use a disk sander. First I marked the upper edge by using a strip of electrical tape. Next is to set the table to the angle of the bevel.

hatch coaming 5.jpg

hatch coaming 6.jpg

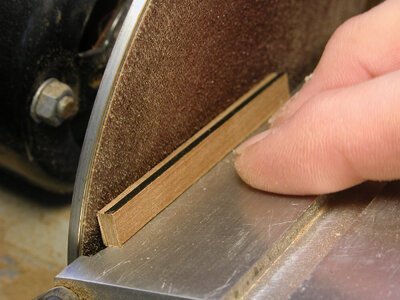
A problem with the small, short pieces is holding them against the sanding disk without sanding the tips of your fingers in the process. A solution to this is use two sided tape and stick the coaming to a larger piece of wood. This give you much better control and saves your finger tips.

hatch coaming 7.jpg

hatch coaming 8.jpg

By holding a larger piece of wood you can gently move the coaming back and forth on the disk to get an even sanding along its length. The idea is to sand the coaming right to the edge of the electrical tape.


hatch coaming 9.jpg

sy to rock you piece or sand it uneven the electrical tape give you a clear and sharp edge to guide the sanding.

hatch coaming 11.jpg
 
when you have the coamings beveled now you can build the coaming.

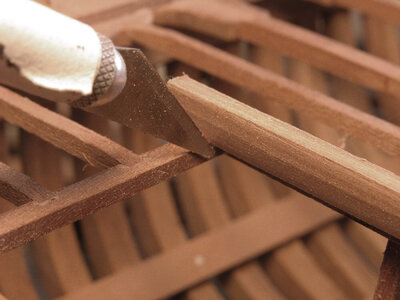
Once all the coaming pieces are cut and beveled the next step is to mark them out for length. Marking is always done with the knife by making a small cut line.
Here i am marking the length of the coaming to the inside if the carling. If you are building a model using a false deck and you intend on keeping the hatch open mark the coaming to the edge of the opening. If you intend on keeping the hatch closed you can totally skip this step and just make the coaming to the dimensions on the plans.

hatch coaming 12.jpghatch coaming 13.jpg

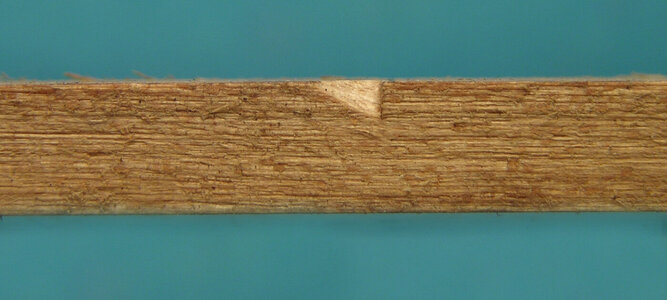
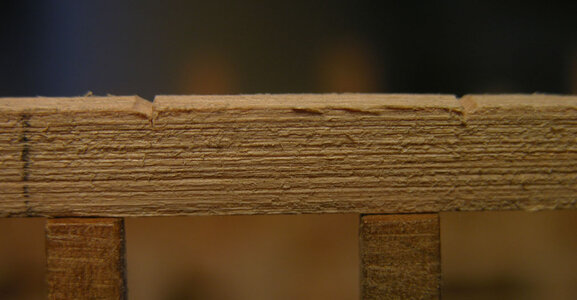
a notch is more accurate than a wide pencil line when marking a piece.

hatch coaming 14.jpg

a trick i do is cut a tiny notch at the side that i want to cut off, what this tends to do when i start my saw cut the notch gives the saw the least resistance and it follows the side of the notch and does not cut into the piece.

mark1.jpg

notches.jpg
 
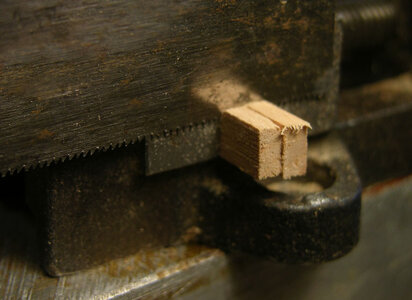
a small vice is my main tool for cutting joinery. first i line up my mark against the side of the vice with the notch to the outside, keep the saw tight to the side of the vice and make the cut.

cutting notch.jpg
finished cut.jpg

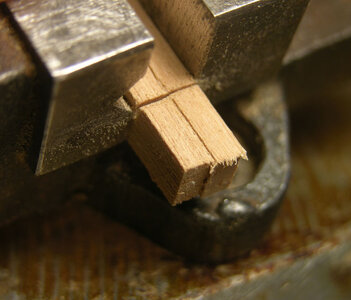
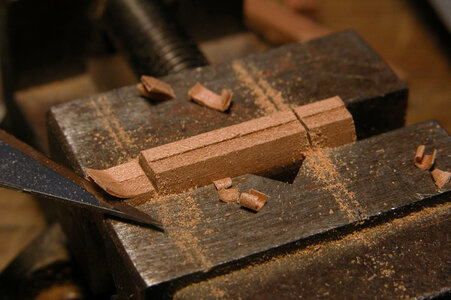
to insure a nice flat even cut the coaming is clamped in a vice to the depth of the bevel. A knife is used and the notch is cut down even with the top of the vice.

cutting notch depth.jpg

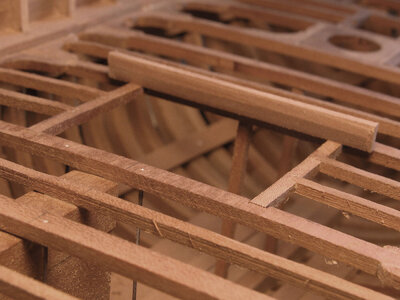
The first notch is not that critical because once the coamings are glued and clamped to the deck beam or to the false deck mark the inside face of the carlings and follow the same steps to cut the second notch. The depth of this second notch is cut close to a final fit then it is adjusted slowly by filing or sanding until the bottom of the coaming sits on the carling below it or touches the false deck.

hatch coaming 17.jpg


and your coamings are done.

SCN0720.jpg

SCN0719.jpg

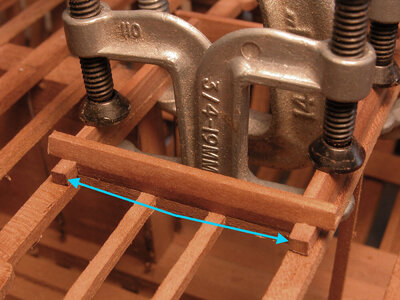
If you are building a hatch off the model to be placed on the deck as a finished piece you need to keep it square. I have little square blocks i use or you can use a small square. i will cut the lap joint and fit 2 corners like in the photo making sure they are square.

fitting coamings.jpg

then assemble the two pieces

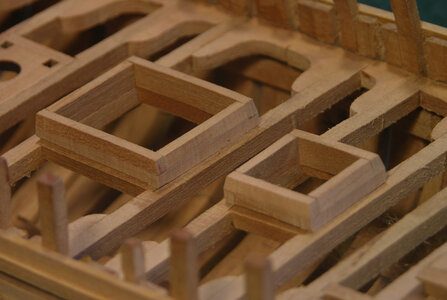
assembled coaming.jpg

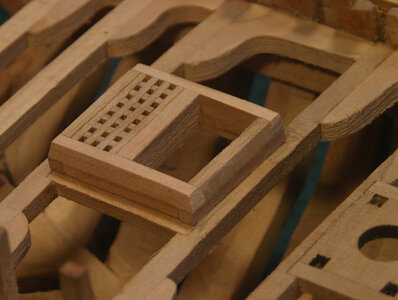
trim the corners and add the gratings or hatch covers this hatch had strong backs to support the hatch covers so notches were cit in the coamings for the ends of the strong backs.

hatch coaming 21a.jpg
 
Back
Top