Hayling Hoy of 1759

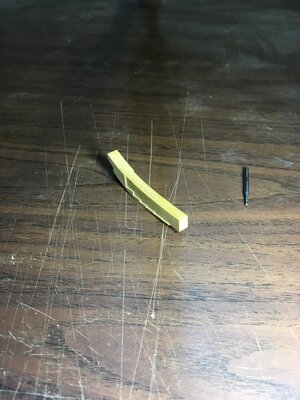
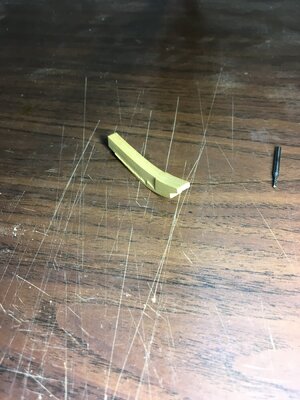
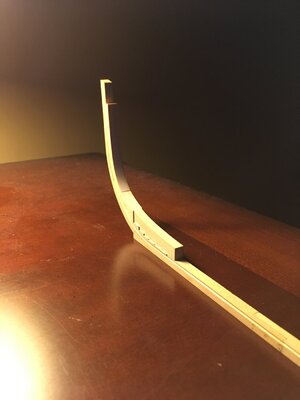
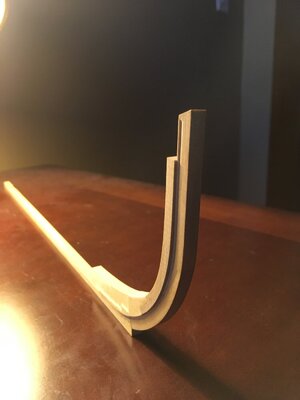
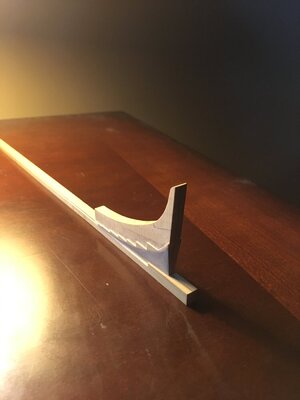
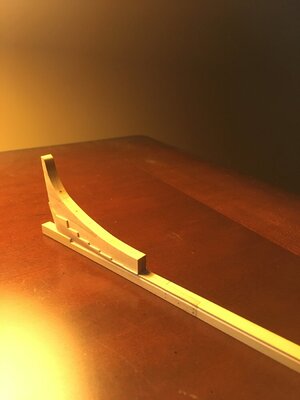
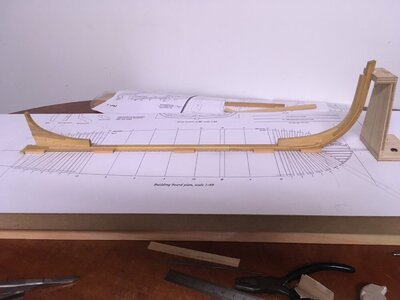
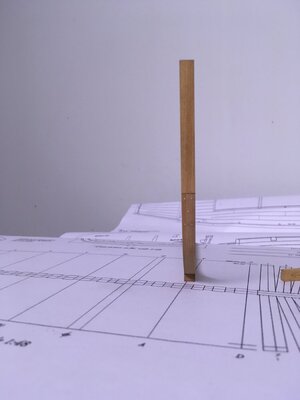
Rabbet is a mean, nasty son of a gun! v-shaped milling bit was disaster - had to rebuild several pieces. Better luck with 1/64" end mill. Once the hairline was milled in, files, scrapers, micro-chisels were used to shape it. Some wood was left, it will be shaped at much later date, when the outside of the hull is ready for fairing. In spite of few hiccups, I've never enjoyed ship modelling as I do enjoy this build. Thanks so much for you interest, encouraging comments, all the loves and likes. Much appreciated as always. Anyway, here are few pics:
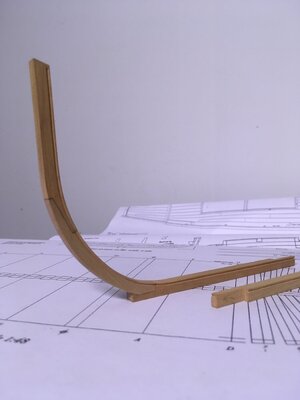
IMG_0427.JPG
IMG_0428.JPG
IMG_0429.JPG
 
Rabbet is a mean, nasty son of a gun! v-shaped milling bit was disaster - had to rebuild several pieces. Better luck with 1/64" end mill. Once the hairline was milled in, files, scrapers, micro-chisels were used to shape it. Some wood was left, it will be shaped at much later date, when the outside of the hull is ready for fairing. In spite of few hiccups, I've never enjoyed ship modelling as I do enjoy this build. Thanks so much for you interest, encouraging comments, all the loves and likes. Much appreciated as always. Anyway, here are few pics:
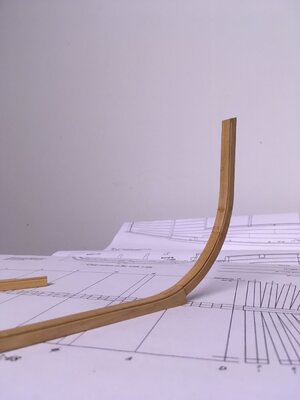
View attachment 254317
View attachment 254318
View attachment 254319

Gennaro, I just found your new log. Really nice job as always !!!!

Can you please teach me (us) how you did that rabbet with the milling machine ?

I am thinking how you did the curvature to be perfect and at a precise distance from the border all the way.

I hope I don't bother you to much, but a picture on how you positioned/used the tools is better than a 1000 words. :-)

Cheers
Daniel
 
Gennaro, I just found your new log. Really nice job as always !!!!

Can you please teach me (us) how you did that rabbet with the milling machine ?

I am thinking how you did the curvature to be perfect and at a precise distance from the border all the way.

I hope I don't bother you to much, but a picture on how you positioned/used the tools is better than a 1000 words. :)

Cheers
Daniel
Daniel,
It took several attempts to cut rabbet. I tried to use v-shaped milling bits and it did not work for me. 1/64" flat milling bit at highest speed did the trick. Besides tiny milling bit, I used a piece of plywood with steel pin, carefully set the distance between the pin and milling bit (center of the rabbet) and slowly moved pieces of keel underneath in several shallow passes holding them tightly agains the pin. This resulted in 1/64" thin line congruent to the upper part of the keel. After that I used v-shaped files and scrapers to cut the rabbet to its almost final shape. It will be finished way down the road when fairing the outside of the model. Hopefully this explains the process. Many thanks for your interest.
 
After several attempts, I managed to manufacture lower apron. Without milling machine, I would not be able to do it. This build is going to take a while, but I am enjoying it very much, trying to treat each piece as a project in itself. Here is the apron (little cleanup later on):

IMG_0431.JPG
IMG_0432.JPG

Thanks for stopping by, all the comments and likes. Upper apron to follow.
 
Lower and upper apron installed. I cut the corner here. Upper apron extends to the top of stem with the same angle to provide the seat for bowsprit. I noticed in monograph that author cut it short - to the bottom of the forecastle's breasthook. It will be a lot easier down the road to position the breasthook. So I followed the suit. To be continued. Thanks for stopping by.

IMG_0433.JPG
IMG_0435.JPG
 
Stern deadwood has been completed and installed. It consists of three pieces bolted together. Stepping was milled and squared with chisels. Preliminary taper was sanded in up to the bearding line. So far so good, I'm pleased with the progress, learning a lot. As always, thanks for all the comments and likes.

IMG_0445.JPG
IMG_0446.JPG
IMG_0444.JPG
 
Back
Top