• Win a Free Custom Engraved Brass Coin!!!
    As a way to introduce our brass coins to the community, we will raffle off a free coin during the month of August. Follow link ABOVE for instructions for entering.

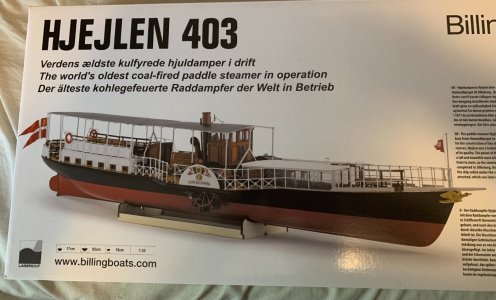
Hjejlen: Danish Excursion sidewheeler, Billing Boats

Joined
Oct 7, 2021
Messages
410
Points
238

Location
Toronto Canada
After scratch-building a couple of locomotives, I decided to try my hand at another ship kit. This time it is the Hjejlen, a sidewheeler, originally built in 1861, completely redone in the early 1900s, and is reputed to be the oldest coal-fired sidewheeler out there. The kit was originally issued years ago, but this is a new, revised, and upgraded version. I have built a few Billing Boats over the past years and while I have always been pleased with the outcome, I dreaded the Billing instructions - very minimal and often left me scratching my head trying to figure things out. This time, along with the upgraded materials, there is now an instruction booklet with plenty of photographs. I am a bit disappointed in that there are almost no written instructions, which I think would have been beneficial for a number of the more complicated steps. Still, a big improvement over the Hjejlen package.jpgprevious Billing Boats instructions. I have already begun the project and will post photos and commentaries about my progress.
 
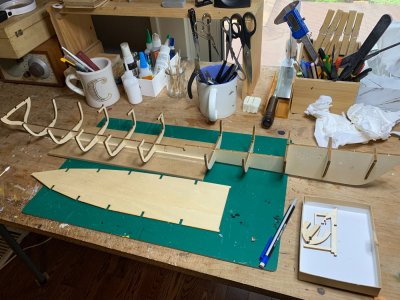
The photo instructions suggest holding off on installing one of the frames (number 15) until after the decks have been glued on. The problem is that it is almost impossible to install the frame once the decks are glued on. There are too many tabs that interfere. It was only possible to install this frame after snipping off some of the insert tabs that attach the decks to the frame. Only then could the frame be lowered into its proper gap in the keel. This was not a major problem, since the deck has many points of contact for gluing down, and the tabs were not "mission-critical". The photos here do not show the specific problem, but for anyone planning to build this kit, pay attention to this.

IMG_0178.jpg

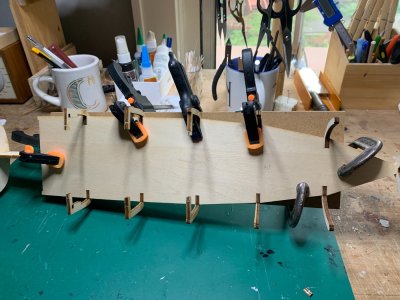
IMG_0179.jpg

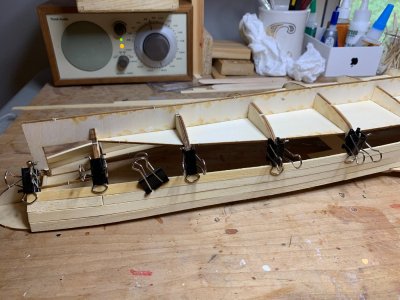
IMG_0217.jpg
 
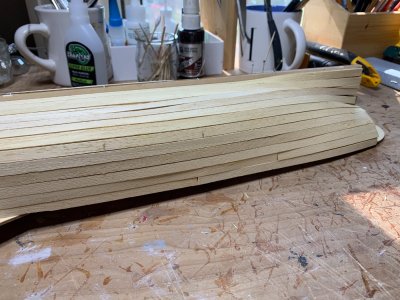
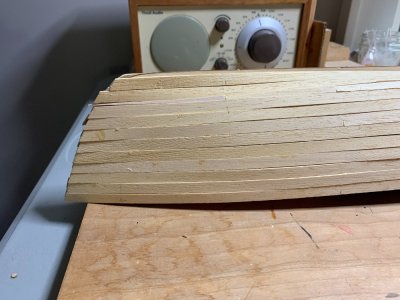
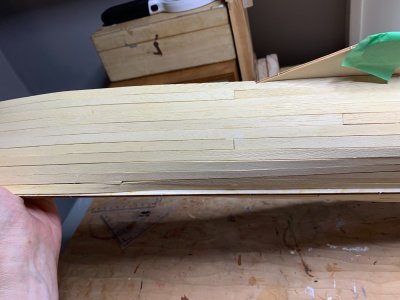
The planking of the hull is the stage of construction that gets me most worried. Despite all my attempts to do a decent job, I have always made a major mess of things on previous builds. A bit too much chamfering, gaps, bulges, raised edges, etc.. Thank goodness for filler and sandpaper. In this case, the planking was very straightforward. The shape of the hull was not too irregular, so I had to do almost no trimming of the planks. You can see that for much of the hull, the planks just stretched across from bow to stem with very little need for adjustment. Also, hardly any bevelling or trimming of the frames was needed. For modelers with clumsy hands, this was a real plus.

IMG_0224.jpg

IMG_0225.jpg

IMG_0226.jpg
 
After installing the deck planking (2 mm strips), I started on the various deck structures, including the seating in the forward cabin, made up of .7 x 2mm strips of mahogany. I also assembled the paddle wheels and attached them. The instructions include a 2mm brass rod, but I opted for a 3mm wood dowel, which gave me an easier time to adjust the length. I also bent the wood for he paddle wheel housings and attached these.

IMG_0243.jpg

IMG_0271.jpg

IMG_0273.jpg

IMG_0314.jpg

IMG_0272.jpg
 
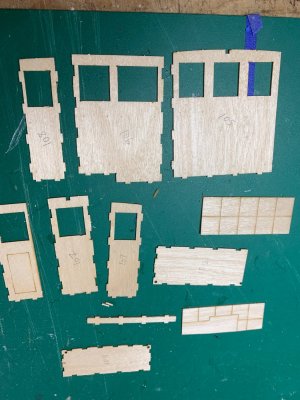
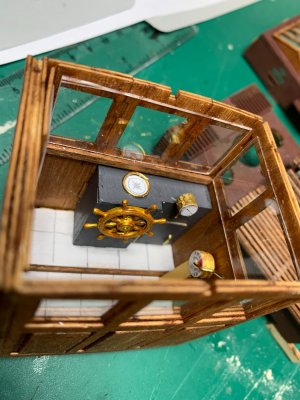
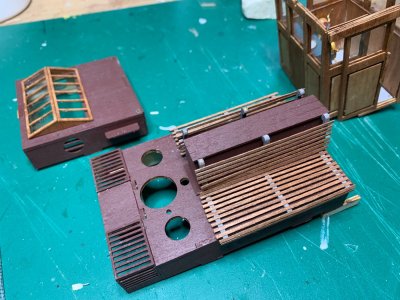
More work on the deck structures, including the wheelhouse. This was quite challenging, the walls and floor are quite thin and need to be inserted precisely to fit. It took me 3 or 4 attempts to get the pieces to fit properly. Some of the other structures were more straightforward. I added a bit more detail to the wheelhouse instrumentation, including a steam pressure gauge and a compass.

IMG_0377.jpg

IMG_0388.jpg

IMG_0389.jpg

IMG_0375.jpg

IMG_0374.jpg
 
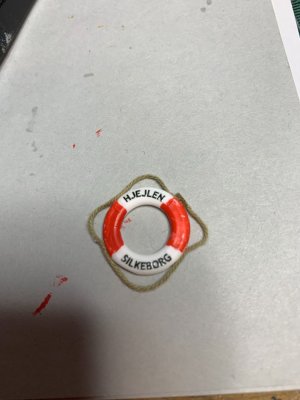
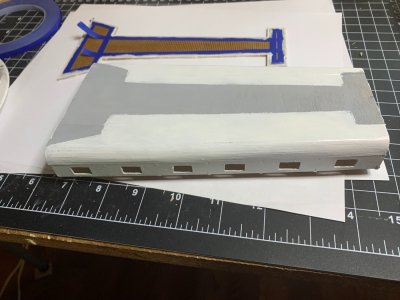
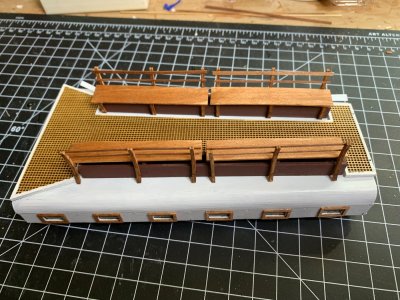
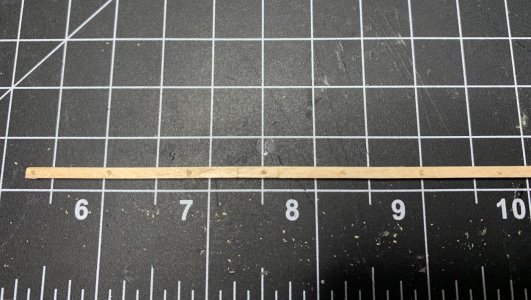
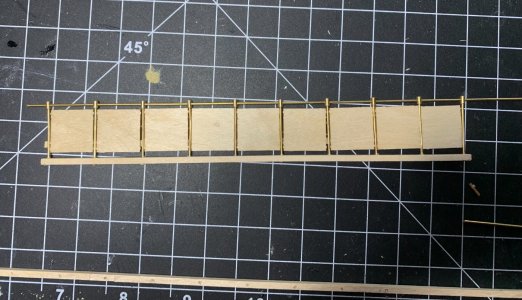
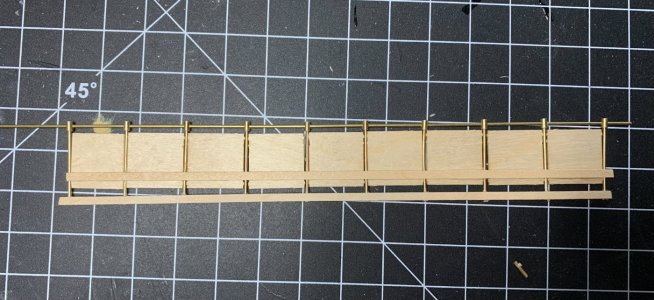
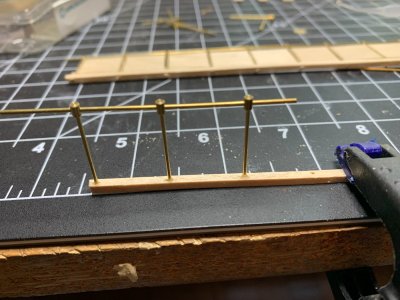
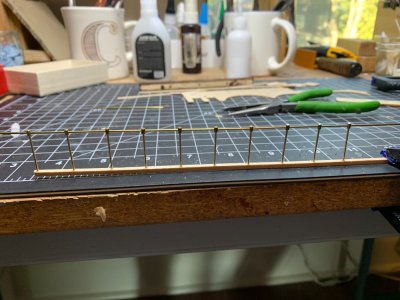
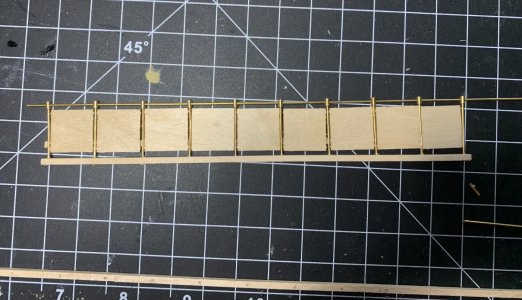
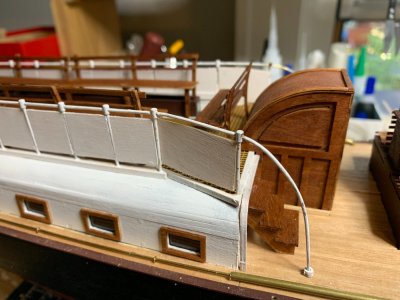
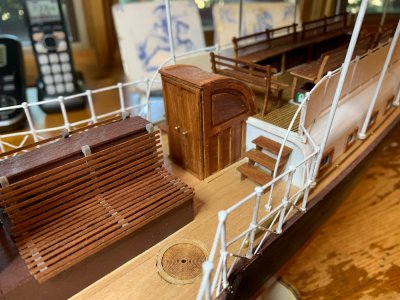
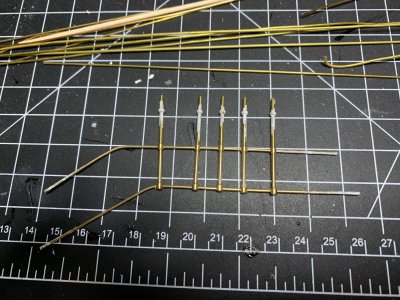
More progress. There are a lot of benches to build. Most of them use 1mm and 2mm strips. There are a number of life preservers provided in the kit, but they are nothing special. The plastic "rope" makes them look kitchy so I decided to snip these off and add "real" rope to make it look more realistic. I also worked on the rear cabin portion. This is not a passenger cabin, but it will have a lot of seating on the roof. There are also railings all along the sides. The stanchions are separated by panels. I struggled with attaching the panels - which had to be an exact fit between the stanchions, so I decided to attach these by gluing them directly on a narrow strip of wood that will run the length of the railing. This strip is on the inside and will be hidden by the benches. This approach worked a lot better. I also did not follow the instructions, which would have had me inserting the stanchions directly on the roof. Instead, I drilled holes on a 2mm x 2mm strip and glued the stanchions. I will then glue the entire assembly onto the roof once they are completed and painted.
IMG_0387.jpg

IMG_0413.jpg

IMG_0417.jpg

IMG_0428.jpg

IMG_0429.jpg

IMG_0430.jpg

IMG_0431.jpg

IMG_0432.jpg
 
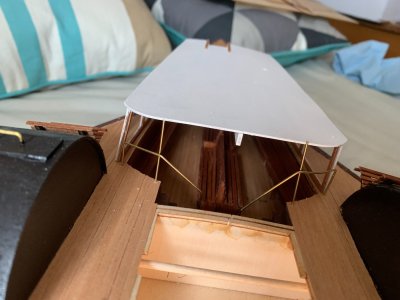
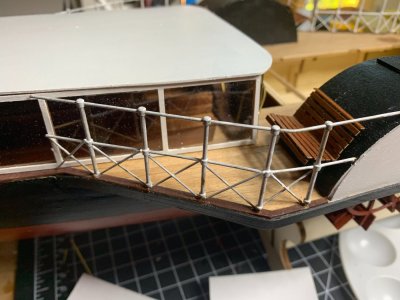
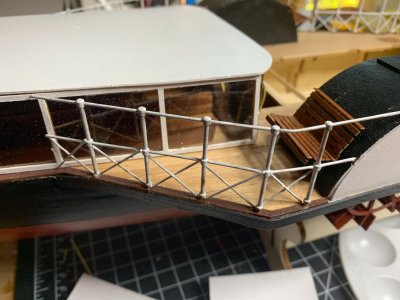
I then worked on the other deck railings. For one set of railings I bent the brass wire to conform to the shape needed, then threaded the stanchions onto these. I did paint the bases of the stanchions white (all the railings and stanchions will be white). I did this "pre-painting" since it will be difficult for my shaky hands to do the painting close to the deck without the risk of smudging. Once the stanchions were strung along the brass wire, I inserted the whole assembly onto the deck. Once these were glued onto the deck I added the various crosspieces using CA glue.

IMG_0551 2.jpg

IMG_0566 2.jpg
 
I then worked on the other deck railings. For one set of railings I bent the brass wire to conform to the shape needed, then threaded the stanchions onto these. I did paint the bases of the stanchions white (all the railings and stanchions will be white). I did this "pre-painting" since it will be difficult for my shaky hands to do the painting close to the deck without the risk of smudging. Once the stanchions were strung along the brass wire, I inserted the whole assembly onto the deck. Once these were glued onto the deck I added the various crosspieces using CA glue.

View attachment 548653

View attachment 548654
You made a nice progress on this nicely lined paddle steamer, Carl. It’s looking very good.
Regards, Peter
 
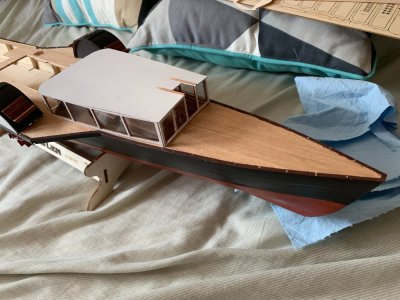
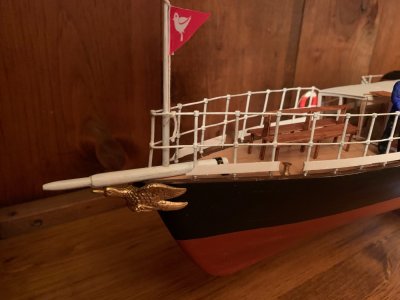
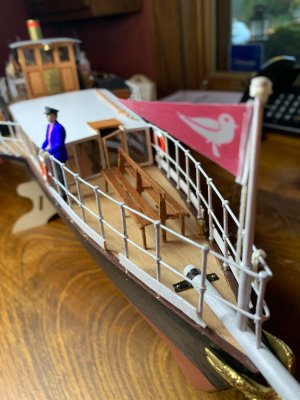
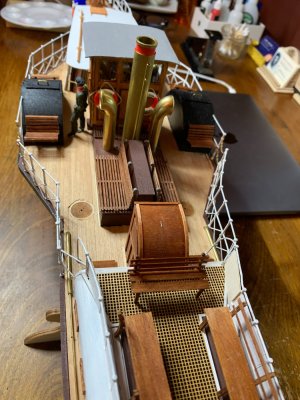
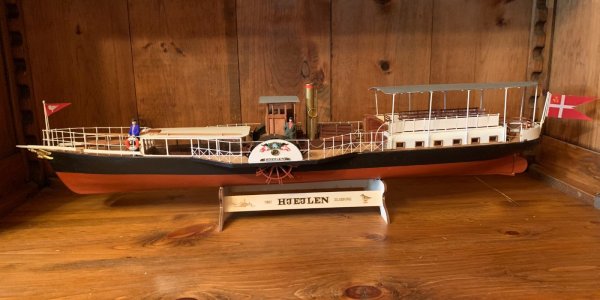
Most of the rest of the build involved working on the smaller deck structures. This included installing the wheelhouse, flag poles, painting the railings, adding the figurehead, and installing the funnels and smokestack. The instructions recommend painting the funnels and smokestack, but I left them in their natural state, since I liked the look of the brass. There is supposed to be a large canopy installed over the passenger area, but I decided not to do this for a couple of reasons. The main reason is that I will be displaying the model on a low shelf, and with the canopy on, it will be difficult, looking down, to notice (and admire) the various deck structures and fittings. I also preferred the sleeker look of the boat without the canopy. However, I did make the back half of the canopy, but made it detachable, so if needed, I could put it back on.
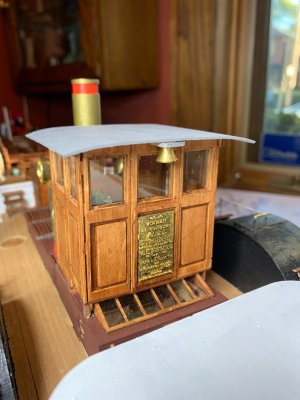
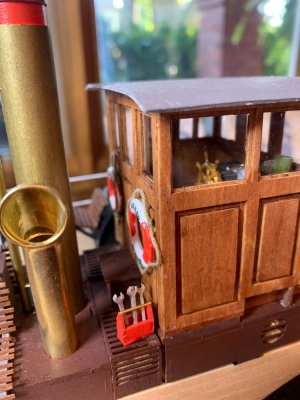
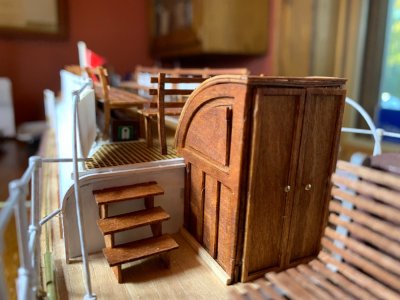
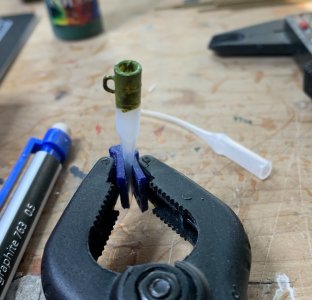
There are a number of things I did not install. This included the bollards, which to me seem too small for the scale of the boat, the anchor (which never appears on photos of the real boat), and the steam whistle (which I might add later). But I did add a fire extinguisher and coffee cup, (see photo - made from a glue pipette), for the wheelhouse.

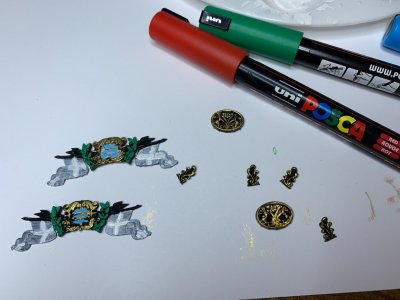
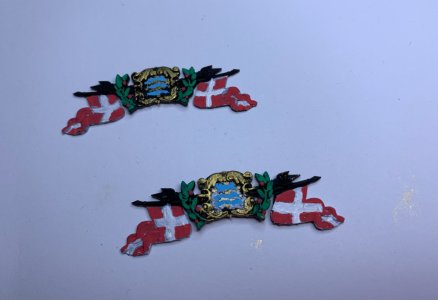
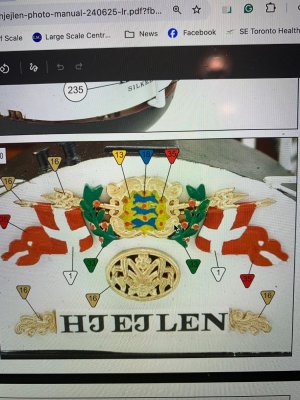
I was worried about painting the various decorations that are applied to the paddle wheel covers. These are very small (plastic?) moldings, and I was a bit concerned that my shaky hands would be incapable of holding a paintbrush steadily enough. However, I had some fine-pointed paint pens left over from a previous project and tried these out. Fortunately, they worked really well and I would recommend these for very fine colour detailing.

IMG_0566 2.jpg

IMG_0586.jpg

IMG_0590.jpg

IMG_0628.jpg

IMG_0631.jpg

IMG_0630.jpg

IMG_0626.jpg

IMG_0593.jpg

IMG_0587.jpg

IMG_0580.jpg

IMG_0581.jpg

IMG_0521 2.jpg

IMG_0577.jpg
 
Back
Top