Follow along with the video below to see how to install our site as a web app on your home screen.
Note: This feature may not be available in some browsers.
Win a Free Custom Engraved Brass Coin!!!
As a way to introduce our brass coins to the community, we will raffle off a free coin during the month
of August. Follow link ABOVE for instructions for entering.
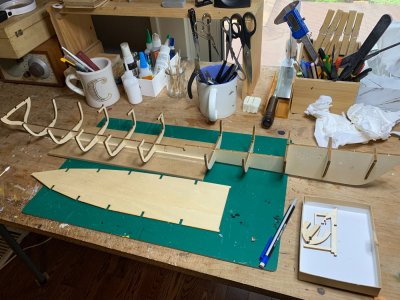
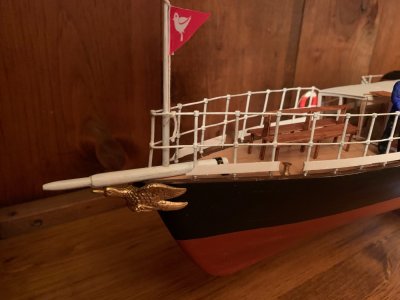
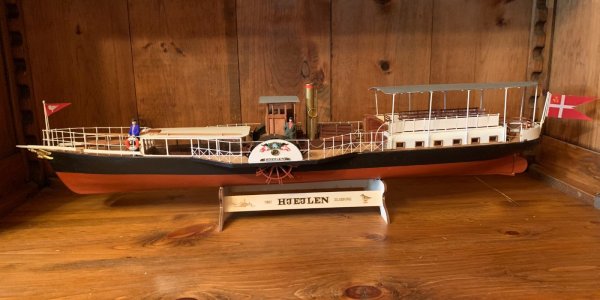
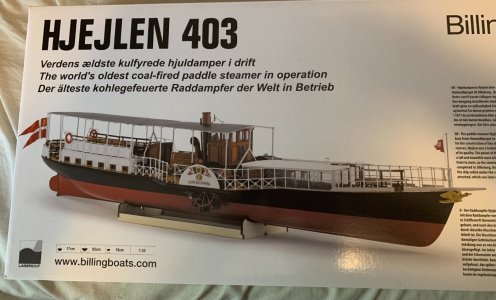
After scratch-building a couple of locomotives, I decided to try my hand at another ship kit. This time it is the Hjejlen, a sidewheeler, originally built in 1861, completely redone in the early 1900s, and is reputed to be the oldest coal-fired sidewheeler out there. The kit was originally issued years ago, but this is a new, revised, and upgraded version. I have built a few Billing Boats over the past years and while I have always been pleased with the outcome, I dreaded the Billing instructions - very minimal and often left me scratching my head trying to figure things out. This time, along with the upgraded materials, there is now an instruction booklet with plenty of photographs. I am a bit disappointed in that there are almost no written instructions, which I think would have been beneficial for a number of the more complicated steps. Still, a big improvement over the previous Billing Boats instructions. I have already begun the project and will post photos and commentaries about my progress.
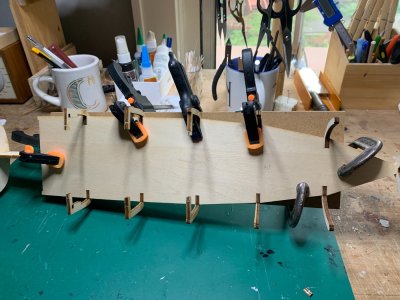
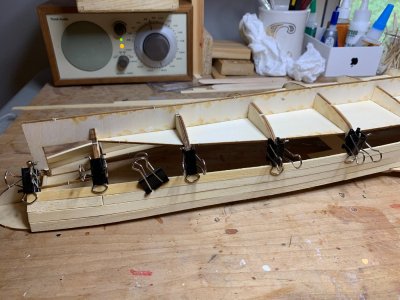
The photo instructions suggest holding off on installing one of the frames (number 15) until after the decks have been glued on. The problem is that it is almost impossible to install the frame once the decks are glued on. There are too many tabs that interfere. It was only possible to install this frame after snipping off some of the insert tabs that attach the decks to the frame. Only then could the frame be lowered into its proper gap in the keel. This was not a major problem, since the deck has many points of contact for gluing down, and the tabs were not "mission-critical". The photos here do not show the specific problem, but for anyone planning to build this kit, pay attention to this.
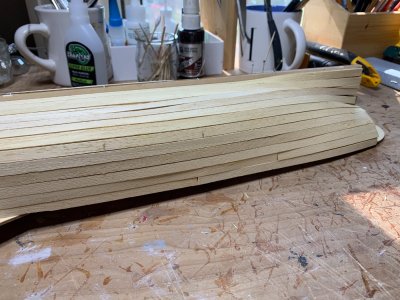
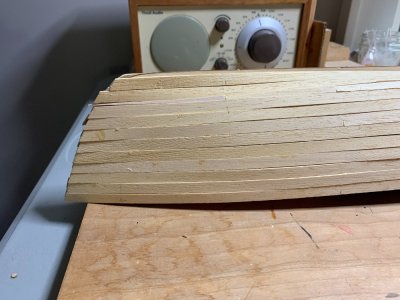
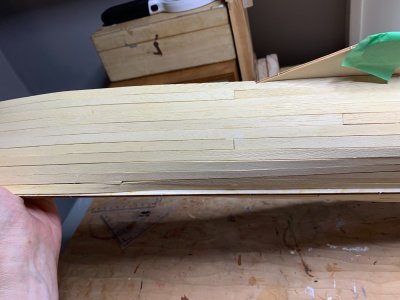
The planking of the hull is the stage of construction that gets me most worried. Despite all my attempts to do a decent job, I have always made a major mess of things on previous builds. A bit too much chamfering, gaps, bulges, raised edges, etc.. Thank goodness for filler and sandpaper. In this case, the planking was very straightforward. The shape of the hull was not too irregular, so I had to do almost no trimming of the planks. You can see that for much of the hull, the planks just stretched across from bow to stem with very little need for adjustment. Also, hardly any bevelling or trimming of the frames was needed. For modelers with clumsy hands, this was a real plus.
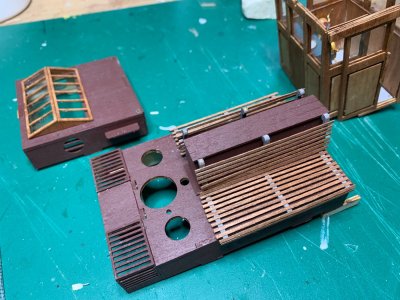
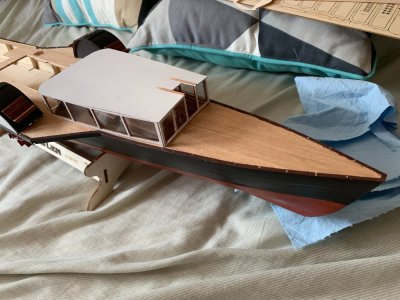
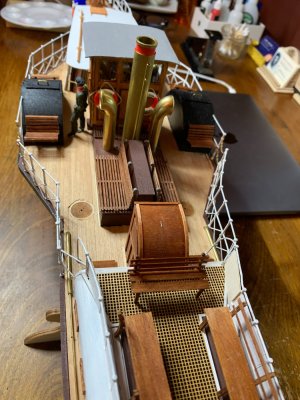
After installing the deck planking (2 mm strips), I started on the various deck structures, including the seating in the forward cabin, made up of .7 x 2mm strips of mahogany. I also assembled the paddle wheels and attached them. The instructions include a 2mm brass rod, but I opted for a 3mm wood dowel, which gave me an easier time to adjust the length. I also bent the wood for he paddle wheel housings and attached these.
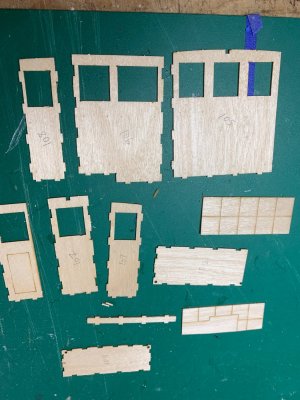
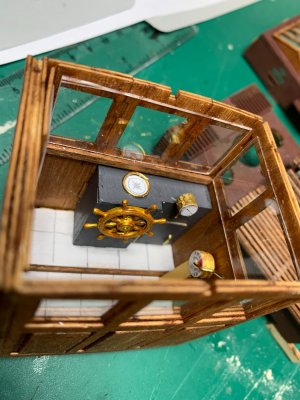
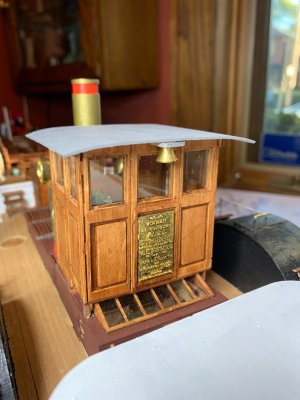
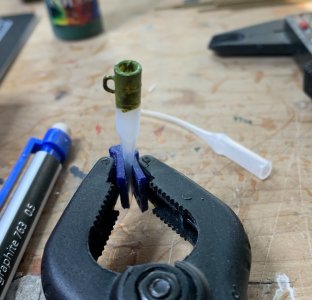
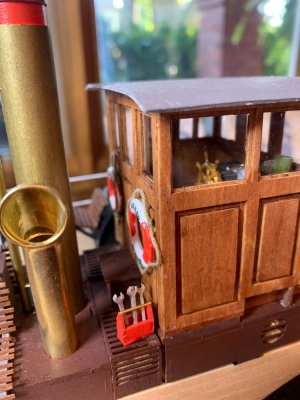
More work on the deck structures, including the wheelhouse. This was quite challenging, the walls and floor are quite thin and need to be inserted precisely to fit. It took me 3 or 4 attempts to get the pieces to fit properly. Some of the other structures were more straightforward. I added a bit more detail to the wheelhouse instrumentation, including a steam pressure gauge and a compass.
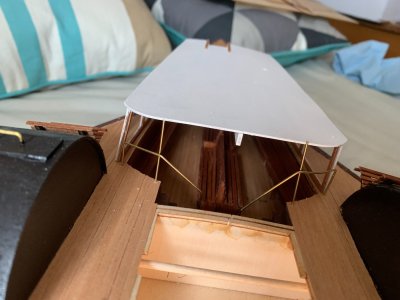
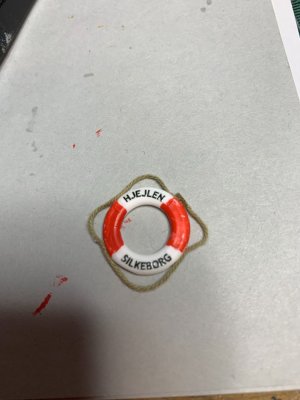
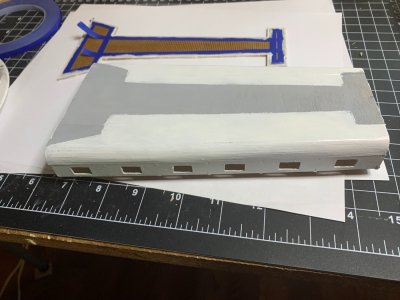
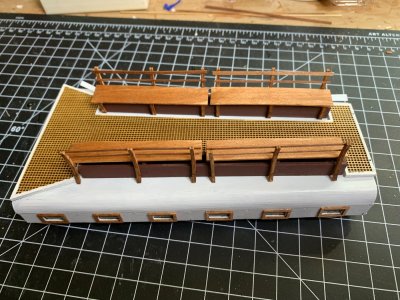
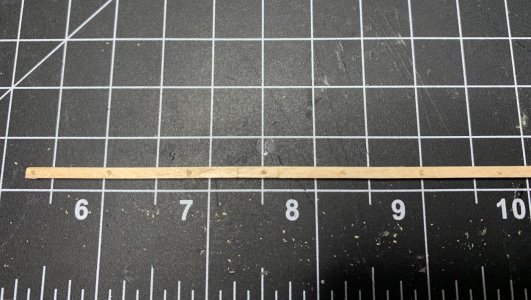
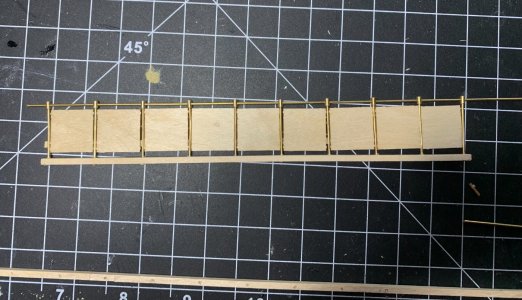
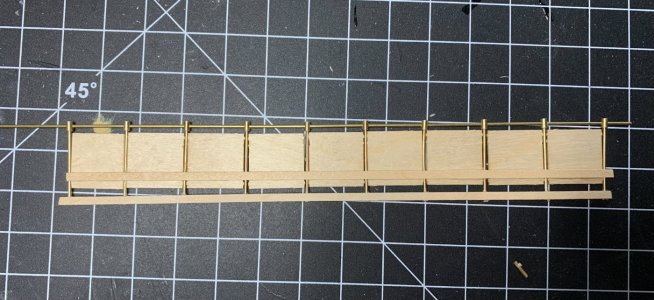
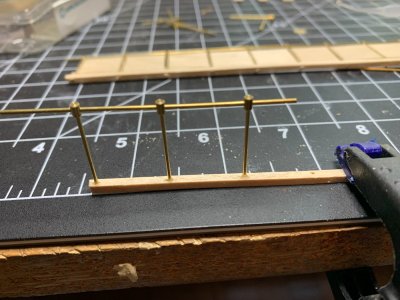
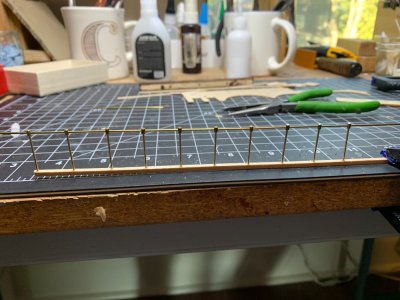
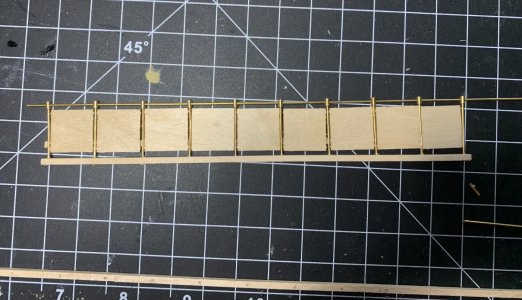
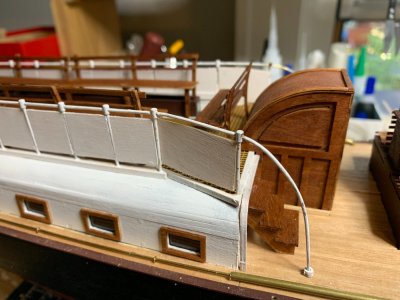
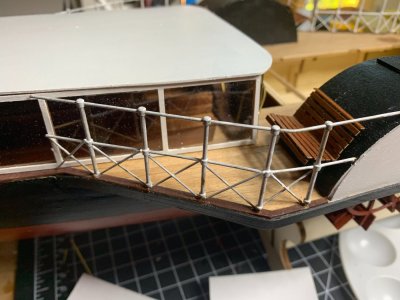
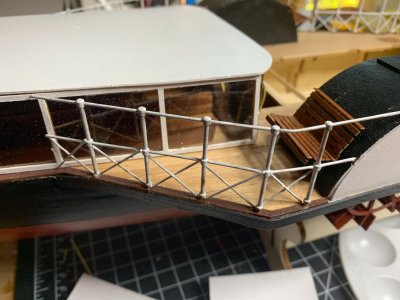
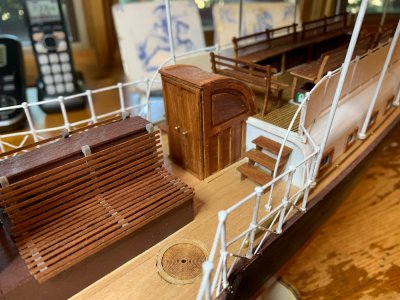
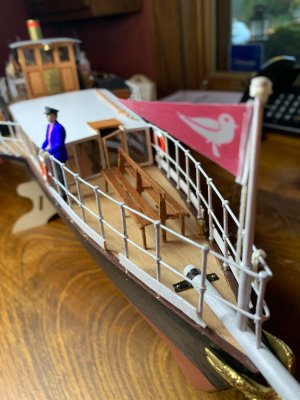
More progress. There are a lot of benches to build. Most of them use 1mm and 2mm strips. There are a number of life preservers provided in the kit, but they are nothing special. The plastic "rope" makes them look kitchy so I decided to snip these off and add "real" rope to make it look more realistic. I also worked on the rear cabin portion. This is not a passenger cabin, but it will have a lot of seating on the roof. There are also railings all along the sides. The stanchions are separated by panels. I struggled with attaching the panels - which had to be an exact fit between the stanchions, so I decided to attach these by gluing them directly on a narrow strip of wood that will run the length of the railing. This strip is on the inside and will be hidden by the benches. This approach worked a lot better. I also did not follow the instructions, which would have had me inserting the stanchions directly on the roof. Instead, I drilled holes on a 2mm x 2mm strip and glued the stanchions. I will then glue the entire assembly onto the roof once they are completed and painted.
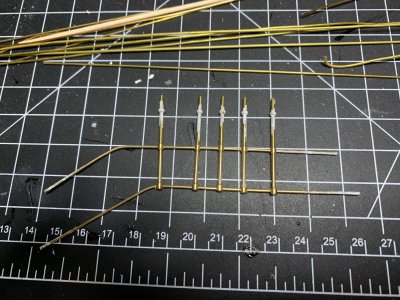
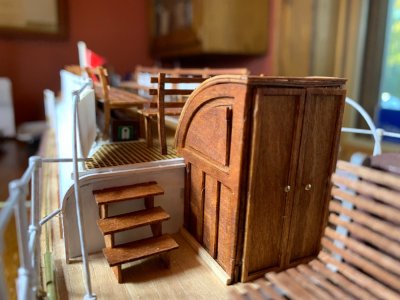
I glued the stanchions and accompanying railings onto the rear passenger deck after gluing on the various panels. I extended the railing to create a handrail for the steps leading up to the deck.