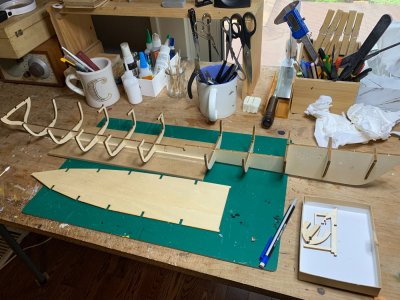
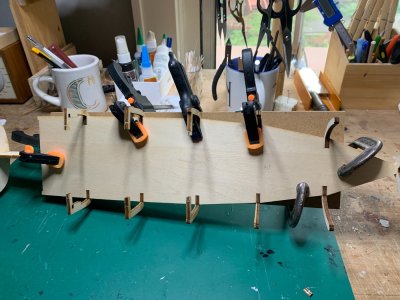
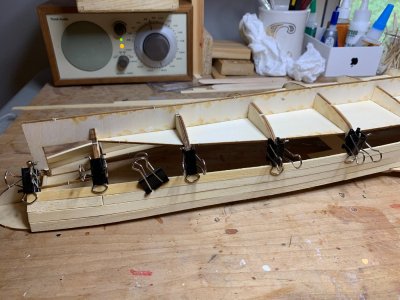
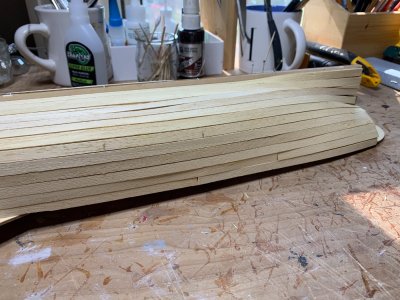
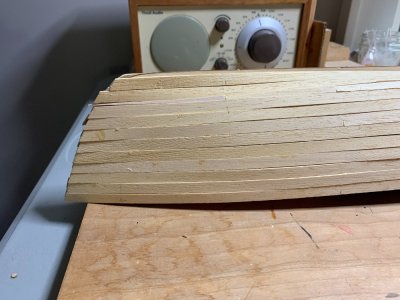
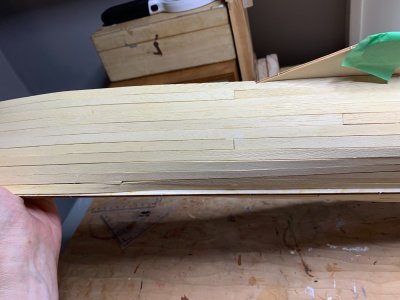
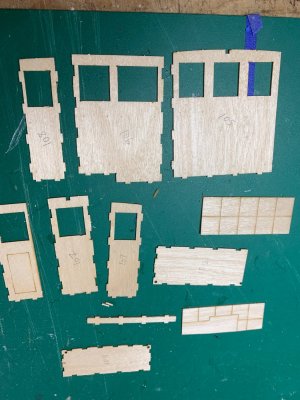
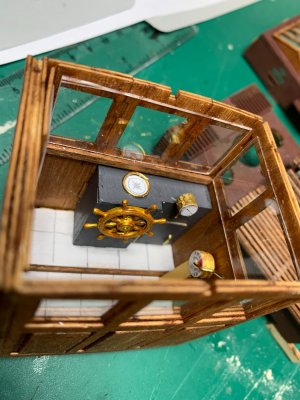
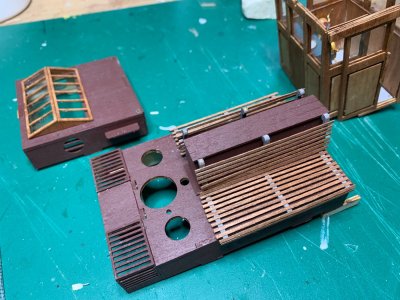
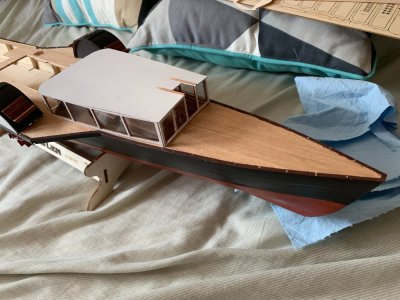
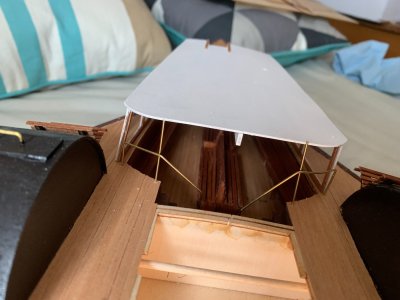
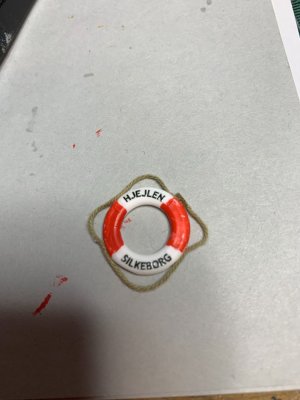
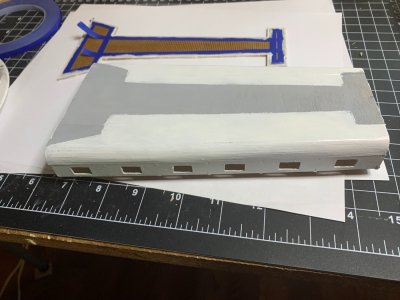
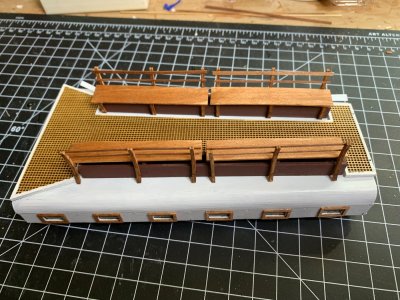
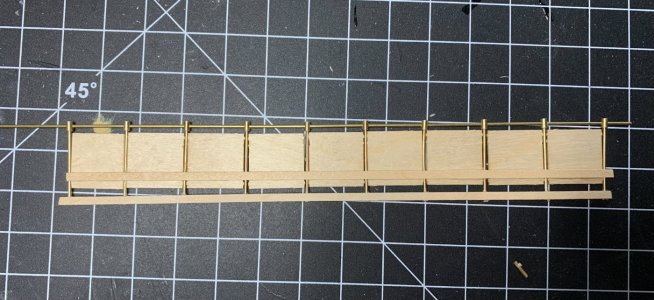
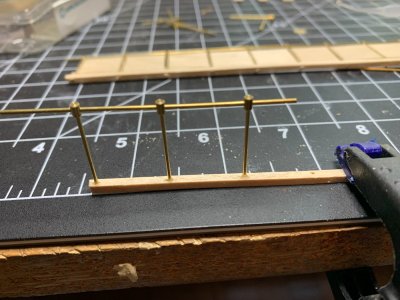
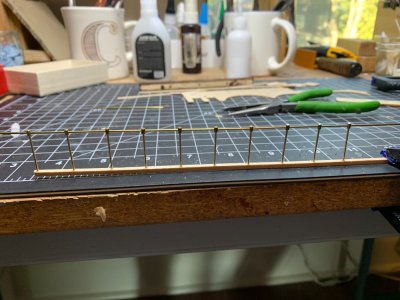
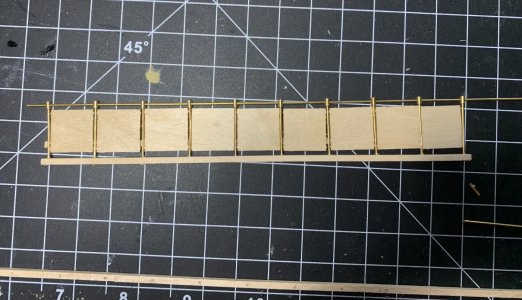
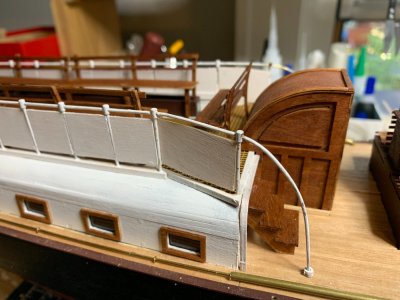
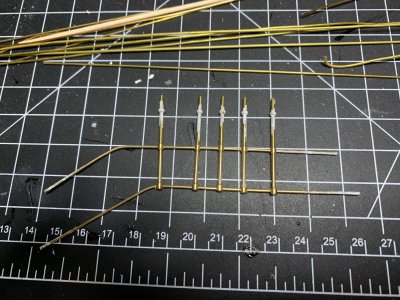
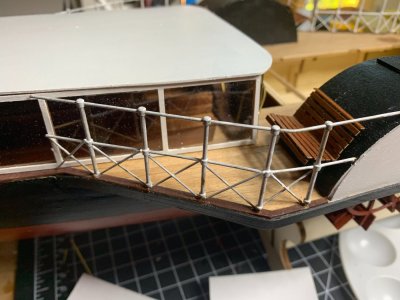
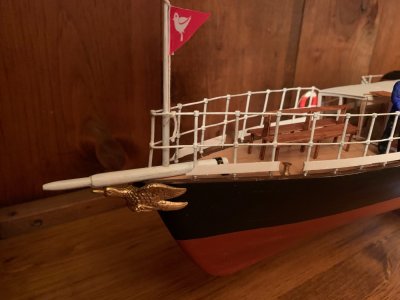
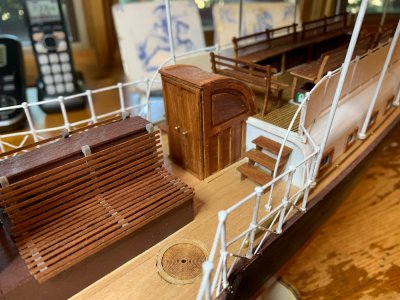
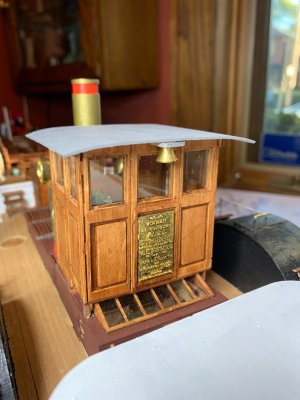
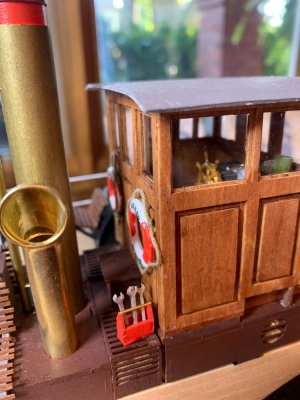
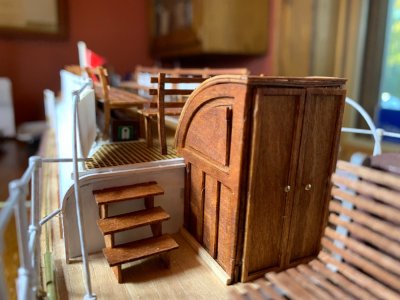
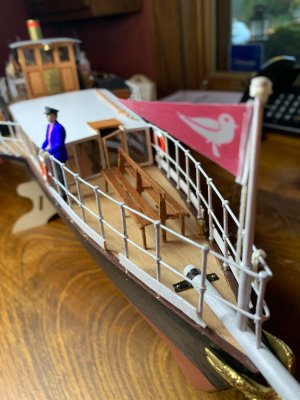
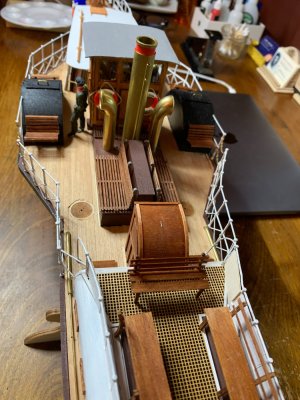
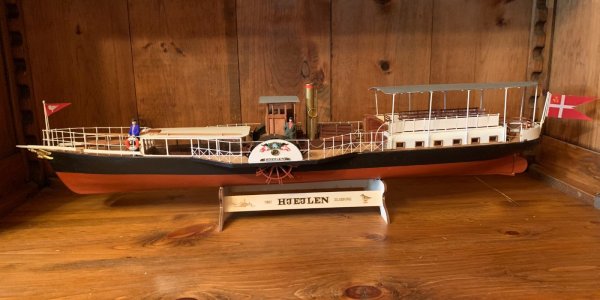
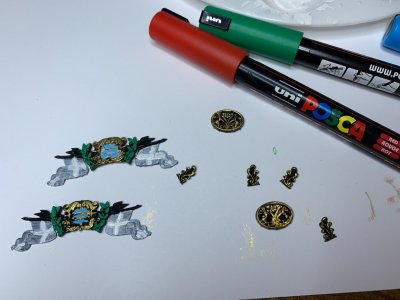
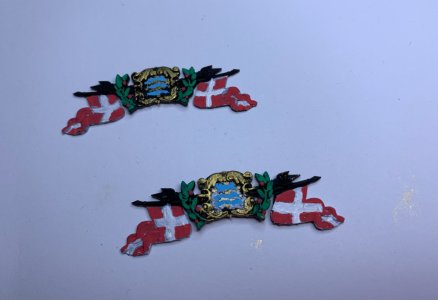
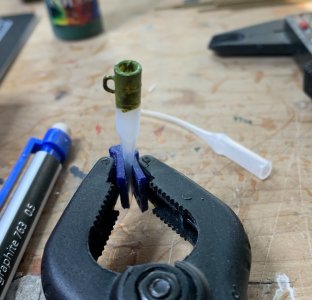
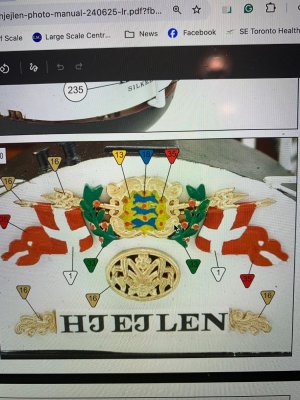
After scratch-building a couple of locomotives, I decided to try my hand at another ship kit. This time it is the Hjejlen, a sidewheeler, originally built in 1861, completely redone in the early 1900s, and is reputed to be the oldest coal-fired sidewheeler out there. The kit was originally issued years ago, but this is a new, revised, and upgraded version. I have built a few Billing Boats over the past years and while I have always been pleased with the outcome, I dreaded the Billing instructions - very minimal and often left me scratching my head trying to figure things out. This time, along with the upgraded materials, there is now an instruction booklet with plenty of photographs. I am a bit disappointed in that there are almost no written instructions, which I think would have been beneficial for a number of the more complicated steps. Still, a big improvement over the 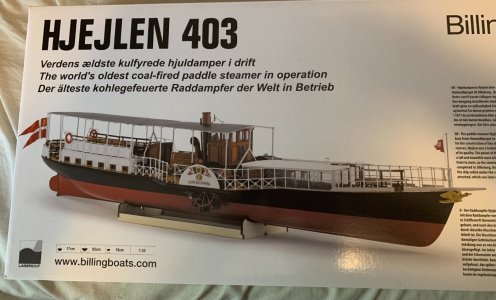 previous Billing Boats instructions. I have already begun the project and will post photos and commentaries about my progress.
 previous Billing Boats instructions. I have already begun the project and will post photos and commentaries about my progress.


