- Joined
- Aug 14, 2018
- Messages
- 587
- Points
- 353

I'm coming a bit late to this log as I have already built the hull. This is my first try at logging my work and I am feeling a bit inadequate and don't really know what I should write, but I fancied giving it a go. Hopefully other folks can learn from my mistakes.
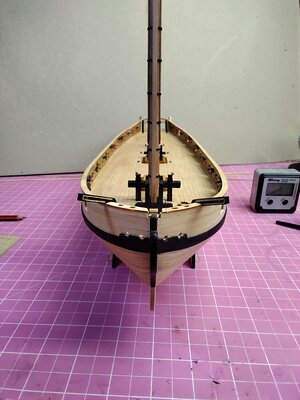
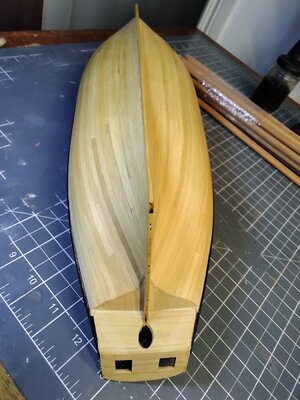
As I have said I have already just about finished the second planking of the hull and have started to coat it using a clear matt varnish. I have been pleasantly surprise how well the construction went, down no doubt to Chris Watton's excellent design and manufacturing. The wood used for the second planking is Box, This is my first experience of working with it and found it easy to both cut and bend, particularly using hot air. My only complaint would be due to the woods hardness it blunts scalpel blades in no time!
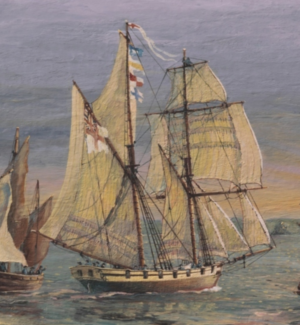
My, probably over ambitious, plan is to finish the brig as in the painting by Jeff Hunt

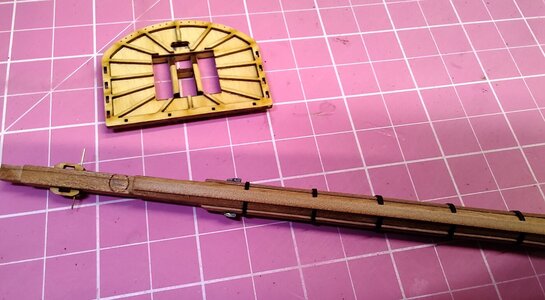
Today while waiting for the varnish on the hull to dry I have started working on the bowsprit, jibboom and flying jibboom, and this is where I first deviate from the plans as I intend to rig this model using the knowledge gained from the books such as 'Rigging Period Ship Models by Lennarth Petersson', The Anatomy of Nelson's Ships by CN Longridge plus many others. The first difference will be to remake the bowsprit cap to take a square tenon instead of the kit's round one, this I will do with all the other mast caps as well but this one is a bit more difficult being cut at an angle.

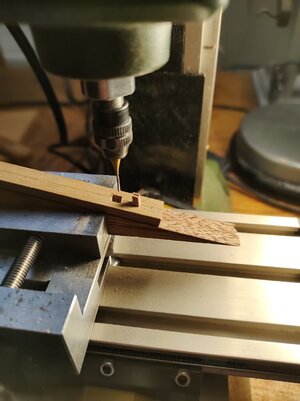

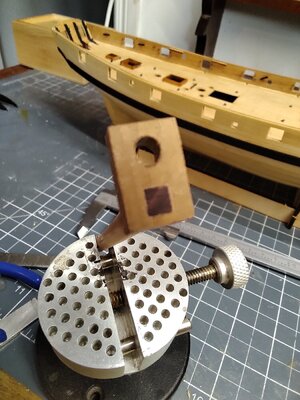
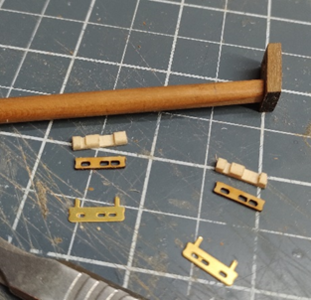
To make it I attached a bit of 10 x 4 mm walnut using double sided tape to a piece of scrap cut at 12 degrees, the angle I took of the original t.d. of Speedy and Flirt found on the Greenwich Royal Museum web site, then using my smallest 0.8mm cutter and my little milling machine I cut out a 4mm square and drilled a 4mm hole for the jibboom as you see it turned out a goof fit. Tomorrow I will turn the three bowsprit components and finish the bowsprit. I am going to use cherry rather than the walnut dowels that came with the kit as I don't intend to paint them and I like the colour.
As I have said I have already just about finished the second planking of the hull and have started to coat it using a clear matt varnish. I have been pleasantly surprise how well the construction went, down no doubt to Chris Watton's excellent design and manufacturing. The wood used for the second planking is Box, This is my first experience of working with it and found it easy to both cut and bend, particularly using hot air. My only complaint would be due to the woods hardness it blunts scalpel blades in no time!
My, probably over ambitious, plan is to finish the brig as in the painting by Jeff Hunt


Today while waiting for the varnish on the hull to dry I have started working on the bowsprit, jibboom and flying jibboom, and this is where I first deviate from the plans as I intend to rig this model using the knowledge gained from the books such as 'Rigging Period Ship Models by Lennarth Petersson', The Anatomy of Nelson's Ships by CN Longridge plus many others. The first difference will be to remake the bowsprit cap to take a square tenon instead of the kit's round one, this I will do with all the other mast caps as well but this one is a bit more difficult being cut at an angle.


To make it I attached a bit of 10 x 4 mm walnut using double sided tape to a piece of scrap cut at 12 degrees, the angle I took of the original t.d. of Speedy and Flirt found on the Greenwich Royal Museum web site, then using my smallest 0.8mm cutter and my little milling machine I cut out a 4mm square and drilled a 4mm hole for the jibboom as you see it turned out a goof fit. Tomorrow I will turn the three bowsprit components and finish the bowsprit. I am going to use cherry rather than the walnut dowels that came with the kit as I don't intend to paint them and I like the colour.

