-

Win a Free Custom Engraved Brass Coin!!!
As a way to introduce our brass coins to the community, we will raffle off a free coin during the month of August. Follow link ABOVE for instructions for entering.
-

PRE-ORDER SHIPS IN SCALE TODAY!
The beloved Ships in Scale Magazine is back and charting a new course for 2026!
Discover new skills, new techniques, and new inspirations in every issue.
NOTE THAT OUR FIRST ISSUE WILL BE JAN/FEB 2026
You are using an out of date browser. It may not display this or other websites correctly.
You should upgrade or use an alternative browser.
You should upgrade or use an alternative browser.
HM Brig Sloop Speedy Vanguard Models kit [Completed Build]
- Thread starter Jack Jäger
- Start date
- Watchers 13
- Joined
- Aug 14, 2018
- Messages
- 825
- Points
- 403

Buster, all I can say is go for it. But beware it might become an obsession. Cheers mate.The more I see of this type of build the more dread I fear at even attempting. With Mars bar fingers I'll probably make a right mess!
- Joined
- Aug 14, 2018
- Messages
- 825
- Points
- 403

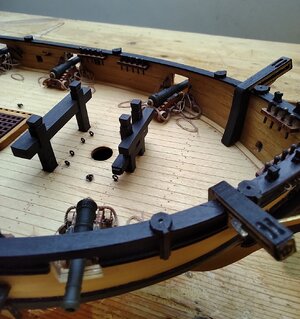
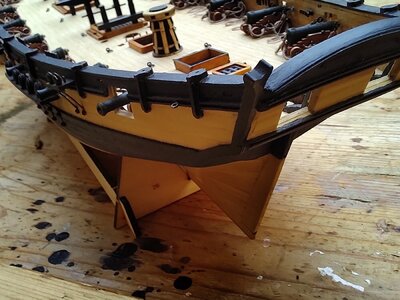
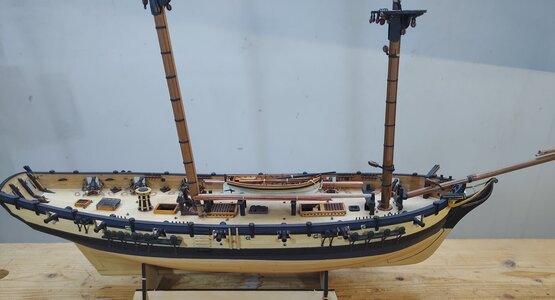
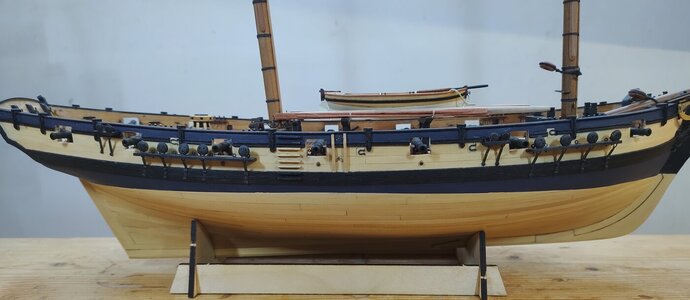
Spent a bit of time this week finishing some of the detail on the outside of the hull and adding some eye bolts that will be needed later. Mostly I followed VM instructions, but I did not like the rail being made of ply so I made up a new one from a bit of scrap box and profiled it. It was quite difficult to fit in small sections and keep a realistic sweep overall.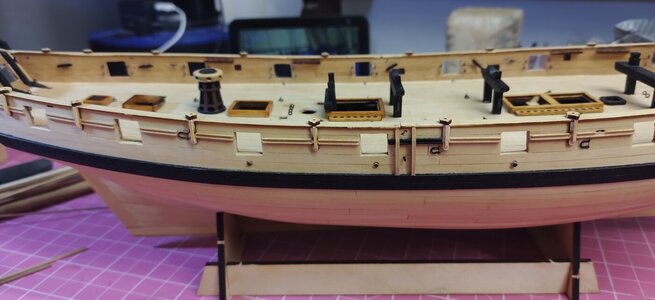
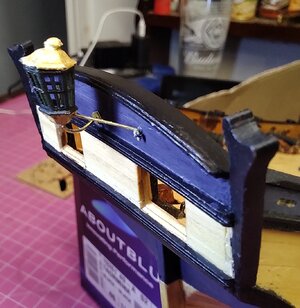
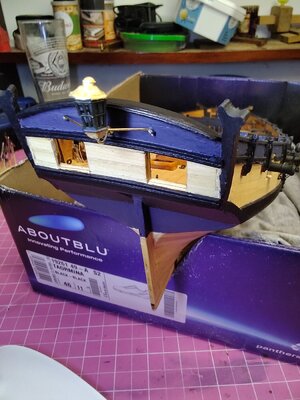
I thought I would experiment with painting the hull, I have just about decided no to copper the hull bottom. I have always felt it strange that VM would supply box wood only to hide most of it below coper sheeting. The Geoff Hunt painting shows Speedy painted, what looks like black, down to the waterline. I thought that if I did this I would lose the whale's overall look, so I mixed a dark blue/grey to see what it looks like. I expect you can paint the hull any colour you like since by the time Speedy passed on to Cochrane she was about twenty years in service and probably had more coats of paint than an onion has skins! Strangely in the GH painting the artist has left out the fore mast yards. Before I painted the transom I marked out and drilled where I might add a stern lamp and it's supports.
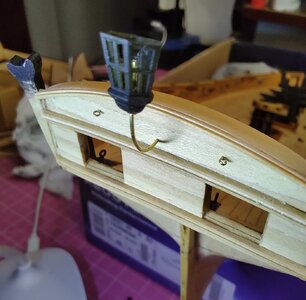
I read somewhere, someone suggesting that the speedy under Cochrane's command would have been lavishly decorated. I'm not so sure since his family were impoverished land owners and he at this time had not earned any prize money. Therefore I will keep my scheme simple without too much 'gold leaf'. Here are some pic's showing to where I have got to so far. The masts and most of the fittings are just set in place to give me an idea of how things have gone this first month.
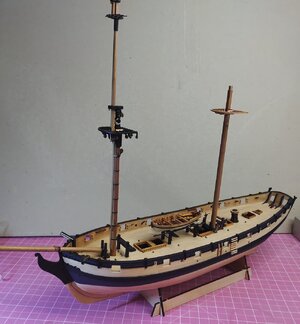
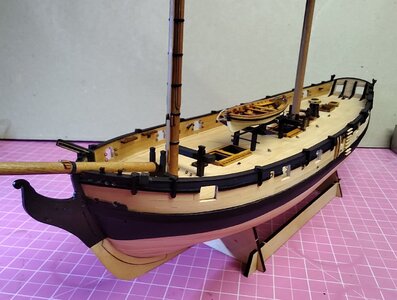
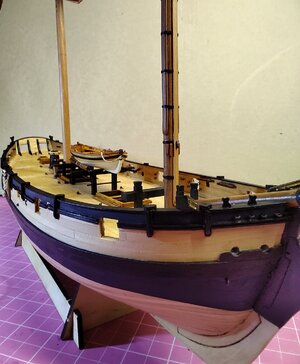
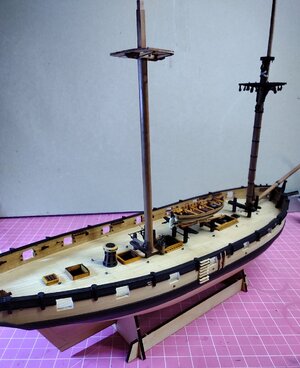
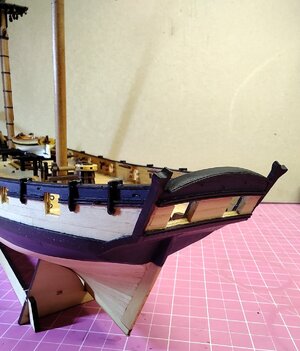
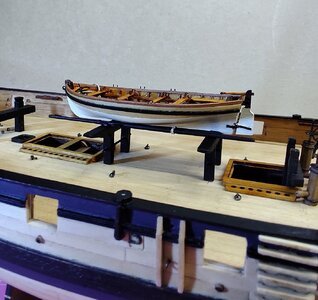

I thought I would experiment with painting the hull, I have just about decided no to copper the hull bottom. I have always felt it strange that VM would supply box wood only to hide most of it below coper sheeting. The Geoff Hunt painting shows Speedy painted, what looks like black, down to the waterline. I thought that if I did this I would lose the whale's overall look, so I mixed a dark blue/grey to see what it looks like. I expect you can paint the hull any colour you like since by the time Speedy passed on to Cochrane she was about twenty years in service and probably had more coats of paint than an onion has skins! Strangely in the GH painting the artist has left out the fore mast yards. Before I painted the transom I marked out and drilled where I might add a stern lamp and it's supports.

I read somewhere, someone suggesting that the speedy under Cochrane's command would have been lavishly decorated. I'm not so sure since his family were impoverished land owners and he at this time had not earned any prize money. Therefore I will keep my scheme simple without too much 'gold leaf'. Here are some pic's showing to where I have got to so far. The masts and most of the fittings are just set in place to give me an idea of how things have gone this first month.


- Joined
- Aug 14, 2018
- Messages
- 825
- Points
- 403

Managed to get a bit of time yesterday and this morning to do a bit of work on the wee barky
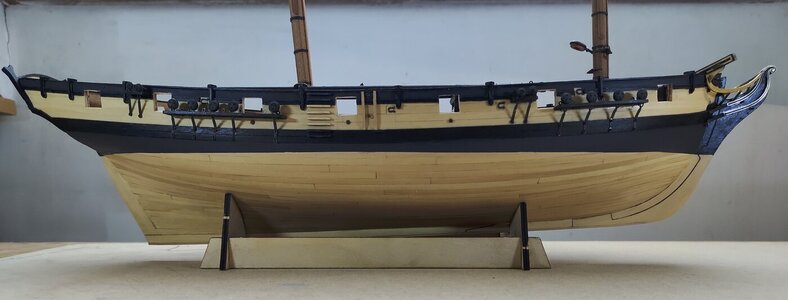
Have just about completed the hull, the only fiddley bit was balancing the lengths of the PE parts that make up the hair bracket and rails.
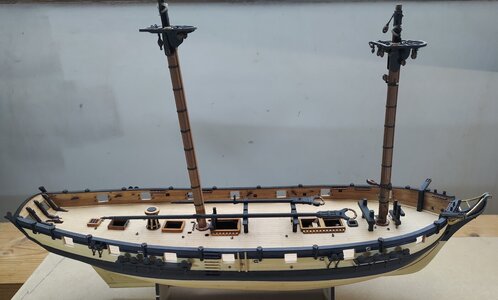
I also finished both lower masts, the boom and gaff.
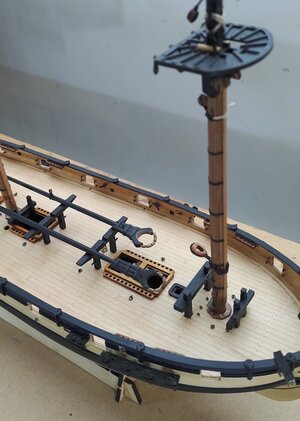
 So far so good.
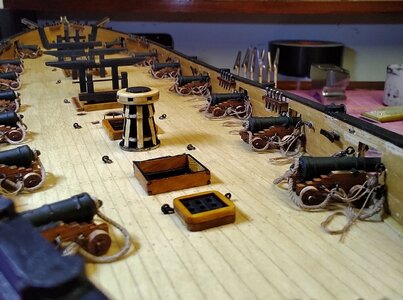
Took a first look at the gun carriages and four pound cannon, they really are very small.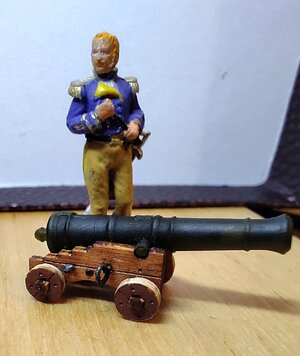
Vanguard models have thoughtfully included the parts to make up an extra carriage so that gives me the chance to play around with the finish before committing myself to all fourteen guns. I like the natural wood look but there really is an awful lot of laser char to clean up, so they may end up painted. The barrels are really nicely made with a very good finish and it might be possible to get away without painting them. There are no cast marks or seams so I imagen that they are 3D printed. The only anomaly is the diameter of the bore. The cannon balls that come with the kit are about 2mm dia. but the gun bore is only just over 1mm !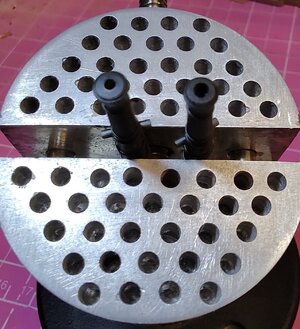 The one on the left is as per the kit the other I bored out to 2mm. Just another thirteen to do.
.

Have just about completed the hull, the only fiddley bit was balancing the lengths of the PE parts that make up the hair bracket and rails.

I also finished both lower masts, the boom and gaff.

 So far so good.
Took a first look at the gun carriages and four pound cannon, they really are very small.

Vanguard models have thoughtfully included the parts to make up an extra carriage so that gives me the chance to play around with the finish before committing myself to all fourteen guns. I like the natural wood look but there really is an awful lot of laser char to clean up, so they may end up painted. The barrels are really nicely made with a very good finish and it might be possible to get away without painting them. There are no cast marks or seams so I imagen that they are 3D printed. The only anomaly is the diameter of the bore. The cannon balls that come with the kit are about 2mm dia. but the gun bore is only just over 1mm !
 The one on the left is as per the kit the other I bored out to 2mm. Just another thirteen to do.
.
- Joined
- Aug 14, 2018
- Messages
- 825
- Points
- 403

Have started to workout the the rigging for the gun carriages by knocking up a gun port and fitting the eyebolts where they would be on the bulwark.
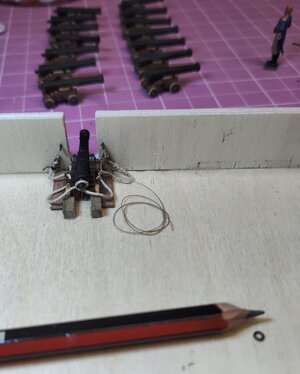
This wee extra carriage, although scrappy, will give me some idea of the length of rope needed as well if a single block works.
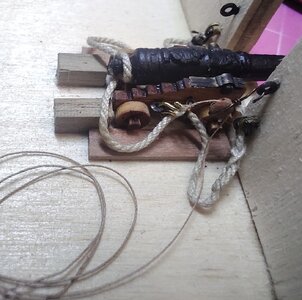
I think that at just 7cwt. a four pound gun does not need the mechanical advantage gained from two blocks and doubled ropes. The single block,(2.5mm supplied by Dry-dock Models https://drydockmodelsandparts.com/) looks really good and to my eye is about the right size. These guns really are small. (Have I said that before?)

When I come to fit the real guns they will be a lot cleaner and I will probably change the colour of the breaching rope to a more natural brown. At 0.6mm this 'rope' is, I think, borderline too thick for such a small gun. Hopefully by my next post I will have made something more suitable.

This wee extra carriage, although scrappy, will give me some idea of the length of rope needed as well if a single block works.

I think that at just 7cwt. a four pound gun does not need the mechanical advantage gained from two blocks and doubled ropes. The single block,(2.5mm supplied by Dry-dock Models https://drydockmodelsandparts.com/) looks really good and to my eye is about the right size. These guns really are small. (Have I said that before?)

When I come to fit the real guns they will be a lot cleaner and I will probably change the colour of the breaching rope to a more natural brown. At 0.6mm this 'rope' is, I think, borderline too thick for such a small gun. Hopefully by my next post I will have made something more suitable.
- Joined
- Aug 14, 2018
- Messages
- 825
- Points
- 403

Decided to go with a more natural hemp coloured breaching rope for the guns. It is 0.55mm dia. as measured by wrapping ten coils around a dowel and measuring them, barely compressed, with a Vernier gauge and dividing by ten.
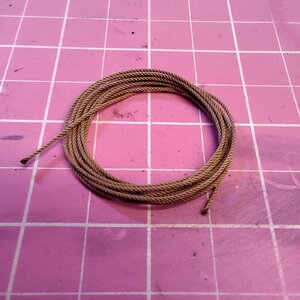
The rope is home made on my Lilliputian,(more Heath Robinson!) rope walk.
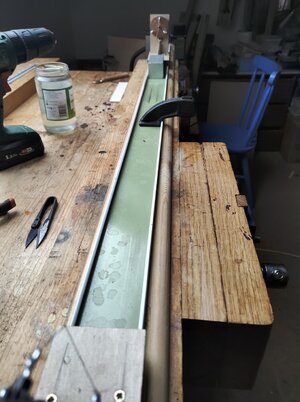

As you can see the draw back is that I only have room to make 900mm lengths at a time, not exactly at a commercial scale.
Here are a couple of pics. of the first temporally installed gun, just have to work on getting the breaching laying more naturally
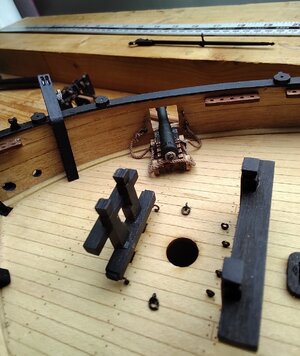
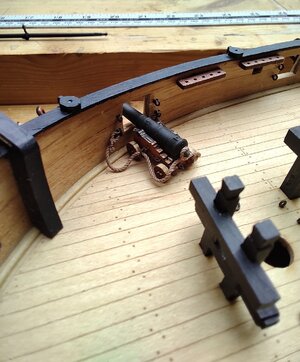
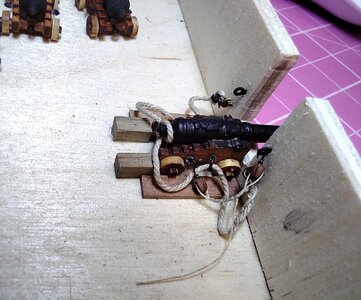
As for the out haulers I am still undecided whether to go with one block or two. Two blocks feel just too cramped and a single block and hook is probably factually incorrect. I had a half hearted go at frapping between the two blocks, and while it does let the blocks lie more naturally, I doubt that any RN ship at sea on active duty would have frapped ropes or Flemish coils.
Anyway its the weekend so ,hopefully, I will get some time to make progress.

The rope is home made on my Lilliputian,(more Heath Robinson!) rope walk.


As you can see the draw back is that I only have room to make 900mm lengths at a time, not exactly at a commercial scale.
Here are a couple of pics. of the first temporally installed gun, just have to work on getting the breaching laying more naturally


As for the out haulers I am still undecided whether to go with one block or two. Two blocks feel just too cramped and a single block and hook is probably factually incorrect. I had a half hearted go at frapping between the two blocks, and while it does let the blocks lie more naturally, I doubt that any RN ship at sea on active duty would have frapped ropes or Flemish coils.

Anyway its the weekend so ,hopefully, I will get some time to make progress.
- Joined
- Aug 14, 2018
- Messages
- 825
- Points
- 403

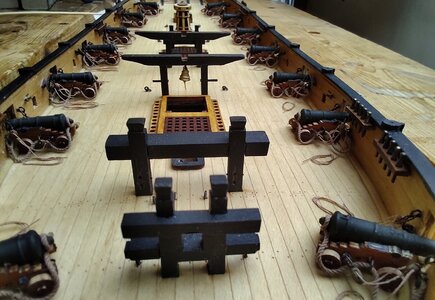
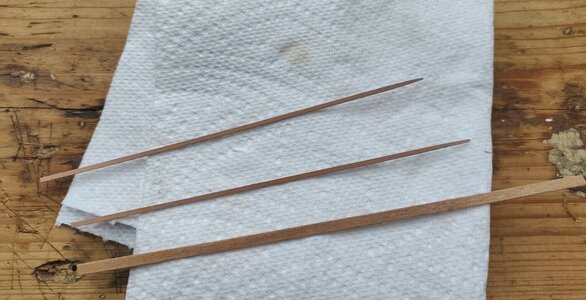
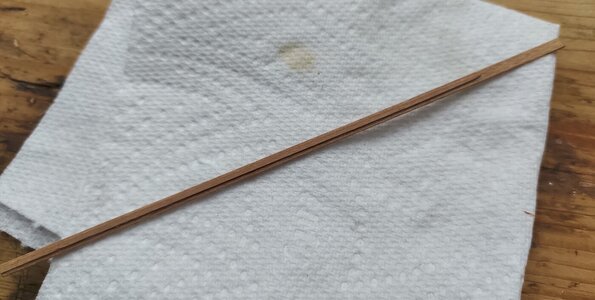
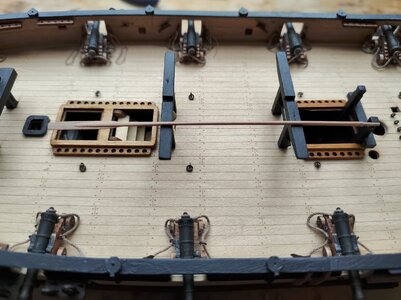
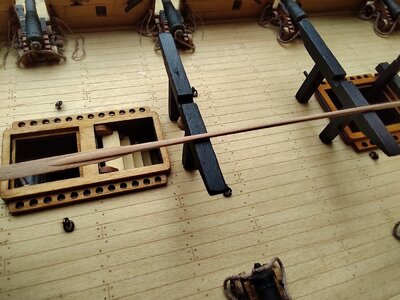
Been beavering away fitting the four pound guns, their breaching and out haulers. Decided after looking at using just one block and a hook that it just didn't look right so have started using two blocks around 15mm apart so they look like they are laying slack. It is really eye straining work, so I gave it a rest for a while and started preparing the sweeps. There are eight sweep ports so I will store four sweeps either side of the jolly boat on top of the gallows bitts, maybe put a spare or two up there as well.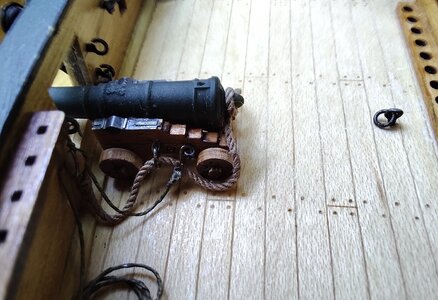
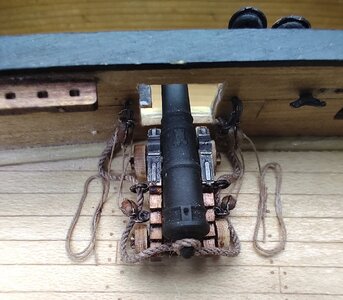
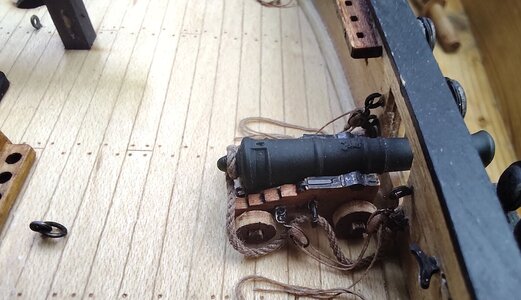
The sweeps I made by sandwiching a 3mm x 0.5mm light walnut strip between two 1.5mm x 0.5 mm pear strip of which one end has been tapered to a shallow 'V' . When the pva adhesive dried I then trimmed and sanded them to shape.
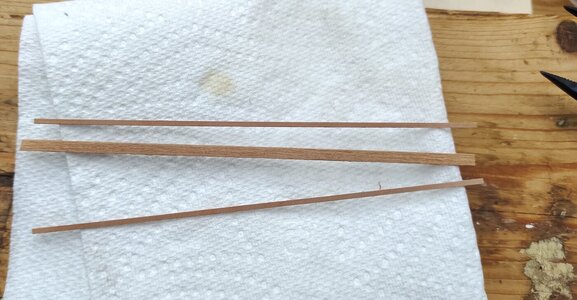
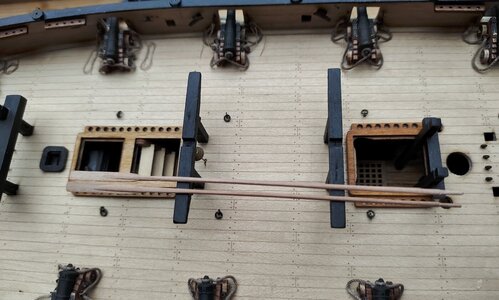 The difficulty will be to get them looking alike.
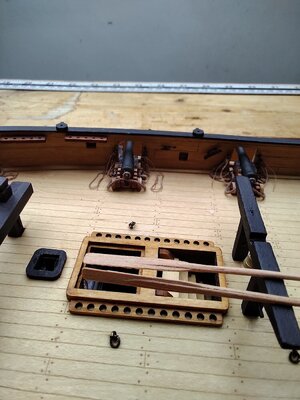


The sweeps I made by sandwiching a 3mm x 0.5mm light walnut strip between two 1.5mm x 0.5 mm pear strip of which one end has been tapered to a shallow 'V' . When the pva adhesive dried I then trimmed and sanded them to shape.


 The difficulty will be to get them looking alike.
- Joined
- Aug 14, 2018
- Messages
- 825
- Points
- 403

- Joined
- Aug 14, 2018
- Messages
- 825
- Points
- 403

Cheers and thanks for the encouragement.Most excellent
- Joined
- Aug 14, 2018
- Messages
- 825
- Points
- 403

- Joined
- Aug 14, 2018
- Messages
- 825
- Points
- 403

Thanks Ben, my rope making is OK but from what I have seen of Ropes of Scale.com, well that's different gravy. Good luck with your very interesting own build, looks good already.Lovely build, I like your homemade rope too
- Joined
- Aug 14, 2018
- Messages
- 825
- Points
- 403

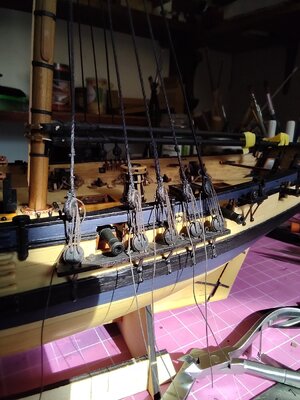
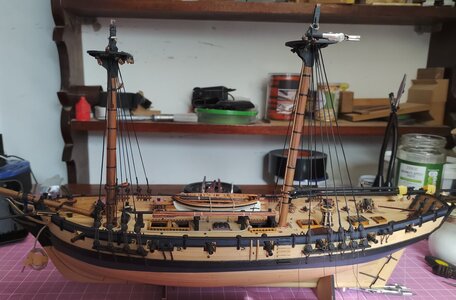
Spent any spare time I had last week making and serving the ropes for the shrouds. Earlier I stepped the fore and main masts along with the bowsprit and now its time to rig the shrouds.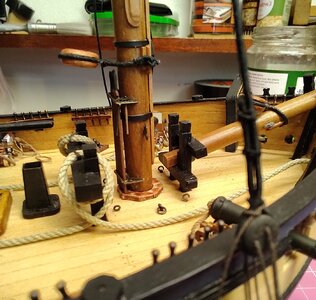
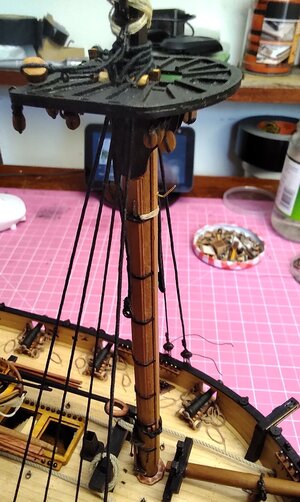
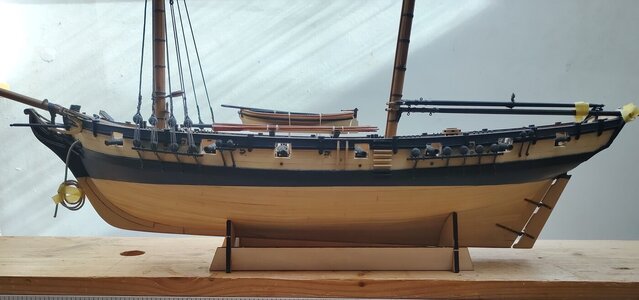
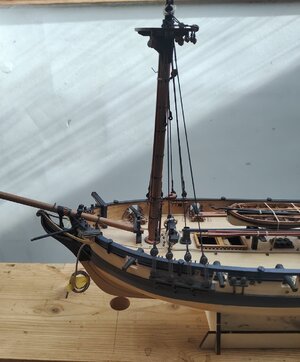
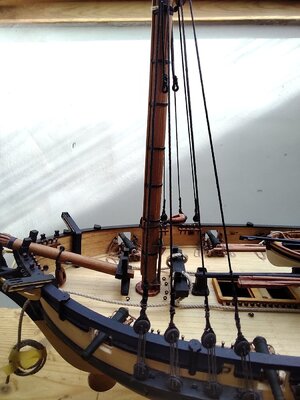

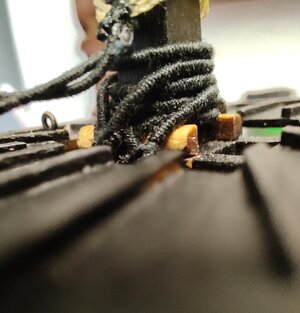 I was worried that since I added a pair of burton pendants that there would not be enough space below the jeer lashings but it seems fine. Now for the main mast.


 I was worried that since I added a pair of burton pendants that there would not be enough space below the jeer lashings but it seems fine. Now for the main mast.
Very clean and accurate work - looking very good
Good morning Jack. I echo the sentiment of the other members- outstanding work on model. Your detail is precise and the color contrasts beautiful. Cheers GrantSpent any spare time I had last week making and serving the ropes for the shrouds. Earlier I stepped the fore and main masts along with the bowsprit and now its time to rig the shrouds.View attachment 297176View attachment 297177View attachment 297178View attachment 297179View attachment 297180View attachment 297181View attachment 297182 I was worried that since I added a pair of burton pendants that there would not be enough space below the jeer lashings but it seems fine. Now for the main mast.
- Joined
- Aug 14, 2018
- Messages
- 825
- Points
- 403

Thanks Grant nice to get a compliment from one biker to another, ( albeit a long time ago in my case). Your own work looks better every time I look at it, excellent.Good morning Jack. I echo the sentiment of the other members- outstanding work on model. Your detail is precise and the color contrasts beautiful. Cheers Grant
Hello Jack- once a biker always a biker. Thank you. Cheers GrantThanks Grant nice to get a compliment from one biker to another, ( albeit a long time ago in my case). Your own work looks better every time I look at it, excellent.
- Joined
- Aug 14, 2018
- Messages
- 825
- Points
- 403

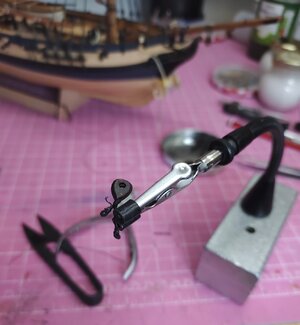
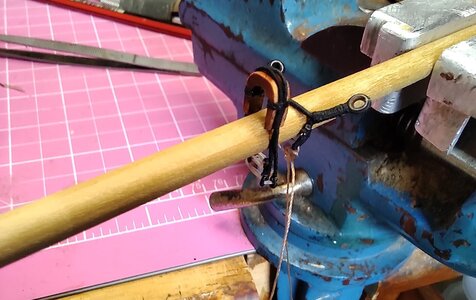
Just about finished the lower shrouds and have begun making the bowsprit fittings.
The plans call for deadeyes to attach the fore stays, bobstays and bowsprit shrouds but my thoughts are that these would have been mostly phased out by the 1780's so I will endeavour to replace them with open and closed hearts, and thimbles. I thought it wiser to assemble these fiddley parts before a trial fitting.
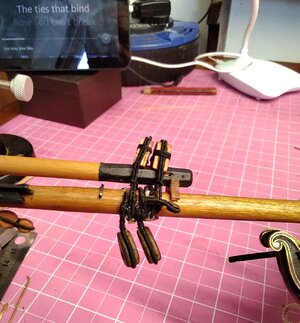
The kit supplied 1.3mm black thread for the main and fore stays but when I measured it, it comes out at 0.95mm and to my eye looks a bit skinny. The masts have a max. thickness of 8mm as per the plans, and that calculates out at a cable of just under 1.3mm so I will make up some to that size and see what it looks like.
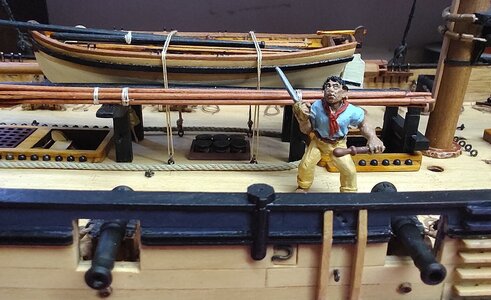
Just for the craic, here are some pic's. through the skylight and into the main hatch.
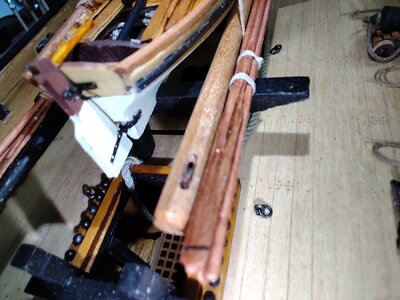
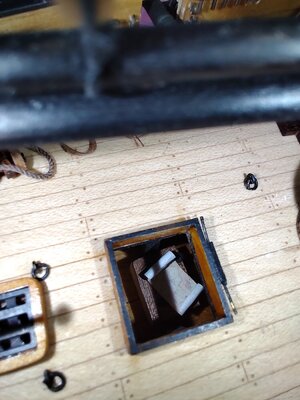
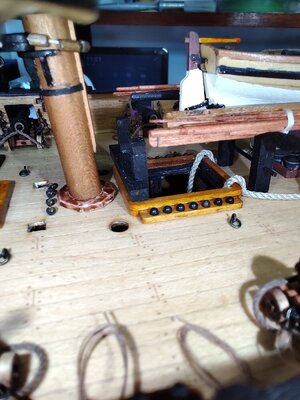
Not really happy with the run of that anchor cable, so that's another little job to fix.
It's little wonder that those Spaniards on the El Gamo cashed their chips in with boyo's like this as part of Cochrane's boarding party!


The plans call for deadeyes to attach the fore stays, bobstays and bowsprit shrouds but my thoughts are that these would have been mostly phased out by the 1780's so I will endeavour to replace them with open and closed hearts, and thimbles. I thought it wiser to assemble these fiddley parts before a trial fitting.


The kit supplied 1.3mm black thread for the main and fore stays but when I measured it, it comes out at 0.95mm and to my eye looks a bit skinny. The masts have a max. thickness of 8mm as per the plans, and that calculates out at a cable of just under 1.3mm so I will make up some to that size and see what it looks like.
Just for the craic, here are some pic's. through the skylight and into the main hatch.


Not really happy with the run of that anchor cable, so that's another little job to fix.
It's little wonder that those Spaniards on the El Gamo cashed their chips in with boyo's like this as part of Cochrane's boarding party!


