-

Win a Free Custom Engraved Brass Coin!!!
As a way to introduce our brass coins to the community, we will raffle off a free coin during the month of August. Follow link ABOVE for instructions for entering.
-

PRE-ORDER SHIPS IN SCALE TODAY!
The beloved Ships in Scale Magazine is back and charting a new course for 2026!
Discover new skills, new techniques, and new inspirations in every issue.
NOTE THAT OUR FIRST ISSUE WILL BE JAN/FEB 2026
You are using an out of date browser. It may not display this or other websites correctly.
You should upgrade or use an alternative browser.
You should upgrade or use an alternative browser.
HM Brig Sloop Speedy Vanguard Models kit [Completed Build]
- Thread starter Jack Jäger
- Start date
- Watchers 13
- Joined
- Aug 14, 2018
- Messages
- 825
- Points
- 403

Hi, folks
Progress has been a bit slow this last week or so, due to a persistent bout of diplopia. Anyway I am back up and running now and have added the main and preventer stays to the main and fore masts. When I changed the method of securing them from the kits dead eyes to hearts,( something I would have thought the more likely to have been used in the late 18th. century), an unforeseen consequence was that was not enough space to have the main stay run below the preventer as was most common. It was bugging me until I read a bit in, Lees Masting and Rigging of English Ships of War, which states that on small ships the preventer stay was sometimes carried underneath, it seems probable that on such a small brig as the Speedy that they would not be snaked either. I envisage this model to show the Speedy as she may have looked in the 1790's, over ten years into her distinguished career, so I will keep her 'crows feet' securing them to the main stays.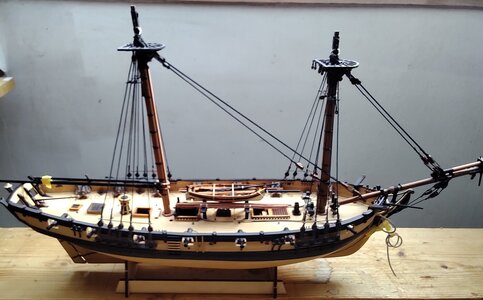
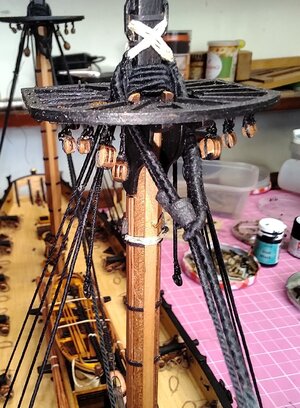
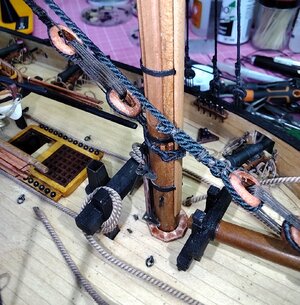
Before adding them I have started on the catharpins and futtock shrouds. On the frigate Amazone I used painted brass bar super glued to the futtock stave for the catharpins and thought they looked ok but that was at a scale of 1/96, so this time I used 0.4 thread that I served with an eye at each end. It was tricky getting the exact length as each was slightly different due to the curve of the hull.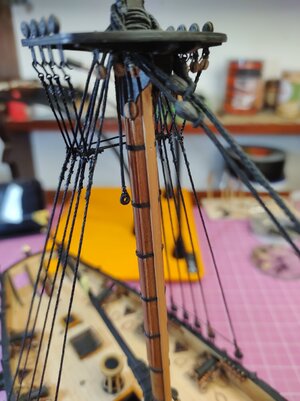 This rather poor picture shows my first attempt which I hope to improve on. In the meantime as a small diversion I decided to make up the anchors; two bow, two sheet and one kedge, although I am not sure how many I will install yet.
Speedy's burthen works out at around 200 tons,( although Cochrane's biography claims her to have been of 158 tons! So working on the scale of one cwt. for every twenty tons (bm) her bower and sheet anchors should be about 10 - 11 cwt. according to Steel a 200 ton brig should have 3 anchors of 12cwt. I really did not fancy the anchors that come with the kit, they are laser cut mdf with box stocks and thin ply palms, oh and a ring that looks far too small!(see pic. below), so I bought 4 x 11cwt Caldercraft anchors from Maritime Model https://www.maritime-models.co.uk/ which are better but to my eye still not right, the stock being rather stubby. So I made some new ones from scrap boxwood and some new cable (scaled 12 inch), to go with them.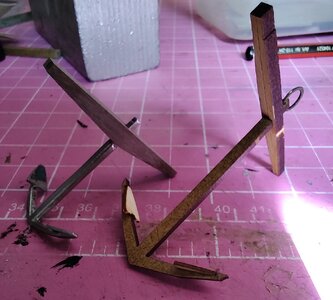
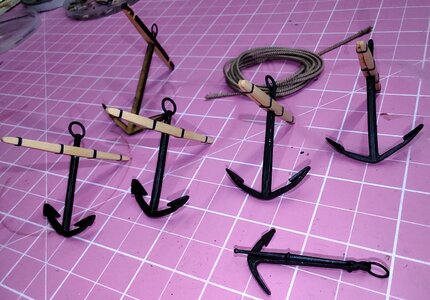
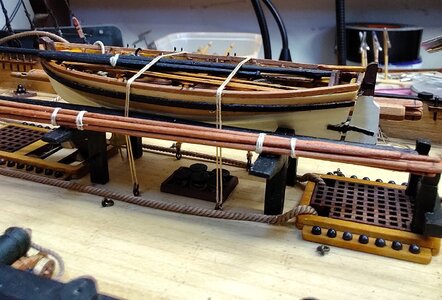 As you can see the kit anchor is massive compared with the Caldercraft one. Vanguard models really are very good and maybe the anchor supplied is correct but I just don't like them. The little kedge anchor I made from bits I had laying about I have made it with an iron stock thinking I would stow it secured to the main mast dead eye lashing. Then again the 1790's could be a bit early for an iron stock I still have a bit of research to do on that one. I think the spritsail yard is next then the rest of the masts and standing rigging.
Progress has been a bit slow this last week or so, due to a persistent bout of diplopia. Anyway I am back up and running now and have added the main and preventer stays to the main and fore masts. When I changed the method of securing them from the kits dead eyes to hearts,( something I would have thought the more likely to have been used in the late 18th. century), an unforeseen consequence was that was not enough space to have the main stay run below the preventer as was most common. It was bugging me until I read a bit in, Lees Masting and Rigging of English Ships of War, which states that on small ships the preventer stay was sometimes carried underneath, it seems probable that on such a small brig as the Speedy that they would not be snaked either. I envisage this model to show the Speedy as she may have looked in the 1790's, over ten years into her distinguished career, so I will keep her 'crows feet' securing them to the main stays.


Before adding them I have started on the catharpins and futtock shrouds. On the frigate Amazone I used painted brass bar super glued to the futtock stave for the catharpins and thought they looked ok but that was at a scale of 1/96, so this time I used 0.4 thread that I served with an eye at each end. It was tricky getting the exact length as each was slightly different due to the curve of the hull.
 This rather poor picture shows my first attempt which I hope to improve on. In the meantime as a small diversion I decided to make up the anchors; two bow, two sheet and one kedge, although I am not sure how many I will install yet.
Speedy's burthen works out at around 200 tons,( although Cochrane's biography claims her to have been of 158 tons! So working on the scale of one cwt. for every twenty tons (bm) her bower and sheet anchors should be about 10 - 11 cwt. according to Steel a 200 ton brig should have 3 anchors of 12cwt. I really did not fancy the anchors that come with the kit, they are laser cut mdf with box stocks and thin ply palms, oh and a ring that looks far too small!(see pic. below), so I bought 4 x 11cwt Caldercraft anchors from Maritime Model https://www.maritime-models.co.uk/ which are better but to my eye still not right, the stock being rather stubby. So I made some new ones from scrap boxwood and some new cable (scaled 12 inch), to go with them.


 As you can see the kit anchor is massive compared with the Caldercraft one. Vanguard models really are very good and maybe the anchor supplied is correct but I just don't like them. The little kedge anchor I made from bits I had laying about I have made it with an iron stock thinking I would stow it secured to the main mast dead eye lashing. Then again the 1790's could be a bit early for an iron stock I still have a bit of research to do on that one. I think the spritsail yard is next then the rest of the masts and standing rigging.
- Joined
- Aug 14, 2018
- Messages
- 825
- Points
- 403

Thank you Heinrich,She is looking great Jack. Ii is always good to have a time period in mind when building a ship with a long career like Speedy.
I imagen my Speedy in her teens. by now a true veteran, she has been in the Mediterranean for six or seven years and has been lucky for most of her commanders. She has been in plenty of scraps and her skippers and crews have won plenty of prize money, mind you, over the years, as the cannon balls flew she has taken more hits than the Beatles! Her paint is faded, her deck is sun bleached white and she has been re-mast at least twice. None of her skippers have had private money to spend decorating her and she probably looks pretty shabby, but every young master and commander would want her as she is the equivalent of a Georgian ATM and apart from an overzealous Cochrane might have produced the goods for a few years more.
Last edited:
- Joined
- Aug 14, 2018
- Messages
- 825
- Points
- 403

Great workmanship, and attention to detail, Jack. But macro...macro...macro... reveals the fuzz on your rigging lines. While this will not be visible without magnifying glasses on the model, it will be a great source to accumulate dust in the future, even in the full glass case. If you don't mind, I would suggest you run the line against a beeswax block (a few times), or use the Russian modeler's trick: move the line very fast against the cigarette lighter flame. Obviously, for any new rigging line, you are about to install. You have to practice for this, otherwise, you can burn the rope and make 2 out of one.Hi folks,
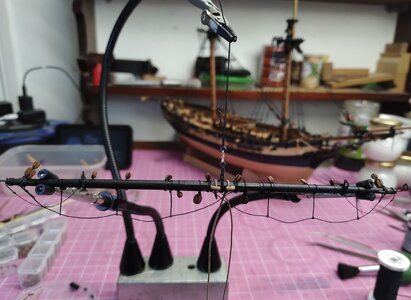
I have made a bit of progress this week and have added a couple of yards to see what they look like. Here are some pics. from this week.
P.S. BTW, have you tried using polyester lines? They don't have much fuzz.
- Joined
- Aug 14, 2018
- Messages
- 825
- Points
- 403

Hi JimGreat workmanship, and attention to detail, Jack. But macro...macro...macro... reveals the fuzz on your rigging lines. While this will not be visible without magnifying glasses on the model, it will be a great source to accumulate dust in the future, even in the full glass case. If you don't mind, I would suggest you run the line against a beeswax block (a few times), or use the Russian modeler's trick: move the line very fast against the cigarette lighter flame. Obviously, for any new rigging line, you are about to install. You have to practice for this, otherwise, you can burn the rope and make 2 out of one.The wax method is a much safe, though.
P.S. BTW, have you tried using polyester lines? They don't have much fuzz.
Thank you for taken the time to look at my pics., and particularly for your supportive and constructive comments, they are much appreciated.
I tend to use polyester for tying knots and anywhere that needs to be really secure. I have tried making miniature rope with it but I find it too shiny for my taste.
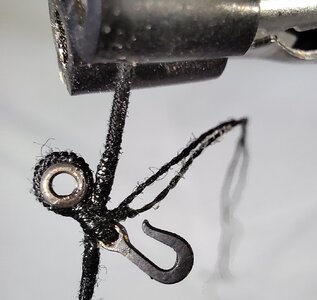
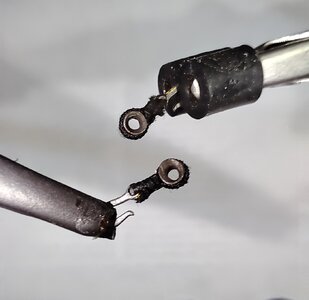
I wax quite a lot of my lines but clearly not those hook and thimbles (furry caterpillars!). I noticed that, particularly on black or very dark line, that sometimes I ended up with a white residue, so now after I have a line fixed in position I give it a gentle blast with a hot air gun, this re-melts the wax which then sinks into the line. The hot air also has the effect of stiffening the line, keeping it in position better. So any fuzz that you see is down to my lack of attention and carelessness. Old bones my only excuse. Cheers mate.
- Joined
- Aug 14, 2018
- Messages
- 825
- Points
- 403

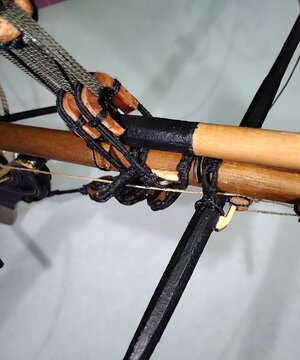
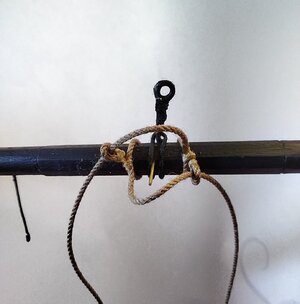
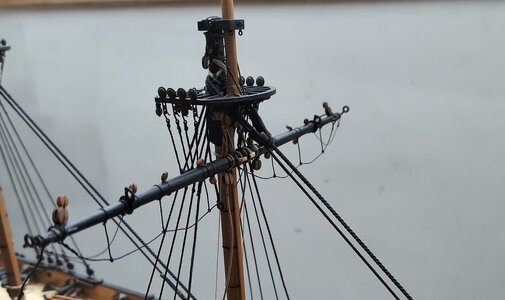
Got back to doing a bit more rigging and now all but finished the fore mast standing rigging. Although because I added the, (as the plans call them shifting backstays, but to me look more like running breast backstays), before the ratlines I had real trouble doing a good job keeping them even, not my best idea. Anyway I decided to put up with them and hope to camouflage them with anchor buoys ropes etc. My next task is to add the flying jibboom, travellers, blocks and associated ropes.
Here are some pictures of my progress so far plus some (dusty) close ups. Its getting near the time to think what to build next, might try my hand at something like the POF Blandford or CAF's Enterprise if I can scrape up the dough!
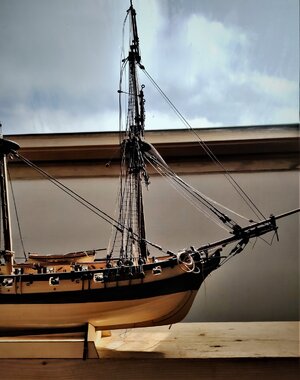
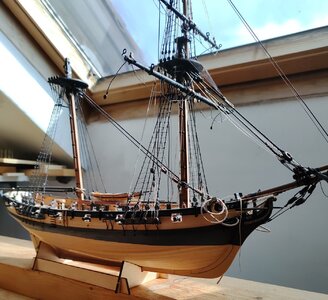
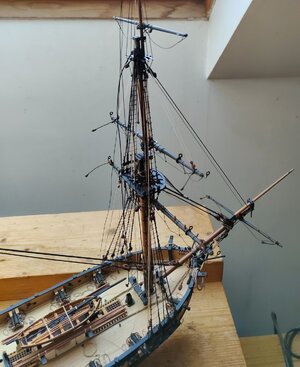
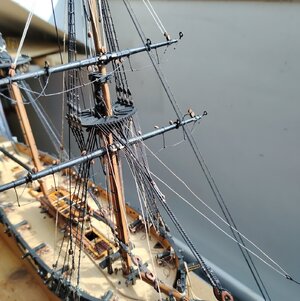
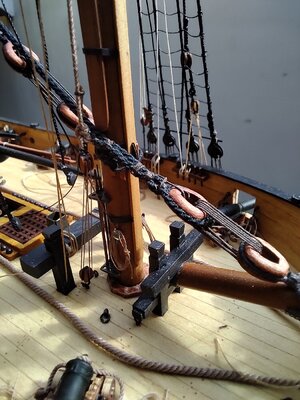
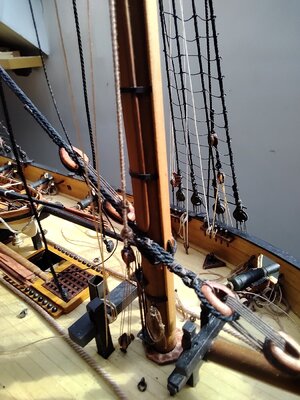
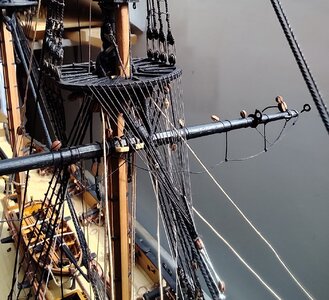
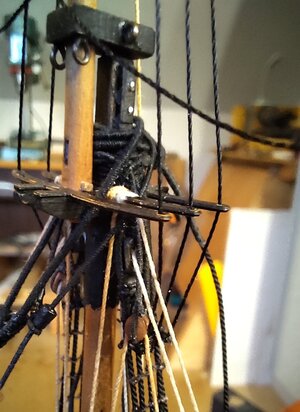
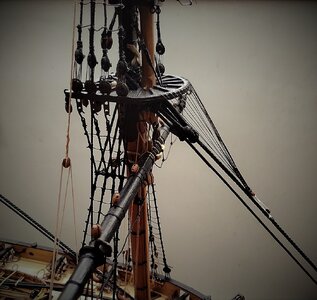
Here are some pictures of my progress so far plus some (dusty) close ups. Its getting near the time to think what to build next, might try my hand at something like the POF Blandford or CAF's Enterprise if I can scrape up the dough!


- Joined
- Aug 14, 2018
- Messages
- 825
- Points
- 403

Thank you Heinrich for your kind words. I feel that HMS Speedy is starting to take shape now. And you are right it is a lovely kit, the designer, Mr Chris Watton of Vanguard Models, has captured the lines just right.Jack my friend ... she is gorgeous.
View attachment 307575
Those other ships you mentioned are nice I suppose, but THIS! Hats off young man!
Hope you and all are keeping well. Regards JJ.
- Joined
- Aug 14, 2018
- Messages
- 825
- Points
- 403

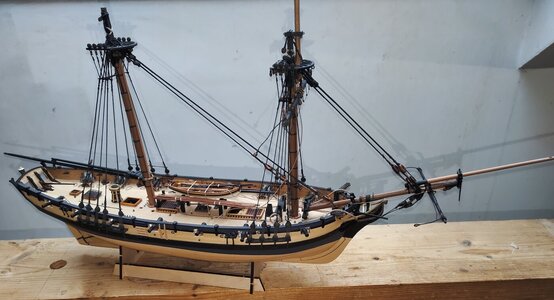
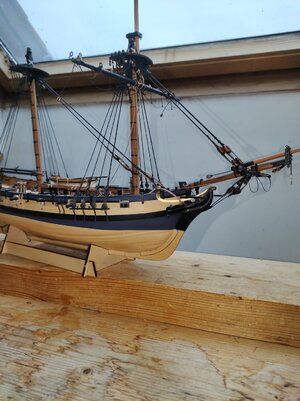
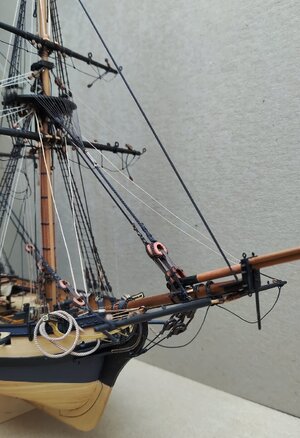
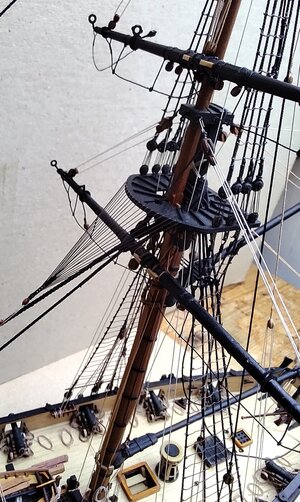
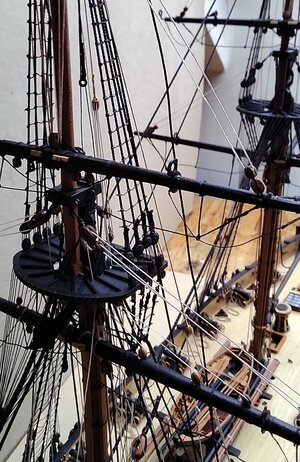
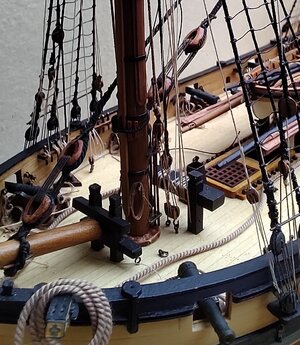
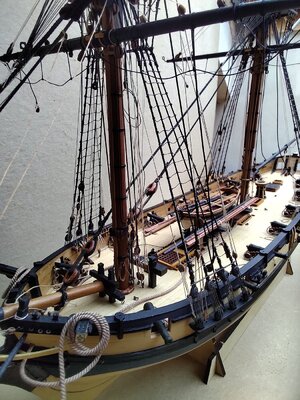
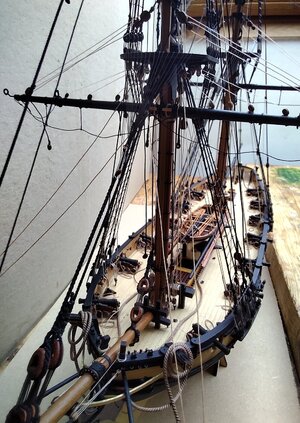
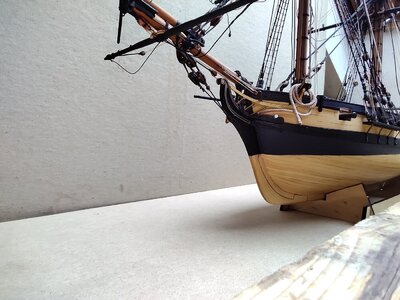
Gosh, I didn't think it had been so long since I last made my number to the Speedy Log, my only excuse is that I have been so involved working on the rigging that I lost track. Anyway, hopefully, my time has not been wasted, and today is a momentous one as for the first time I have all masts raised and all yards crossed. Still a lot more to do, but today feels good.
The rigging, so far, has gone mostly to plan, along with the V.M. directions I have mostly used Lees Masting and Rigging as reference. They both pretty much match each other except for one or two simplifications in the V.M. plans. The one that caused me the most backtracking was the boom topping lifts, the plans showing only one and it roved through a single block situated at the top of the main mast with the fall finishing with a long tackle hooked to the deck just behind the mast. I found that there was no room, for one let alone two long tackles, there without fouling the jaws of the boom. So following Lees, I sized a single block to either side of the back of the top and finished the fall to a block to the rear of the m.m. channels.
All praise to Chris Watton his plans are exemplary and head and shoulders better researched than many others I have seen. Looking forward to finishing the rest of the rigging. Here are some pictures of my Speedy as she looks today. Cheers JJ.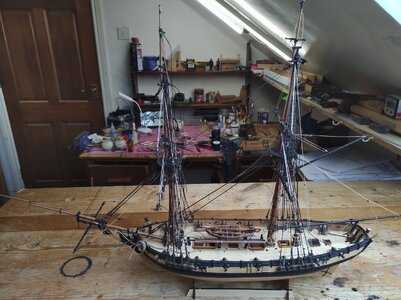
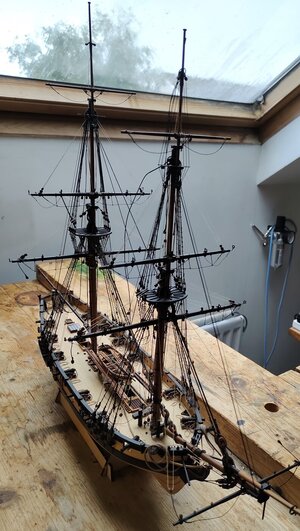
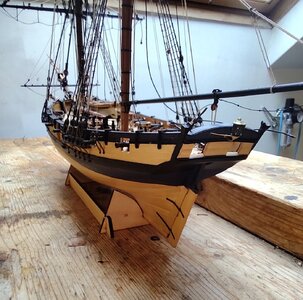
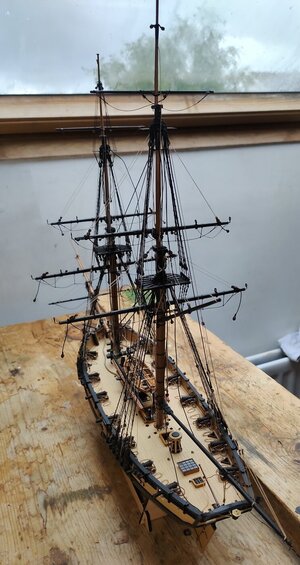
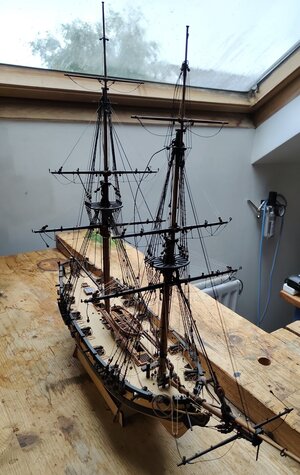


looking very good - this model is getting really good !
Good evening Jack. First class! Beautiful build. Cheers GrantGosh, I didn't think it had been so long since I last made my number to the Speedy Log, my only excuse is that I have been so involved working on the rigging that I lost track. Anyway, hopefully, my time has not been wasted, and today is a momentous one as for the first time I have all masts raised and all yards crossed. Still a lot more to do, but today feels good.
The rigging, so far, has gone mostly to plan, along with the V.M. directions I have mostly used Lees Masting and Rigging as reference. They both pretty much match each other except for one or two simplifications in the V.M. plans. The one that caused me the most backtracking was the boom topping lifts, the plans showing only one and it roved through a single block situated at the top of the main mast with the fall finishing with a long tackle hooked to the deck just behind the mast. I found that there was no room, for one let alone two long tackles, there without fouling the jaws of the boom. So following Lees, I sized a single block to either side of the back of the top and finished the fall to a block to the rear of the m.m. channels.
All praise to Chris Watton his plans are exemplary and head and shoulders better researched than many others I have seen. Looking forward to finishing the rest of the rigging. Here are some pictures of my Speedy as she looks today. Cheers JJ.View attachment 311659
View attachment 311582View attachment 311583View attachment 311584View attachment 311585View attachment 311586View attachment 311588View attachment 311589View attachment 311591View attachment 311661View attachment 311662
View attachment 311660
- Joined
- Aug 14, 2018
- Messages
- 825
- Points
- 403

Thanks Grant, the Speedy is the sort of little boat that brings out the cases of port for the pleasure of the Admiral aboard the Victory.Good evening Jack. First class! Beautiful build. Cheers Grant
- Joined
- Aug 14, 2018
- Messages
- 825
- Points
- 403

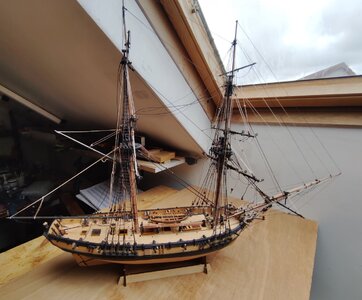
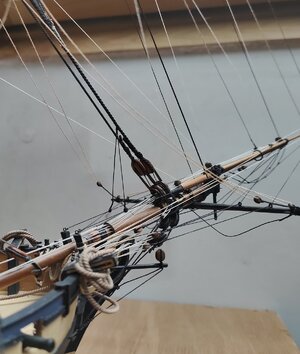
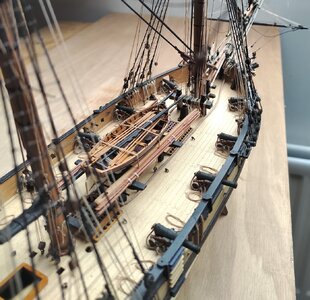
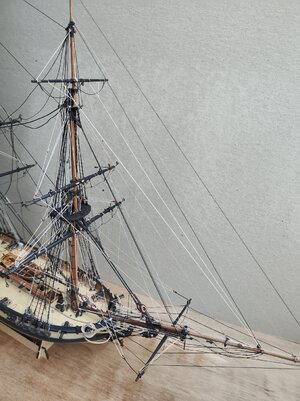
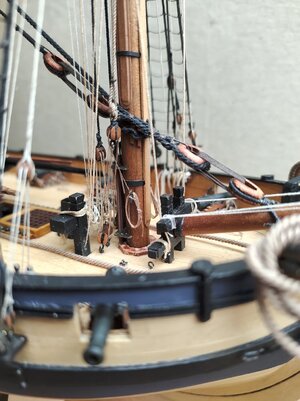
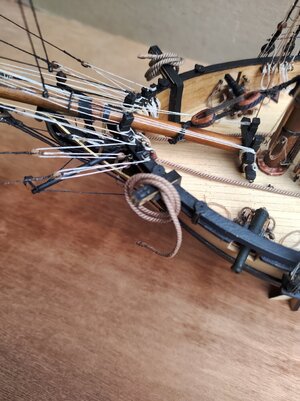
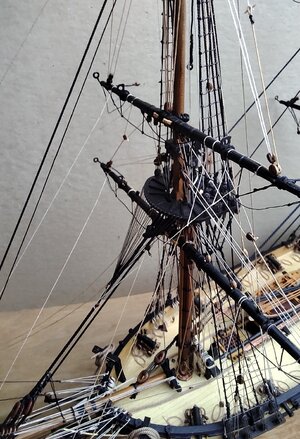
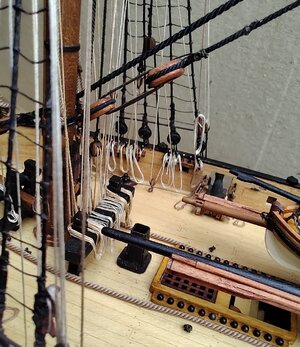
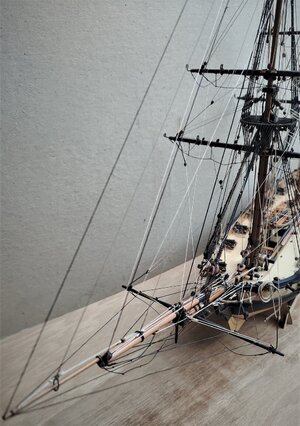
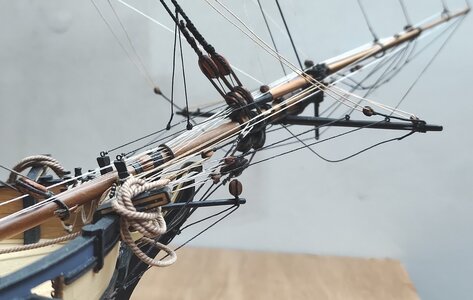
Hi, spent some time this week finishing of the rigging of the bowsprit, jibboom and flying jibboom. I also added the fore mast bowlines which also just about finishes that mast of. There where no real problems although I am not terribly happy with the placing of the fall coils over the bits, so I might try to redo them. Once again I should point out to anyone building this kit that the pear blocks, beautiful as they are, need to be drilled out before fitting as they come with very small sheave holes. Here are some pictures of my progress.


- Joined
- Aug 14, 2018
- Messages
- 825
- Points
- 403

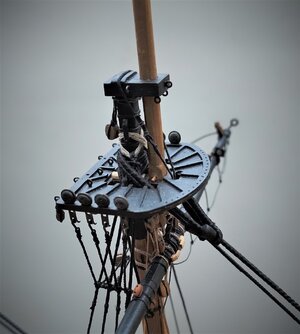
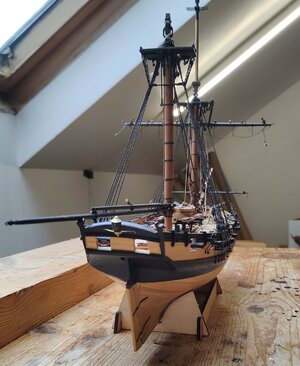
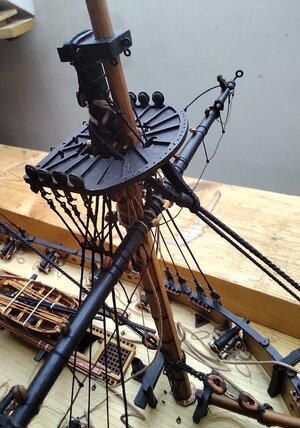
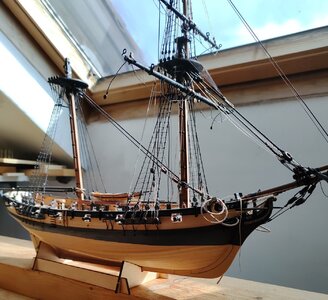
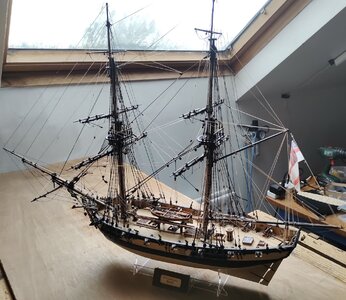
So happy! Just finished and had to post something.
After just under six months I have just about crossed the finish line, just a bit of touch up and tiding. And what a brilliant kit, full of quality parts and really well designed by a master of the game. I hope I have done justice to Speedy.
Will post some, (hopefully better ), pictures later. JJ
After just under six months I have just about crossed the finish line, just a bit of touch up and tiding. And what a brilliant kit, full of quality parts and really well designed by a master of the game. I hope I have done justice to Speedy.

Will post some, (hopefully better ), pictures later. JJ
Congrats ,you built an amazing model!So happy! Just finished and had to post something.
After just under six months I have just about crossed the finish line, just a bit of touch up and tiding. And what a brilliant kit, full of quality parts and really well designed by a master of the game. I hope I have done justice to Speedy.
View attachment 315607
Will post some, (hopefully better ), pictures later. JJ
She is a real beauty! Congratulation on your accomplishment and don't forget to submit images to a completed section on our forum!


