• Ships of Scale has incorportated an extra level of security when you log In. Please follow on-screen prompts to acknowledge that you are not a robot via a "Check Box" or a "Pictorial Check Box Puzzle". This is needed due to higher level of AI Activity Security.
  • SUBSCRIBE TO SHIPS IN SCALE TODAY!

    The beloved Ships in Scale Magazine is back and charting a new course for 2026!
    Discover new skills, new techniques, and new inspirations in every issue.

    NOTE THAT OUR NEXT ISSUE WILL BE July/August 2026
  • Win a Free Custom Engraved Brass Coin!!!
    As a way to introduce our brass coins to the community, we will raffle off a free coin during the month of August. Follow link ABOVE for instructions for entering.

HM Cutter Lady Nelson 1:64 - Build Log

Good morning. I have just caught up with your log. Very informative and enjoyable. The last pic looks a fine result - definitely got the lines and shape looking good. Kudos. Is your second layer veneer?

 
Good morning. I have just caught up with your log. Very informative and enjoyable. The last pic looks a fine result - definitely got the lines and shape looking good. Kudos. Is your second layer veneer?

Good morning. Thank you for stopping by my build log.
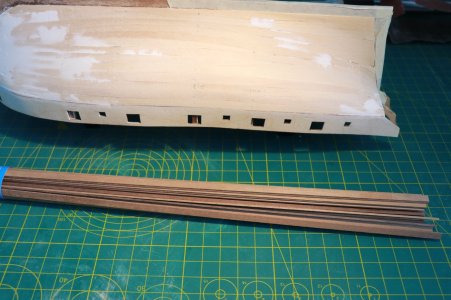
The second layer is 1x4mm wooden strips. Instructions does not mention type of wood, I guess it is walnut.
Knowledgable forum-readers can correct.
IMG_0754.JPG
 
We have 27,000 "members" on this forum. Only a tiny percentage make any posts. It may seem like your log is not being read by many, but keep in mind that only a few members makes responses. Congrats on getting the first planking layer completed! Keep in mind that this first layer can contain many unsightly errors, but it will be covered by the second and final layer. By that time, you should be skilled enough to get the pattern of planks laid better and eliminate gaps. Please read the articles attached below and learn some more about planking techniques, particular how to fit planks before attaching them, and watch the video AllanKP69 mentioned so you can see the information in the articles at work. Don't expect your first ship to be perfect, expect it to contain errors, knowing that your second model will improve DRAMATICALLY.

View attachment 626205

View attachment 626206
Hi Kurt,

Thank you for your support.
I was under the impression that I should "follow the instructions", I also should go from Bulkhead to the bottom, and majority of planks from go from top to bottom. I wasn't aware, I didn't take enough consideration that plank should be bended in both directions, I unfortunately, bended only in 1 direction. That is how I've got those ribs after 2-3-4 planks. A lesson learned, and I should move on.

Again, no mater how many tutorials I've watched, I still did get different experience while doing my model and planking. The next layer of planking should be different, it should account all errors I made and I should avoid doing these errors. But, it is an experience I gained, and without it, I can't imagine myself being theoretically understand how to do this, but practically making all these mistakes.

Thank you for stopping by, and I always happy to read your replies and suggestions.
 
I stared sanding of the second side of Lady Nelson, next is going to be crack filler, that is something I couldn't miss due to my a bit of incorrect way of doing hull planking. But hey, it is better to learn and then make the second build better, than having some theoretical knowledge on how things should be done. :)
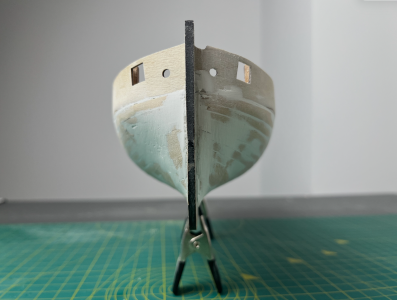
 
I stared sanding of the second side of Lady Nelson, next is going to be crack filler, that is something I couldn't miss due to my a bit of incorrect way of doing hull planking. But hey, it is better to learn and then make the second build better, than having some theoretical knowledge on how things should be done. :)
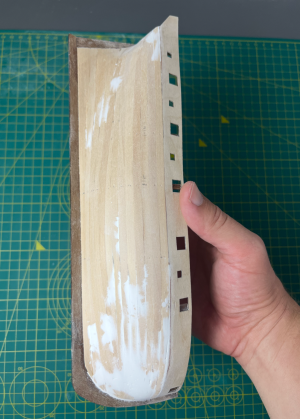
The second layer is your second chance to make the planking pattern properly. The first layer is practice. Spend extra time FITTING the plank without glue and ADJUST it shape until it is perfect and the seams are gap-free. THEN glue it in place. If you take this patient approach, your planking will look GREAT. Take your time.
 
Hello my dear readers,

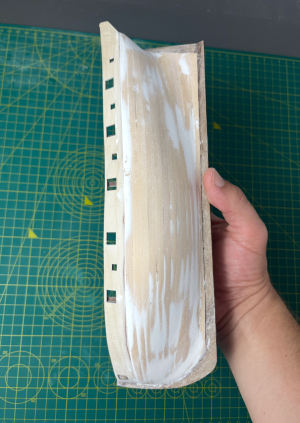
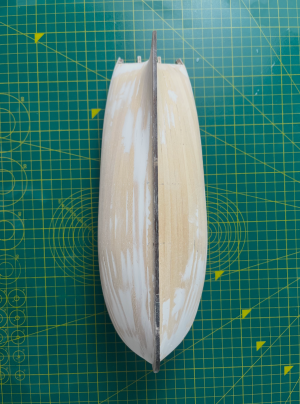
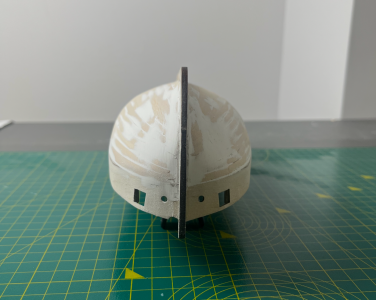
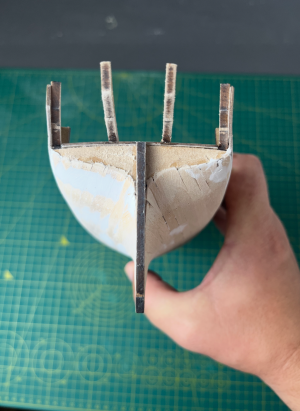
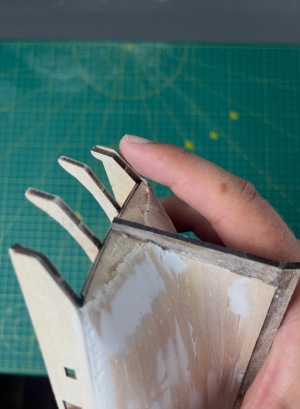
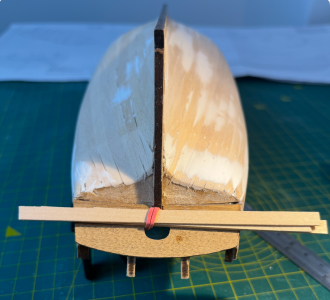
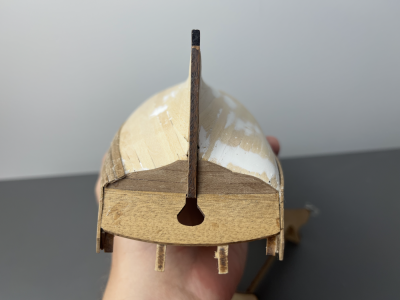
I finished first hull planking on both sides with crack filler and sanded everything. The ship looks much better and ready for the next step.
Here are some photos.
Screenshot 2026-08-27 at 08.31.50.png
Screenshot 2026-08-27 at 08.31.57.png
Screenshot 2026-08-27 at 08.32.01.pngScreenshot 2026-08-27 at 08.31.41.png
Screenshot 2026-08-27 at 08.31.35.pngScreenshot 2026-08-27 at 08.32.05.png

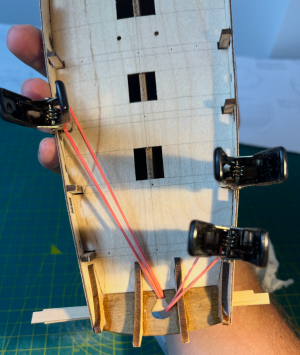
I am thinking whether I should sand the below part that go over or sand the one I should be glueing.
I am up for suggestions. See below:
Screenshot 2026-08-27 at 08.32.10.png
 
I have been taught that you should give the hull a coat of white or light grey primer, which when dry will help show any spots that need a touch up, and as you sand, if all even you sand the primer off showing highs and lows.
 
Hello my dear readers,
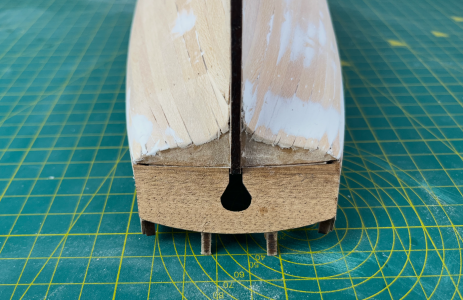
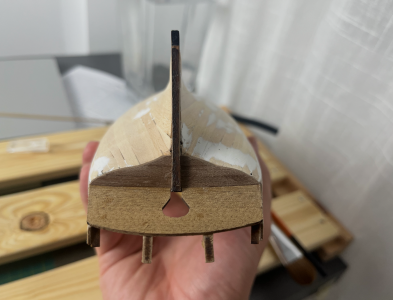
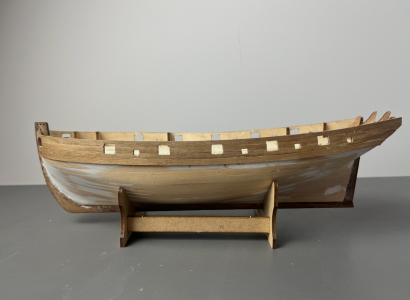
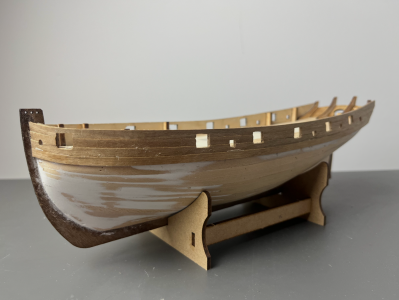
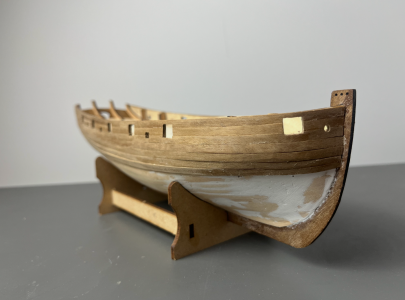
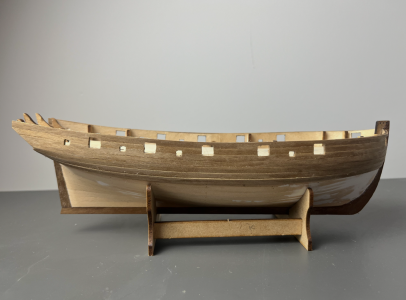
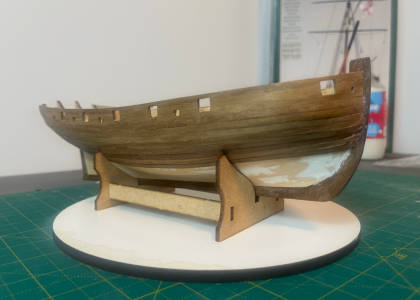
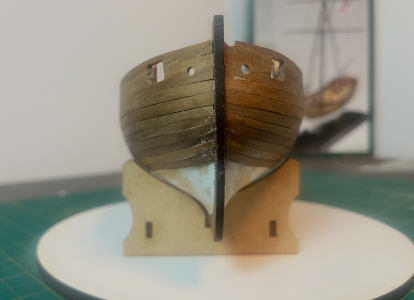
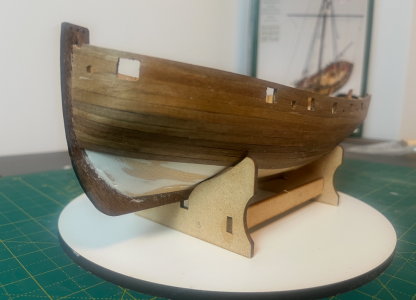
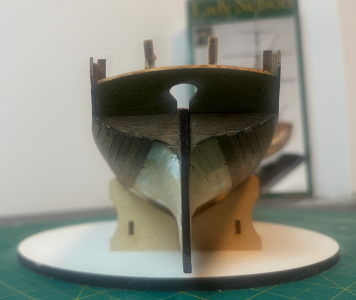
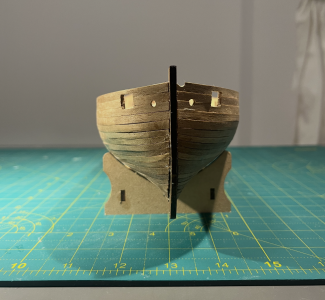
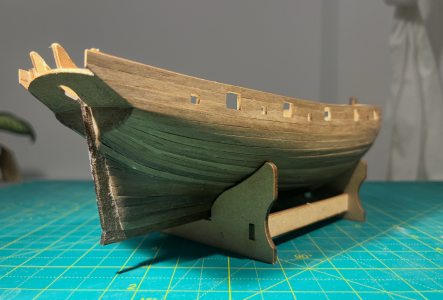
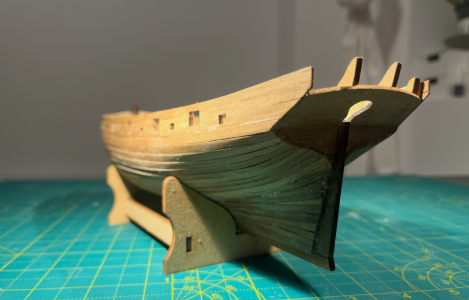
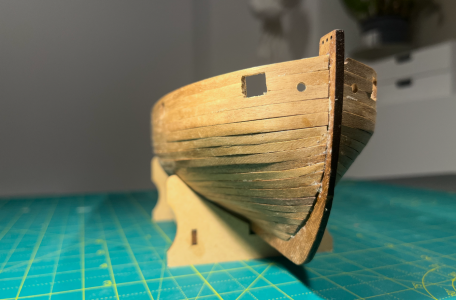
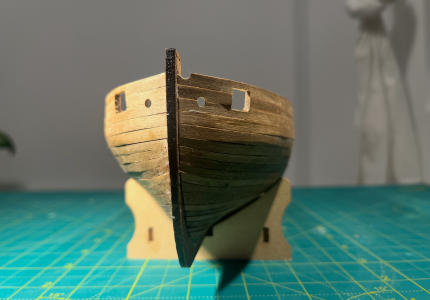
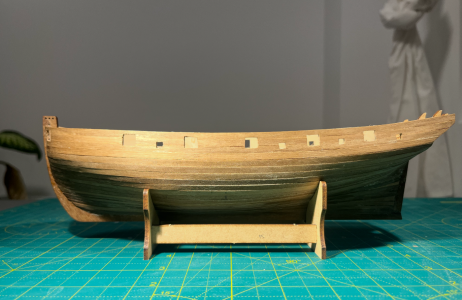
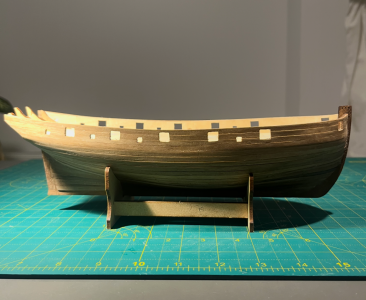
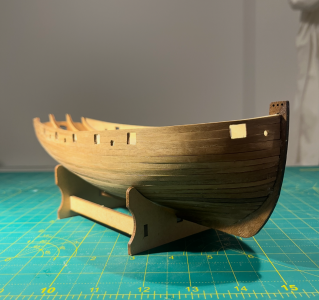
I finally completed second planking. I started September 1, and writing this post end of day (10 minutes to midnight) October 24, with some delays and missing build days, I am happy to share the result. Sanding is pending.

Screenshot 2026-10-24 at 23.56.51.pngScreenshot 2026-10-24 at 23.56.45.pngScreenshot 2026-10-24 at 23.56.41.pngScreenshot 2026-10-24 at 23.56.36.pngScreenshot 2026-10-24 at 23.56.32.pngScreenshot 2026-10-24 at 23.56.27.pngScreenshot 2026-10-24 at 23.56.59.pngScreenshot 2026-10-24 at 23.56.55.png
 
Back
Top